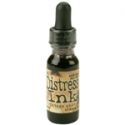
So I started by cutting a piece of Tim Holtz paper ( but any of your favourite papers are fine ) to fit my hanging board and when glued on edged with pumice stone distress paint.
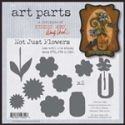
I chose this paper because it was fairly neutral, but not totally plain. I then glued an art part vase piece to a piece of paper ( remember to glue it to the reverse! not that I have ever messed it up or anything!?)). Then using a craft knife cut around the shape, the Art parts are sturdy so provide a good guide for cutting.
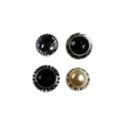
To make a neater edge I sanded my edges and then added a touch of paint, I also added to the edge of the other vase piece and also a couple of Linda's fab buttons.
Now I added a couple of coats of picket fence distress stain to the paper covered board, just to soften it slightly and then the vase stands out ...hope that make sense and you can see the difference below, it is subtle but worth it I think.
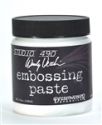
Now for the layers on the background, I smooshed some pumice stone and frayed burlap onto my craft sheet and also splodged some Wendy Vecchi embossing paste in white , to make a coloured paste.
I then applied this to the base, flipping my stencil to create leaves facing different ways.
Then I allowed these layers to dry but you can lightly heat with your heat tool, don't over heat all at once or it will bubble. ( sometimes this is a great effect!)
Now more layers with stamping of text in frayed burlap and applied through stencils, then more stamped leaves. I also added some text stamped in watering can Archival to build up the layers and swiped the leaves with treasure gold.
I also added some vintage photo to the edge of the board and the vase to lift them.
Now the flowers, which have coloured with pumice stone paint and then over stamped with text in frayed burlap....and just for Anne ...I did it again...stamp upside down!! oops.
I also did this on the vase, using the stamp inked and unmounted allows you to roll the stamp and use just part of the design for a more random look.
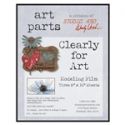
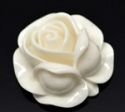
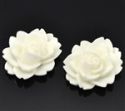
Nearly there ! I now drew round my flower piece onto Clearly for Art and cut out two flowers .
I the heated and shaped the petals, the fab thing is ...this can be heated and re-heated ..so if you don't like the petal shape reheat it and then re-shape. You will see when you heat the piece, it goes kind of floppy and softer and can then be shaped. I found it easier to do a couple of petals at a time.
When finished I added glue and seal to the edges and then dipped in glitter.
Now to put the whole thing together...and just a quick note the vase pieces have been designed so cleverly that they come in two pieces and allow you to tuck all your flowers stems and anything else inside, clever.
I added a banner and stamped sentiment (also covered in paper ) and there you have it.
Hope you like it and are inspired to have a play with Art Parts too! You can adapt them to suit whatever colours you love. And The Funkie Junkie Boutique has a great range of Wendy Vecchi products, including Art Parts, all at discounted prices. You can find them HERE.
Have a fun and inky day!
Trace x


