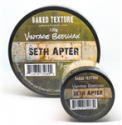
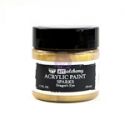
When I first saw the Vintage Beeswax I knew I had to try it out and play with it. Classic bees wax gives a lovely layer of texture with a cloudy effect. With the Baked Texture you get the glaze without the cloudy effect.
I love making fall leaves and this beeswax allowed me to make them shine even brighter. A few steps to get my leaves ready to shine.
1. Die cut leaves from mixed media paper, old music sheets, white cardstock.
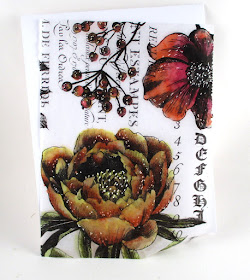
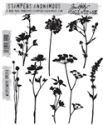
2. Stamp wildflowers using Versamark on some of the leaves.
3. Heat emboss using clear embossing powder.
4. Stamp text and script on variety of leaves using brown archival ink.
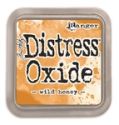
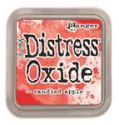
5. Smear Distress Oxide Inks over surface of craft mat. (I used reds, oranges, and yellows)
6. Spritz with water.
7. Drag and dab leaves into inky mat.
8. Let dry.
9. Cover leaves with versamark.
10. Sprinkle Bees Wax over surface and shake off excess.
11. Heat embossing powder. (use a box or other enclosed space to keep cleanup to a minimum)
12. Repeat.
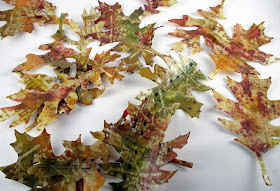
This produced a beautiful selection of leaves:
The bees wax adds a lovely shine along with bringing out the richness of the colors. I added gold edges to my leaves to go with my card.
To help highlight what the difference the beeswax made I created an inked background with half covered in bees wax and the other the original inky background:
The vintage bees wax adds a lovely vintage tone to the background along with pulling forward the richness of the distress ink.
The bees wax is so thick that with two coats you can get the cracked glass effect:
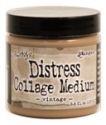
After I created my leaves I wondered what it would look like if I used the Tim Holtz Distress Collage Medium (Vintage) so I used the glaze to try a few different ideas.
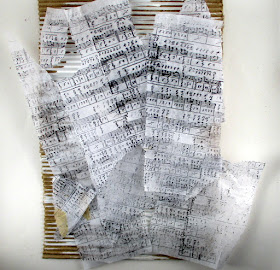
First I took a sheet of cardstock with the same distress inks and applied vintage collage medium on the right side. It added a nice muted vintage tone to the background.
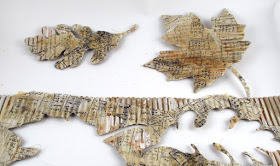
Then I decided to use it to layer on some stamped tissue paper over a painted corrugated cardboard.
I die cut some leaves from the background after it was dry.
My next thought was to combine the two effects into one project.
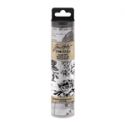
I started by coloring a piece of Tim Holtz Collage paper with alcohol markers.
Then I took that sheet and mixed the collage medium in the bottom right and top left corners and Vintage Bees Wax in the other two corners.
The finished card with just a few simple embellishments leaving the beautiful collage paper with it's finishes as the focal point.
Go check out the fabulous deals that are happening this weekend at The Funkie Junkie Boutique!
Suzz
Products:













LOVE this faux encaustic look Suzz!!!! Thank you for sharing how you made those gorgeous fall leaves and the clever idea for altering the Collage Paper with the same technique. I definitely want to give this a go!
ReplyDeleteWow these a fab techniques, thanks so much for sharing xx
ReplyDeleteWOWZERS! Gorgeous leaves!
ReplyDeleteLoved reading the post and what amazing inspiration., Thank you for teh step by steps and the tips along the way. Glorious leaves and loved seeing the differences with your experimenting.....Thank you x.
ReplyDeleteSuzz this is such a brilliant post! I love all the many ways you thought of for using Vintage Beeswax Baked Texture. Your leaves remind me of old enameled pins that the ladies in my church wore on Sunday when I was little. So elegant, such a wonderful vintage finish. Thank you so much for the great idea and the marvelous tutorial!
ReplyDeleteSuzz, what a brilliant idea and fabulous outcomes of your experimentation with the Baked Texture and Vintage collage medium. Your leaves are stunning and the Vintage Beeswax on the beautifully colored collage paper really brings out the beauty! Loved your tutorial! Hugs!
ReplyDeleteSpectacular idea and beautiful designs Suzz! The leaves look like jewelry! Love love!
ReplyDeleteThis is fabulous and the end result is stunning. I want to try this but every time I try to order the embossing powder, it is out of stock - see Cec's sad face.
ReplyDeleteWhat a fantastic showcase of Seth Apter's baked texture techniques! Your blog post truly captures the essence of his creative process and the stunning results he achieves on his mixed media projects.
ReplyDeletehttps://www.frugalishness.com/best-t-shirts-for-men/