Spurred on by those hearts I set about recreating this type of look with some standard craft products and a small empty coffee tin (I'm a little short on gold and diamonds at the moment!)
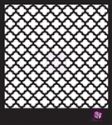
Using the existing raised stencilled area as a guide I used the stencil as a pattern, 'drawing' around the inside edges of each shape with a small embossing tool. This created an indented pattern over the rest of the flat surface.
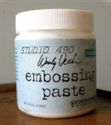
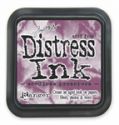
Next I covered the surface with a coat of clear embossing powder, heating it to create a glossy look.
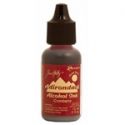
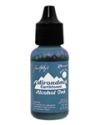
The glossy surface was covered in Alcohol Ink; I used a blending tool to work the ink over the flat parts and a brush to get it into the crevices. At this point it looks dull. However, when heated very gently the ink sinks into the embossed surface and it becomes glossy again. If you find some areas become patchy add more ink and reheat very gently. Suddenly all that embossing becomes visible underneath the 'enamelling'.
I added some gilding wax to the raised areas and the edges of the can. Do this with your finger, a brush or even a cotton bud, whichever you prefer. Allow the wax to dry and buff with a dry cloth to bring out the shine.
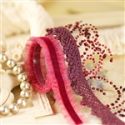
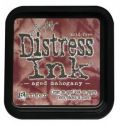
To embellish the tin I added a Prima jewelled strip at the top and some Venise lace, inked to match, at the bottom. And with that it was ready for use.
The embossing worked well on the lid (it is much easier on a flat surface!!)
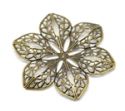
It's easy to add that touch of luxury without breaking the bank; filigree metals, pearls and lace make any project look better.
So, are you ready to have a go at creating your own piece of bespoke Fabergé? If you pop some of your own handmade flowers on you could even enter our current challenge HERE.
Have a great weekend,
Jenny xxx









Wow what an amazing technique and stunning outcomes. Just brilliant Jenny. Xx
ReplyDeleteDefinitely very glamorous - what a cool technique!
ReplyDeleteAlison x
Wow, wow and wow again! This is such an uber cool project - I adore the colors and the texture, especially the gold wax at the bottom. This is really taking crafting to the next level! Awesome job, Jenny!
ReplyDeleteHugs,
Linda
Wow Jenny! This really is a project and then some! Gorgeous rich colours and a great technique! Chrisx
ReplyDeleteWhat a fabulous project! I love the Faberge eggs and you've really captured the feel of those works of art. Thanks for the tutorial. I need some tool holders, so I'll be looking to this post for technique!! Beautiful!
ReplyDeleteGorgeous in every way! Anne x
ReplyDeleteThis is fabulous Jenny!! I am floored. Thanks so much for the step X step. Your tutorial gives me all sorts of ideas. I love the texture and the gem-like quality that the clear embossing gives the entire project. Stunning colors and overall concept. Love both projects! -- Mary Elizabeth
ReplyDeleteA great and very different effect x hugs trace x
ReplyDeleteWow and more wow!
ReplyDeleteJenny, I don't even know what to say except, WOW! You took an ordinary object and made it totally glamorous! I love that you happened upon the technique while doing something entirely different. We need to name it after you, like how mathematicians name theories and equations after themselves:-)) you are amazing!!
ReplyDeleteHugs,
Nancy
Brilliant, absolutely brilliant love everything you have done, clever lady!!
ReplyDeletePatricia xxx
You are immensely creative and inventive Jenny! These look stunning and the bejeweled tones are perfect! Wow again! Nicola x
ReplyDeleteWow! What a fabulous technique with gorgeous results!
ReplyDeleteSuper take on Fabargé Jenny! and a fabulous tutorial! Really stunning results!! ((hugs)) Rebecca
ReplyDeleteFabulous project Jenny, it will definitely add a touch of luxury to your craft room! Sue C x
ReplyDeleteFabulous Jenny! Very regal, love the technique thanks for sharing x
ReplyDeleteJenny, this altered storage container is pure gorgeousness! So rich and regal! Thank you for sharing! Hugs!
ReplyDelete