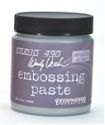
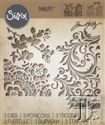
I started playing with Silver first. I wondered what would happen if I used the embossing paste with a die. It was a little messy but I loved the effect I ended up with.
I started with laying the stencils on my cardstock. I then used the spatula to smear the silver embossing paste over the dies and coating the background.
I pulled off one to show you what it looked like in process. It doesn't leave a clean impression. I also had put my stencils face down. I tried it both ways and you get a cleaner effect if you put it on the paper with the ridges to cut the die face up.
I was able to take the remaining paste on the backside of the butterfly and imprint a second scrap cardstock which I set aside for future use. These are the butterfly dies I used in my card.
Next up I wanted to try creating a faux embossed metal effect.
I started with a foil background and used a stencil to apply a layer of silver embossing paste.
That leaves me with another lovely scrap to use in the future. Onto the gold!
For this I just have a few different scraps I created previously during projects. Here is the lovely gold paste on kraft using a stencil. I only partially covered the stencil which causes a lovely fade away of the texture.
The gold paste really pops on dark cardstock and to add a little wow I sprinkled it with gold glitter before it dried and it shimmers beautifully.
And finally I used a stencil and gold paste on canvas and after it dried I sprayed the canvas with pink mist.
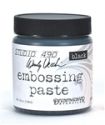
Black paste can create a great graphic effect over any surface. This was a card I made where I wanted to make a statement over a colorful background and the black paste with a few stencils helped make a lovely bold effect.
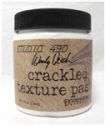
Crackle. Snap. Pop. The crackle paste adds a whole new layer of texture and interest to any project. I created Fairy Tree Houses quite awhile ago and loved how the crackle paste looks like tree bark on a few paper towel rolls.
If you use it in a stencil you can get a beautiful effect which can be further highlighted with mists to show off the depths of the cracks.
For the white paste I wanted to share a way to use embossing folders/stamps with the embossing paste with a minimum of mess.
I start with a sheet of tissue paper. You could use Tim's printed tissue paper or just a plain piece of tissue paper which you spray with colors. That is the approach I took. I sprayed a mix of colors on my tissue paper and let it dry.
Next take a piece of heavy duty cardstock, canvas, chipboard and smear a nice thick layer of white or translucent embossing paste. I like leaving it uneven in the amount I coat as it adds to the texture.
You will get a wrinkled texture which adds more texture so don't worry about it not laying flat on the embossing paste. Next up you can ink up your stamp or leave it bare same with an embossing folder you decide how your texture will appear. I inked up the stamp with a coordinating blue ink.
Stamp into the wet paste under the tissue paper. Press down firmly to make sure the stamp leaves an imprint in the embossing paste. Sometimes it tears the tissue paper but don't worry it will just dry with more texture showing through.
When you lift the stamp you will see the ink imprinted and the stamp imprinted in the embossing paste. Repeat as desired.
After this dried I cut it down and painted over with white paint to highlight the stamped and impressed image.
Thanks for sticking with me on this long post of embossing pastes. Hopefully you are inspired to get out your mediums and pastes and try something new!
Suzz
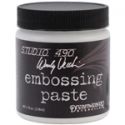
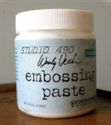
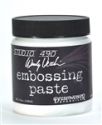
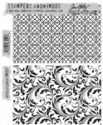
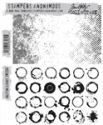
Products:











So many wonderful tips, techniques and clever ideas here Suzz!!! Thank you for sharing xx
ReplyDeletethis is great! so many fun ideas & plenty of inspiration! thanks for the awesome tutorial.
ReplyDeleteWow Suzz, this is just fantastic! So many wonderful techniques, I am bookmarking this one for sure! hugs :)
ReplyDeleteFantastic tips and techniques Suzz, loved reading this post. Tracy x
ReplyDeleteWonderful inspiration showing so many techniques and different ways to use the products. This is definitely becoming a go-to post.
ReplyDeleteHugs!
Cec
I have never tried those first two techniques - but I will have a go now, your tutorial is so fascinating! x
ReplyDeleteThis was a great tutorial! I would never ever think of using my dies in the clever way you did here. I'm rather new to the world of gels and mediums, and I found myself wishing I could pop over and be a butterfly on the wall watching you work your magic. I'm off to shop! Hugs!
ReplyDeleteI have pinned every one of these! Thank you for the mini tutorial and samples, they are all gorgeous and so very different from each other Karen x
ReplyDeleteSo inspirational and so informative x Gorgeous projects and so very helpful...Thank you x
ReplyDeleteMany magic tips, great inspiration, thank you!
ReplyDeleteAwesome techniques Suzz! I LOVE LOVE LOVE the silver embossing paste on foil technique best! Heating it up makes it so grungy and industrial looking. I will definitely try that out. :)
ReplyDelete