I had seen some really fun projects using the rosettes which inspired me to play around with the dies and create a few projects to share.
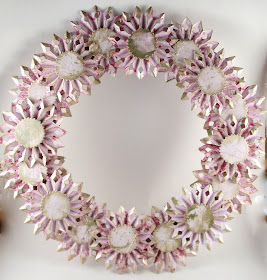
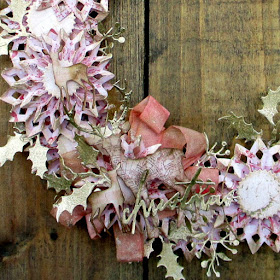
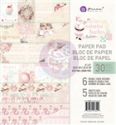
My first thought was a wreath and I had the very pretty Santa Baby Paper from Prima Marketing to work with as my paper.
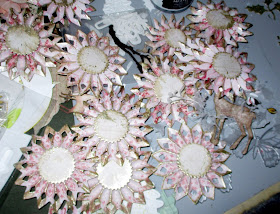
2. Assemble the rosettes with hot glue. (I have done this before using double sided tape and they end up popping open after a while. Now I only hot glue them.)
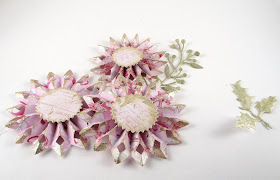
3.To create a smaller version of the rosette: Cut another strip using the same style rosette. Trim 1/4" off the flat edge on the long side of the rosette. Die Cut 2 smaller center pieces. Assemble the additional smaller rosettes. (I created about 5 mini ones as I wasn't sure how I was going to use them).
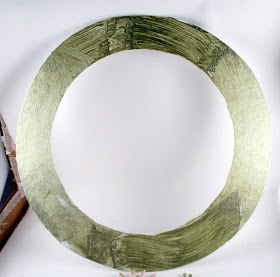
4. Trace the size wreath you want onto a piece of cardboard. (I used a midsized bowl and turned it upside down and traced the outside of the wreath. I then looked for another bowl to trace the inside of the wreath. )
5. Sponge Gold paint around the edges of the rosette and the centers.
6. Cut out the wreath base. Paint to background color.
8. Repeat until the wreath has a bottom layer attached.
9. Attach the top layer of the rosettes by applying glue to the outer edges of the rosette.
10. Die cut a series of leaves and berries from white cardstock.
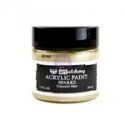
11. Apply gold shimmery paint.
12. Insert sprigs, leaves and berries randomly around the edges.
14. Accent with gold paint.
15. Attach mini rosettes and layer with deer, sentiment and ribbon.
After I had finished the pretty seasonal wreath I decided to try something with a layered bigger rosette and the regular rosette for Halloween!
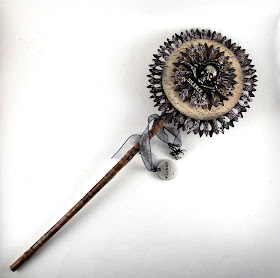
I created my own version of a witches wand. Here are the steps to create a slightly larger rosette.
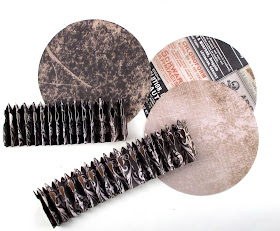
1. Cut out two strips in coordinating pattern paper and two circles the size that you want the center to be. (I cut mine 3" in diameter.)
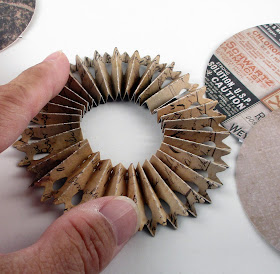
2. Connect the two strips together on each end with hot glue.
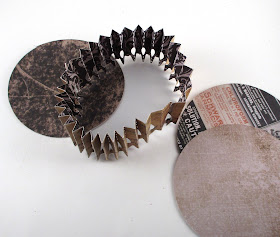
I wanted to show what it looked like when you press it flat because the size and how much edge that frames your circle is really up to you. I left a center that allowed a smaller edge.
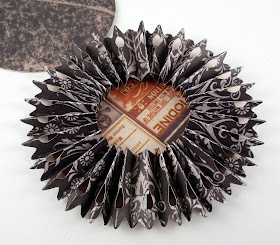
3. Attach your center to your framed edges. I put the hot glue onto the circle and set my rosette onto it.
4. When you add the second circle you will end up with a larger rosette looking like this:
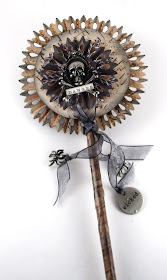
5. The lovely thing about this rosette is that a chopstick (wooden) that I had acquired fit perfectly in between the folds and I hot glued it into place for my wand.
6. The next step was easy as I just created two regular size rosettes in a different color to attach to the center of my larger rosette.
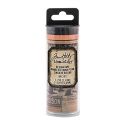
7. The chopstick was covered in designer tape and a few lovely little accents were added to spooky up the effect.
8. The edges of the larger rosette were sponged with black dye ink.
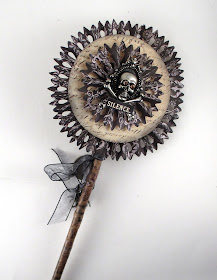
And the reverse side had a very similar look so either side being viewed would contain a fun effect. I can envision have a mason jar full of these in varying heights, colors and patterns.
I hope this has inspired you to think about your rosettes for some of the holidays coming up or just as a lovely embellishment on a card.
Suzz
Products:















LOVE this to bits Suzz!!!! It looks super intricate but your clear instructions are so easy to follow - I NEED that die set now!!!
ReplyDeleteFabulous use of the rosette die!! I really love the finished wreath.
ReplyDeleteThis is so clever! I love the Christmas wreath design. But that wand/lollipop is so darn cute! Thanks for the great tutorial!
ReplyDeleteLove your Christmas rosette wreath - so festive and welcoming.
ReplyDeleteAwesome wreath and wand!
ReplyDeleteWhat a beautiful Christmas wreath!!! I love the soft pink and the gold together!!! The Halloween wand is fantastic too!!!
ReplyDeleteLove these rosettes and your beautiful wreath! I bet it looks stunning in person.
ReplyDeleteThese examples are so beautifully done. The wreath is so beautiful. And then how fun is the wand!!
ReplyDelete