Hi Suzz here. I am highlighting the beautiful Tim Holtz Distress Mica Stain Sprays from Ranger this season.
I decided to create a series of envelopes to hold gift cards as they are a popular gift for me and my hubby to give out over the holidays!
Here are a mix of the envelopes I created with the beautiful seasonal Ranger Seasonal Mica Stain Sprays and Stampers Anonymous stencils.
I used a variety of mini layering stencils to create the beautiful patterns on the gift card holders both on the front and back.
I made my own template by starting with a gift card and measuring around it. Here is my template and measurements.
The full measurement is 5 1/4" x 3 3/4". After you cut this you will score along the one side 1/4" and do the same along the bottom. After that you can put your crease in the middle by starting from the side with no score and measuring in 2 1/2" and score.
I then cut out the corner piece along the left side and along the bottom on the right side. This is to allow you to fold the pieces inwards and put tape along them to close the holder and have a pocket to hold the gift card.
I also died ribbon to match my envelopes and tied them around my gift card to give them fancy toppers and to pull the card in and out of the envelope. (With that addition it doesn't even require the bottom to be taped closed. :)
I then took a hold punch and cut out the circles on the top. If you don't have a punch big enough you can use circle dies and position them to cut half a circle.
Next up was to come up with some bits and bobs to use for embellishments. Does this look familiar to anyone? I hope other people's crafty space looks like this while they are creating. :)
I die cut, sprayed and stamped a few different images and pieces of cardstock in different color palettes to coordinate.
Then it was a matter of assembling a design.
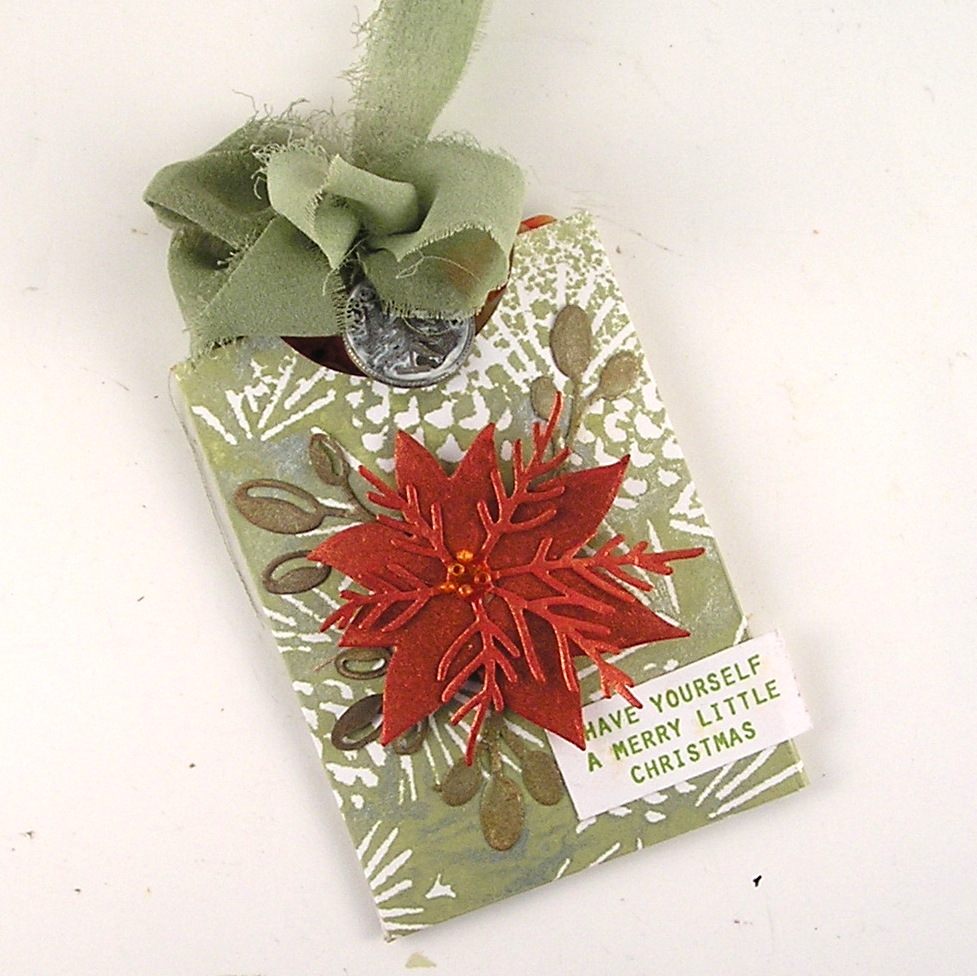
On this holder I used a layered poinsettia and some of the sweet stamped sentiments. The topper included the died ribbon and a holiday token.
When pulled out you can see how the ribbon was tied around the gift card to make it easy to pull in and out.
The background on this envelope was the reverse image of the stencil. I first used the stencil to spray the pattern on a piece of white cardstock. I carefully slide the cardstock out from under the stencil. I then laid another piece of cardstock onto the inky stencil and pressed down to pick up the excess ink. I ended up with a beautiful reverse image on the paper. I cut it up to create the holder shown above.
The next envelope had me thinking Holiday sweater. For this one the background is opaque crackle distress paste. After it dried it was sprayed with the pretty tart cranberry mica stain spray.
I stamped the fun puppy image and gave him a sweet twine bow and bell and tag! I color coordinated the ribbon with a silver bell.
Then I wanted a holiday plaid and used the cocktail party mica stain with the plaid stencil. I decided to pair the Shiny bauble colors with the pretty pink.
The Santa image was stamped with the archival ink and surrounded with the cool Tim Holtz ideology tinsel.
Next up continuing with the same color scheme I reversed the background and accent colors.
I stamped the images and sentiment with a pretty pink raspberry ink and added a star to the mix. The background was a mini stencil with the mica stain spray spritzed over it.
I hope this has you inspired to make a few gift card holders and get out the fabulous mica stain sprays. The shimmer is fabulous!
Suzz
Products: