
Hello I’m Janna and welcome to this week Saturday Showcase here at the Funkie Junkie Inspiration Ave. This week we are breaking the Saturday Showcase into two parts. For the showcase we are going to explore the benefits of backgrounds and pairing main focal points with small embellishments to make large batches of cards.
1: Scenes in backgrounds
Tutorial: click here.
2: Twig and Stump
Tutorial: click here.

1: Scenes in backgrounds
Tutorial: click here.
In part one we will be create four wintery scenes that Twig and Stump could hang out in. When creating large batches of cards just changing the setting of your main focal point can change the whole feel of a card. So today we are creating different scenes to place Twig and Stump in.

For our first background we are going to spread some deco foil tape over a piece of Distress white heavy cardstock. From that we will then die cut Arctic.

For adding deco foil to a substrate I’d like to peel off half the sheet first to line things up and then apply the rest of the way.

After die cutting with Arctic I like to use the Die Pick to help me get rid of all of the little bits and pieces
that I won’t be using.

Next I am stacking Arctic on top of another piece of distress heavy white card stock. The deco foil layer I am adhering to the white layer with some mini foam square tapes. Then this layer is going to be attached to a base of worn wallpaper.

For our next background we are going to be creating with metallic craft stalk and Sizzix‘s Pine Pattern. A small note about Pine Pattern. Pine Pattern is not a cutting die. It is an embellishment tool.

When adding Pine Pattern to your substrate it’s important to use only two of the large pieces at a time. I then embossed these Pine patterns on my Vagabond using a traditional Thinlit sliced sandwich for die cutting.

Below are the finished pine patterns.

Next I’m going to try to add some snowy texture with the Distress brayer and a couple dots of picket fence Distress paint.

This did not go exactly as planned and white out the entire card. But not a problem. I have a technique in mind that should give us a speckley snowy look.

While the paint was still wet I added some water droplets over the top of it. Then using a heat tool, I dried off the rest of the paint with the Ranger heat tool. This is a step borrowed from the TH eroded metal technique. Then I blotted off the water with a dry paper towel.

Next I added a washi and label tape boarder to the card.

For our third background we will be creating with Funky Nordic. Here I am starting with a 5.25in x5.5in piece of paper cut from an Idea-ology backdrop. The I spritzed it with water and a dash of snow flurries distress mica spray stain.


Now it is time to assemble our wintery Nordic background. I started with the mountains first, then added the scalloped trim, and then the barn.

Next I die cut the park, border, and some trees from the Funky Nordic die set and colored them with Distress reinkers. For colors I used: Pine Needles, Prize Ribbon, Barn Door, Lumberjack Plaid, Fossilized Amber, and Pumice Stone. For painting I used the Tim Holtz Ranger fine tip Detailer Water Brush. For my substrate I used some of the distressed white heavy stock with some double-sided tape on the back.


I then placed the little pine trees. For the last step on this card I then added a black-and-white plaid border around the edges using some Idea-ology linen tape.


For our fourth background I wanted to do a little bit of stamping and masking. For this I have pulled in the moon mask along with last year’s Stamptember stamp set.

To start I lay down the moon mask and used the mini in blender to add some Uncharted Mariner ink around the moon.

Next I added a few water splatters and dried those with the Ranger heat tool.

Now I’m going to be pulling in some of the distress pearlescent crayons and using Snow Flurries to add a touch of shine to the moon. I scribbled some Snow Flurries off to the side on my media mat and then use my finger to smudge the colour in on the moon stencil.

Now we are going to start with a Distress Archival black soot and the Tree Line stamp.

Next time overlapping my first stamped image with a second stamp of the tree line.


Here are our four completed card scenes.

2: Twig and Stump
Tutorial: click here.

Now it is time to create our characters Twig and Stump. But first I need to create a snowy plate for them to rest on. To do this I am pulling in an ETC. Scalloped Edge and covering it with a piece from the die that border trim. I am using distressed white heavy stock that has double-sided tape on the back so it’s very easy to place over the brown scalloped border.
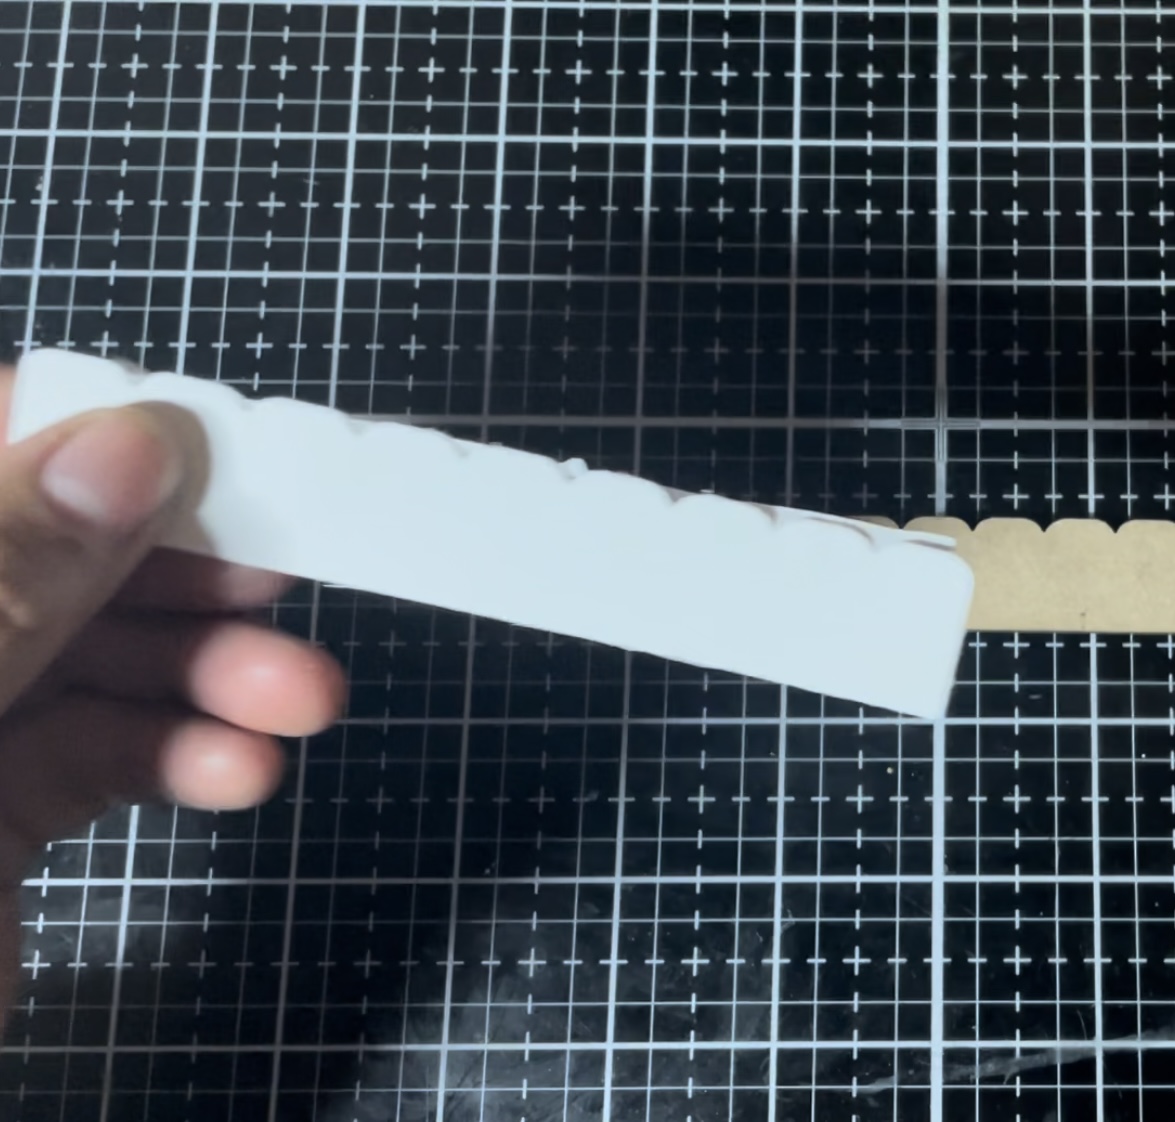
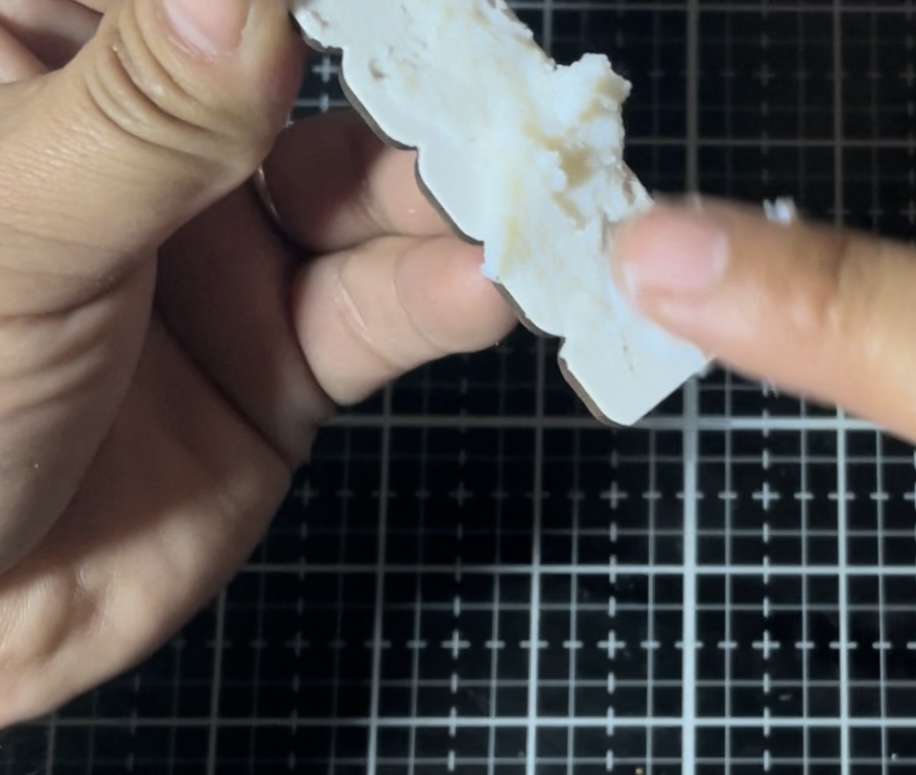


And down below here we have Twig and Stump looking all cosy in their hats and scarves.

Next are going to be creating a few embellishments and sentiments for our snowman friends. For the first sentiment I am going to be die cutting with Bold Text Christmas.

Pulling from the Idea-ology pocket cards that I die cut winter wishes from this fantastic candy cane striped background.


I also die cut the tree from the Twig and Stump die set too. I then embellished the tree with some of the Christmas Idea-ology droplets. These I applied with little dots of collage medium.

For our next sentiment I am going to be altering some distress Ranger woodgrain paper. Here I have spritzed the wood green paper with some brushed corduroy and water. Then I dried the paper with the Ranger heat tool.

To add some more texture in depth to our woodgrain I also smudged some distress Walnut Stain crayon over the top.

Here I have die cut the sign that was also from the die set Twig and Stump.

Now put altogether our snowman friends are resting on their own base so that I can show you how they look in their different winter settings.

Below I am dropping Twig and Stump into four different backgrounds to show you how a background can be a scene change for your main focal points or in this case our two snowman friends.

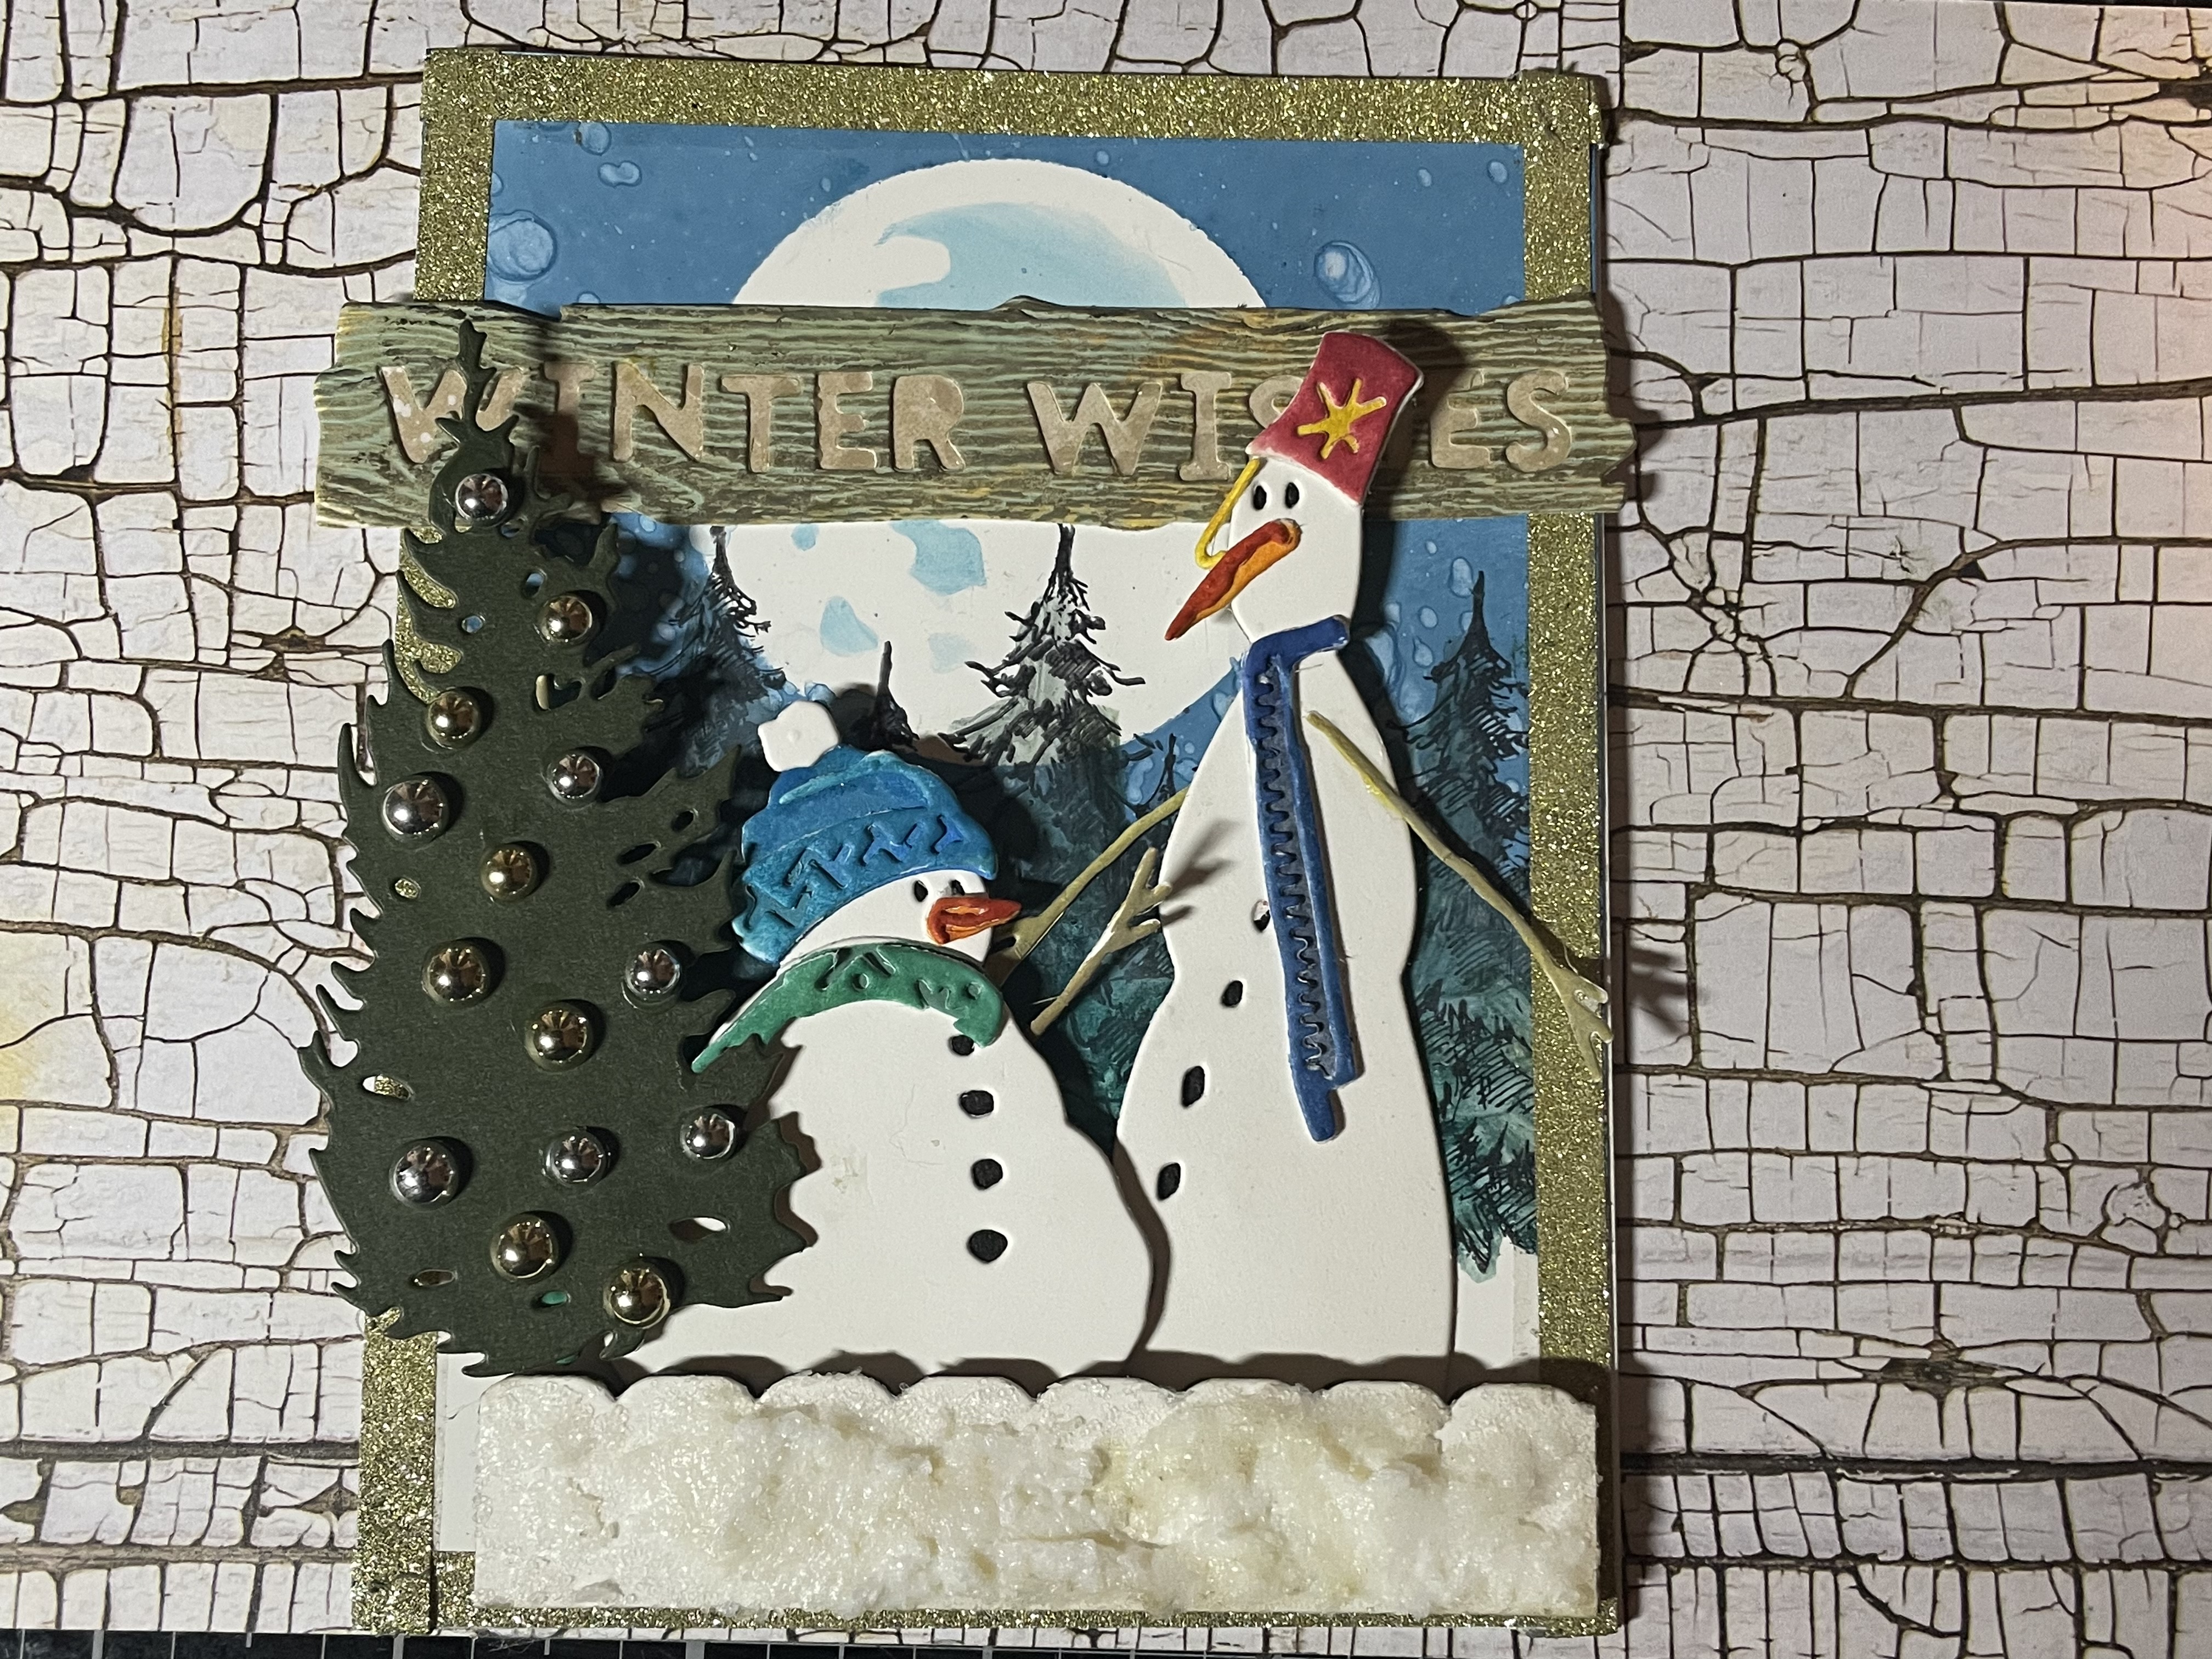


Thank you so much for joining me here today at the Funkie Junkie Inspiration Ave for this week Saturday showcase.
Until next time happy crafting!
~Janna ❤️🎨💚
Twig and Stump
Funky Nordic
Bold Text Christmas
Distress oxide reinker brush corduroy
Distress reinker carved pumpkin
Distress reinker crackling campfire
Distress reinker Pine-needles
Distress reinker lucky clover
Distress reinker salty ocean
Distress reinker mermaid lagoon
Distress reinker prize ribbon
Distress reinker chipped sapphire
Distress reinker Barn Door
Distress reinker Lumberjack Plaid
Distress Texture Paste Snowfall
Ranger fine detailer water brush
Ranger woodgrain paper
Pallet Knife
Idea-ology Christmas metallic droplets
Idea-ology Christmas pocket cards
Collage Medium


