
Hello and welcome! This week at TFJB Inspiration Ave we are creating to the theme of “Home for the Holidays”. I was inspired by some childhood memories of making gingerbread houses and wanted to create a vintage style one with the Sizzix village collection die set.
If you would like to see more in-depth details click video link here.


To start our gingerbread project I am first creasing all of the tabs on the house. I like to use the edge of something solid to help with making the crease. I have also found the Idea-ology remnant rub tool to be useful when folding and creasing.

Next we will assemble the basic structure of the house. For glue I am using hot glue. There are definitely other glues that could be used, but I like how quickly the hot glue sets up and gives me a quick solid foundation to work on.


While we wait for the grit paste to dry we can assemble the base. The base is a set of four tabs that tuck into the sides to form a small platform. Again I have used hot glue to hold everything together. Next I painted the base white with some picket fence distress paint.

After the paint dried I then added a layer of distress snowfall girt paste. This will give our base an icy cold look.

While waiting for the base to dry I painted the outside of the house with some Gathered Twigs distress paint. You could also substitute Vintage Photo distress paint for a similar look.

When the layer of paint was dry I then went over the exterior of the house with some Walnut Stain distress crayon to add some depth to the gingerbread exterior.. After dragging the crayon over the textured surface I then smudged the crayon with my finger.

With the exterior completely colored I then added some acetate to the windows on the inside of the house. I cut down the plastic and outlined it with glue before sticking it to the inside of the building.

Next I added the window frames and some detail to the door. I added a generous amount of collage medium and then stuck down the window and door frames.

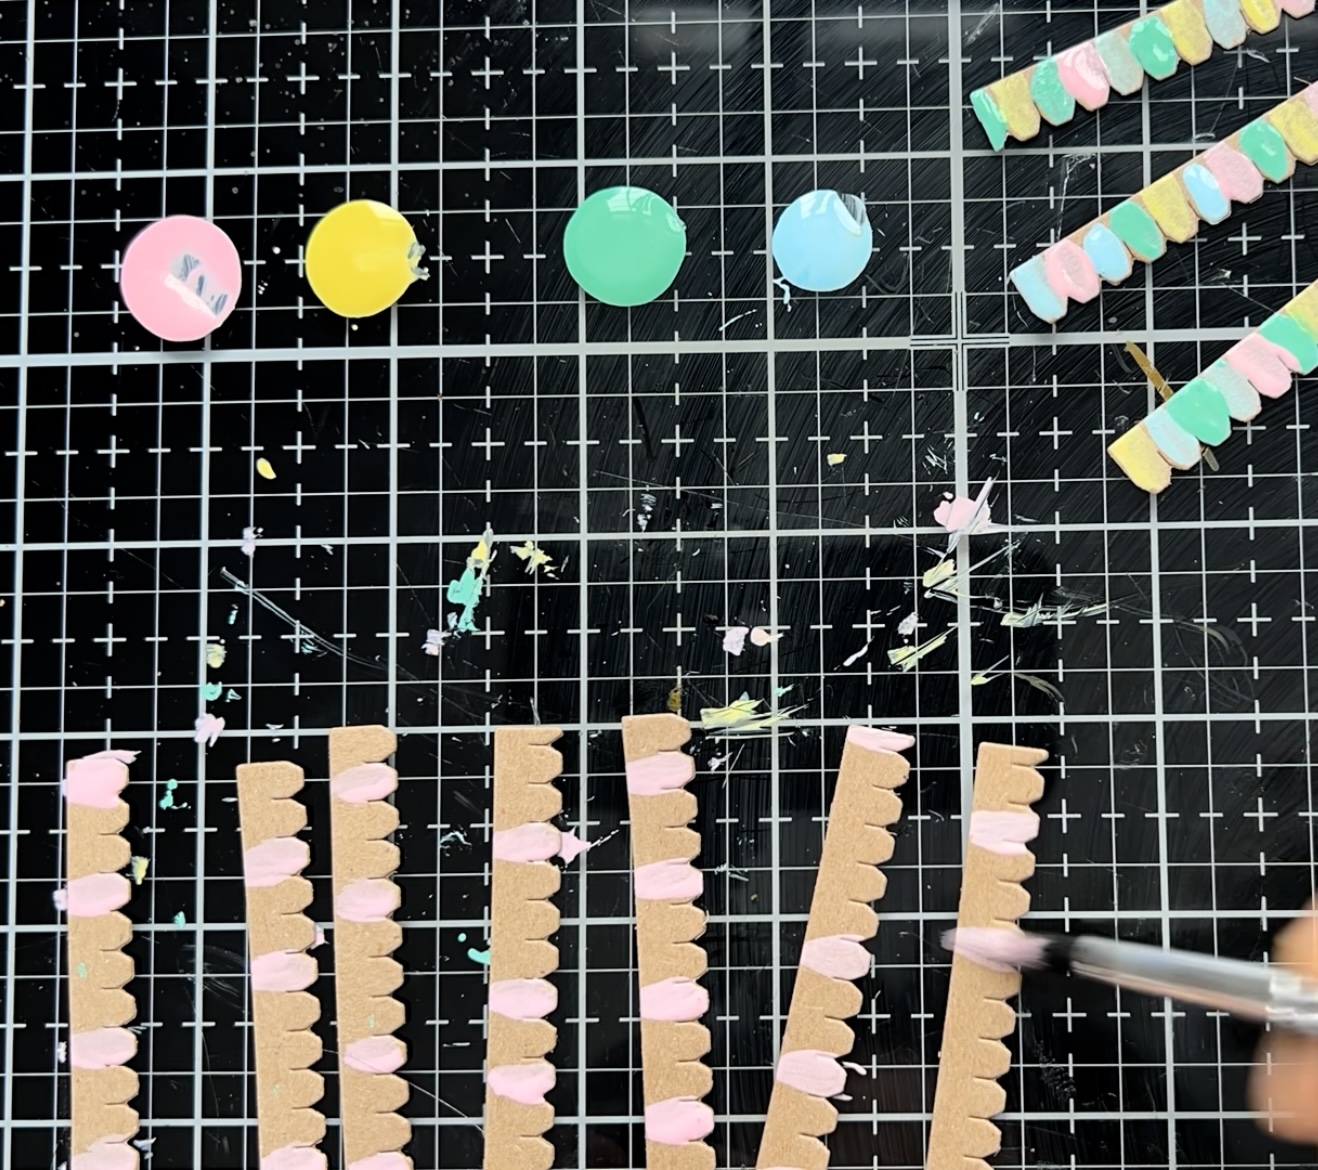
Now onto one of my favourite parts of the project. Here I am painting the roof shingles with distress paints in pastel colors. The paints I used include: Kitsch Flamingo, Squeezed Lemonade, Cracked Pistachio and Tumbled Glass. If Tumbled Glass is not available then Speckled Egg makes a great substitute. I randomly painted each individual shingle with a different color to get a candy colored look to the roof pieces.
Once the painting was complete I used some hot glue to attache them to the roof. These pieces are cut at a slight off set from one another and I alternated pieces to get a staggered look on the roof by overlapping each piece. It took seven pieces per side of the roof.

To get more of a candied look I painted the roof with Collage Medium and then sprinkled Distress Glitter over the top. I absolutely love the shine and sparkle this has added to the roof.

Now onto the decorating portion of the project. To get a frosted look on the gingerbread house I added Opaque Texture paste into a silicone frosting dispenser. I used a pallet knife to scrape the texture paste into the silicone tube before gently tapping it down with the blue plunger. It is possible to find this frosting dispenser on amazon in cake decorating kits.

By applying steady pressure to the silicone barrel and slowly pushing down the plunger I was able to achieve a frosted look on all of the joints of the gingerbread house. I also hot glued the house to the base with some more hot glue. I was then able to use the Texture Paste to conceal the areas where the house was joined to the base.


Below is the completed gingerbread house. Making this definitely brings back lots of wonderful childhood memories for me.

Thank you so much for joining me here today for TFJB Inspiration Ave. Until next time, happy crafting!
Janna~ 💕🎨💕
I can also be found on :
Instagram: dunhamtreasuresofthesea_jannak
YouTube: The Crafty Corner with Janna
Used:
Tim Holtz Distress Grit Paste Opaque
Tim Holtz Distress Opaque Texture Paste
Tim Holtz Distress Holiday Grit Paste - Snowfall
No comments:
Post a Comment