This is Lyla, back at the start with you once again! It's October and pumpkins are appearing in yards, along with ghosts and goblins galore, making giant scenes in yards all over the country. October has a way of doing that to us and some folks spend a lot of time and expense to make these house-sized vignettes. Over at The Funkie Junkie Boutique, Owner Linda Coughlin, is using her time and energy to get orders of Tim Holtz's brand new IdeaOlogy (both Halloween and Christmas) out to everyone and she's asking the Design Team to use some of that yummy new IdeaOlogy to 'Make A Scene'! I'm excited to take the lead on this and just as excited to pop back in every couple of days for the next two weeks, to see what the rest of the Team has! Grab your pumpkin spice latte and pumpkin spice cookies and scroll down to join me at my Scene...
WARNING: LOTS of PHOTOS!
(And nothing was actually harmed during this make. ;)
I didn't use the TH Die Halloween Night, but I've included it in my List of Links.
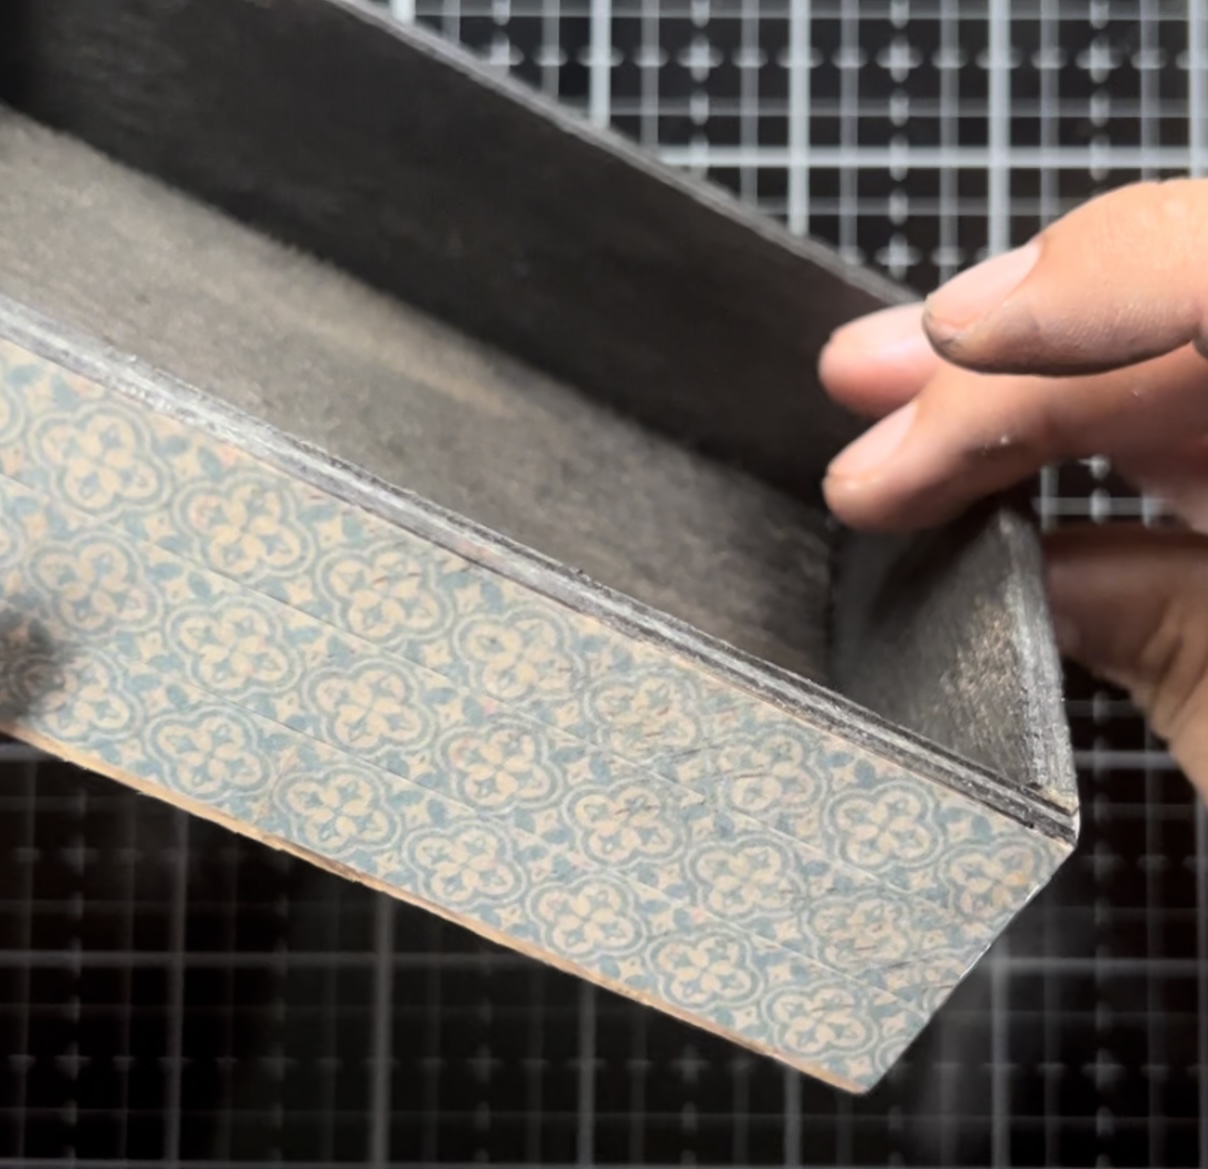
I found this little box during our summer Florida trip. It set me back a whole 25 cents.
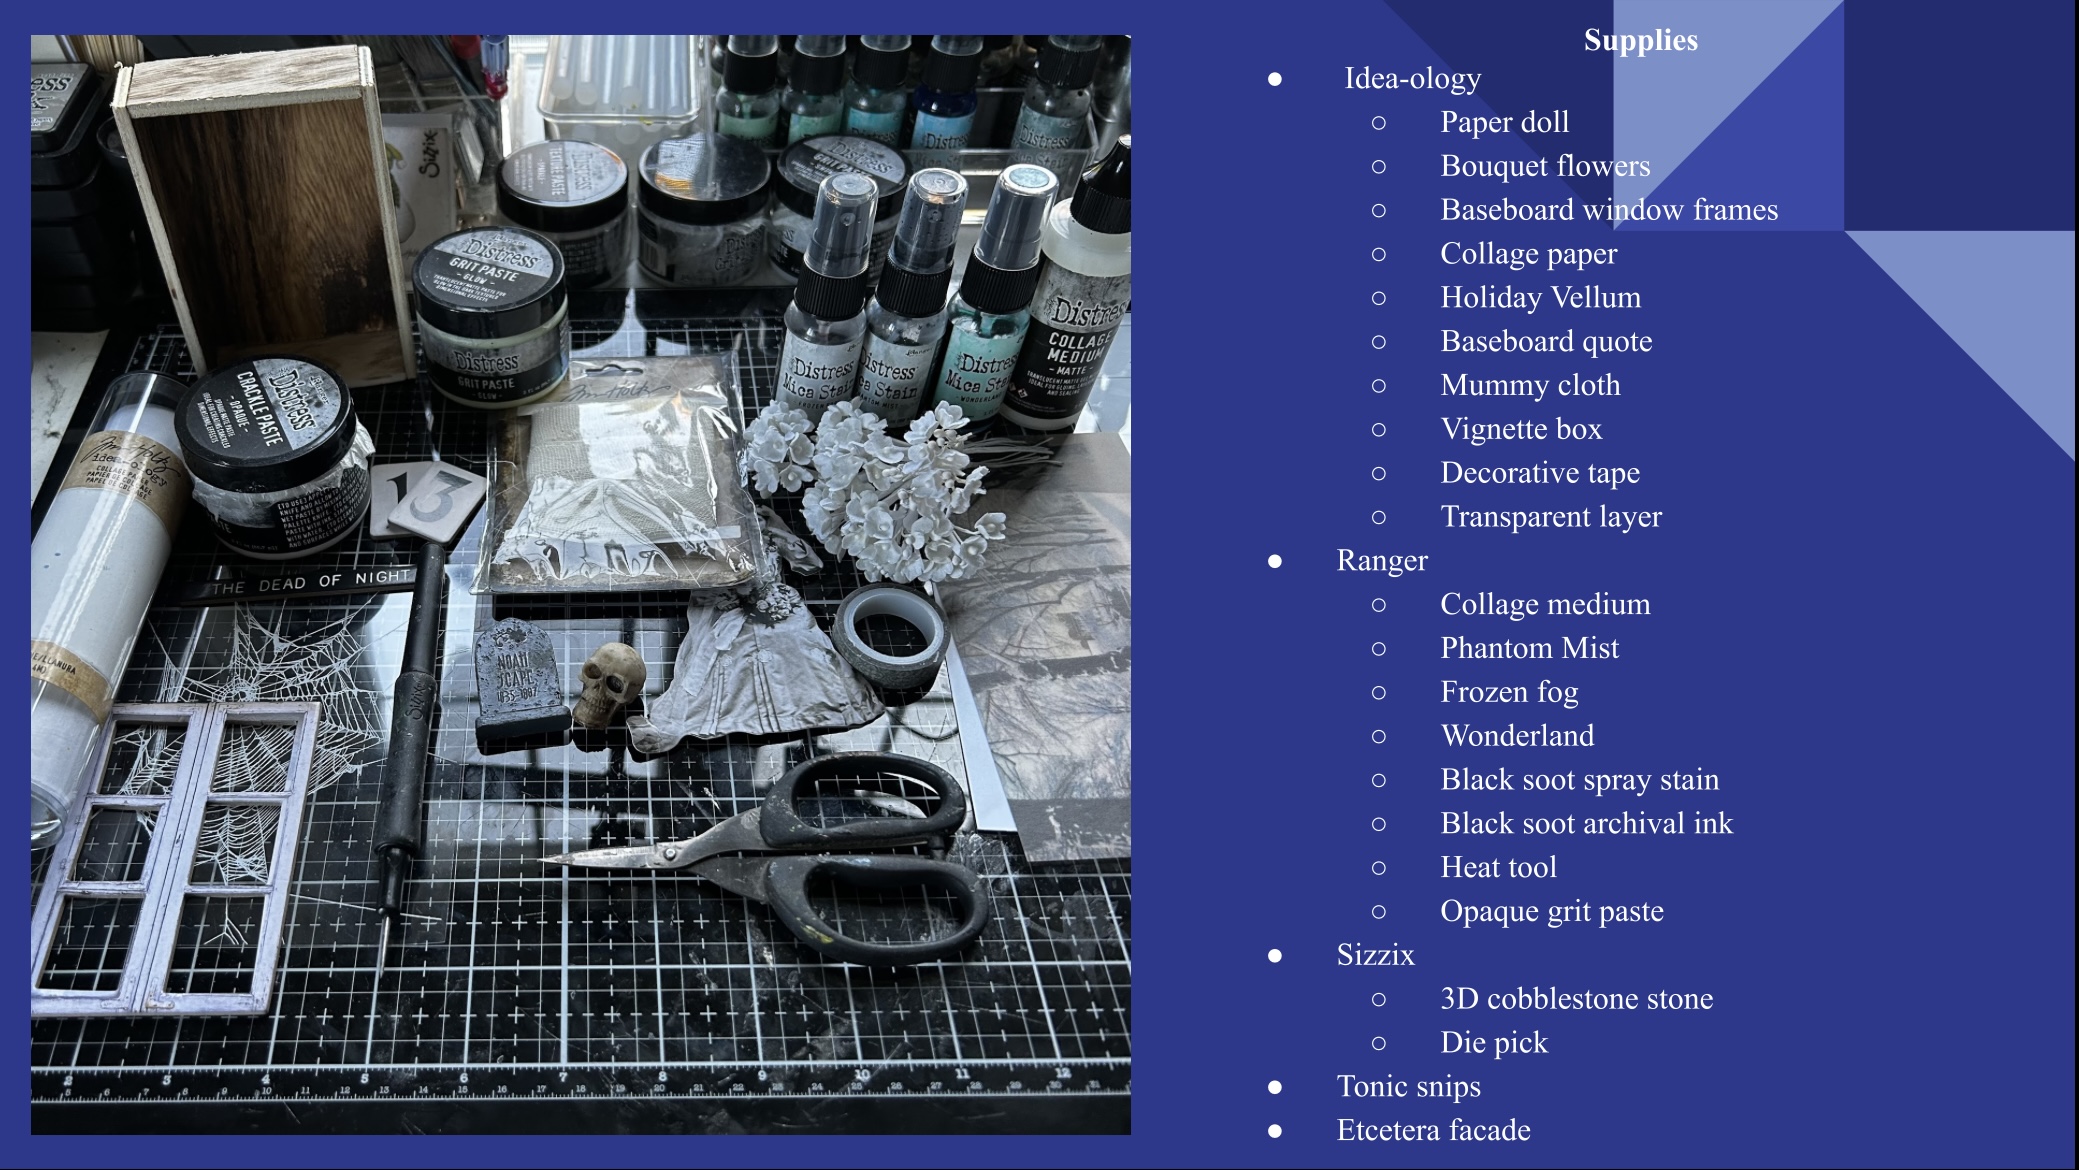
Let's do the Happy Helpful List of LINKS so you can find what I've used here!

The first thing I always do (besides play with the new Idea-ology, lol) is get an idea of what will fit and how it can fit.
I had an older broomstick (left) along with a newer 2023 stick and just couldn't choose which (or witch?) one to use because I'd end up cutting it down to fit. I decided to do as Tim does; just go for it! The new one it is!
Drippy Candles are SO FUN! I decided to try my hand at making a TH Silverware Adornment into a candle holder for the wall. Tim mentions doing this in his Halloween Idea-ology video - it's a clever MAKER's idea!
I used a couple of older TH Ring Fasteners and a bit of chain - both from stash-to make some gruesome arm stretchers. Just rolling some cardboard (and later painting).
I got out my glue gun to touch up the Drippys after attaching them.
The cast iron pot needed some "boiling trouble" TH Baubles.
And just about everything got sanded, Alcohol-Inked, painted, grunged, or trimmed up.
To be "junk" in the attic, it all needed to look old.
After everything was ready for the house inside, I needed to decide how it was going to look on the outside. The all new TH Baseboards and Transparencies was perfect!
To make the doorway, I took it out to the barn and stuck it between the vise. Cutting was easy using the ChiefHubby's electrics. After taking a look at the "attic" space, I decided to add two round windows at the top just for extra light to come through- let the moonlight in!
A coat of TH Distress Paint in Black Soot took care of all the edges that might show, and I gave all the metal pieces some dry brushing of Black Soot, too. The TH Bones and Skull got a bit of Alcohol Ink in Espresso and some finger-grunging with Distress Crayons from Set #2
I used the older Th Halloween Wallpaper- cutting to fit. There are people who measure every tiny piece- twice- then cut exact pieces. Then there are people like me who can cut to fit by eyeballing it and marking with pencil. I'm very blessed in that way- I eyeball just about everything to balance or cut. When I get out the ruler to double check my eyeballing... it's usually spot on. "You do YOU" is what Tim advises and it's great advise!
I wanted to put things in as I went along, when it came time to do the downstairs. This way, I could hang up the arm stretchers, as well as the framed photos.
The cast iron kettle looked a bit naked without some fire lit underneath it, so I used some "cloth tissue paper" and cut a long strip from it. I made a small pom-pom and used the 2 smallest from TH Industrial Gears to make a fire pit ring. The kettle fit on top perfectly!
How to make Dear Old Dad in a smokey "Mirror, Mirror, on the Wall"...cover chosen head with laminate (I use the rolling kind), then cut out chosen head and adhere it to a frame (another older TH IdeaOlogy). Allow it to dry before using a paintbrush to paint over the laminate. Spread the paint towards the outside edges of the frame, allowing bits of it to cover the face. It should be thicker around the edges and thinner as it goes into the middle. Let dry completely before adding to your project.
Now you know who's house this is: Edison's ! I cut the usual Edison out and inked him up with Ground Espresso Distress Oxide. I cut an extra back- reversing the TH Classic Craftstock (stash) as well as a long, thin rectangle of the same. I scored the rectangle so it would fold like a boat with points for the bow and stern. Then I began the light set by putting together the kettle first, then moving to Edison...
.
.. keeping all his lights away from the openings to hide the wiring. I wanted a GLOW from the lights, not for the lights themselves to show.
Then added the backside to Edison and glued the cute little kitty cat in with the broom lastly. You can see the wire going up to the attic for now, but you won't see it later.
This was before the outside was all put on, so you can see the details better.
From here, you can see the wire, but again; you won't see it later!
I decided that Edi would have a LOTTA weird junk stuffed up there.
Now it was time to do the outside... in white stones with Black Soot Ink embossed into the cracks and then lightly brushed onto the top here and there.
The roof was going to be woodsy.
And not wanting to make cracked windows all over, I decided that this would look like an apple cut in half- where it's actually a wall; the cut-out allowing you to see what's hidden from everyone's view.
It's time to Trick or Treat at Edison's House!
The Front
Aww, the cute wittle kitty cat is saying "hello",and George, Edison't pet spider, welcomes you! The wire becomes hidden behind the spider web Transparencies!
The BACK with the cut-out roof.
The lights are on and it's time for Trick or Treaters!
The Santa hat is a nod to "The Nightmare Before Christmas" which both our Daughters love. Ummm.... that's NOT George..... eek! Bats flying around in a TH Laboratoy jar are lighting up the place, and it doesn't look too good for a couple of little skeletons in that specimen jar.
The TH Baseboard and Window Frames pack came in very handy for some light up there!
Dear Old Dad
Edison! He's such a happy Bumpykapunkin!!
Mummy was a bit strange. She liked to poison people.
Here's where someone got away... well, mostly anyway.
I dare ya to try and take any leftover candy during the daylight!
THANKS for joining me on another fun make and tutorial!
And... don't forget to come back here to Inspiration Ave,
so you don't miss the coming attractions
from the rest of my amazingly talented TFJB Design Teammates!
Ya'all fly back soon, ya hear?!
Until next time...
Stay Safe &
HAPPY BLOGGING!!