Friday, March 31, 2023

Simply Neutral

Hi!  Suzz here.   

How about showing off the neutrals!  I love all neutral cards and are drawn to the layers and richness of the hues of one color.  I am showcasing the beautiful new Lost Shadow Distress Ink. 


I started with these sweet bunnies cut out from ephemera that were a lovely shade of gray and then used the layers of the Lost Shadow to add more textures.

The background started with the Dina Wakely Coasters 2 stencil layed on white cardstock.  The distress ink spray Lost Shadow was spritzed over the stencil.  Then another piece of white cardstock picked up the reverse image.  

While the first backgrounds were drying the same stencil was placed on an index card and opaque distress paste was applied over the stencil.  After the stencil was removed then the distress stain spray was spritzed over the embossed background.  

When both backgrounds were dry the leafy branches were stamped with gray ink onto the corners of the background.  Additional watercolor was added on the leaves for shading and then white gel pen added the dots. 

The index card was torn into multiple pieces and applied over the stamped and stenciled background.


Then the sentiment was stamped on a scrap of the spritzed paper to add to the front of the card.  The eggs were coated in a mix of white paint and the distress stain spray.  After they were dried using the heat gun. (They held up well to the heat!)  Another layer of ink was spritzed and pooled on the eggs and another round of heating to dry them up. 

They formed a sweet little hiding spot for the bunnies and were accented with little mulberry flowers.

Happy Hopping!  

Suzz

Products: 

Wednesday, March 29, 2023

Neutral Card Caddy

Hello, Lisa Hoel here. Our current Funkie Junkie theme is "Let's Be Neutral" with a focus on the new Tim Holtz Distress color Lost Shadow. It's another great addition to the Distress color palette!  I had fun playing with a neutral color scheme and created a desk set using Eileen Hull's Card Caddy Die for the structure.

Lisa Hoel for The Funkie Junkie Boutique - Card Caddy Desk Set  #creativejuicefreshsqueezed #eileenhull #mymakingstory #tim_holtz #thefunkiejunkieboutique #sizzix

The box holds envelopes and a couple of little notebooks:

Lisa Hoel for The Funkie Junkie Boutique - Card Caddy Desk Set  #creativejuicefreshsqueezed #eileenhull #mymakingstory #tim_holtz #thefunkiejunkieboutique #sizzix

Let's take a look at some of the how-to details…

First, these are all the neutral Distress colors I used:


Step 1 – I used Lost Shadow, Hickory Smoke and Black Soot Distress paints to color the mat board I used to cut the card caddy base from.


Step 2 – I went to town making all sorts of backgrounds! Using Distress Glaze on paste is always a fun technique. This one was Opaque Crackle Paste with Lost Shadow Glaze on top. Add the powder while the paste is wet, let it dry (and crackle!), then heat emboss. Fun! I added various Distress Sprays after that.


Here are all the different backgrounds I created! 


Step 3 – Making the patchwork front

I cut up the backgrounds into wonky strips.

Then arranged them.


I flipped the pieces over and taped together with washi tape.

Turned it 90 degrees and then cut strips going the other way.

Shuffled the strips and arranged in a pleasing way.

Flipped it over again to tape the new seams.


Once it was all taped up and secure I cut a piece out of it to fit onto the front of the card caddy and also a panel to put on the front of one of the little notebooks.


After that I just had to assemble the card caddy and fill it!

Thanks for stopping by. Keep an eye on the Funkie Junkie Boutique Blog, Inspiration Ave. because you are now getting regular doses of expanded (and inspiring) content each week. Don't miss it…

Supplies used:

Tim Holtz Thinlits Die Set - Bunny Stitch
Eileen Hull Die - Scoreboards Card Caddy
Tim Holtz Stamp Sets - Halftone & Rings, Documented, Mixed Media
Tim Holtz Layering Stencils - CodeGradient DotHarlequinRingerScrewedPatchwork HexDistress Collage Medium Matte
Distress Paint - Lost Shadow, Black Soot, Hickory Smoke, Pumice Stone (discontinued)
Distress Spray Stain - Lost Shadow, Pumice Stone, Black Soot, Antique Linen, Old Paper
Distress Archival Ink - Black Soot, Hickory Smoke
Distress Halloween Mica Spray - Iron Gate
Distress Glaze - Lost ShadowHickory Smoke
Distress Crackle Paste - Opaque
Distress Texture Paste - Opaque
Distress Texture Paste - Translucent
Distress Watercolor Cardstock
Distress Mixed Media Heavystock
Distress Oxide Spray Stain - Lost Shadow


Monday, March 27, 2023

Today's Neutrality (with Lost Shadow)


Teri Wilson - TerisMailbox

Hello friends. It's Teri with TerisMailbox posting for The Funkie Junkie Boutique. The Design Team Challenge was to use neutrals. I am playing with the new Distress ink Color Lost Shadow. What a great grey!


I do have a video here if you prefer to watch the process (https://youtu.be/xk5IhgN0Fe8).


Create the Etcetera Tag Base

Start by trimming Distress Watercolor Cardstock to match the Etcetera Mini Tag.  Use Saltwater Taffy Ink to add layers of color to the tag. I smoosh the ink pad on my craft mat and add water and run my fingers through to break up the color. Dip the tag in and dry between dips until you are happy with the layers.


Rub Lost Shadow ink on the flat side of the Doily Embossing Folder and run through your die cut machine.  Use a blending tool to fill in the bottom portion plus the edges of the tag.

Create the Die Cuts

The new Sizzix Blossom has quickly become one of my favorites! It is a large die measuring more than four inches across. It almost covers the front of an A2 base!

I started by inking Distress Watercolor Cardstock in Lost Shadow and Saltwater Taffy. I was able to achieve darker shades on the top layer by rubbing the ink pad directly onto the watercolor piece, spritzing with water, drying and adding speckles with the Saltwater Taffy Ink Stain. The green piece came from my stash colored with Peeled Paint.


After die cutting all the pieces, use your blending tool to add coordinating ink to the perimeter of the pieces. This just adds to the depth!

The flower center is ink smooshed with Hickory Smoke for the base layer. The top layer is created by rubbing the ink pad directly onto the watercolor paper (rough side). A little water spritz smooths it out.

Use Collage Medium to attach the top Salt Water Taffy layer to the second layer. Foam tape pops those layers up perfectly!

Add the flower center to the middle of the bloom.

Ink smoosh a piece of Watercolor Cardstock using Hickory Smoke Distress Ink. Use the Bold Text 2 Die to cut the letters for Make Today Count.

Assemble the Tag


Use Collage Medium to attach the watercolor base to the Etcetera Tag. Color a long piece of seam binding using Saltwater Taffy Ink. Once dry, create a fluffy bow for the top. Attach to the top of the tag.

Using Collage Medium, attach the bloom to the lower left side of the tag and slide the leaf under the bloom.


Add Collage Medium to the individual letters and glue to the top of the tag. I use my T Ruler to make sure the letters are lined up!


What a fun tag to make. Be sure to check out all the great products from The Funkie Junkie Boutique!

Thanks so much for stopping by today! I'd love to have you follow/subscribe on my social media sites InstagramFacebookBlogger and YouTube.  Be well. Be creative!

Products Used:


Friday, March 24, 2023

Neutral or Bright?

This week at the TFJ inspiration ave blog we are creating to the theme of “ let’s be neutral”. Neutral colours can help create contrast when used in a background or used as a primary focal point. Today I am going to try both neutral colors in the background and neutrals as a main focal point when talking about neutrals, I am also going to be including metallics in that category as well.

For my project, I am making a set of two cards with neutral colours as a background and as a focal point. For instructional video click here.


Tonight we were playing with neutral colors, so let’s take a quick stop and just admire the view of distress colours on the wall.


From my distress ink collection I have pulled Old Paper, Antique Linen, Tea Die, Vintage Photo, and Ground Espresso. From the oxide side, I also pulled out Ground Espresso and Walnut Stain.


Below are the other supplies that I used for making these two cards.


To start the card base on I decided to use a classic technique of ink pad, squishing and layering. First, I added a few colours to the craft mat and then spits water over the top. Here are used a combination of distress and oxide inks:Tea Die, Vintage Photo, Old Paper, Antique Linen, Walnut Stain, and Ground Espresso oxide.


I have built up layers of ink on a piece of distress, watercolor, and cardstock by dipping and drying into the inky puddles on the craft mat.


Below are the inky layers for the neutral background.


For our bright and colourful background of Mermaid Lagoon, Picked Raspberry and Squeezed Lemonade distress spray stains.


Again, I used a piece of Distress Watercolour Cardstock for the foundation. Then ice burst some water over the top of the watercoloured cardstock before adding spritzes of color.


Once dried with the Ranger heat tool, I added a few droplets of water to get a distressed look. 


Next I ran both backgrounds through the Sizzix layered embossing folder.


For the neutral background, I brushed a thin layer of Distress Foundry Wax Atatue over the raised dots.


On the colourful background I used a brayer to spread a thin layer of Distress Paint Tarnished Brass over the top of the raised dots.


For our neutral focal point, I built up a layer of three die cut shapes. On the base later I have an oval circle cut from one of the Tim Holtz Idea-ology backgrounds than oval cut out, and segment from flower fields. These are glued together to make the main focal point. The flower fields was cut out of a piece of the Christmas two-tone woodgrain cardstock.


For finishing touches, I added a piece of velvet trim, and label sticker.


For the second card, I created my focal point using an Idea-ology stitched frame paired with a chunk of collage strip.

I is elements onto the card, then added botanical layers and a die cut bird from feathered friends. In each of the corners I placed a flat back droplet, and for the sentiment I used a metallic word sticker.


Below are the two completed cards for this week’s theme Let’s Be Neutral. Here we have one card with a neutral coloured background and on the second card we have a neutral coloured focal point.


Thank you so much for joining me here today for TFJB Inspiration Ave. Until next time, happy crafting!

Janna~ 💕🎨💕

I can also be found on :
Instagram: dunhamtreasuresofthesea_jannak
YouTube: The Crafty Corner with Janna

Supplies used:

Idea-ology Organic Layers 

Distress Ink Vintage Photo 

Distress Ink Old Paper

Distress Ink Antique Linen

Distress Ink Tea Dye

Distress Ink Walnut Stain

Distress Oxide Ground Espresso

Collage Medium 

Idea-ology Layered Frames

Idea-ology Collage Strips

Sizzix Embossing Layered Dots

Distress Spray Stain Mermaid Lagoon

Distress Spray Stain Squeezed Lemonade

Distress Spray Stain Picked Raspberry


Wednesday, March 22, 2023

Neutral is Nice!


The theme chosen for this next two weeks here at TFJB Inspiration Ave is "Let's Be Neutral!" and while it's a very good play on words that we could all adopt for a bit of peace for everyone, but the real idea is all about the latest Tim Holtz Distress color: Lost Shadow! Tim promised awhile back that the last 2 Distress colors he released would all be neutrals. I'm all in since my usual fave way to do colors is going with neutrals! Lost Shadow does not fail in any way to awe me with its subtle shading and I am sure this is one Distress Ink that I'm going to get a lot of use from. Be sure to check out the links of products near the middle of this post, so you can get this latest Distress Oxide from The Funkie Junkie Boutique! Scroll along with me and I'll show you what I did with this beautiful greyish shade!


I set out some materials and tools I knew I wanted to use. For this project, I'm using a couple of not-so-old Tim Holtz Dies; Gearhead Thinlits Set and Mechanical Bigz XL.


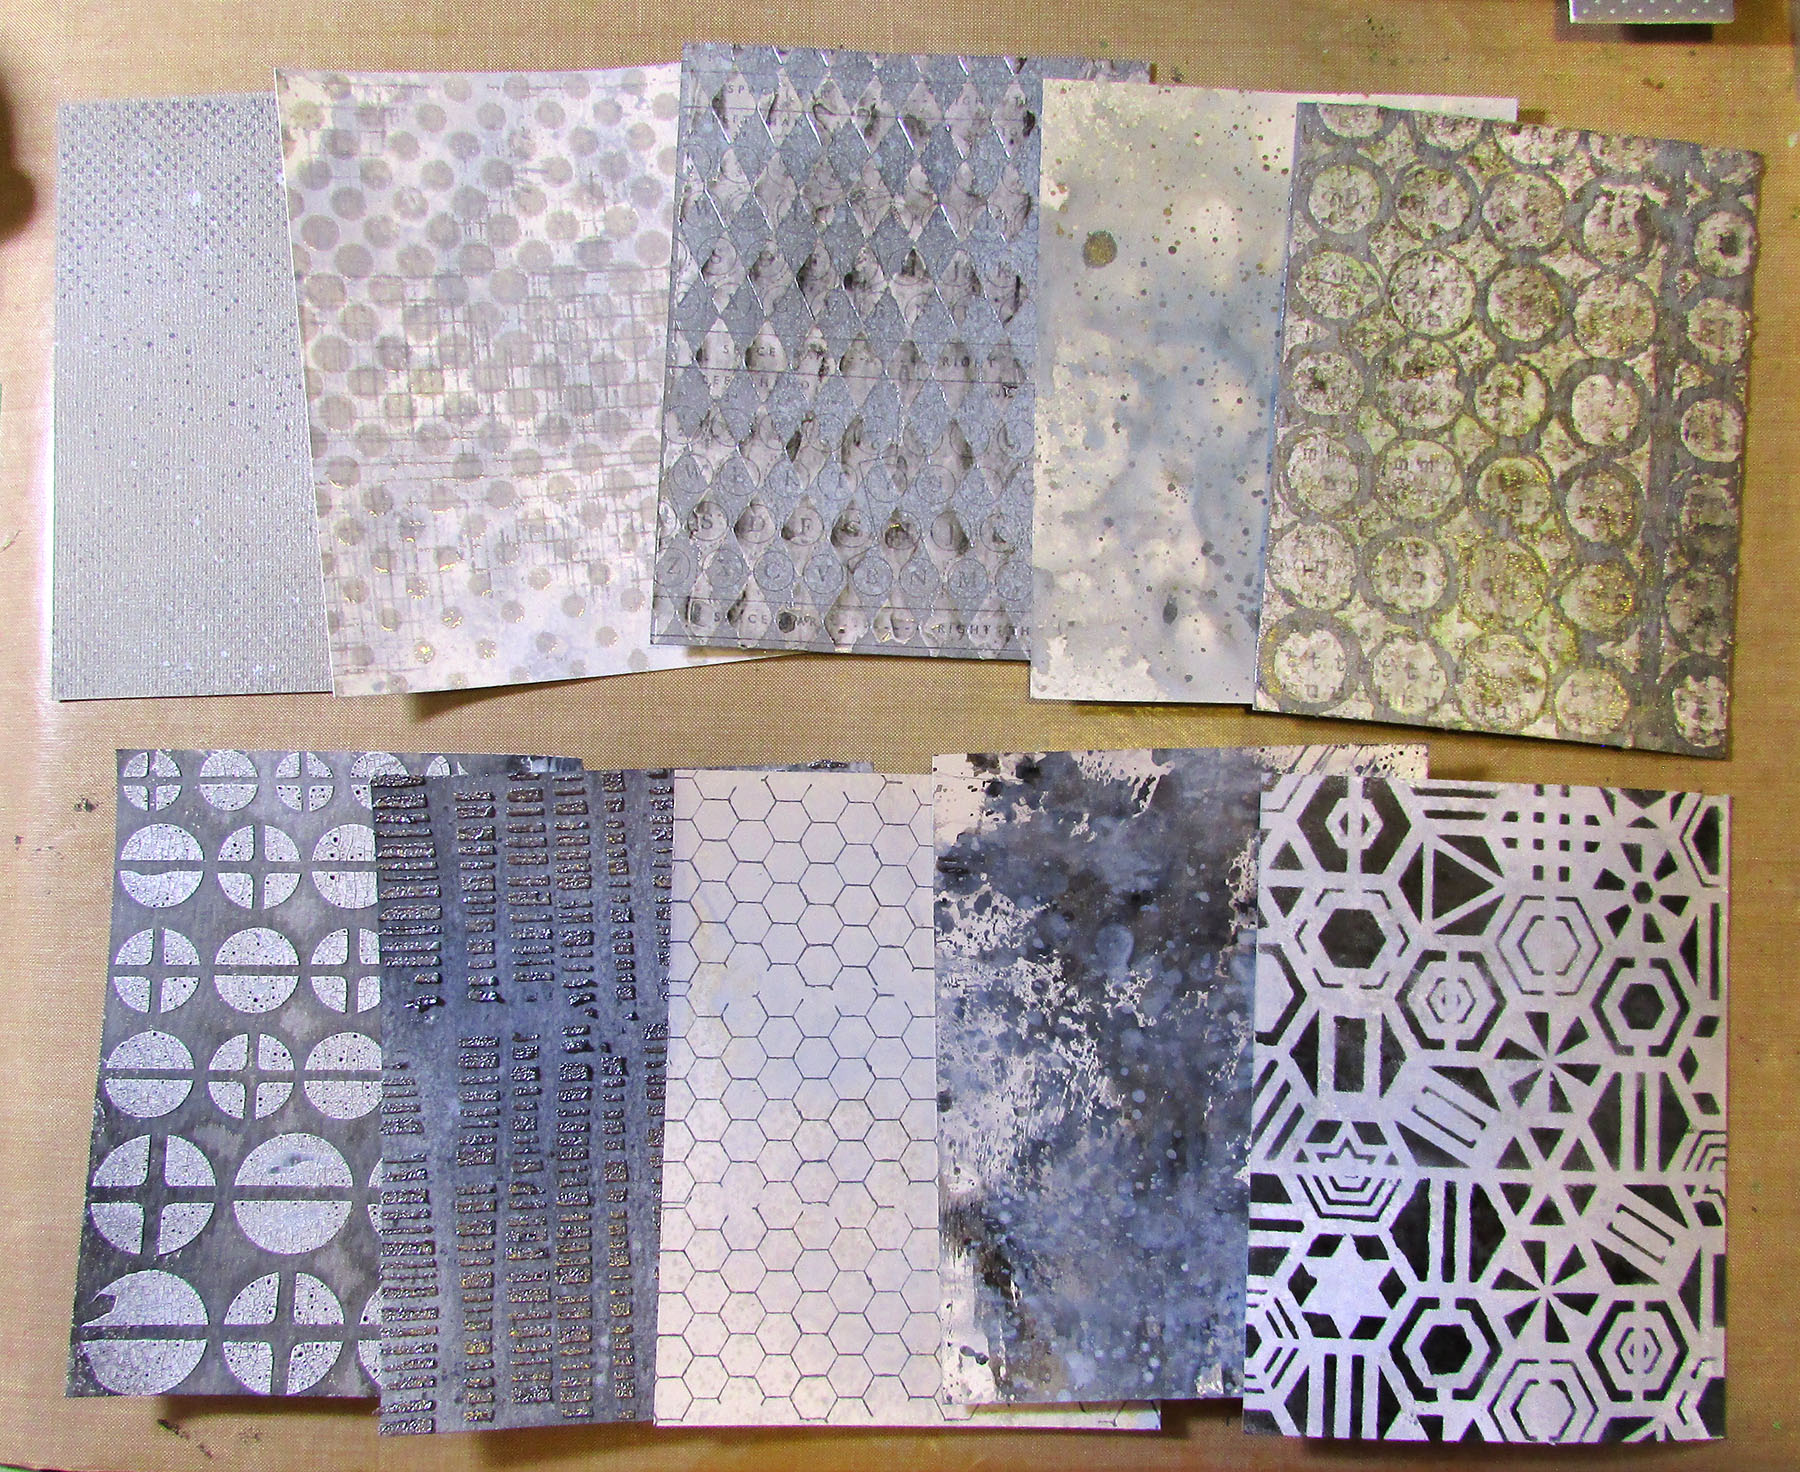
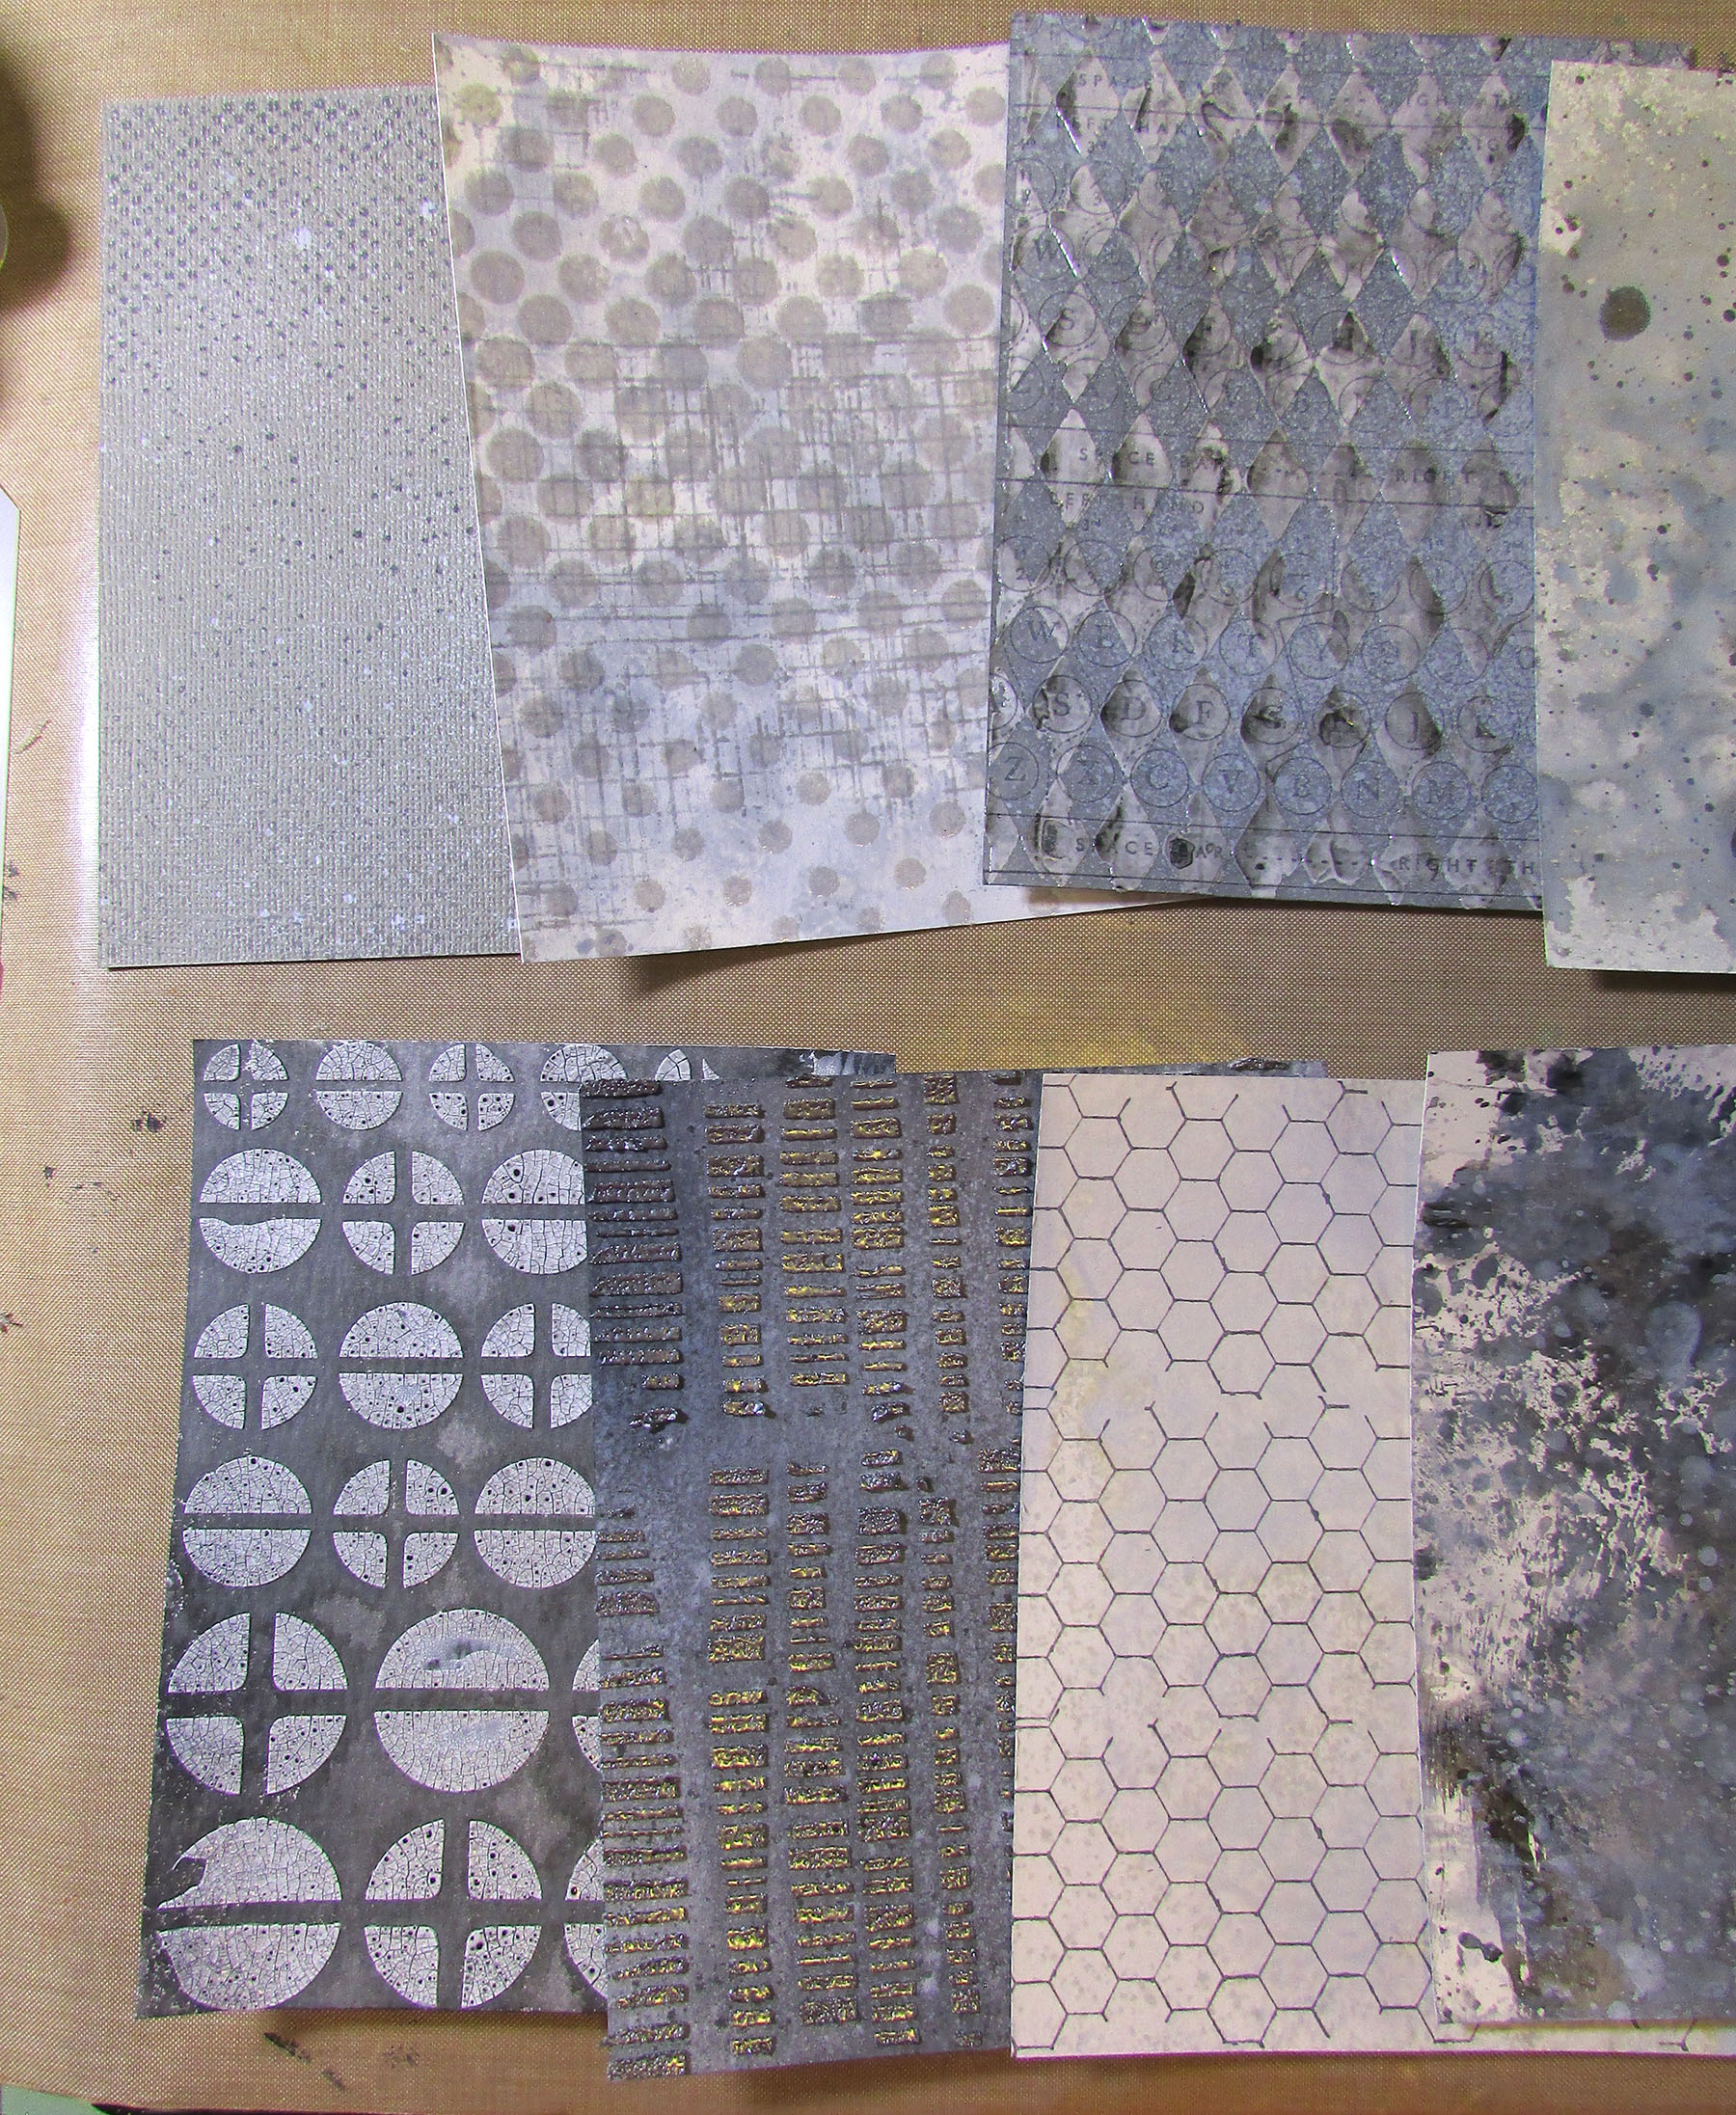
I decided to use up some leftover stash cardstock of 2 shades of grey that closely matched the new Lost Shadow.


This new neutral shade was just the right subtle pop these edges needed!


For those who may be newer to TFJB Inspiration Ave blog, I do like to make out a plan by placing my items together and taking a photo.  If I get stumped on how I wanted it, I just refer to my pics.


I had some extra room on the backside, so I dug out my
TH Voltage Bigz Die to add another element there.


From the older TH Mechanical Bigz Die; putting together the smaller "bolt head" pieces.


And giving everything a couple coats of TH Distress Picket Fence Paint.  Although the matboard I used had a white inside and backing, giving both sides those 2 coats not only sealed up the matboard, but also allowed me to have both sides of my Tag used.


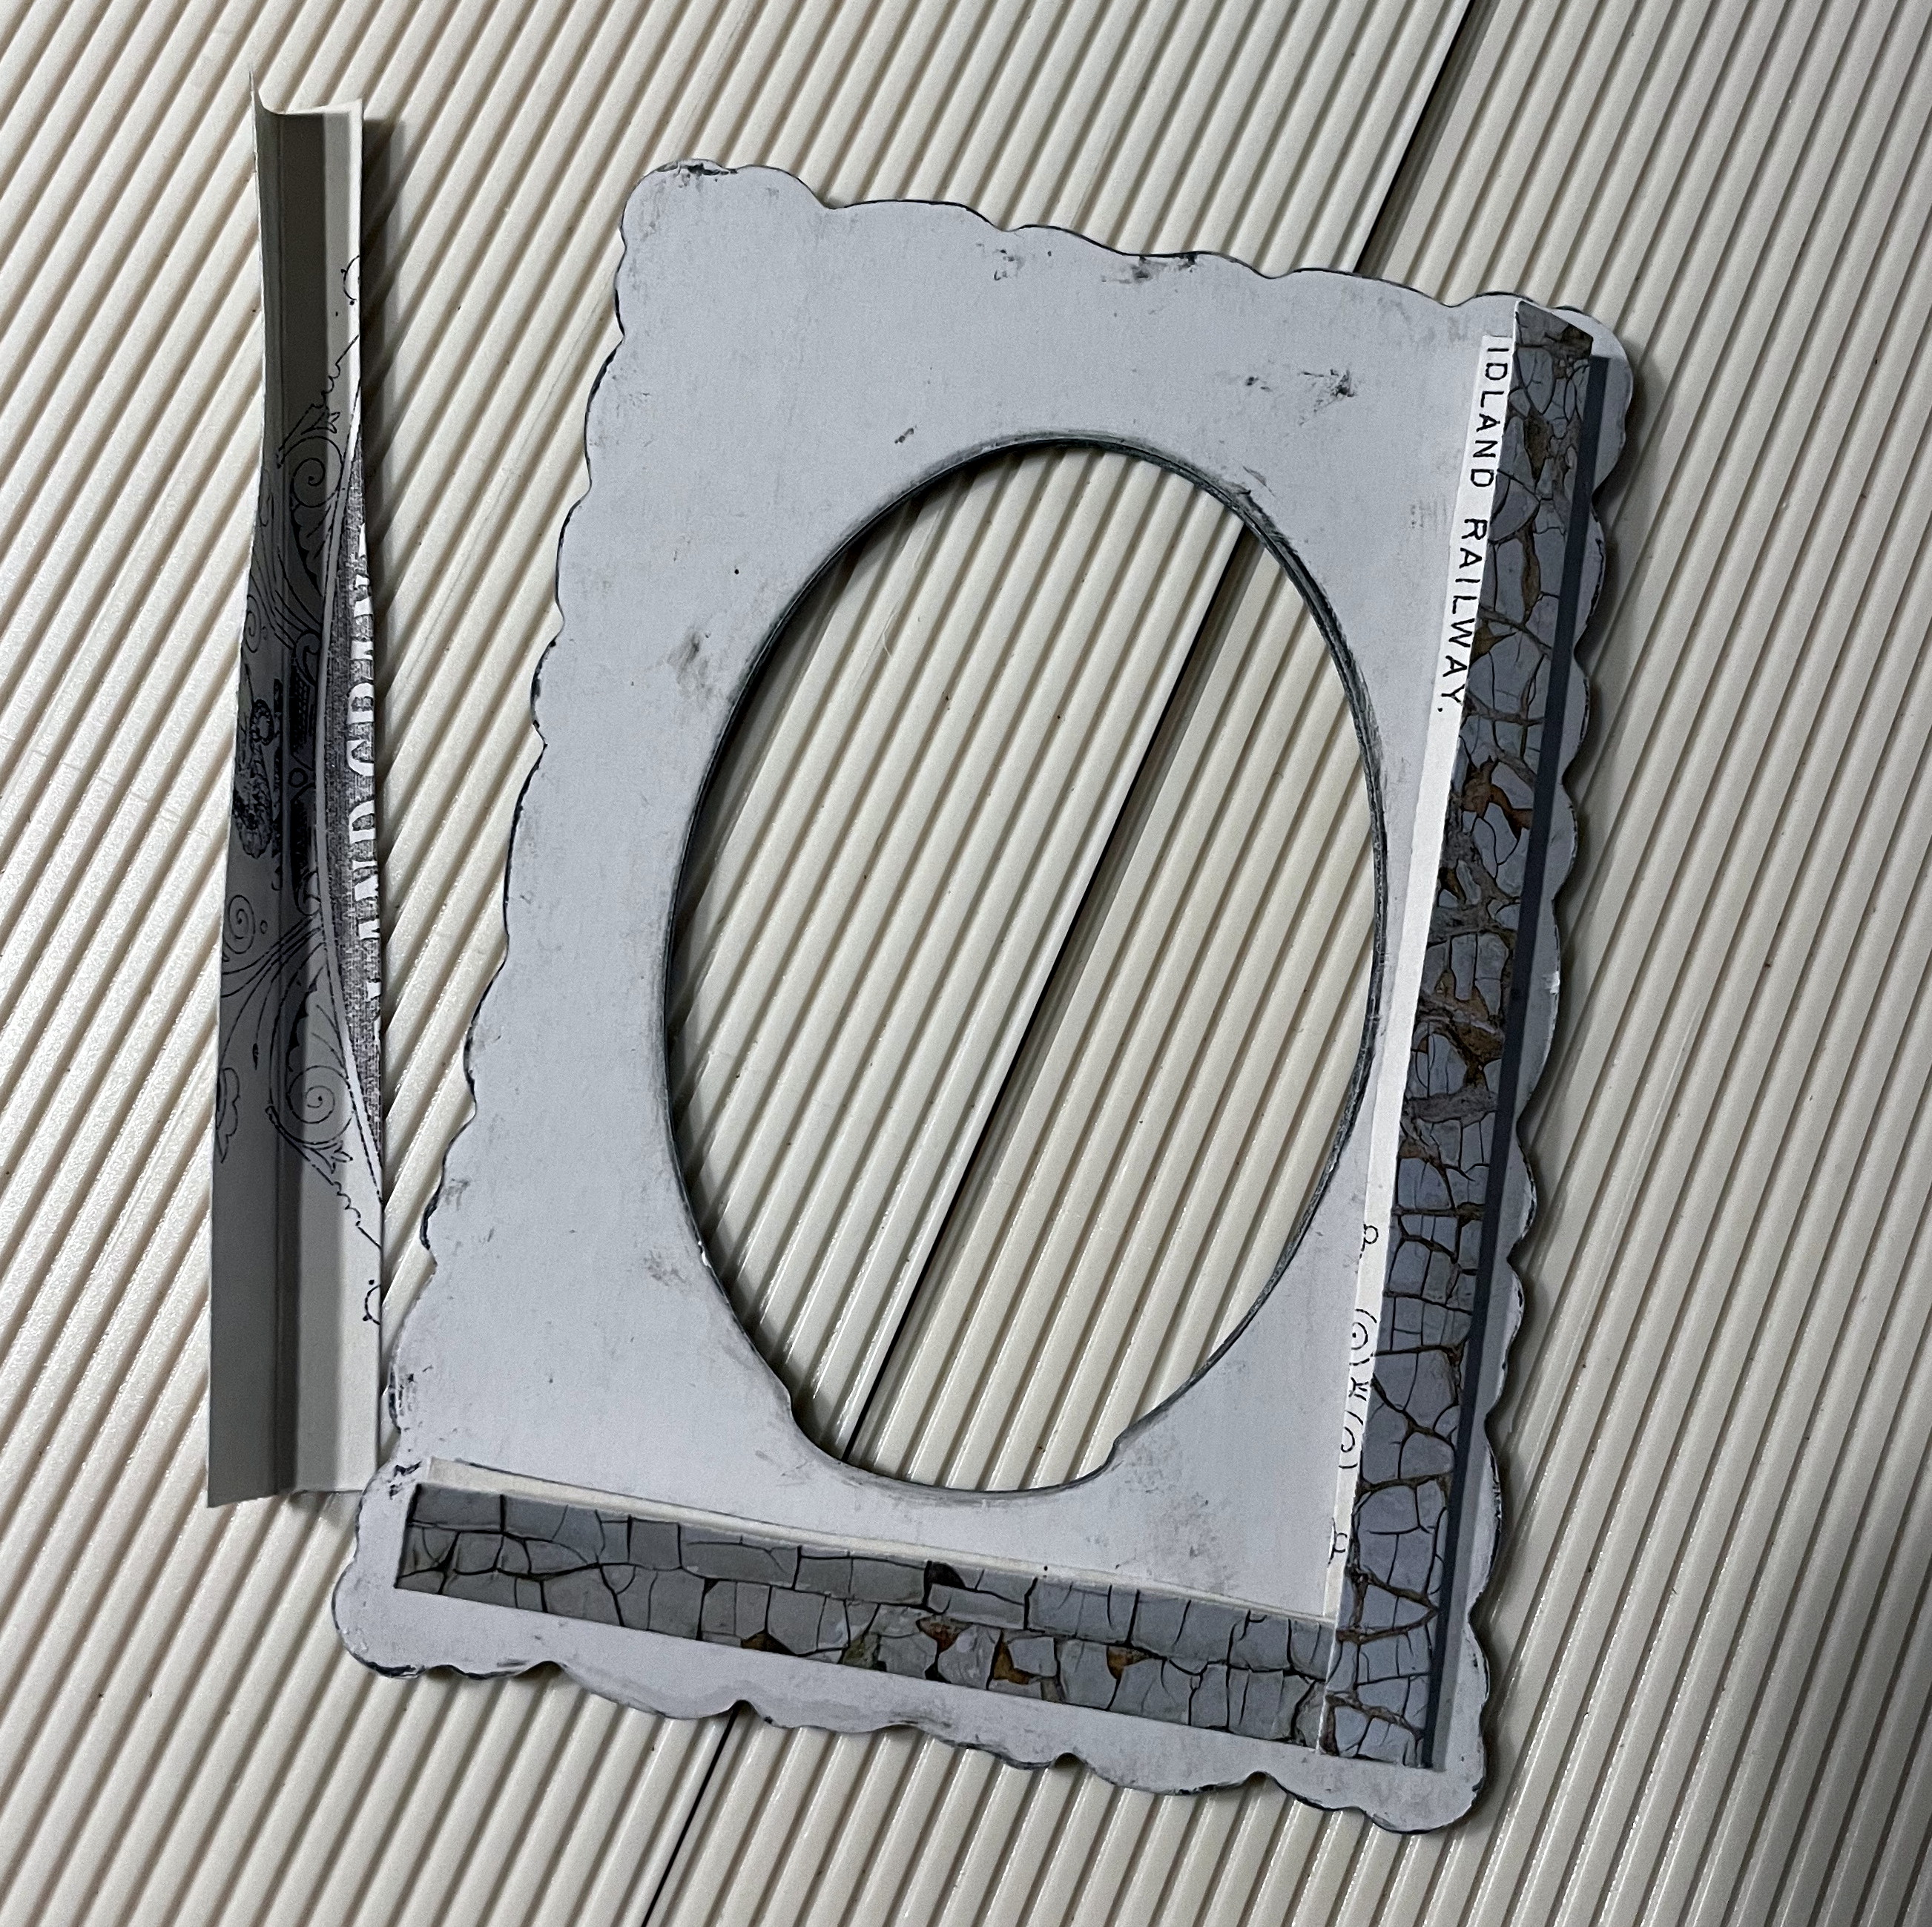
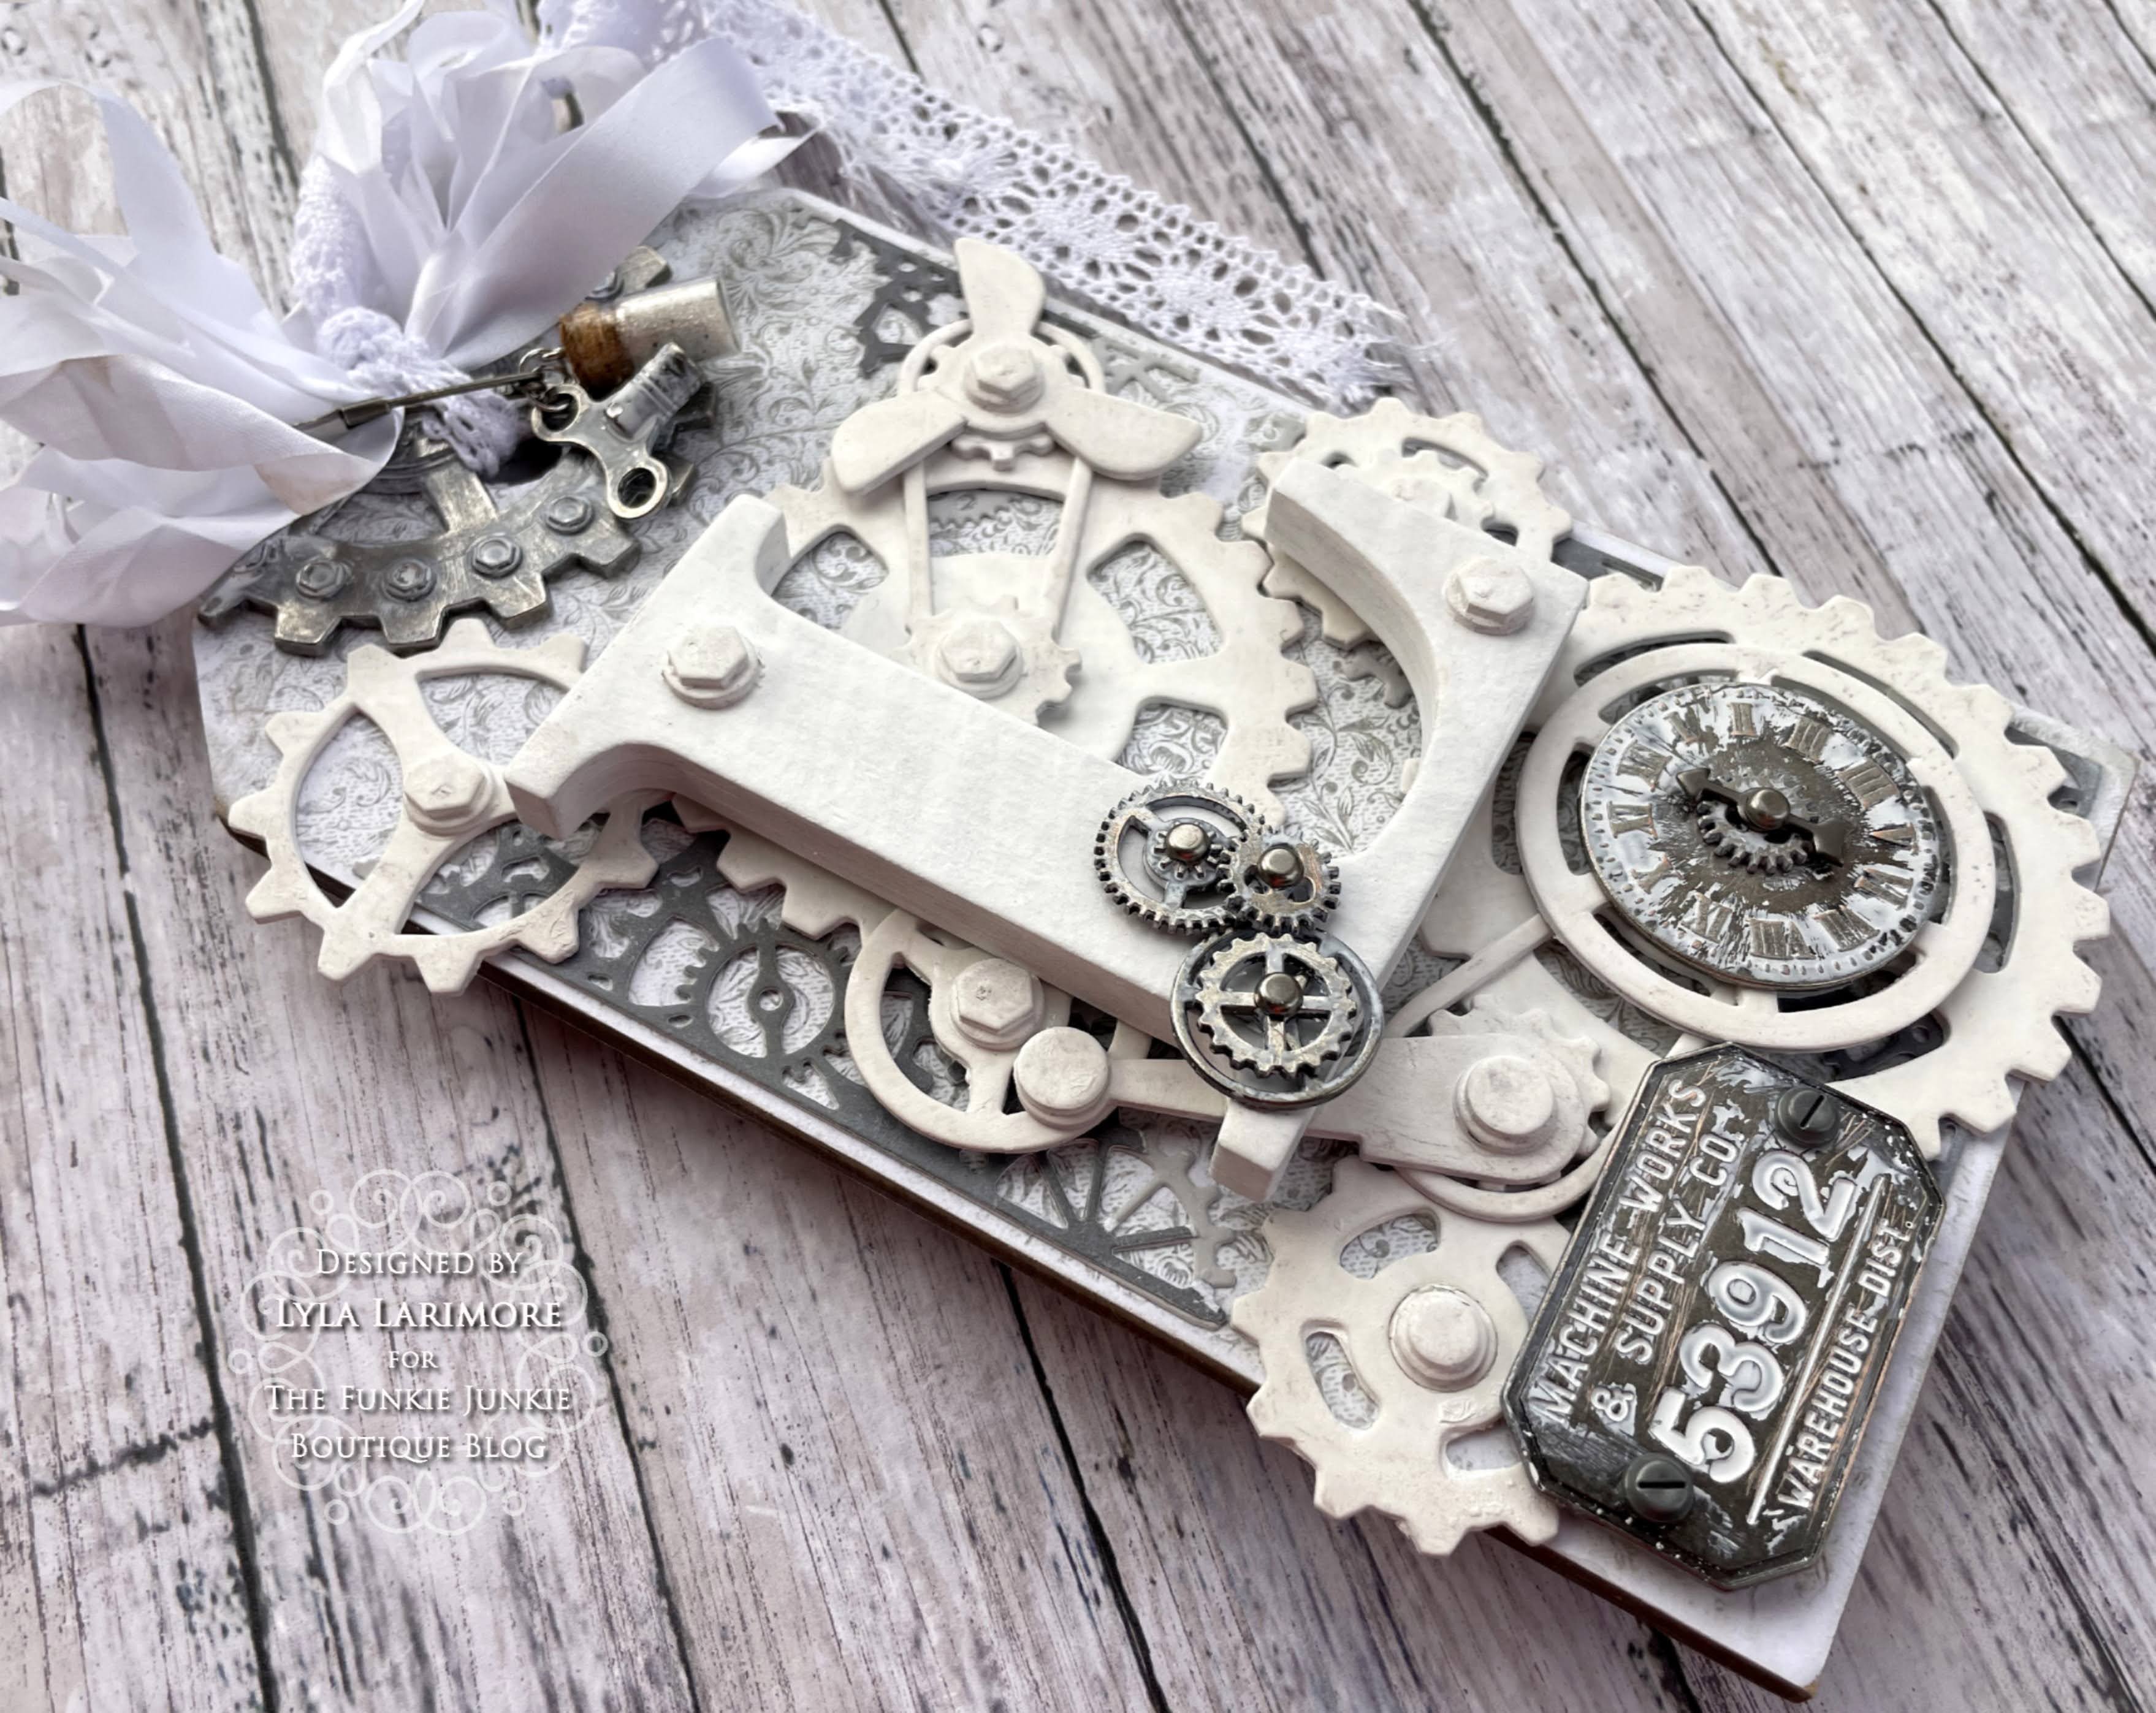
This chipboard L has been in my stash for.... years and years! I picked it up to use it for some project back when and just never did. It's been on my mind to use it and it fit this project perfectly for me: L for Larimore!


I coated all the Idea-ology items and let them sit to dry fully...


...so I could scrape and scratch at them like the paint was actually peeling from use.


These papers are from Tim Holtz Backdrops Volume 1.


I used Glossy Accents to adhere the papers (one to each side) and after fully drying, sanded all the edges down. I also sanded more randomly around.


I layered the Gearhead die cuts with the lighter shade under the darker-so the later top layers of white would pop from the darker underneath. I randomly tore the lighter around the edges of each piece, and then tore the top darker piece just slightly smaller. This makes it look like it's "shadowed". ;) Then I did the same onto the backside of the Tag as well.


More IdeaOlogy: got out those TH Dials to add into my Voltage die cut faux gauge, and added some Hardware Heads to the Factory Tags piece.


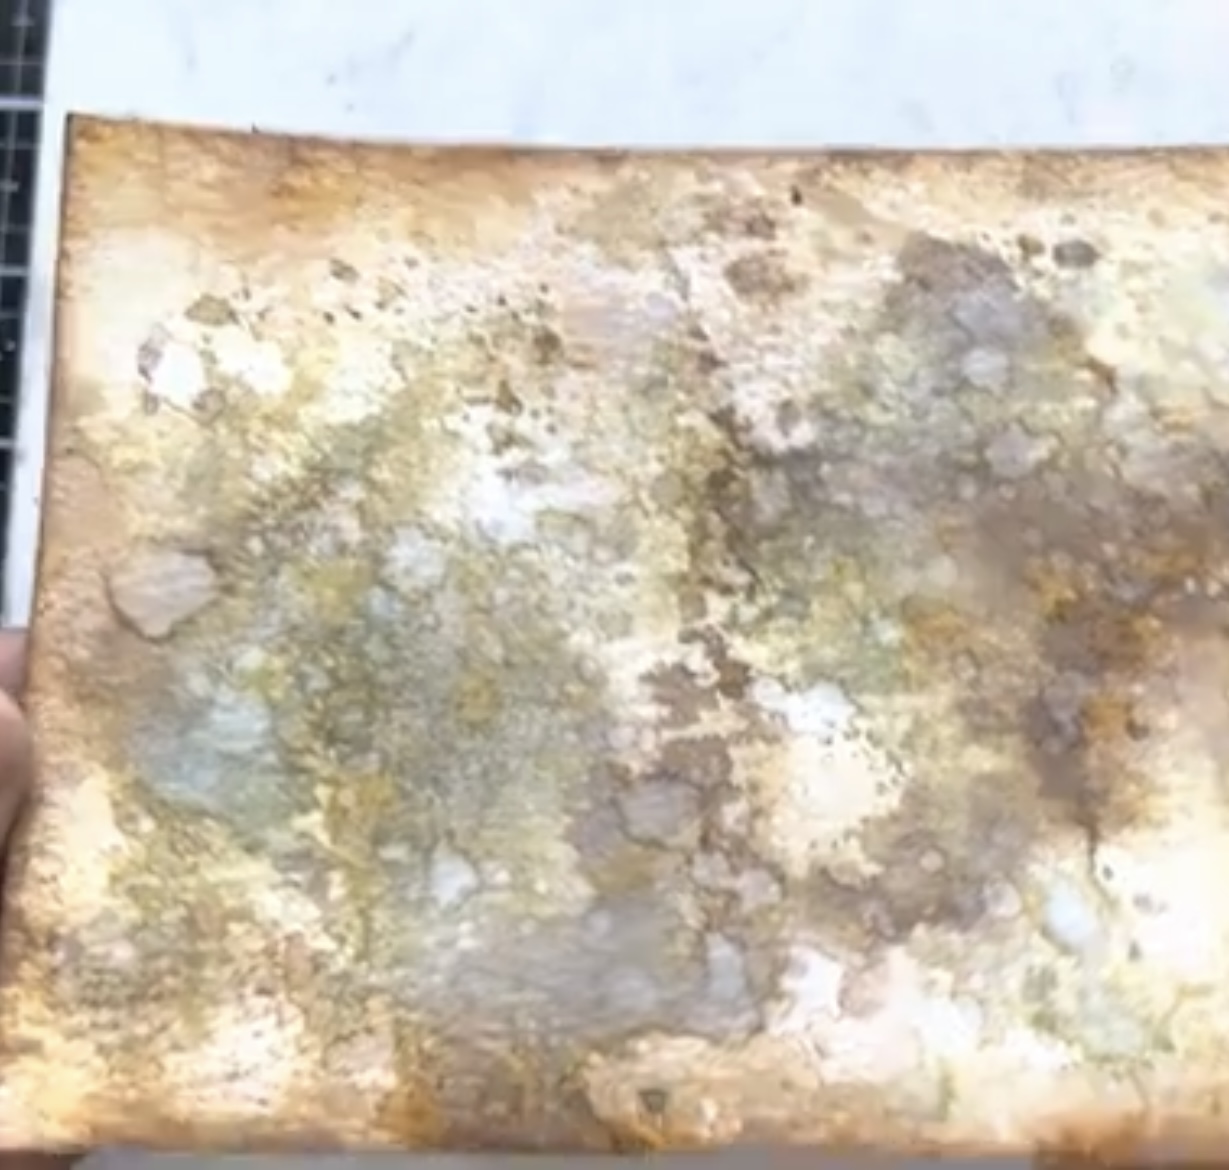
I used an older TH Baseboard Lace Frame and edged it with Hickory Smoke Distress Crayon- a nice complementing shade to the Lost Shadow. Using some of the leftover Backdrops sheet, I made a photo holder slot on the back.


I couldn't resist a pic of how it looked without the L on top- I just LOVE Tim Holtz gears!!


Here's a helpful list of links for products I used:


Let's see the results of both sides!


FRONT and a few closeups following...


Now, the BACK and a couple more closeup photos...


Thanks so much for joining me for this project tutorial! Be sure to pop into the Inspiration Ave blog, to see all the great things coming up from The Funkie Junkie Boutique and TFJB Design Team: new projects as well as new products!

Until next time...

Stay Safe &
HAPPY BLOGGING!!
Lyla