
Hello and welcome back! Janna here for TFJB Inspiration Ave Blog. We are creating to the theme of Spring Frolic. For this week's creation, I have decided to feature the brand new Tim Holtz Idea-ology Reliquary Dome and other new Idea-ology elements. For video tutorial click here.


To start I am going to use one of the new Transparent Things 2 pieces. This is going to be our background and the foundation for the theme of Spring Frolic.


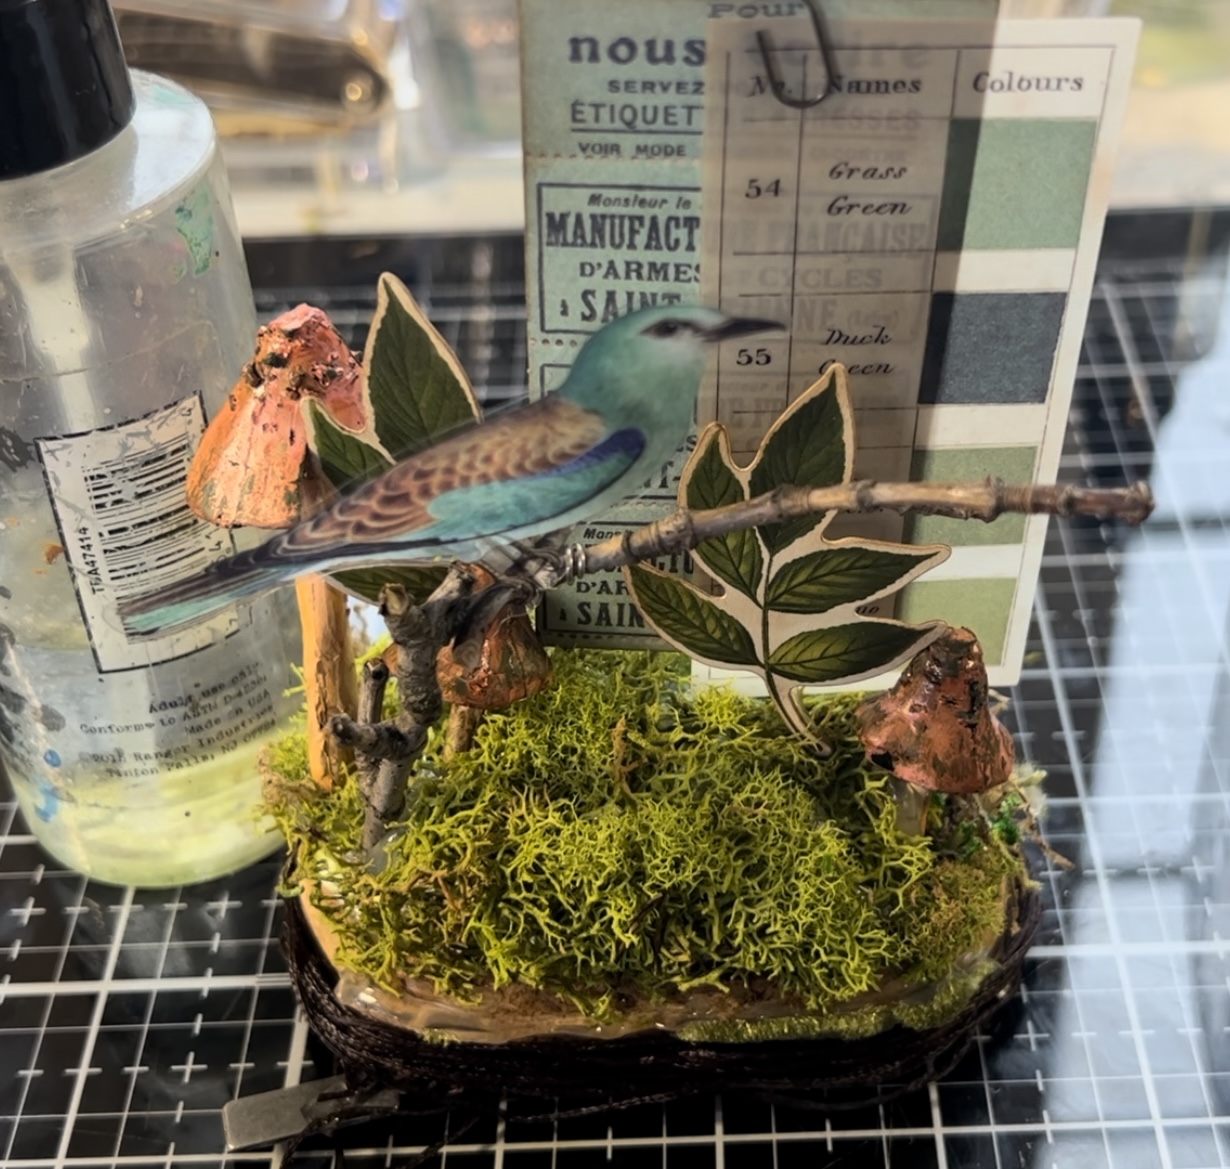
With a little bit of isopropanol, I diluted the alcohol ink on the media mat before painting it onto the toadstools. For the caps of the mushroom, I use the Terracotta and for the stems I use the Latte inks.

For finishing touches on the tiny toadstools, I added a little bit of Distress Crayon Vintage Photo. I then smudged the crayon over the top of each of the mushrooms.


For a pop of color I am going to be altering some of the Idea-ology flowers.

To alter the flowers, I am using Distress Mica Spray Stain Harvest Moon and Peppermint Stick. I spritzed each bunch of flowers with some water before adding the mica spray stain. After which I then dried the flowers with the Ranger heat tool.


Either an added wires to other ephemera pieces, including a bird from Transparent Things 2.

With wire in the base of our paper and transparent embellishments, I was able to place these onto the cork and tinfoil base. The wire allows each element to stand up on its own without support of other elements.


For finishing touches on the inside, I added the Adornments Foliage Pieces, and the bright altered flowers. These elements I glued into the dome with some collage medium. Around the cork base I also wound a layer of brown twine. This I also paired with a piece of velvet trim to help conceal where the dome meets the cork base.


Now for the finishing touches on the outside of the dome. Due to the weight of the Metal Gates, there was quite a bit of glue around at the base of the dome. To camouflage this, I added in more mossy pieces with Collage Medium poking out and in between the open areas of the fence. The last element that I added to the dome was a Word Tag with the word Story on it. I altered the tag with a touch of Picket Fence then I tied the tag onto the gates with a small piece of twine.

Below is the completed reliquary dome. I absolutely love the shape and space of the dome. There was so much room on the interior to create a full environment, and it was an absolute delight, placing each of the pieces.

Thank you so much for joining me here today for TFJB Inspiration Ave challenge. Until next time, happy crafting!
Janna~ 💕🎨💕
I can also be found on :
Instagram: treasuresofthesea_jannak
YouTube: The Crafty Corner with Janna
No comments:
Post a Comment