
 |
| Teri Wilson - TerisMailbox |
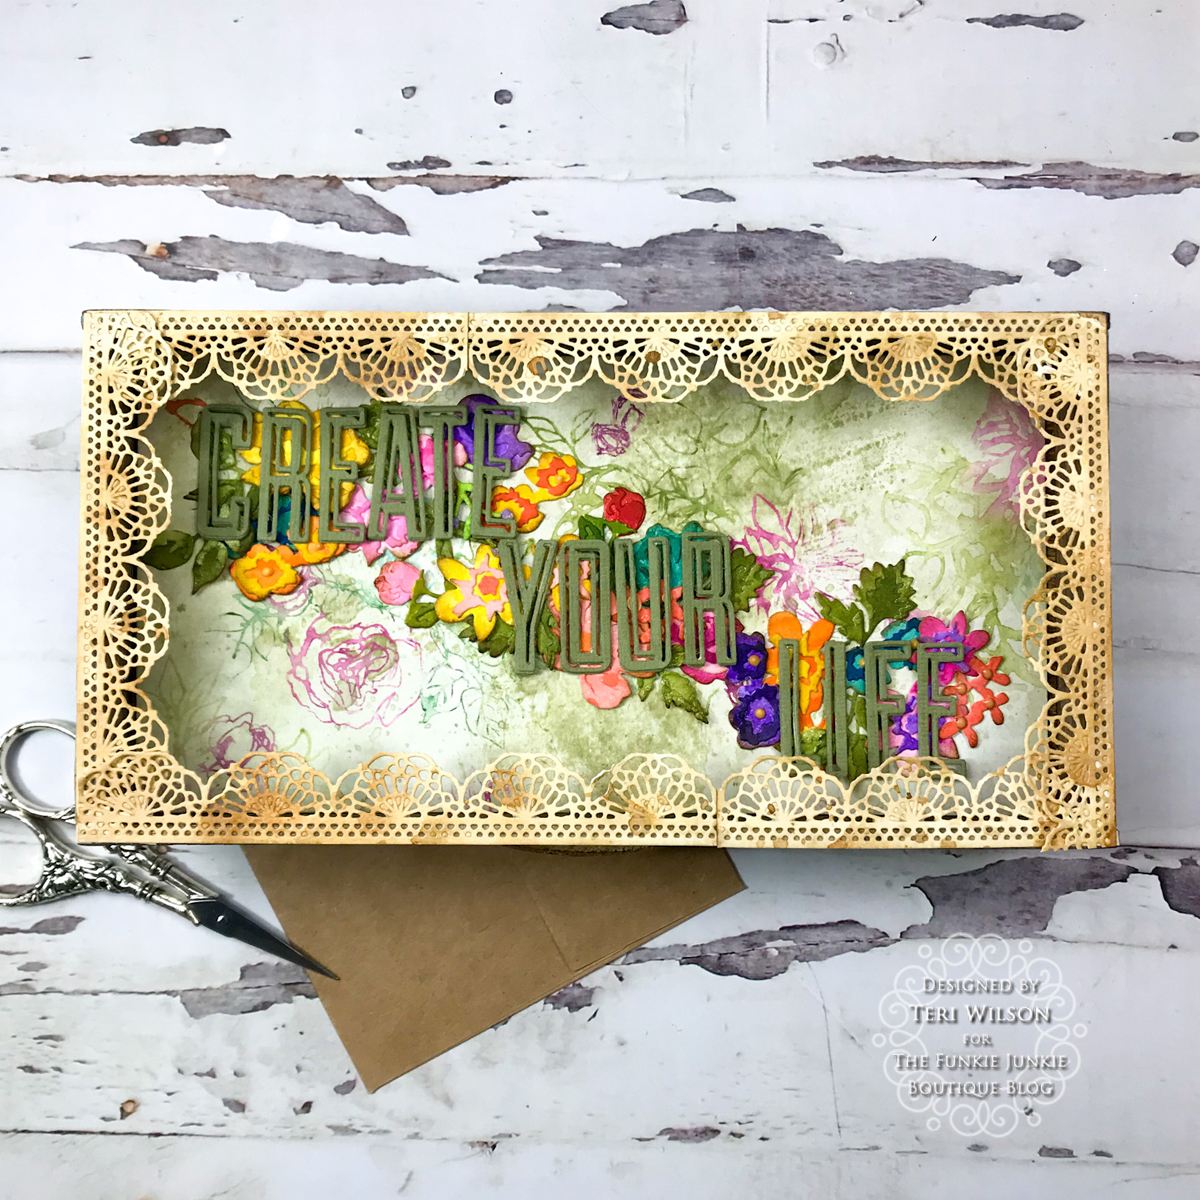
Hello friends. It's Teri with TerisMailbox posting for The Funkie Junkie Boutique. Learn how I layered the new Brushstroke Flower Minis on a stamped floral background to create this Idea-ology Vignette Box.
Add Die Cuts for Dimension

Check out all the yummy colors and layers!
I do have a video here in case you prefer to watch the process.
Create the Floral Base
Trim a piece of Distress Watercolor Cardstock to fit inside a rectangle Vignette Tray. I used one that is 4.75 x 9 inches. Ink smoosh layers of color using the Bundles Sage Distress Ink, drying between layers to build up the colors.

Attach one of the Floral Outline Stamps to an acrylic block. Use the Distress Watercolor Pencils to add color by dipping in a puddle of water and adding to the image outlines on the stamp. Spritz quickly with water and stamp on the Bundled Sage background. Repeat the process and cover the base panel. Set aside to dry.
Create the Die Cuts
Brushstroke Flowers Mini-Start by ink smooshing panels in colors you plan to use. Cut Distress Watercolor Paper in 4.25 x 5-inch pieces. This will provide plenty of space for the Flower Minis. As I was smooshing the panels, I made sure part of the panel had deeper colors to layer the blooms. Colors used include Peeled Paint, Picked Raspberry, Mustard Seed, Wilted Violet, Carved Pumpkin, Mermaid Lagoon, Abandoned Coral and other miscellaneous colors. I was going for a burst of rainbow colors. Glue the layers together and ink the edges with Vintage Photo ink to soften the die cuts.

Alteration Collection - Ink smoosh a larger panel using Vintage Photo Ink. Once dry, die cut a few lacy borders.
Alphanumeric Emporium Dies - Die cut 4 layers of each letter included in the Inspirational Quote to provide depth. I used Olive Cardstock from my stash. I used the quote Create Your Life. Feel free to choose another one! Layer the letters so you have 4 layers. I decided to try using my Xyron sticker maker to attach the letters as some of the lines are fairly thin. This process worked fairly well. I did have to use my poker to run down the linear openings to remove the excess sticky layer.
Assemble the Box
Use Collage Medium to attach the stamped panel inside the Vignette Tray. Add a few acrylic blocks to top to help the panel dry flat.
Age the Vignette Tray by stamping Picket Fence Distress Paint on the inside and outside of the frame. Use a wet paintbrush to smooth the paint out.
Attach the lace pieces on the top of the frame using Collage Medium. I matched the edges up so the scallop faces the inside of the box.

Arrange the Brushstroke Minis on the bottom of the tray. You want a good number of flowers so when you add the quote, there will be flowers visible. Use a piece of Press N Seal to pick up the flower bunch at one time. Add dots of Collage Medium to all the flowers. Flip the Press N Seal over and press on each flower and leaf to adhere to the bottom. Gently peel the Press N Seal up using a Bone Folder if needed. Add additional flowers and leaves.
Attach the individual letters on top of the flowers to form your Inspirational Quote.
Thanks so much for stopping by today! Take a moment to check out all the great products from The Funkie Junkie Boutique!
I'd love to have you follow/subscribe on my social media sites Instagram, Facebook, Blogger and YouTube. Be well. Be creative!
Products used:
- Alphanumeric Emporium Die Set
- Brushstroke Flower Mini Die Set
- Floral Outline CMS 430
- Distress Watercolor Cardstock
- Distress Watercolor Pencils
- Vignette Tray
- Bundled Sage Distress Ink
- Peeled Paint Distress Ink
- Picked Raspberry Distressed Ink
- Mustard Seed Distress Ink
- Wilted Violet Distress Ink
- Carved Pumpkin Distress Ink
- Mermaid Lagon Distress Ink
- Abandoned Coral Distress Ink
- Vintage Photo Distress Ink
- Collage Medium
No comments:
Post a Comment