Wednesday, November 29, 2023

Lyla Decks the Halls


   It's that time over at The Funkie Junkie Boutique: Tim Holtz Christmas Idea-ology is back for the 2023 Holiday Season and TFJB owner, Linda Coughlin, has the Design Team busy with her newest theme for these next two weeks: "Deck the Halls" and instead of decking the halls with boughs of holly, we're using Idea-ology! This is always one of my favorite types of crafting and I'm sliding right in!


Here's that handy list of LINKS:

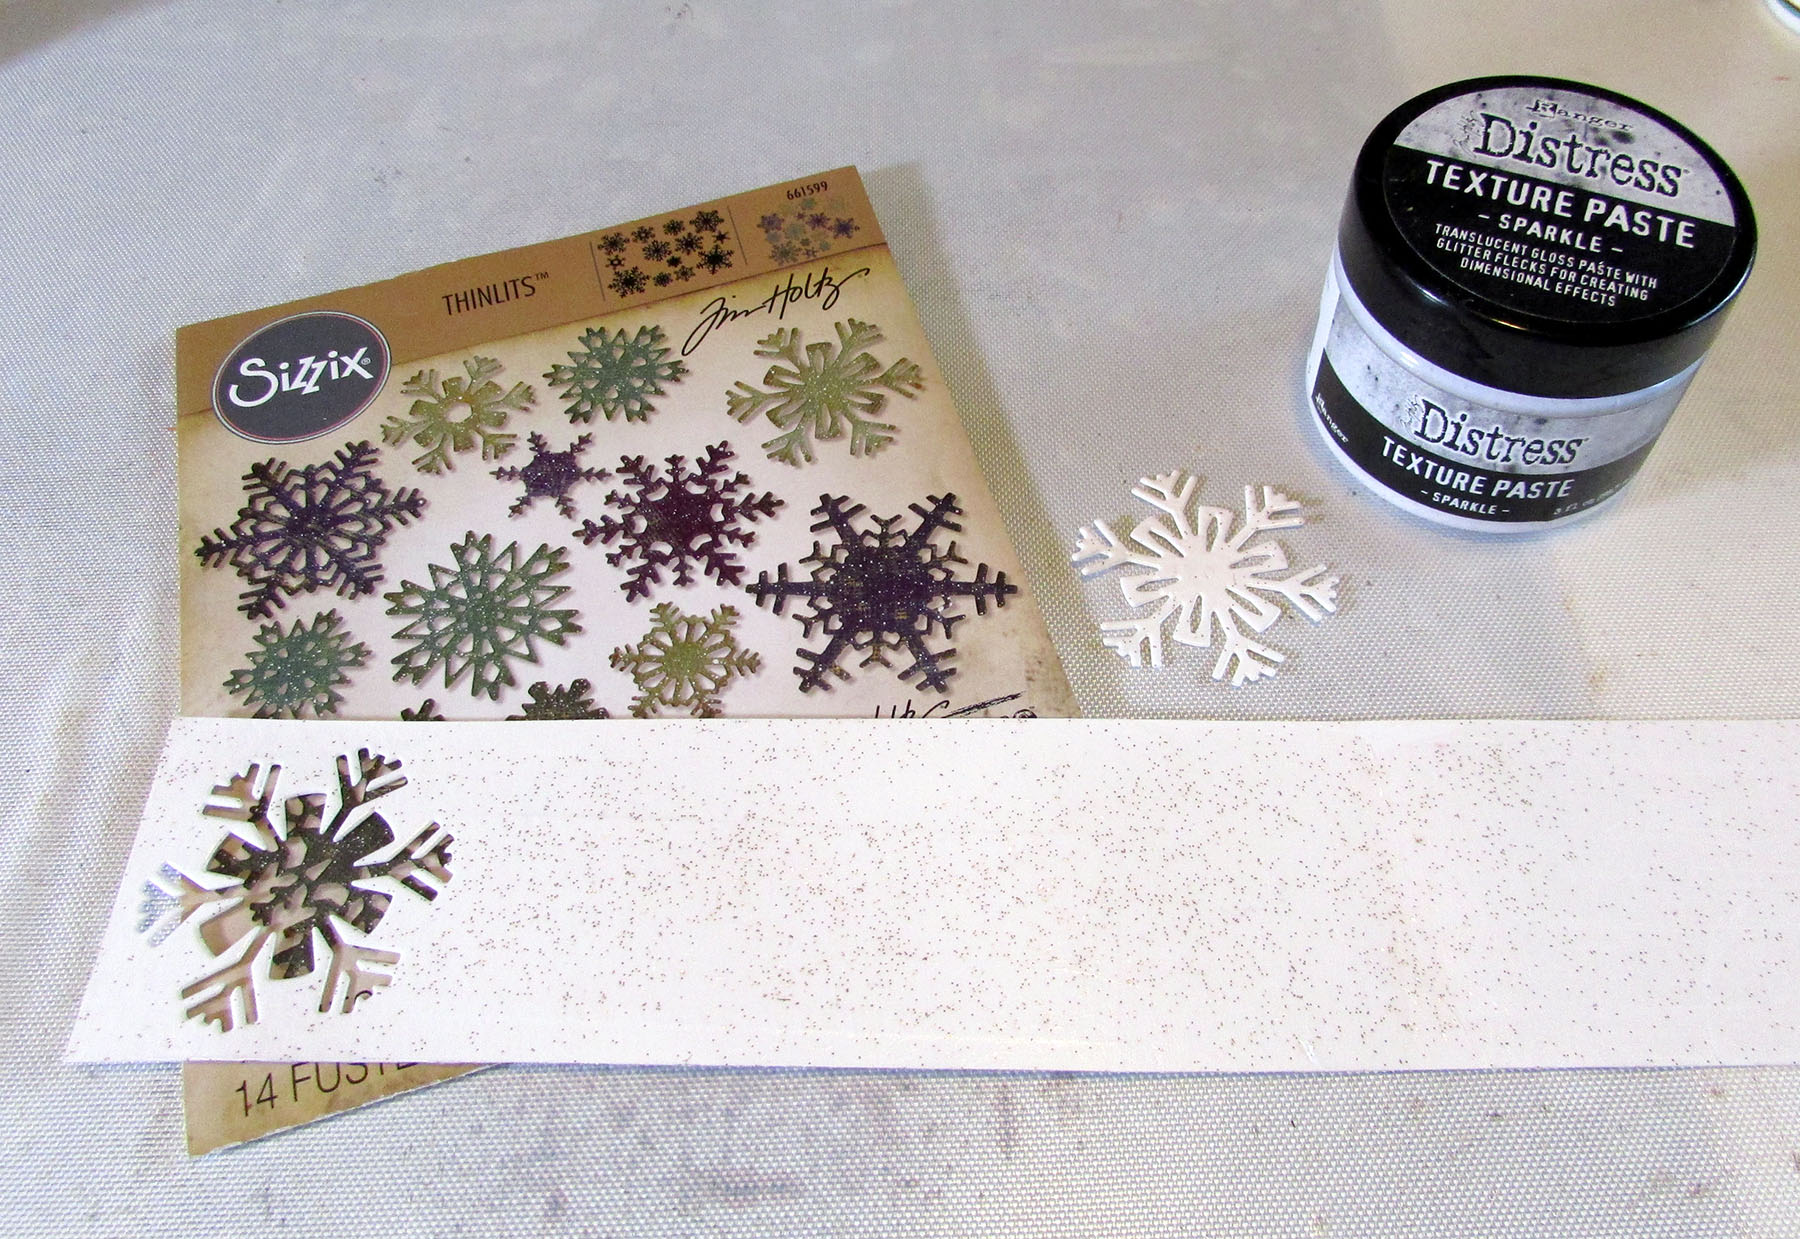
Tim Holtz Idea-ology Christmas 2023 Holdiay Bells
Tim Holtz Idea-ology Christmas 2023 Sticker Book Christmas
Tim Holtz Idea-ology Christmas 2023 Woodland Trees Alpine
Tim Holtz Idea-ology Christmas 2022 Baseboards Christmas 


I chose a couple sheets from an old TH Seasonal pad and burnished it (Glossy Accents glued and sanded edges all around) onto both sides of my Etcetera Mini Tag. I had a leftover reinforcer, so this Mini Tag got one on both sides.


I always make a physical plan with my Ideao-logy pieces so I’m not left squishing things in, or worse: not enough space for the most important pieces.


I do the same planning on both sides. Sometimes my plan will change but it’s usually because I come up with a better idea this way.


Then, I was able to match up the Etcetera Shelf pieces (both Scalloped and Bracket) to fit around the Baseboard Lace Frame, to form a box.


There was a LOT of burnishing going on. While I do love this technique, my hands were pretty sore afterwards. (I knew I should’ve gotten the TH Thinlits Set for die cutting pieces to cover the Etcetera Shelf pieces!! When will I learn to grab it instead of taking too long to mull it over???)


Time to add Distress. And, of course; the new Christmas Crayon Set #3 added the right pearly sparkle, with some Vintage Photo Oxide Ink.


My, Oh, My: that new toy soldier!!!! And now you can get Santa and the Snowman in a LARGE size!!! I had to have that larger sized set because I wanted a Toy Soldier like the tall ones around the lake I walk around in Florida - Lake DeFuniak. 


The Alpine Tree had to come first, so I’d be able to tuck the top into the Shelf inside the box. Since I planned a Dura-Lar window, the tree has to be cut down on the front and back to thin it out.


Yet, from side to side, it was thin enough to fit perfectly. LOVE these new skinny Alpine Trees, Tim!!!


Here, you can see I’m attending to little details: the rug is fussy cut from TH Patchwork Line Tape. Even though you might not see it, I wanted it all to be as realistic as possible- the small details are important!


I made “presents for each Grandbaby, using retired TH Letterpress letters. I used those yummy new pearly Distress Crayons (RED - for the girls Judith and Chloe, and BLUE for the boys - Jamie and Cole) and “wrapped each with sticker ribbons from the Christmas 2023 Sticker Book. Numbers 2 & 5 are in there, too.


Here, you can see I needed to lift up all the presents a bit higher to be seen in the window- and allow Paper Doll Judith to get higher up - so I pulled a “Paula” aka Paula Cheney, who likes to use little blocks and bits to stabilize items or add height. Going for the small details; I wrapped retired TH Chip Block Letters in the same Patchwork Linen Tape as the rug.


If you liked the 2022 Confections, you’ll LOVE the 2023 Confections which now are shaped like real Candy Canes as well as being a deeper red, there are new GREEN candy pieces!!! Time to cut a few up for dipping into the TH Mica Flakes and toss them into a Vial jar!


Making a doorway is easy: use TH Baseboards and Linen Tape, covering the backside of the door’s Long Fasteners with more Tim papers.


I needed my (smaller sized) Santa to go on a bit of a diet to fit where I needed him, so I used some rougher sand paper scraps to give him a rubdown.


And using Black Soot Crayon rubbed into the cracks with a bit of water on a paintbrush - after a couple of good FAST coats/heat treatments with Foundry Wax… viola!

And here's the finished project...

FRONT

FRONT- the 3 older Grandchildren are waiting to get out the door and into the snow. And yes; it did snow when they were at our house, as if by magic!

Closeups follow…


The new 2023 bells are SWEET!

BACK
Little Judith just started walking and stayed inside. But she’s a CLIMBER!! Here she is - going after the candy…or is she curious to see more of the Baby JESUS in the manger….??


She’s better get back to bed because Santa is taking advantage of the older Grands being outside; he’s got places to go and toys to leave!


The stockings are hung by the chimney with care… with the help of TH Baseboards (both 2023 & 2022).


JESUS: the Reason for the Season!!!


Letterpress presents… for my Grandbabies with LOVE!


Thanks so much for sharing this time with me! Don't forget to go see all the new
Inspiration Ave makes from our awesome Design Team, and check out the 

AWESOME CLEARANCE SALE  GOING ON NOW at

Stay Safe &
HAPPY CHRISTMAS BLOGGING!!

Friday, November 24, 2023

Suzz's Snowy Stary Card

Hi!  Suzz here.  Brrr... As the weather starts to shift I am already anticipating the snow!  I pulled out my warm winter holiday knits to keep me warm against the snow that is coming!  That had the Holiday Knit Embossing folder being the perfect inspiration for A Snowy Day! 


I embossed multiple sheets of white cardstock with the Holiday Knit texture fade.  I then cut out multiple stars in varying stars.  This card is a snowy starry night in winter.

After the stars were cut they were layered with foam to add multiple depths and texture on the background of the Holiday Knit. 

Then some glass stars were painted with white paint and glittered to add as accents. 

The branches and bow are from the adorable vintage sled die from Sizzix and Tim Ho;tz.  It added the perfect touch to the front of the card. 

Suzz

Products: 

Wednesday, November 22, 2023

Lisa's Snowy Day Scene

Hello, Lisa Hoel here, our current Funkie Junkie Focus is "A Snowy Day". The aim was to create a winter project made using new Tim Holtz Sizzix Holiday release dies. My project utilizes old and new dies plus some Holiday Idea-ology thrown in for good measure! The base is a Medium Etcetera Thickboards Tag.

Lisa Hoel for The Funkie Junkie Boutique  #creativejuicefreshsqueezed  #mymakingstory #tim_holtz #thefunkiejunkieboutique #sizzix


Other Etcetera components used are the Cathedral Windows and Bracket Trims

Lisa Hoel for The Funkie Junkie Boutique  #creativejuicefreshsqueezed  #mymakingstory #tim_holtz #thefunkiejunkieboutique #sizzix

This year's larger size Idea-ology Salvaged Reindeer are a favorite of mine! Also the Idea-ology Pinecones (love them!)

Lisa Hoel for The Funkie Junkie Boutique  #creativejuicefreshsqueezed  #mymakingstory #tim_holtz #thefunkiejunkieboutique #sizzix

The new Woodgrain 3-D Texture Fades embossing folder provides scrumptious texture on the bottom of the tag, backed up by plaid from the Christmas Backdrops paper pack. I used Idea-ology Icicles (retired) from my stash – I coated them with Glossy Accents and sprinkled with Rock Candy Glitter.

Lisa Hoel for The Funkie Junkie Boutique  #creativejuicefreshsqueezed  #mymakingstory #tim_holtz #thefunkiejunkieboutique #sizzix

The snowflakes are cut from white cardstock coated with the new Seasonal Sparkle Texture Paste. Icicle Crackle Paste (retired) and Mica Flakes add sparkle to the background sky.

Here are some of the steps in the process:

1) The Sizzix 3-D embossing folders really are fabulous. The detail is amazing! I added some subtle shine to this one by blending Mica Distress Crayons over the top of the embossing with my finger.


2) I actually had some long retired Picket Fence Distress Crackle Paint in my stash that I used on the cathedral window. Nice!


3) I spread a thin layer of Sparkle Texture Paste onto white cardstock. When it was dry, I cut out all the snowflakes. The gold flecks in the paste are so nice!

4) Oxide Sprays for the win! They made the perfect wintery background.


5) Winning some more with the new tree dies! I'll have to do another project where I use the ornaments on the Colorize tree. ;-)


6) Building up the layers on the tag. The ledge is a piece of foam core board supported by layered up Bracket Trims.


Thanks for stopping by. Keep an eye here on the Funkie Junkie Boutique Blog 
because you are now getting regular doses of expanded (and inspiring) content each week. Don't miss it…

Supplies used:  

Tim Holtz Die Set - Forest Shadows
Tim Holtz Die Set - Trim a Tree, Colorize
Tim Holtz Die Set - Decorative Trims
Tim Holtz Die Set - Paper Snowflakes, Mini
Tim Holtz 3-D Texture Fades Embossing Folder - Woodgrain
Distress Spray Stain - variety of greens
Distress Oxide Spray - variety of greens, Weathered Wood, Lost Shadow, Speckled Egg
Distress Paint - Ground Espresso, Bundled Sage
Distress Mica Flakes
Distress Icicle Crackle Paste - Seasonal 2022
Distress Texture Paste - Sparkle
Distress Grit Paste - Snowfall
Distress Resist Spray
Distress Rock Candy Glitter
Glitter Duster
Glossy Accents
Etcetera Bracket Trims
Idea-ology Christmas '23 - Backdrops
Idea-ology Christmas '23 - Pinecones
Idea-ology Christmas '23 - Sticker Book
Idea-ology Christmas '23 - Salvaged Reindeer
Idea-ology Christmas '23 - Alpine Trees
Idea-ology Christmas '22 - Metallic Droplets
Idea-ology Christmas '22 - Icicles
Idea-ology Design Tape - Trims


Monday, November 20, 2023

Teri's Snowy Day Tag

   Hello friends. Its Teri with TerisMailbox presenting this snowy tag for The Funkie Junkie Boutique. I am not a fan of snowy cold weather, but it sure is beautiful!


I have a YouTube Video HERE if you'd prefer to watch the process.


Create the Base

Start with a Mini Etcetera Tag for the base. Cut a piece of White Heavyweight Cardstock the size of the Etcetera tag. I trace around the tag with a pencil and trim to fit.  

Use Holiday Knit 3D Embossing folder to add texture to the Cardstock. Start by running a Tumbled Glass Ink pad over the flat side of the folder. Spritz the tag with water. Carefully line up the tag at the top fold of the folder and run through your die cut machine of choice. Note: some of the tag will hang out as it is longer than the folder. After embossing, trim the un-embossed section off and repeat the process.


Using Collage Medium, attach the two pieces on the etcetera tag and set aside to dry.


Isn't it fun how the inks color the background making the snowflakes and reindeer pop? 

Create the Sled

Use the Sizzix Vintage Sled Die set and cut out all the parts. I used a woodgrain Kraft for the wooden planks, Navy for the metal frame and other colored cardstock for the branches and pinecones. 


The skates are from an early Tim Holtz stamp set CMS 170. I stamped them in Hickory Smoke and added silver ink over the blades.

Glue the pieces together and set aside.

Create the Sentiment

Use the Tidings Die Set to die cut the word Noel from white cardstock and the shadow with a color that will coordinate with the colors already used on the embellishments and tag base.


Line the word up in your stamp positioner and use the Ticking Stamp from Stampers Anonymous to stamp the stripes in Tumbled Glass Distress Ink.

Create the Tree

Select a Woodland Tree and trim the back so it will lay flat against the Etcetera Tag. Use a protective box and spry Rustic Wilderness Spray Stain over the tree to color it. Use a glove to hold the tree if you do not want green fingers!

Once the tree is dry, rub collage medium over the tips of the branches and roll in Mica Flakes on a piece of paper to add snow.

Assemble the Tag

Start by gluing the Noel Sentiment onto the shadow and glue to the base of the Etcetera Tag. This will identify the correct placement of the shelf. Use an Etcetera Bracket and hot glue to the base. Use hot glue to attach the tree to the shelf.


Punch holes in the top of the skates and attach to the sled with twine.  I also added a pair of metal skates from my very old stash of Ideology items.

Glue the sled to the left of the tree at an angle.

Select a paper doll to coordinate with the scene. I used one from my stash, colored with Distress Crayons.


Now for the fun part - adding the snow! Use Snowfall Grit Paste and a pallet knife to add a layer of snow on the shelf a quarter of an inch thick in some spots. Now, add the sledder into the snow so he stand upright and looks like he is sledding!

The last step is to dye seam binding to create a bow for the top.


I hope you enjoyed the techniques used today. Be sure to check out The Funkie Junkie Boutique for all the newest products!

Thanks so much for stopping by today! I'd love to have you follow/subscribe on my social media sites InstagramFacebookBlogger and YouTube all named TerisMailbox. Be well. Be creative!