
It's time for a "Spring Frolic" at TFJB Inspiration Ave, and The Funkie Junkie Boutique has Tim Holtz Idea-ology that fits the theme perfectly! I couldn't wait to get my hands on a few things that are in stock and get started on this Etcetera Mini Tag which I used as my 'vehicle' to carry some Easter goodies!
Hop on & hang on; it's a scroll down this crafty rabbit hole to see how I made it!

I started with some Tim Holtz Etcetera items, and some TH Idea-ology items- new just for Easter!
Here's a list of product links to help get you started:


I wanted to incorporate some of that *retired* TH paper stack...and I found a set of unused flowers in my stash (probably a dollar store find at some point). Tim's new products still go very well with any of his past products!

I did my favorite technique using Glossy Accents to glue and burnish the paperie to the Etcetera pieces with my TH Grip Sander. The shelf is made wider by putting 2 pieces together as one while using a third for the normal bottom shelf holder piece. I like to do both sides of my tags, so I made another 'enforcer' for the backside by tracing the included one made from Etcetera. I then sanded all the front and side- gently and sparingly; just enough to have the words show up, but enough to look aged,

After wiping all the sanded bits and dust away with a dry cloth, I used Walnut Stain Distress Crayon on all the edges and rubbed it into the sides with my finger then heat dried everything. I scribbled some of the Crayon onto my craft sheet, sprayed a bit of water onto it, and used a Water Brush Detailer to get into the areas my fingers couldn't reach into. Again: heat dried everything.

The Etcetera Cathedral Window pack has 6 cuts inside: four this smaller size and 2 large sized. I took this pair of smaller, to stack together making one frame with a plastic (cut piece of trash) to go in between.

I gave both (laser cut- very clean and crisp cuts) a coat of Distress Paint in Picket Fence and allowed that to dry. I heat dried both frames just to make sure the paint was dry before I sculped on some TH Opaque Crackle Texture Paste. This, I let dry completely on its own. After the crackling appeared once dry, I used a Blending Tool to rub a bit of TH Vintage Photo Distress Ink on the front bottom edges for a bit of an aged look. Then heat dried for the last time (to dry the Distress Ink).
*NOTE: Distressing needs to be done BEFORE adding any plastic to keep from melting the plastic!

For the clear plastic, I simply dropped a lot of the 2 Alcohol Inks onto the plastic, and moved it back and forth - allowing the inks to "fight" for their places. I stood the plastic up onto the bottom end to let the excess inks drop off to the paper toweling. Then I set the widow down to let it finish drying on its own.

Once the Alcohol Ink was dry, I used Glossy Accents to put the plastic in between the two Etcetera Cathedral Windows, let it dry, then shaped the wire stems on these,,, felt??...roses, and glued them onto the sides.

Now that the entire background was finished, it was time for the cute stuff! Those TH Tiny Eggs really ARE tiny! They're so cute and since the package has 50 pieces, I used 18 for this project and still have plenty leftover! My own tip for Alcohol Inking these: rub the ink gently with the correct felt applicator/Alcohol Ink Tool. I didn't have mine here with me and paper towels/napkins were used in a pinch, but not as effective in moho.

After the AI was dry, I used my trusty old toothbrush to flick TH Distress Paints onto the eggs: Black Soot onto the blues and Picket Fence onto the pinks. I heat dried them all very gently- just to keep the paint on. I did do all sides of the eggs. It was a quick job since they're so tiny!
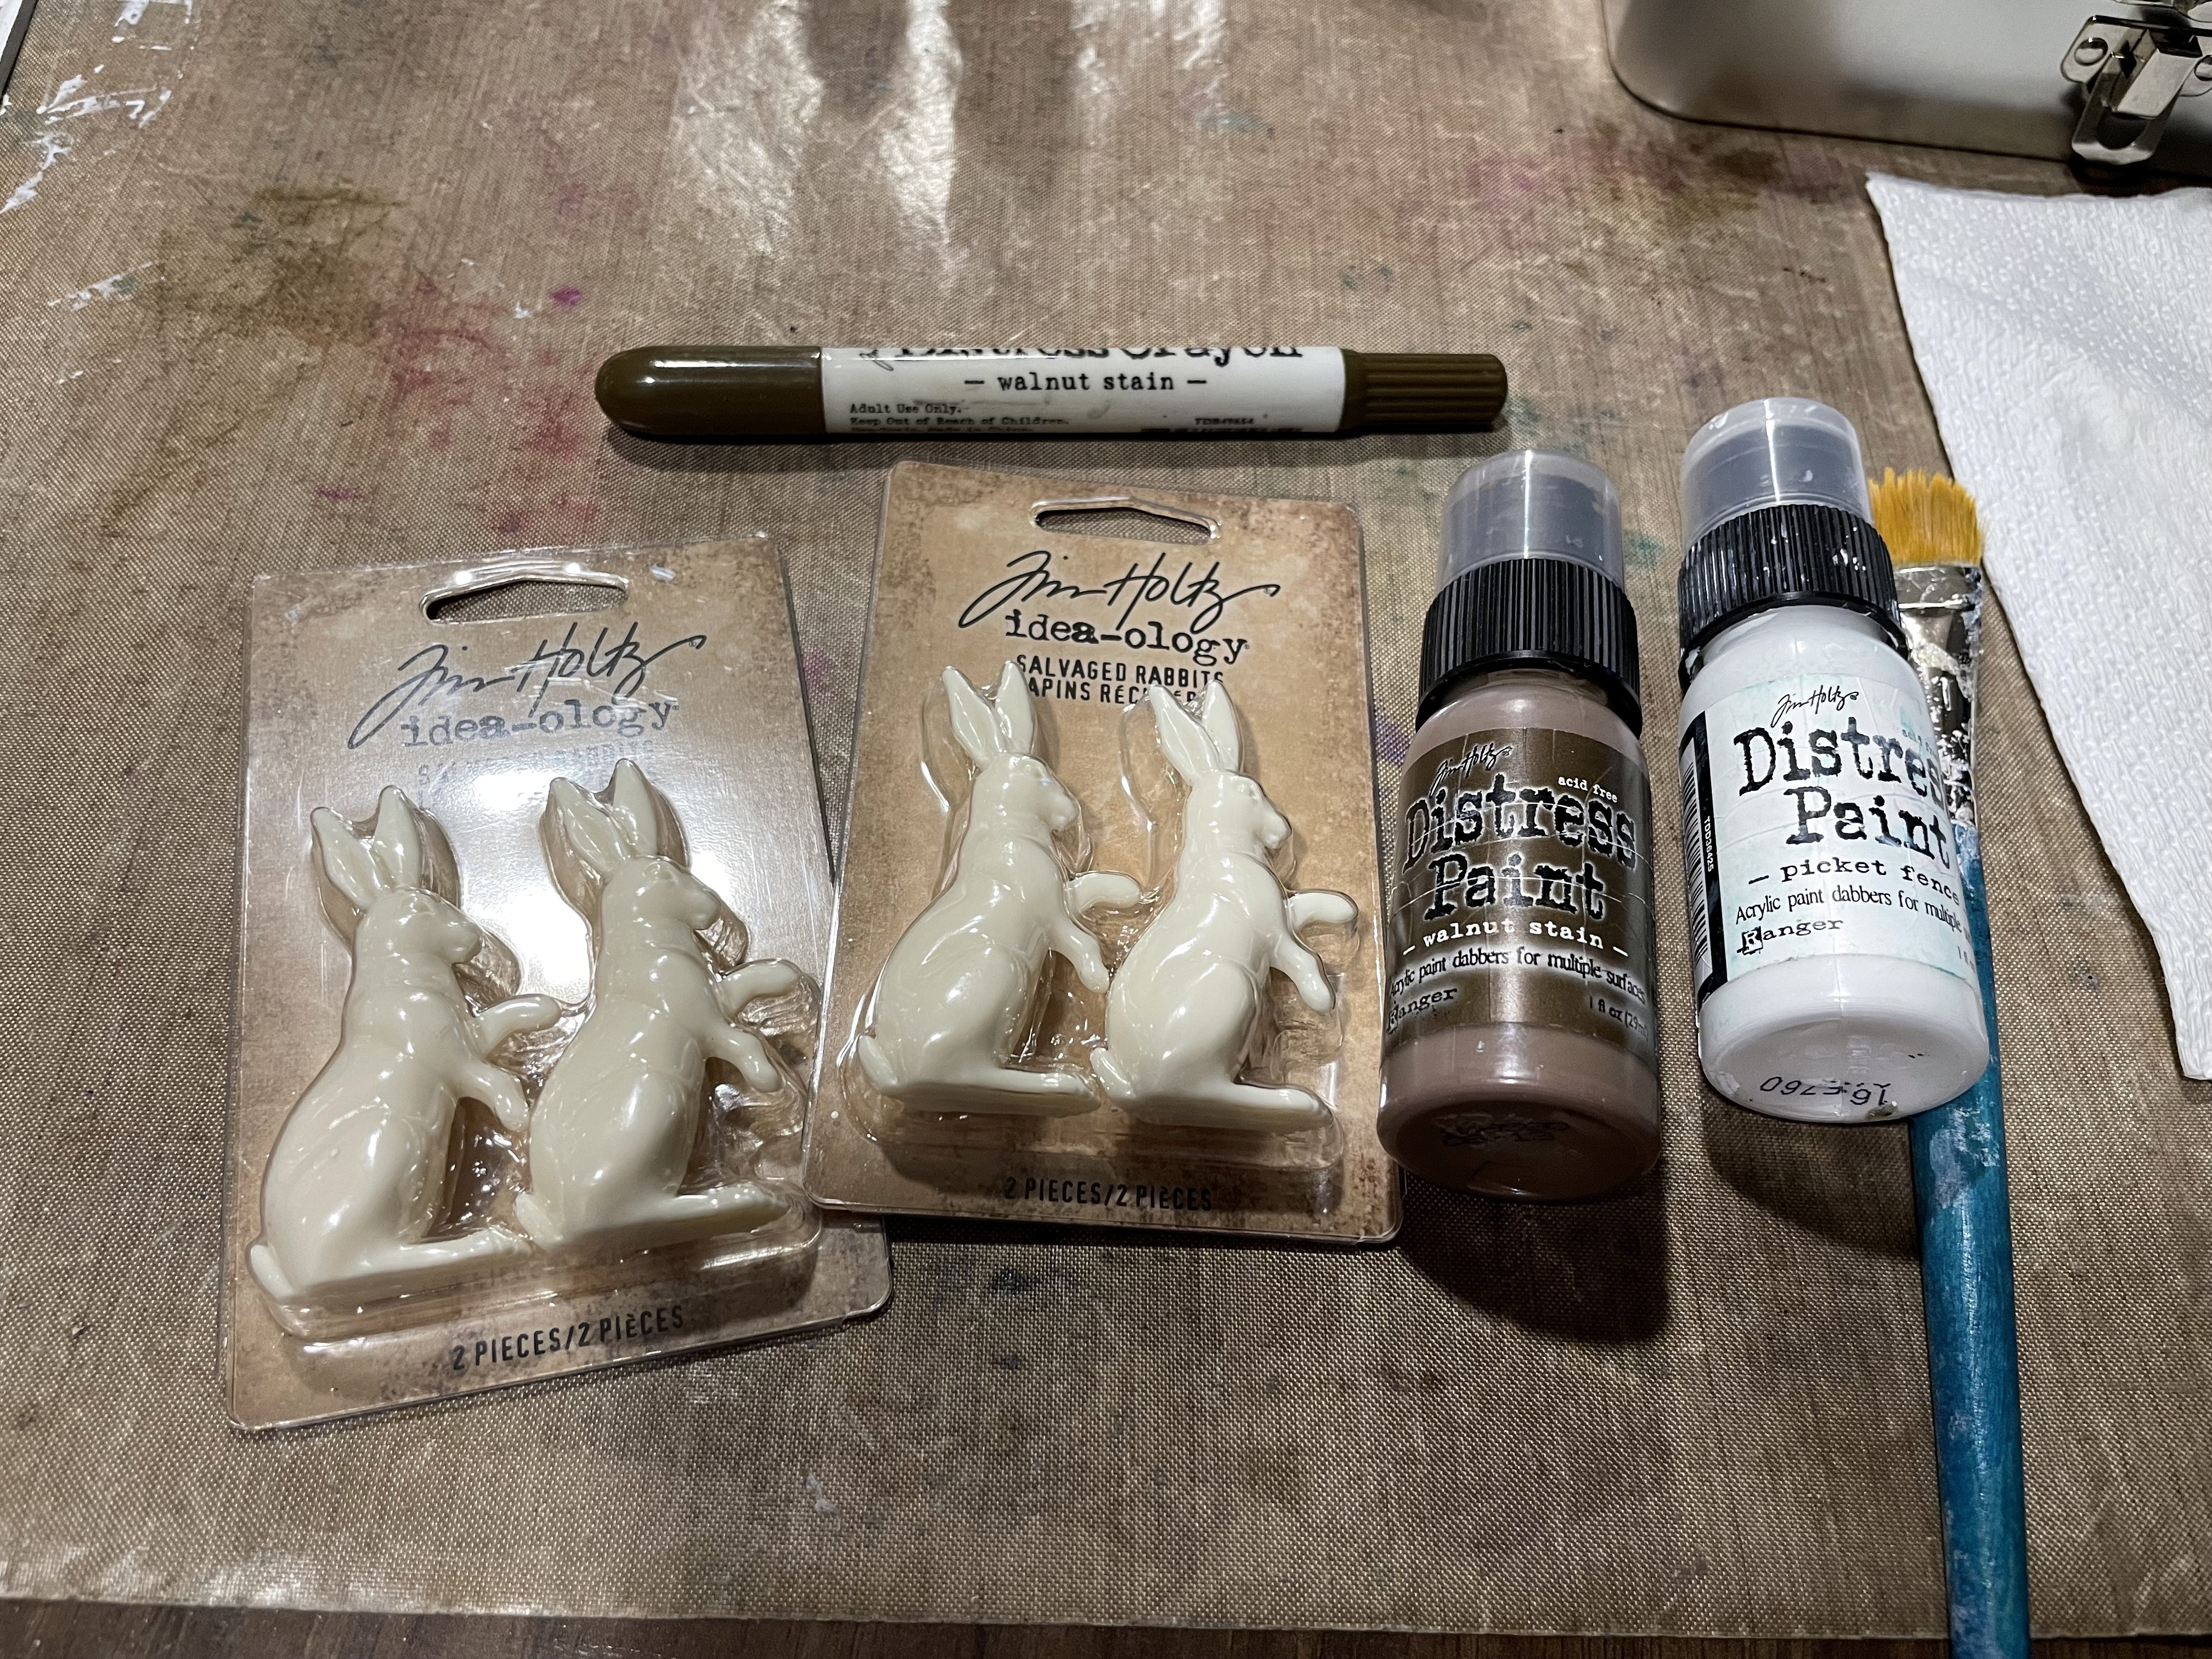
Next: those silly wabbits of Tim's! These Salvaged Rabbits are the cutest things he's made yet!! I wanted "chocolate" bunnies but did wonder about making white paws. I stuck with my original intent: milk chocolate bunnies with nothing but Distress Paint Walnut Stain.

This time, I decided to try out the tip on painting Idea-ology figurines: I used my tape runner to add just a tiny strip of tape to a lid (of anything, really), then topped the Salvaged Rabbits on and it really WAS easier to paint them!! I didn't need to do anything else to them (other than rip up some included-in-your-order-freebie-ribbon from The Funkie Junkie Boutique to use as little scarves to identify each bunny: as each of my Grandbabies)!

For the TH Chip Quote: A bit of color around the sides and a little "aging"...and that's that.
Check out this adorable hanging display Tag!

Front


This bit of old stash ribbon made the perfect hanger!

This is Princess Chloe and Big Bubby Peanut! I did get a bit of glue stuck onto the egg here: I used my hot glue gun for this since it held fast better. I hate the glue strings that I always forget to get off before the photos. A bit of moss from my walks below the Spanish Moss trees; dried out and then stuffed into the TH Idea-ology Barrel, gave the Tiny Eggs a bit of a lift. I used some Walnut Stain Distress Crayon rubbed hard into the grooves then heat dried it. Gave it some more depth.

And here's Princess Rose with Big Bubby Pecan!

Back
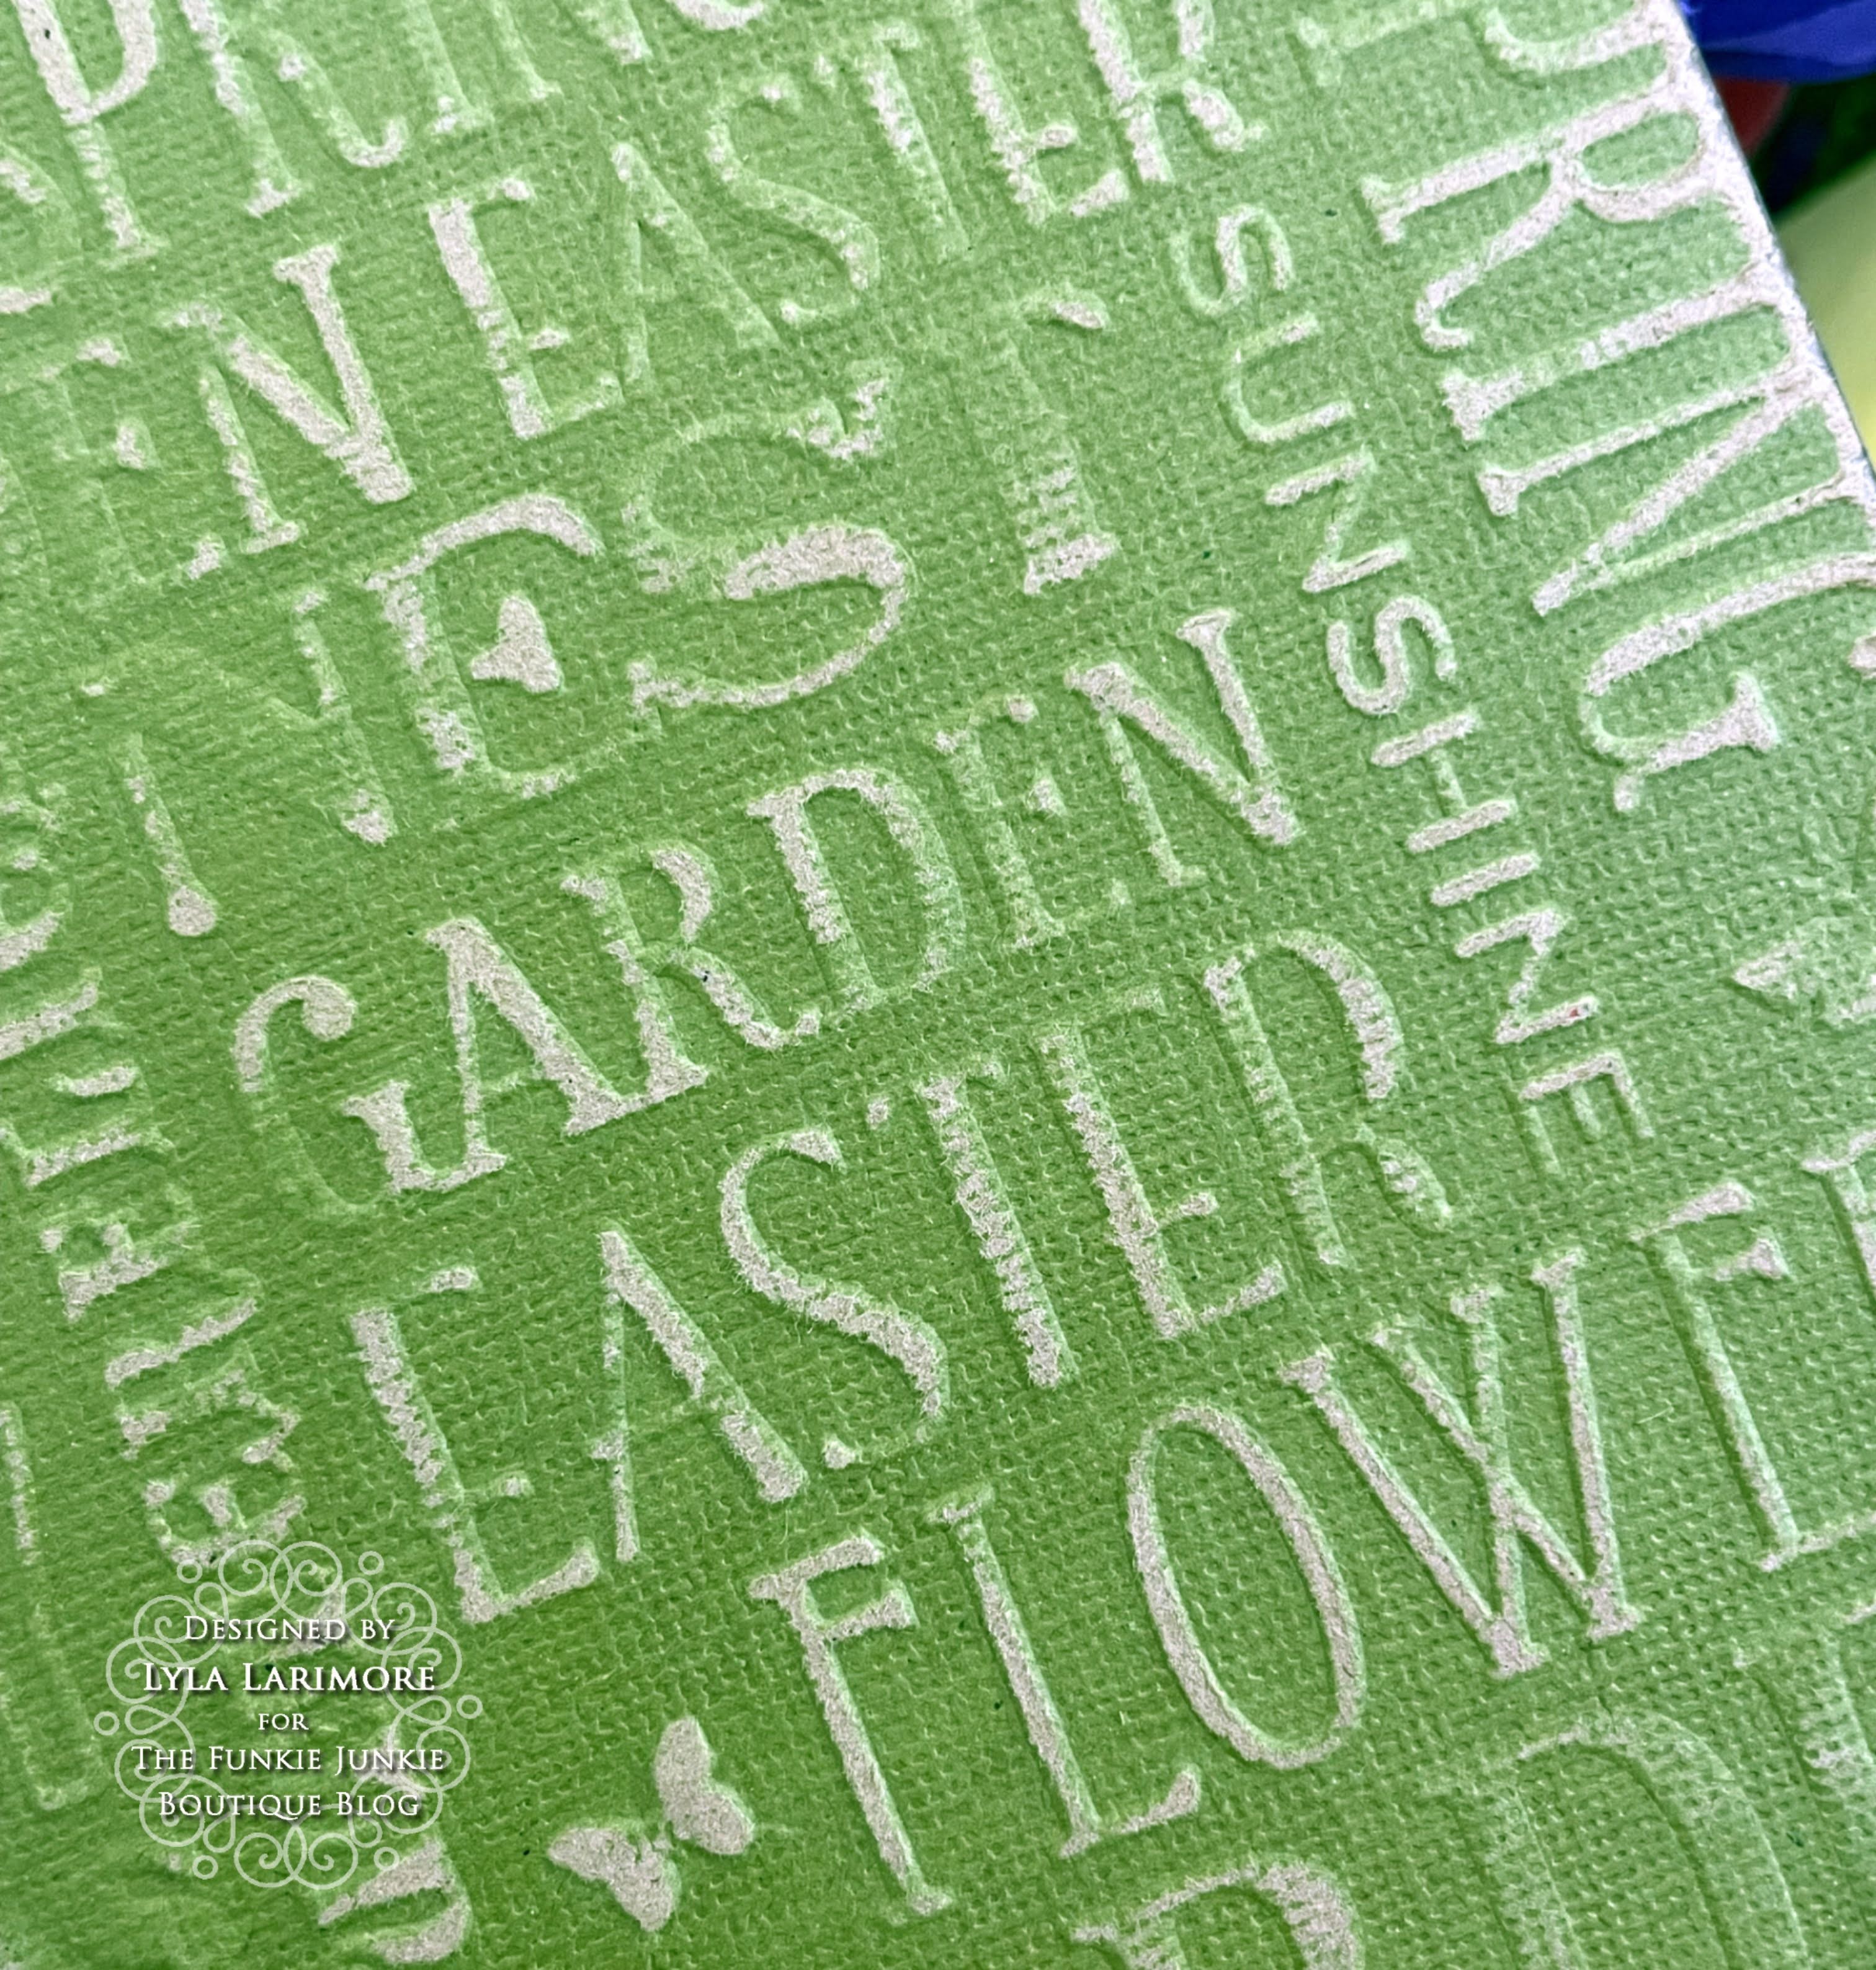
The color changed from better lighting, but you can see how the wording all applies to SPRING!
Thanks so much for joining me on this Spring Frolic! As always: be sure to pop back in over at
TFJB Inspiration Ave for more great projects & tips from the rest of the awesome Design Team from
Until next time...
Stay Safe &
HAPPY BLOGGING!!
Lyla
No comments:
Post a Comment