
I'm sharing a fun and easy portfolio mini album with you today. It's filled with all kinds of Spellbinders (and Prima) goodness!


Cut a piece of design paper to 12 inches wide by 9.5 high. Score the 12 inch (width) side at 1/4 inch, 6 inches, and 11 3/4 inches. Score the across the 9 1/2 inch (height) side 3 inches from the bottom. Fold at all score lines.

Fold paper in half at the 6 inch mark. Place Spellbinders Curved borders One die at edge of the 3 inch score mark. Tape in place with repositionable tape. Die cut in machine of your choice.

While paper is still folded in half, cut the 1/4 inch score lines 6 1/2 inches until you reach the top of the pocket. Distress all exposed edges with Tim Holtz Distress Tool.

Apply strong adhesive to front tabs of pocket. Fold up at 3 inch score line to create pocket. Fold tabs over and adhere both sides to the design paper below.

Fold page in half at the 6 inch score line. Now you have a portfolio folder with a pocket on each side. You can make as many or as few pages as you choose. For demonstration purposes I have 4 pages.

Binding the album is simple, but explaining it makes it seem more complicated than it is. Decide which order you wish your pages to be in. Beginning with the page you will use as your cover, apply about 3/4 inches of strong adhesive all the way down the edge of the BACK of the page on the side with the opening.

Adhere page two of your album to the cover page. It will look like the photo below.

Adhere all pages in the same 'accordion' manner. When finished it will look like the photo below.

Next adhere the back edges of your album with strong adhesive in the same manner. When complete you will have a flat album as shown below.

Cut and distress a 6 by 3 1/2 inch piece of design paper.

Adhere strip of paper to back of album to create an attractive spine.

The photo below demonstrates the way your bound album will appear.


Cut two of the largest squares from Label 49 Decorative Elements. Adhere them in a staggered manor as demonstrated below.

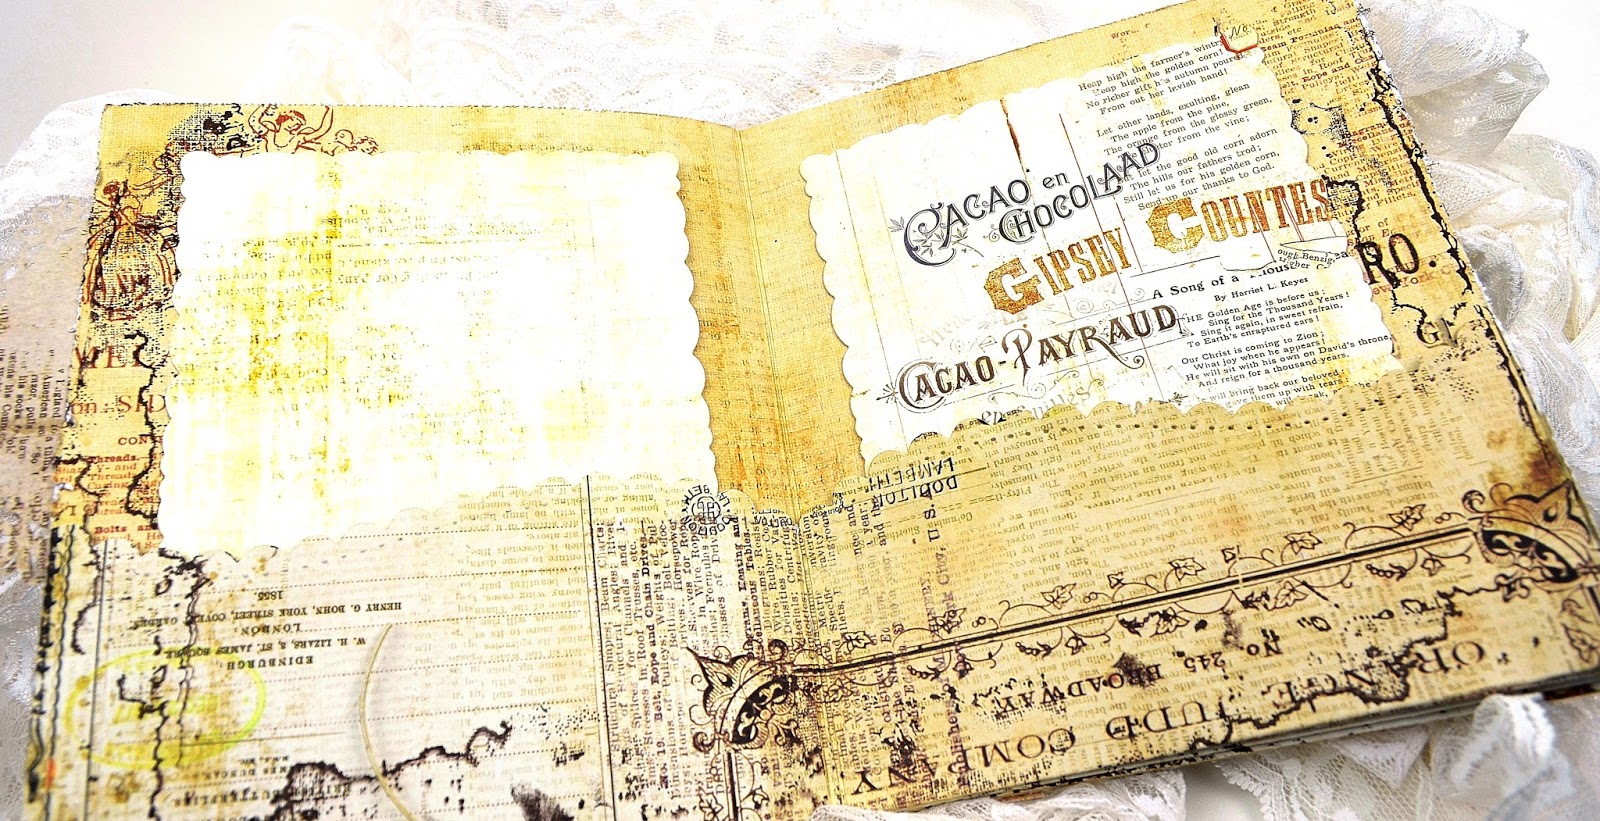
My new favorite stamp is Tammy Tutterow's Big Fabric Background stamp. It's inked up with Walnut Stain Distress Ink and the album is stamped inside and out to add a distressed feel. I use just the edge of the stamp that looks like water stains.

Below is a photo of the stamped front cover. I'll show you the inner pages individually at the end of the post.

Cut the largest Spellbinders Oval Floral die from design paper and cut the piece in half.

Adhere both halves in a staggered manner as shown below.

Grab some pretty paper flowers (or make some!)... Your choice.

Cut 8 of the largest rectangles from Spellbinders Romantic Rose dies. Create 4 in plain paper (for journaling cards), and 4 in patterned paper (for photo mats).

Arrange your flowers and adhere them to the album. I can never resist adding a bow.
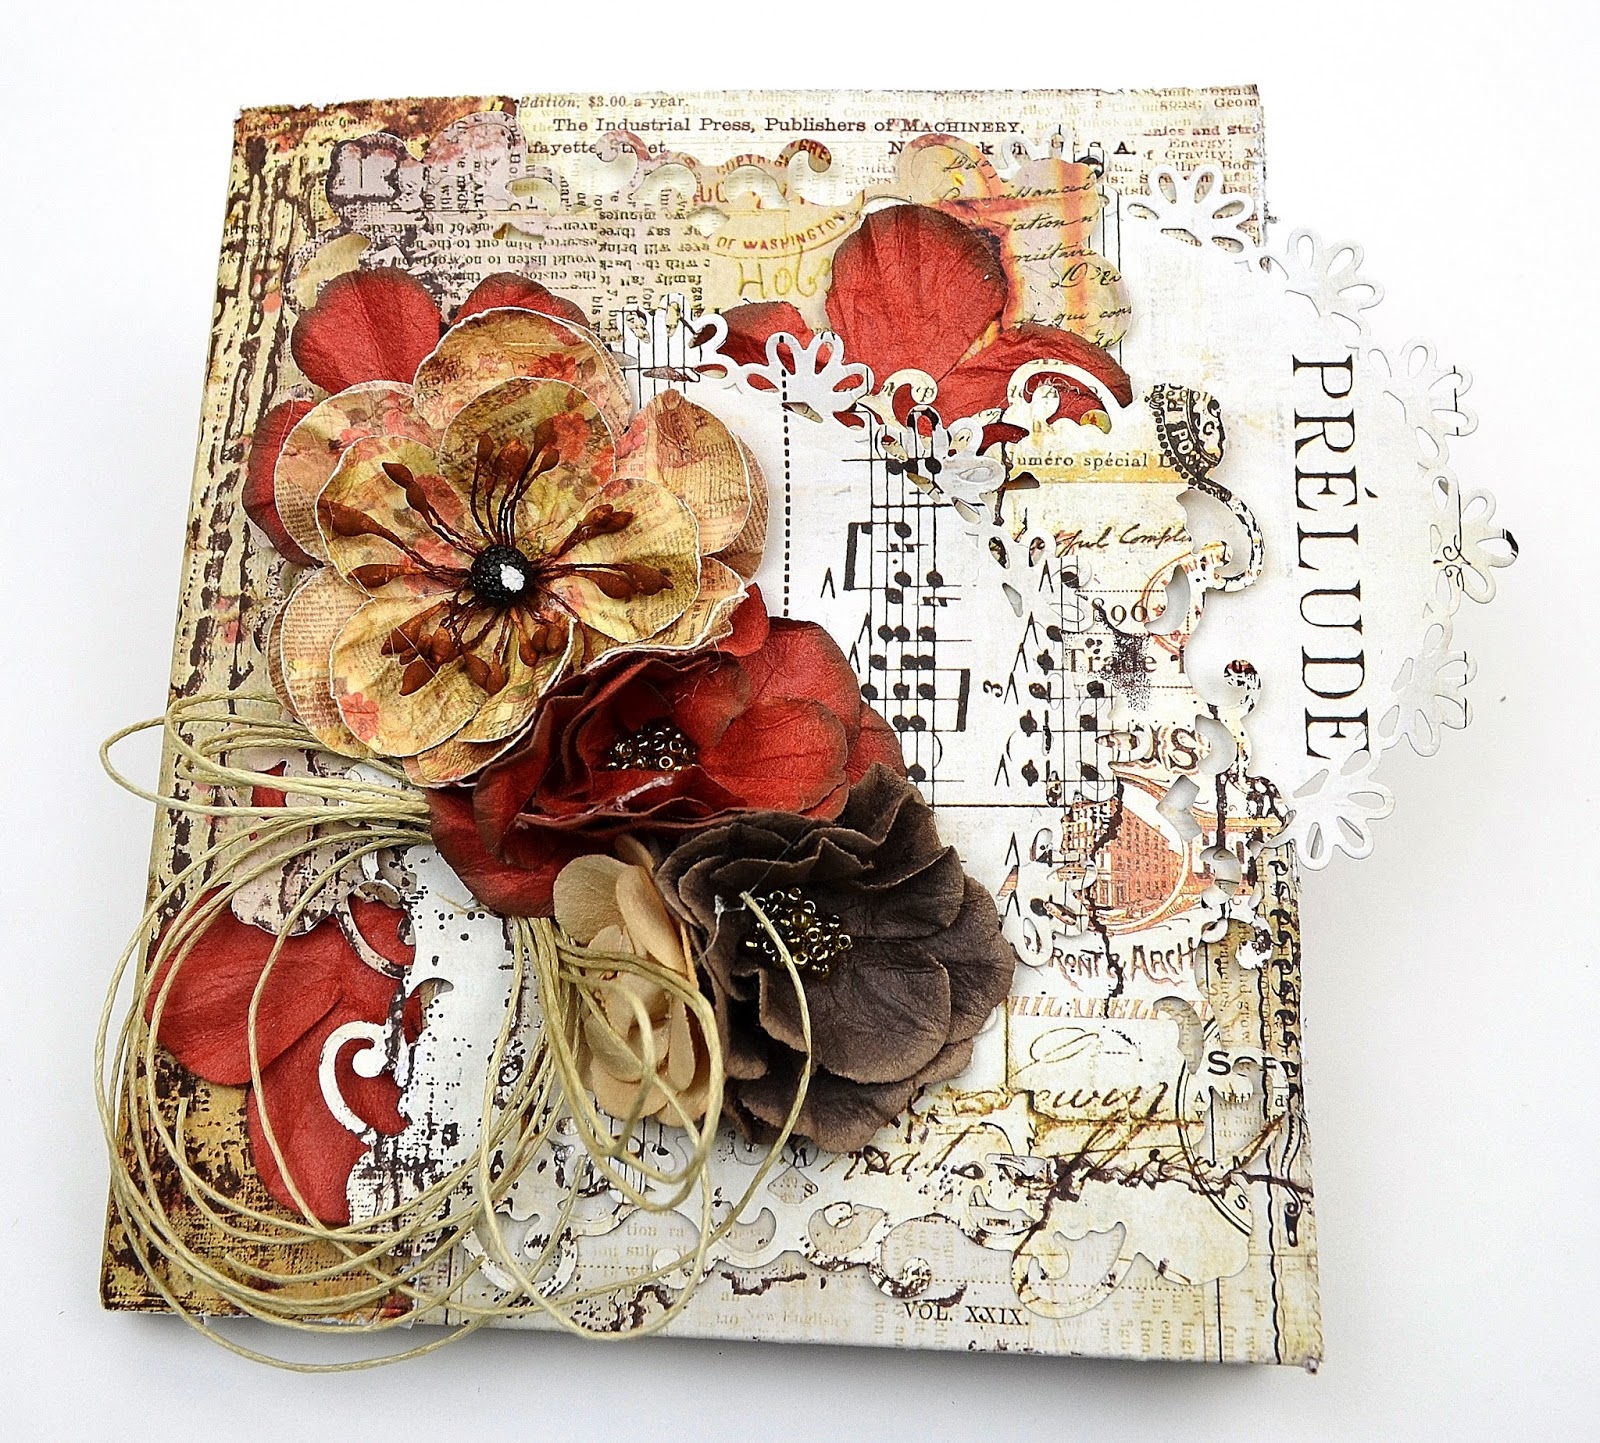
I also can't resist some last minute bling! Below are photos of the finished project.


Hugs,
Nancy
 |  |  |  |  |
 |  |  |  |  |
 |  |  |  |  |
 |

WOWZERS Nancy!!!!!!!!!! This is GORGEOUS!!! And your tutorial is so helpful for recreating it too. Thank you so much for sharing xx
ReplyDeleteThank you so much, Jenny!
DeleteFabulous little album and a great tutorial. Love the colours and papers you used to create this beauty.
ReplyDeleteHugs!
Cec
Thank you so much, Cec!
DeleteLoved your project to bits Nancy. Thanks for explaining so well and as always your flowers and embellishments add such warmth to your projects.Hugs, Rupa.
ReplyDeleteThank you so much, Rupa!
DeleteI love this tutorial! I love simple albums where the patterned paper does all the work, without lots of matting. Great one! And I just knew you made these flowers, but am glad to see I can pick up some of these at the FJB! ;0
ReplyDeleteThank you so much, Autumn!
DeleteNancy your album is just AWESOME. I love all about it. Your flowers, the decorative Spellbinders elements. Everything just match perfect.
ReplyDeleteThank you also for an easy to follow tutorial.
Thank you for sharing your creativity. It is so inspiring.
Hugs from Monica
Spain
Thank you so much, Monica!!
DeleteFantastic!
ReplyDeleteThank you so much, Patty!
DeleteHoly smokes...this is beautiful! I love all the pretty papers and you did an amazing job with the dies! I love the flowers and all the gorgeous details...wonderful tutorial!
ReplyDeleteSherrie K
Thank you so much, Sherrie!
DeleteNancy, your little album is exquisite and thank you for sharing your wonderful tutorial! x
ReplyDeleteThank you so much, Anne!
DeleteThis is beautiful! Will go back and look at instuctions again later. Thank you!
ReplyDelete