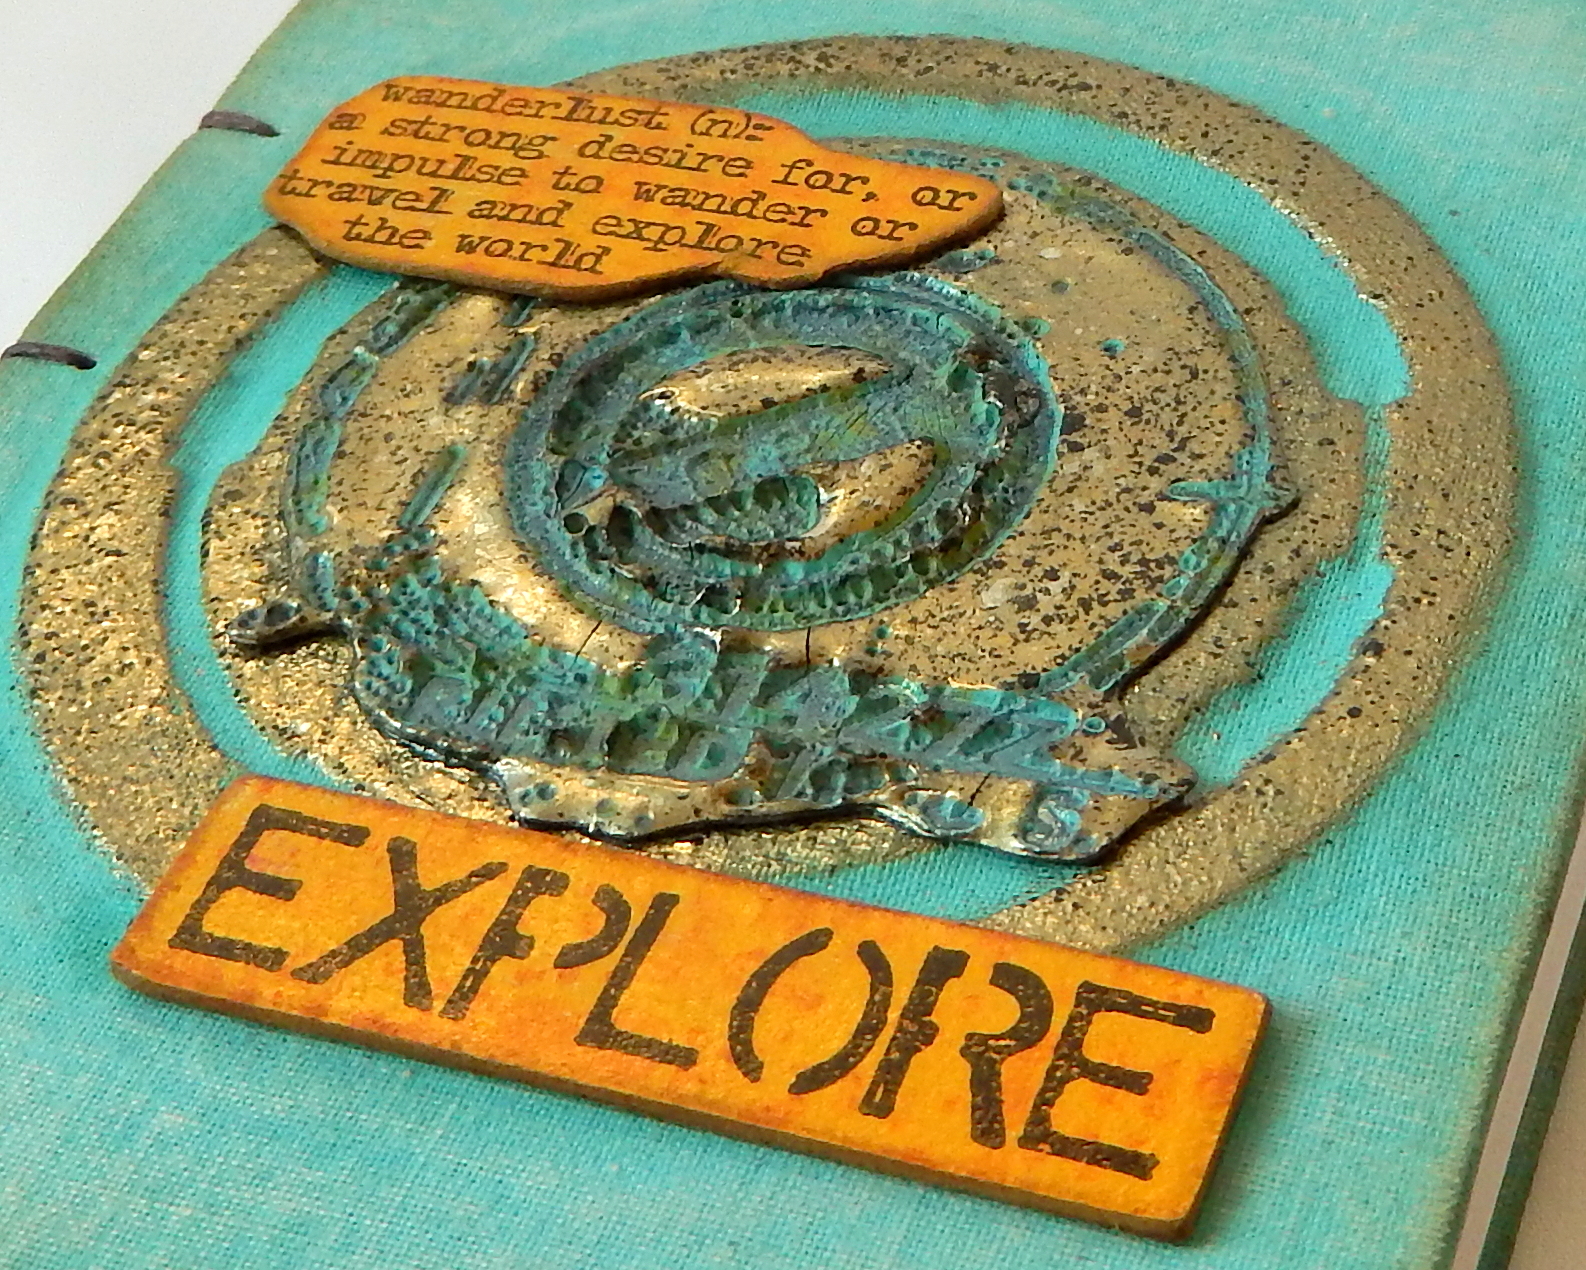
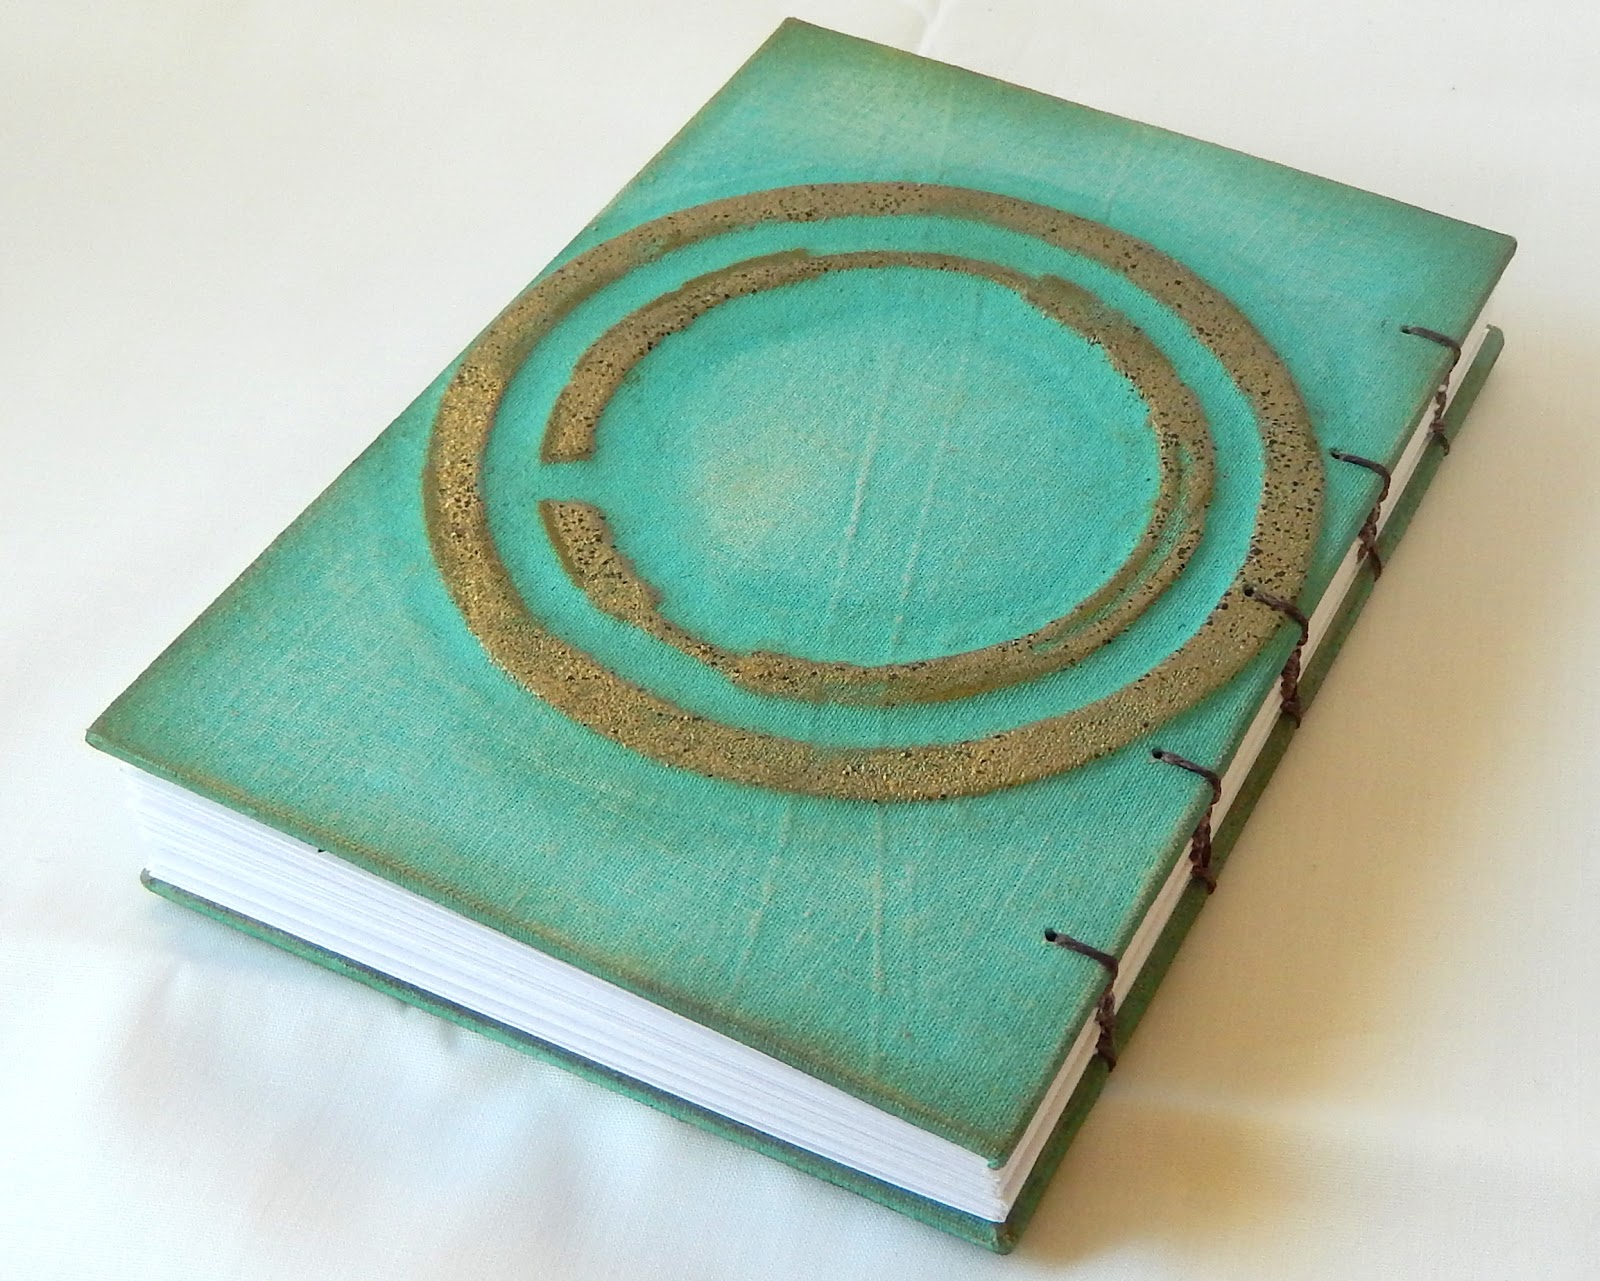
I am totally in love with making books large and small, so this seemed like the perfect opportunity to experiment with Seth's stamps and dies and a whole bunch of textures. Here's the book we will be making in this tutorial;
Let's get started. Use the outside ring from the Steering Wheel die set and the outside ring from the Robo Ring dies set to cut three large circles, three inner circles and three connected circles from card as shown. Stack each set together and glue.
Cut a piece of 8.5 x 11 inch or A4 stiff board into four pieces. Glue the two separate circles onto one quarter of board and the connected circles piece onto another quarter of board. Stamp one of the circle designs from the Rotators stamp set into the centre of the connected circles shape using archival ink to ensure the line is parallel with the bottom of the board.
Take pieces of plain calico or muslin large enough to cover the card and wrap around to the other side. Use Glue n Seal or similar to stick the fabric onto the card, adding a layer of glue both under and over to really soak in. Use a rub on tool to push the glue soaked fabric into the die cut areas and wrap the spare fabric around the back of each piece of card. Allow to air dry.
Paint the dry shaped fabric with Broken China Distress Paint and blend some Peacock Feathers Distress Paint along the edges of the die cut shapes for definition. Allow the paint to air dry.
Use a sanding block to rub away some of the paint and create an age worn look.
Blend Tree Branch Archival Ink over the raised die cut areas and onto the edges of the cards.
Cover the raised areas with embossing ink and sprinkle with Charred Gold Embossing Powder. Remove excess powder with a brush then heat set it.
Stamp the same Rotator image onto a piece of card using archival ink. Cut around the image .
Cover the card with embossing ink and sprinkle with the Charred Gold Embossing Powder before heat setting it. Repeat four times to build up the depth of embossing.
Cover the same Rotator stamp image with archival ink. Heat the embossed surface until molten and press the stamp into it. When cooled remove the stamp.
Apply Peacock Feathers, Broken China and Peeled Paint Distress Paint over the stamp and press into the embossed surface to give a verdigris look.
Glue the embossed piece on top of the connected circles embossed cover, matching the shape where the initial stamping was. Colour two small pieces of card with Fossilised Amber Distress Paint then stamp in Red Geranium Archival Ink with the French Text stamp. Then in Black Archival Ink stamp two of the quotes from the Tim Holtz 'Life Quotes' stamp set and cut around them, edging with Potting Soil Archival Ink. Glue onto the embossed areas. Bind the book covers to paper signatures using your choice of binding method (I used Coptic Stitching but other methods can also be used).
And here's a reminder of what the completed notebook looks like;
This first book was such fun to make that I went on to create two further notebooks using different textures and embossing powders.
For this one I covered the pieces of board with Texture Paste before adding a mix of Broken China, Peacock Feathers, Evergreen Bough and Tumbled Glass Distress Paints over. Rust alcohol ink was then dripped over the surface with water. I used the same method as before to create the central embossed Rotator, this time substituting in the Oil Rubbed Bronze Embossing Powder. That same embossing powder was also added to the large die cut Robo Square around the outside and the stamped dots border, created using the Spotlights stamp set. The lettering used card coloured in the same way as the previous notebook.
And here's the second notebook using Seth Apter's range. This one got slightly more complicated with three layers of detail;
The fabric on the top is a discarded wet wipe though you could create something similar with a mix of Shabby Shutters and Scattered Straw paints/inks. I stamped a couple of different images from the Spotlights stamp set using Cornflower and Red Geranium Archival Inks onto it after trimming to fit the front and back covers. You'll see another of those embossed Rotators, created in the same way as the first one but this time substituting Burnt Copper Leaves Embossing Powder. The self adhesive dots were coloured with a mix of Rust and Pitch Black alcohol inks and Gold Mixative. The words were from the Life Quotes set, this time using a combination of Red Geranium ink on Fossilised Amber paint and Fossilised Amber paint on Broken China paint.
Below the fabric layer, the base board was painted with a mix of Broken China, Tumbled Glass and Vintage Photo Distress Paints before being stamped with the French Text in Potting Soil Archival Ink and more of the Spotlight dots in Cornflower Blue Archival Ink.
Well, we covered a lot of different design ideas there didn't we! I hope you've enjoyed today's tutorial. Remember, lots of products in the Seth Apter range have that extra 15% discount added at The Funkie Junkie Boutique through May 25th. And if, like me, you are already hooked it's a great time to stock up on those designs you don't have yet!
Thank you for joining me today. Have a great weekend, take care of yourselves and get creative xx


Wonderful designs Jenny. Love the idea of covering the base layer with calico and building up the layers. The stamping into the embossed surface is always a winner! Xx
ReplyDeleteThank you Nikki! xx
DeleteGorgeous Jenny, adore the colour combination and the deep embossing. Great depth and composition . Love how,you showcased Seth's products. Tracy x
ReplyDeleteThank you Tracy xx
Deleteok 2 of my favorite people together in multiple projects. I almost can't stand it!! Do you ever sleep? I definitely need to follow this tutorial & make some for me cause they are too fabulous. Jaw hits floor...
ReplyDeleteThank you Karen! (and no, not much ;) ) xx
DeleteYou are a book making machine Jenny! Each one of these gorgeous books is like a work of art, I love how you used the fabric on the first one, the squares look amazing on the second on and the third one- so clever to use those baby wipes... Stunning work!!! Anne xx
ReplyDeleteThank you so much Anne. They were great fun to make xx
DeleteI'm with you, Jenny...I loooove making books. The binding on this is gorgeous, and you always make these geometric designs look so fabulous. I love the color palette, too. Brilliant!
ReplyDeleteThank you Kathy. So glad you like them xx
DeleteMerci pour ces explications , très joli travail des matières , Magnifique , belle journée à vous , Florina
ReplyDeleteMerci beaucoup Florina. Je suis tellement content que vous les aimiez xx
DeleteAll 3 are fantastic . LOVE Tfs x
ReplyDeleteThank you so much Amanda xx
Delete