

I had recently acquired some of the new stencils and stamps from The Funkie Junkie Boutique and couldn't wait to create an underwater scene using the new watery background stencil.
I started with mixed media paper to give my tag a nice sturdy base.

2. Because of the size of tag I like to create I had about a 1/2" of paper not inked up from the stencil. I decided to sponge it blue to start with. I masked off the stenciled part and sponged with the dye ink.
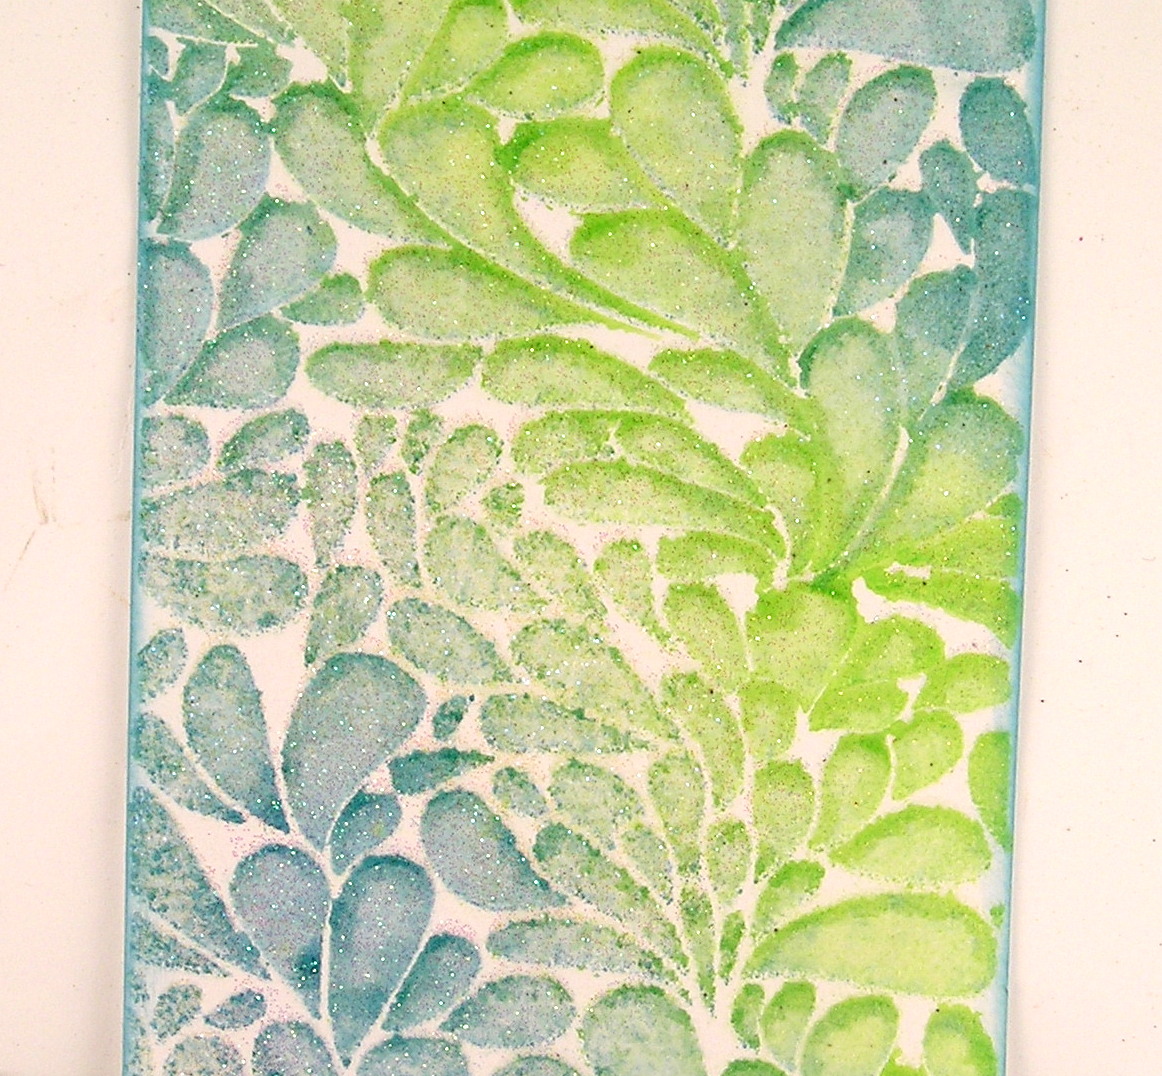
3. My next step was to create a shimmery effect to make the tag look more like a magical underwater adventure. I placed the stencil back over the inked surface and sponged versamark watermark ink over my sprayed surface. I then removed the stencil and sprinkled the entire surface with a glittery embossing powder. You can do something similar with clear embossing powder and heating it up and while it is still moist sprinkle a clear fine glitter over the surface.
3. Stamp the octopus using black archival ink on mixed media paper.


6. The blue trim along the top needed a punch of black. I stamped the manufacturing label on mixed media paper using black ink. I repeated this twice. I cut to fit the top and bottom of the tag. I colored with a waterbrush and colored pencils.
7. Create two black stripes by masking the stamped image and smearing black archival ink along the bottom.
8. Cut strips of cardstock and sponge black to match.


11. Die Cut leafy background piece. Spray with coordinating distress stain sprays. Sponge edges with black die ink. Stamp Manufacturing label over leafy die cut using black archival ink.

I hope you enjoyed our scenic route via the underwater adventure. The products used are listed below. They are available at 20% off list at The Funkie Junkie Boutique.
Suzz
 |  |  |  |  |
 |  |  |  |  |
 |  |  |  |  |
 |  |  |  |  |

WOW Suzz!!!! LOVE the way this tag looks and the tutorial is fantastic. Brilliant idea for using the clear gemstones too - nice finishing touch! Thank you for sharing xx
ReplyDeleteTerrific tag, Suzz. Love the colors and the sparkle really lights it up. I had that same stencil out last night playing with it. It's a new favorite of mine. I'm really partial to the octopus too. What a fun Saturday SxS!
ReplyDeleteHugs,
Linda
Fabulous tag. I love everything about it. Thanks for the tutorial and the inspiration.
ReplyDeleteBrilliant Suzz, the octopus is a fabulous image to work with and the background is stunning xxx
ReplyDeleteYour underwater adventure is just incredible Suzz, LOVE it. That stencil really does create the most beautiful water like effect and the octopus is fabulous - great step by step too! Anne xx
ReplyDeleteLove the way you did the background Suzz, and wow, the way you managed to fussy cut that octopus is so clever, it really pops against those lovely watery background hues. The overall effect on this tag is just stunning! Thanks for the inspiration!
ReplyDeleteSuzz, I've looked at this gorgeous tag several times this week. I'm just mesmerized by that gorgeous inky background and the fabulous color palette. But that stamped/fussy cut octopus wins you the Stamping/Fussy Cutting crown. What a wow!
ReplyDelete