

"All About Love" is the theme for The Funkie Junkie Boutique's Design Team. Lyla here and I'm kicking the 2 week period off with an easy make that pairs up my favorite crafting designers, Eileen Hull and Tim Holtz. I got out my Skinny Mini Book Box die (Eileen's) and started out with a sweet surprise gift from a Bestie last fall- a retired stash of 12x12 Tim Holtz Paperie! I know, right...goosebumps of excitement!

The Skinny Mini Book Die is really easy-peasy to put together. The great thing about this die is how versatile it is! Now, I know you've heard me say that about several of these XL Dies, but it's true. This die can be either a book box, a book, or- as you'll see here: a gift box! To understand my project better, it's best to see Eileen's video first. (FYI: Closed Captions are available on Eileen's videos as well as Tim's!)

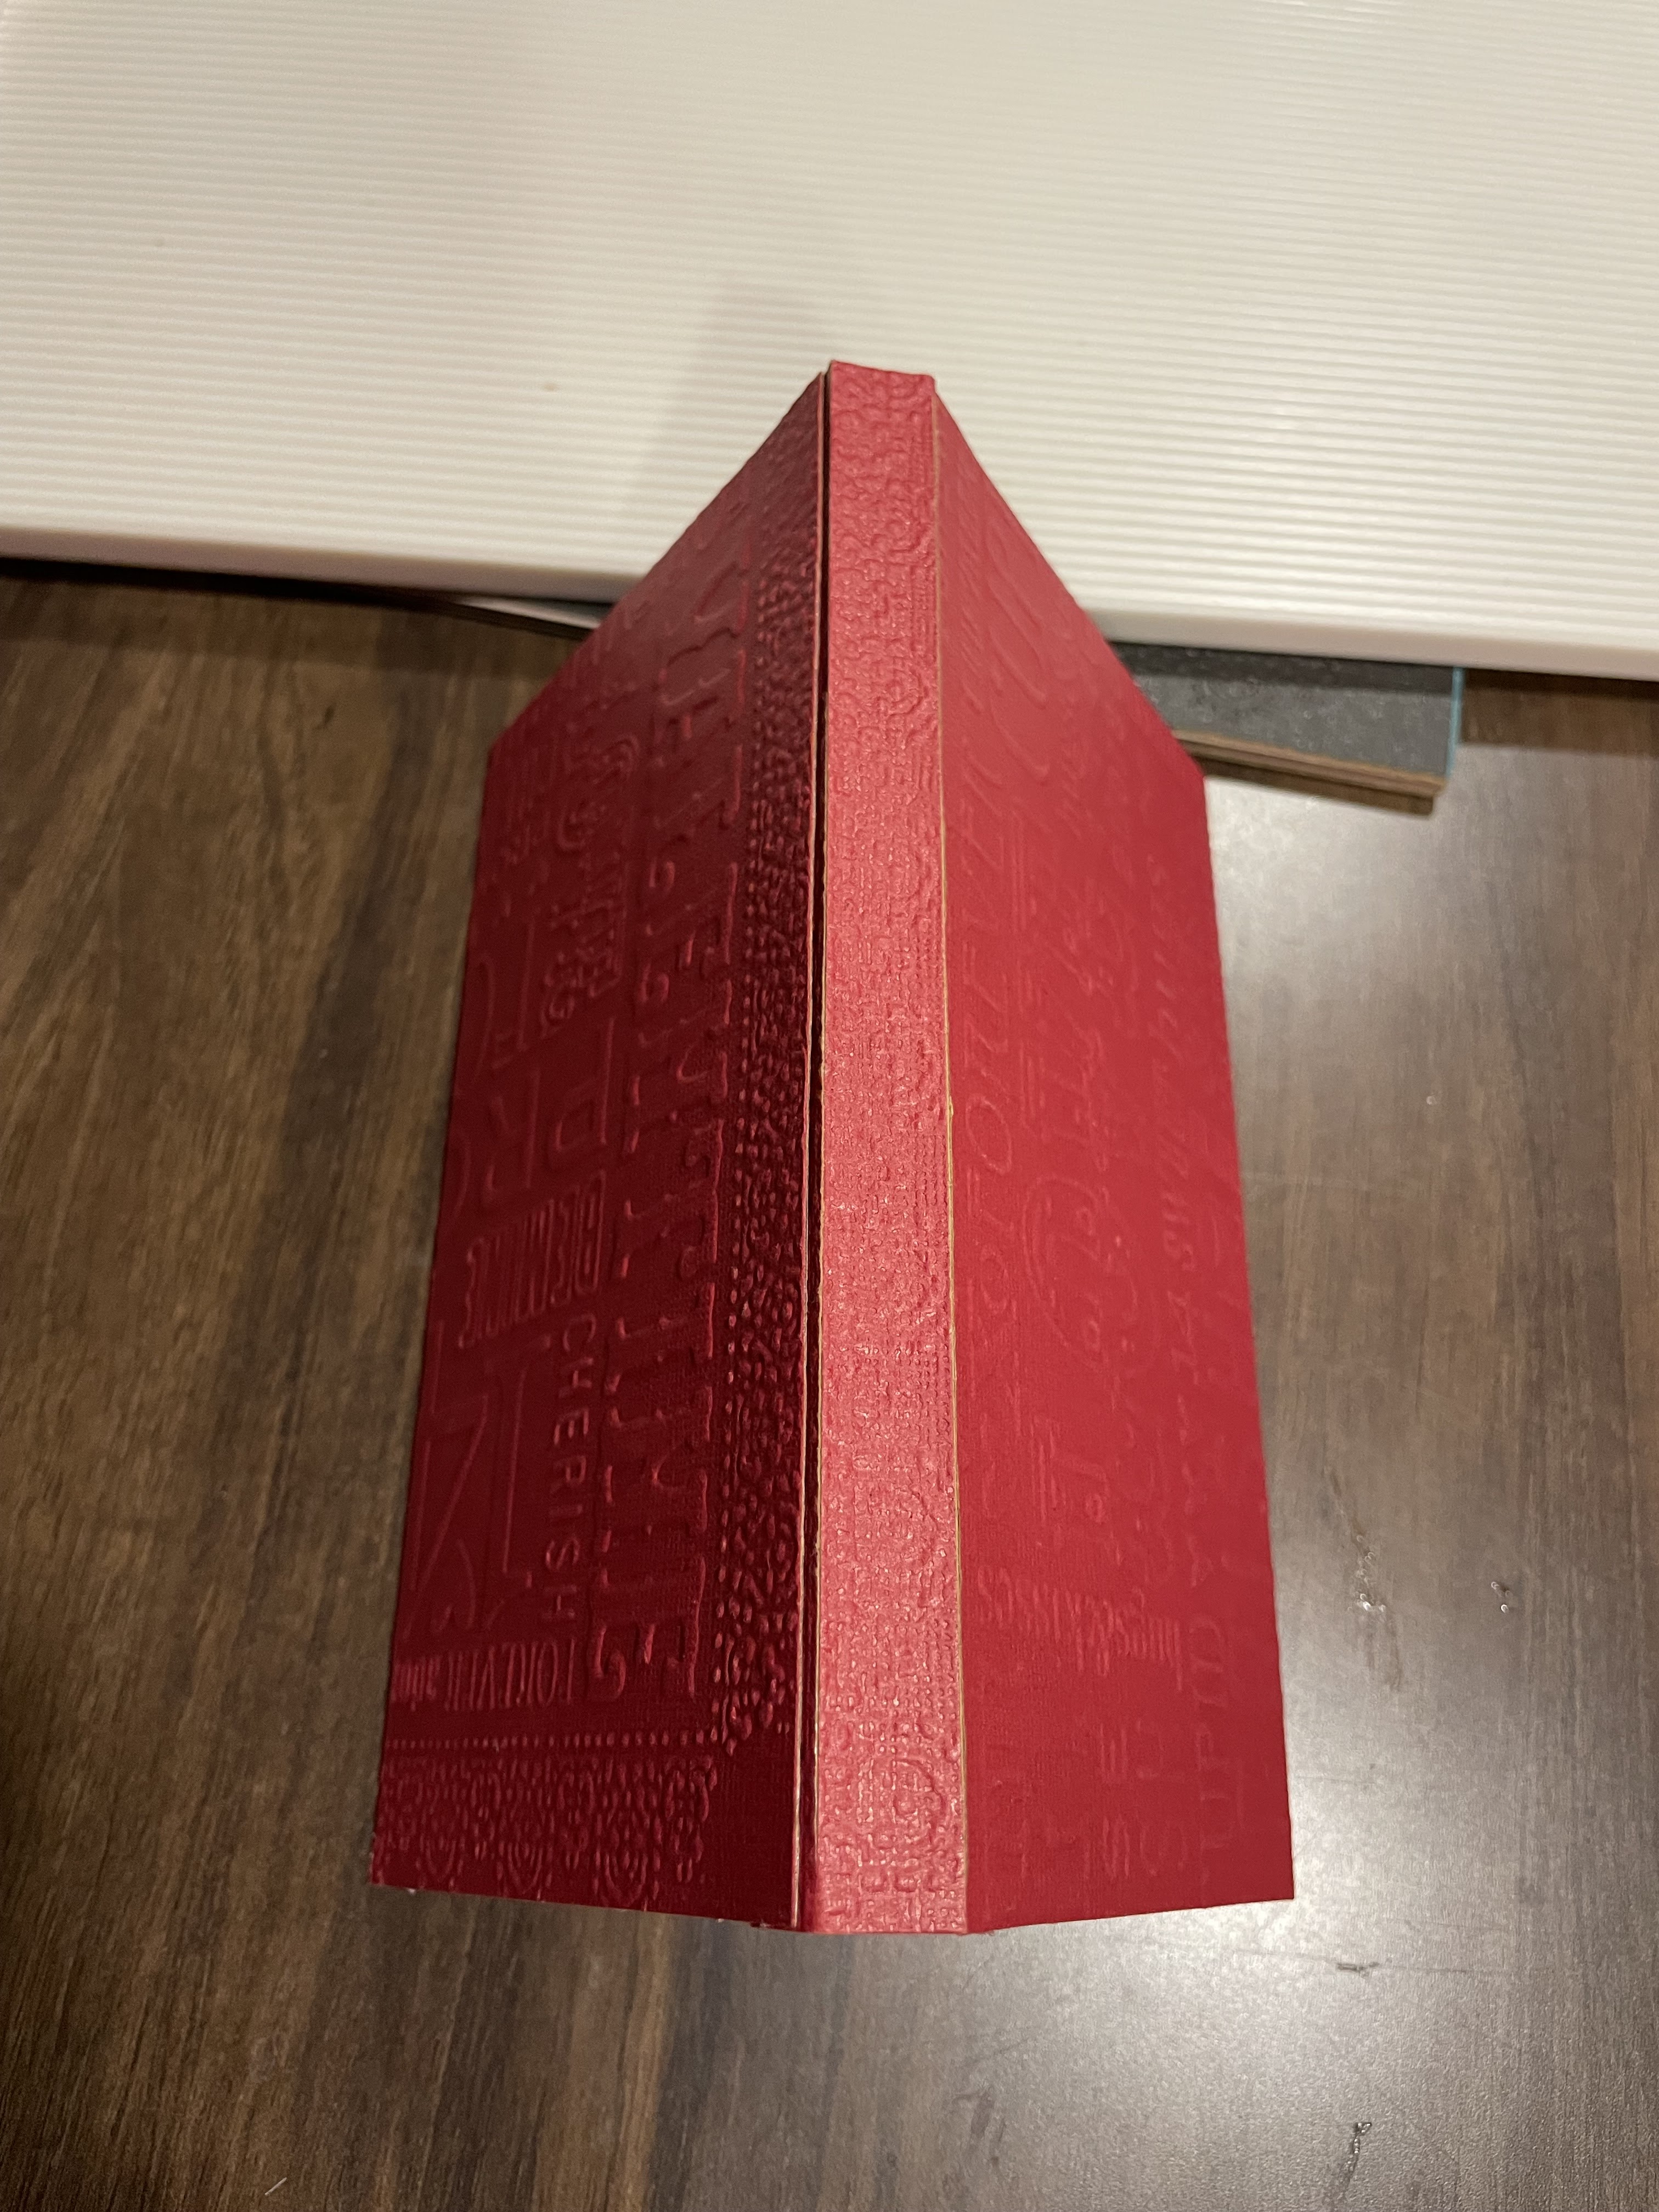
The first thing I did was to use the die to cut matboard, making a shell cover the size I wanted. In this case, I trimmed off everything past the first fold on the spine creases. (If you're into measurements, it's probably 1/4 inch.) Then assembled the two "book cover" pieces as usual to make a book shell. I'm using Score Tape here - it sticks VERY well without warping your project.

This photo shows the inside of the book cover shell. The matboard gives me a firm material for my gift box. Then set this aside for the next step.

There were 3 sheets in the 12x12 stack for Valentine's Day, in black, red, and pink. I set aside the black for now and took both the red and pink, cutting a full set of each to form both front and back covers, as well as three sides of a box.
I cut each piece according to what the design had on the sheets. Each sheet was exactly the same design and wording, so it was easy to simply match the top and bottom of the front cover, and then do the same matching on the top and bottom of the back cover. As for the sides of the box, and the spine (which actually is the 4th side of the box), I used the edges of the sheets as they had a cute curly design all around. By dividing up the sheets this way, I ended up with a bit extra left over. ;) I did use Score Tape here as well- even being picky to cover every area of each cut sheet so the (planned) sanding would be even.
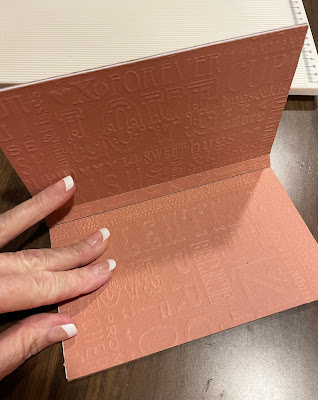
Here's the inside - note later on that you will see the exact same thing on that outside top cover that you see at the top of this photo (which is really the inside of the front cover- photo is turned).

Now it's time to move on to those box sides. The instructions Eileen gives for making the regular Book Box means using the full sides (about an inch high). All I did here, was score these pieces TWICE for three sided folds. Instead of having one flat wall, I simply folded the wall into itself to form a shorter, squared wall.

I repeated the same folds on the pink pieces putting them wrong sides facing together, and ended up with a nice little strong wall. The spine forms the 4th wall. Glossy Accents used in this step because it's just easier.

I then sanded the entire thing lightly- just enough to let some of the wording and design show through. I chose not to color any of the edges and the overall look came fully together after I added some elements....

My first chance to play around with the all new Tailored Thinlits Set from Tim Holtz's Everyday Collection was a bit of an adventure. It took me a few tries until I figured out exactly how I wanted my ChiefHubby's heart to look. Good thing I had that leftover paperie!

My stash of Idea-ology came with me to Florida, and I did fill my dividers with some old and more recent Valentine items. The heart-shaped ring at the top is leftover from one of our Grandbabies. It'd been scuffed up, loved, and used well before it found its way into the couch cushions where I rescued it and tossed it into my stash. It seemed to be the perfect reminder of LOVE and I decided to use it. I used my Tim Holtz Scissors to snip the finger mold off the back.

Tim Holtz's Paper Doll Portraits come with lots of choices to match oneself up with...

... and some color added by those new Distress Watercolor Pencils matching the swatch of Kitch Flamingo in the ribbon freebie from The Funkie Junkie Boutique. She's edged with some Distress Crayon in Walnut Stain rubbed on with my fingers.

Here's some links to help you find your way to some of the things used:
Sizzix Chapter 3 ScoreBoards XL Die - Skinny Mini Book Box
Sizzix Tim Holtz Thinlits Die Set - Tailored
Tim Holtz Idea-ology Adornments - Quill & Arrow
Tim Holtz Idea-ology Heirloom Florals
Tim Holtz Idea-ology Long Fasteners
Ranger Inkssentials Glossy Accents
Scor-Pal Scor-Tape 1/4" x 27 Yards
Tim Holtz Tonic Studios Kushgrip Snip w/Non-Stick Blade & Cap 7"-Small
Tim Holtz Tonic Studios Black Kushgrip Snip w/Non-Stick Blade & Cap 5"Ranger Tim Holtz Distress Watercolor Pencils (12 Pack) Set 1Ranger Tim Holtz Distress Watercolor Pencils (12 Pack) Set 3Ranger Tim Holtz Distress Crayons - Set #2
Now, let's see what came out of all this...
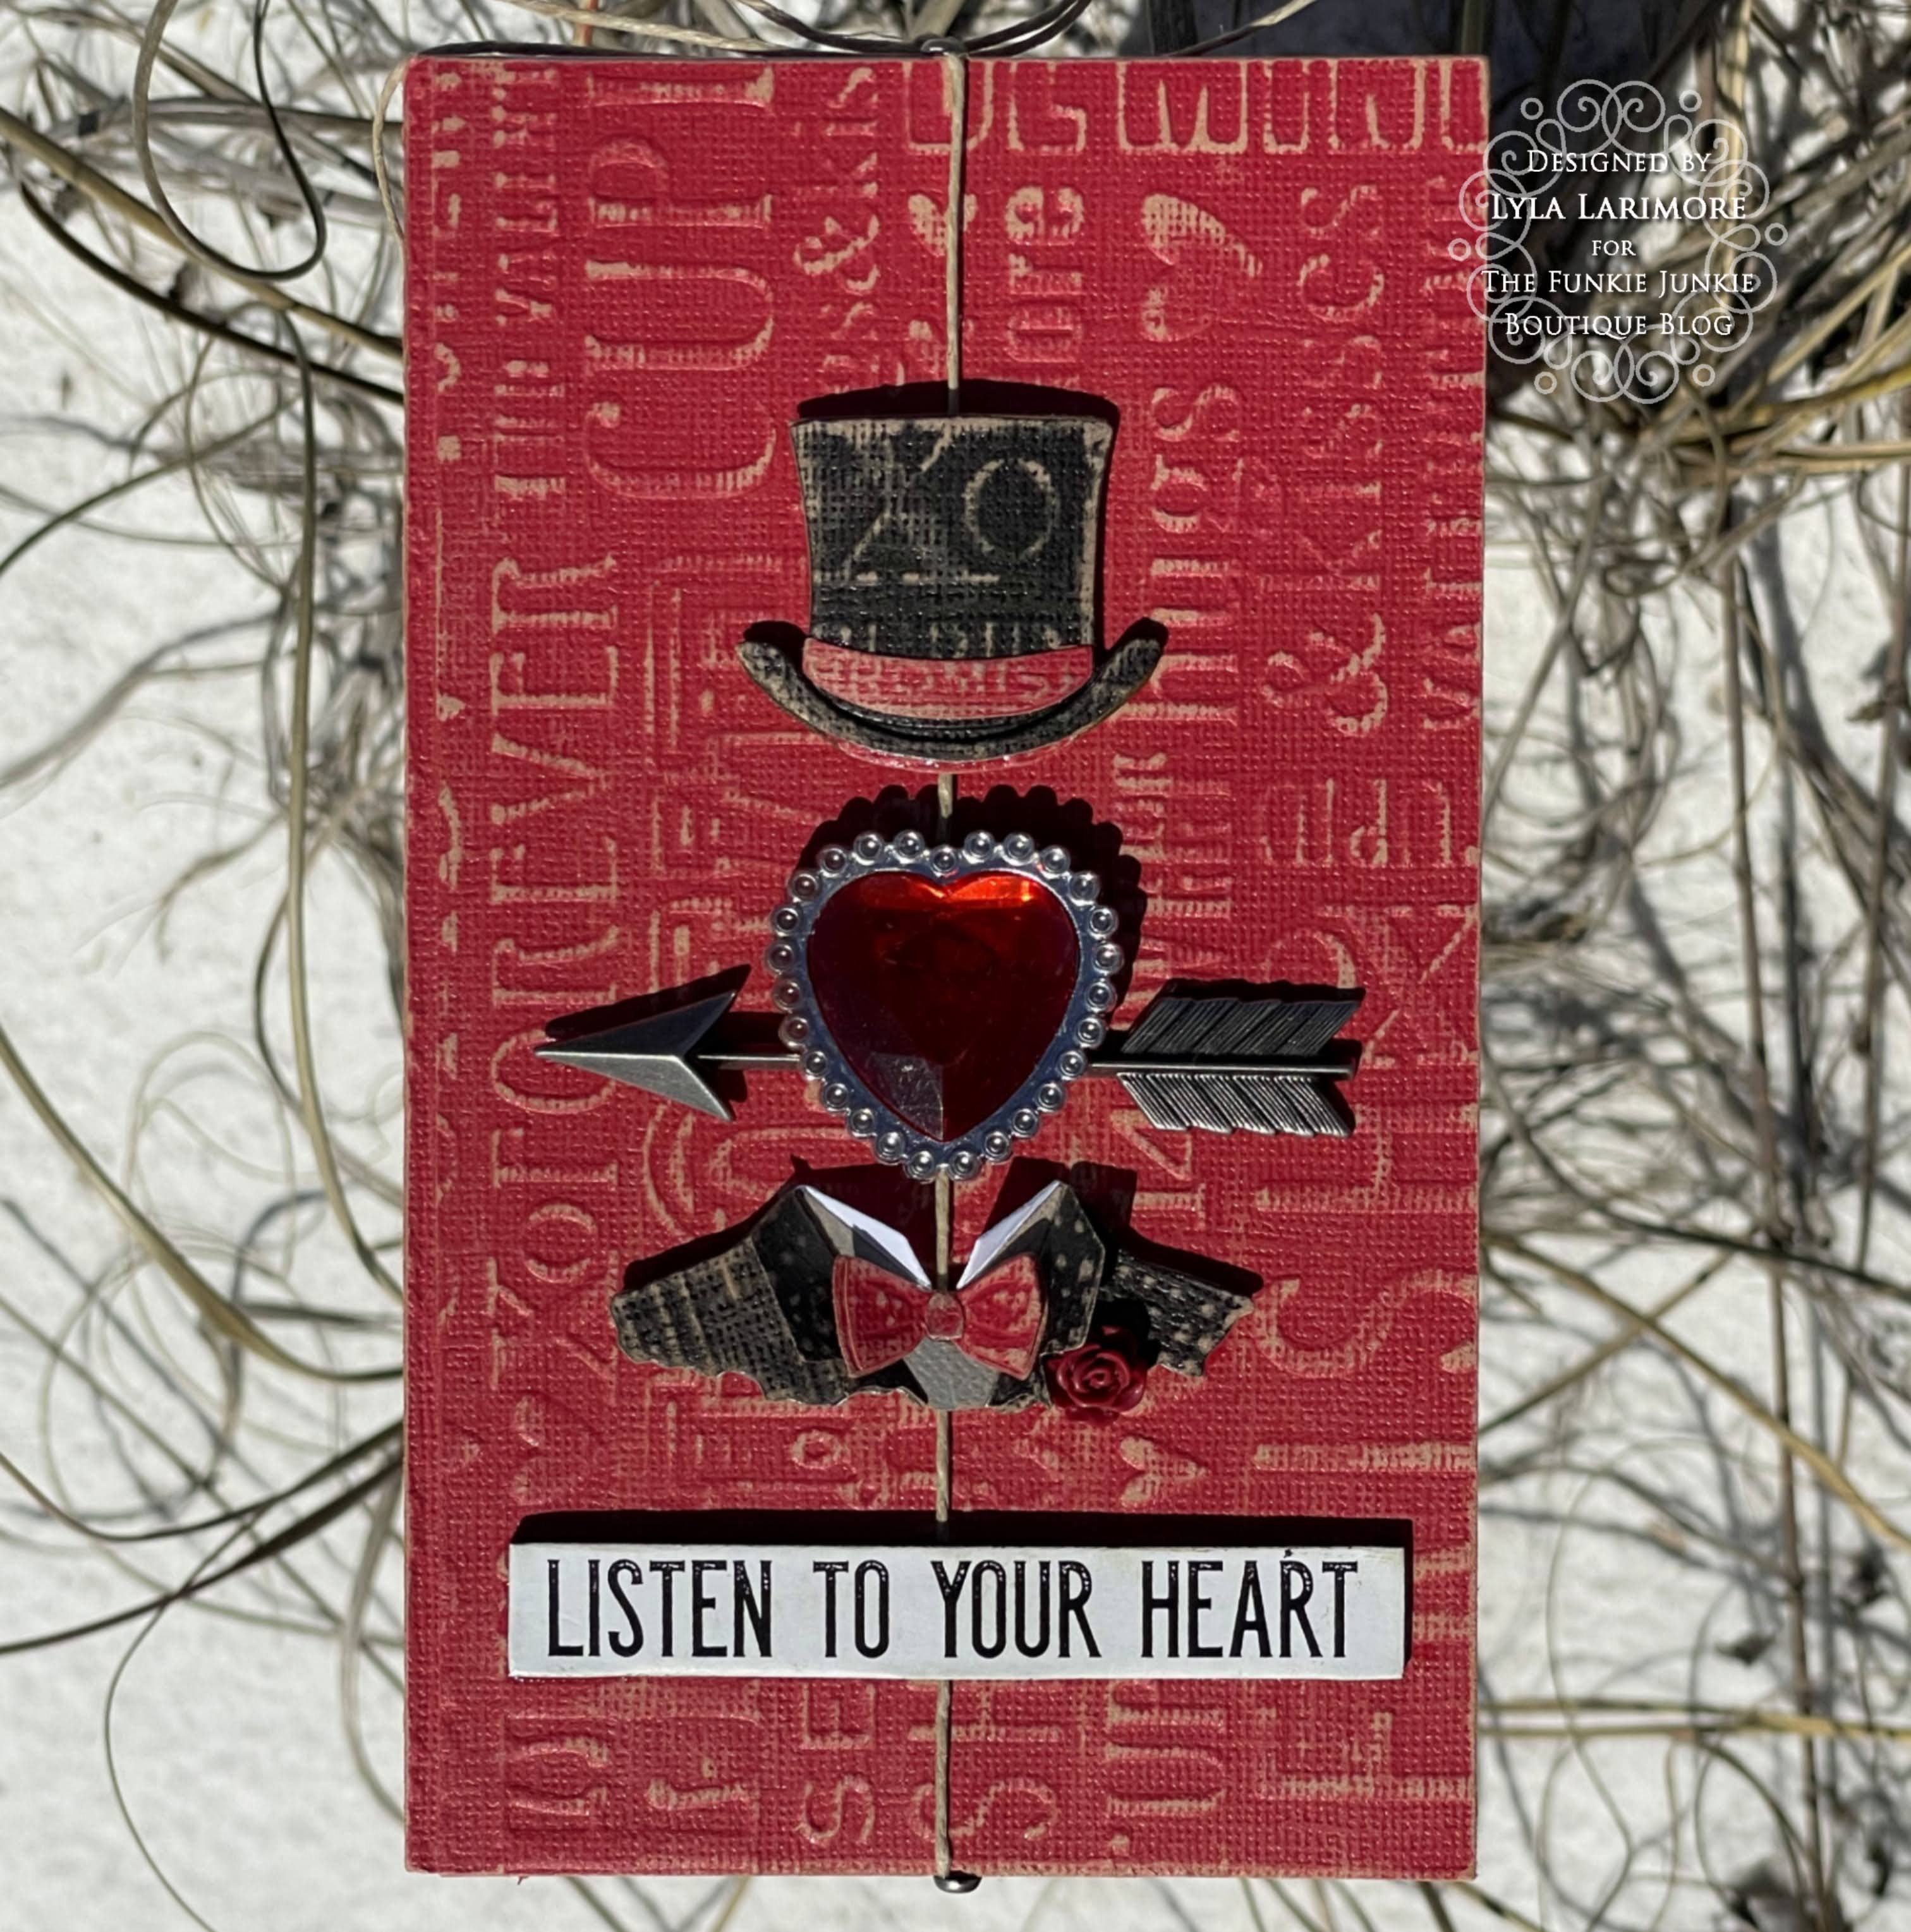
FRONT
I made a closure using hemp twine secured to the front cover using 2 Idea-ology Long Fasteners. When looking at the twine as it lies underneath the hat and collar; it gives me the memory of all those made-with-love hanging mobiles my kids brought home... and now my Grandbabies make!

BACK

The box is the perfect size to hold just enough: Valentine chocolates for 2 at the beach.

(Pardon the sun shining on her.)

Last of all: the inside (retired Tim Holtz) Gummy Heart belongs to me. The point is not to listen to your own heart, but to listen to one another's.
I hope you've enjoyed your first look at "All About Love" and you're sure to get more at TFJB Inspiration Ave in the next 2 weeks from the rest of the Design Team from The Funkie Junkie Boutique, so check back often!
Until next time...
Stay Safe &
HAPPY BLOGGING!!
No comments:
Post a Comment