Friday, March 10, 2023

Spring Reliquary Dome

Hello and welcome back!  Janna here for TFJB Inspiration Ave Blog.  We are creating to the theme of Spring Frolic. For this week's creation, I have decided to feature the brand new Tim Holtz Idea-ology Reliquary Dome and other new Idea-ology elements. For video tutorial click here.


Used: Vintage Photo, Reliquary Dome, Distress Foundry Wax, Transparent Things 2, Idea-ology Clips, Word Tags, Organic Layers, Adornments Foliage, Collage Medium, Ephemera Large Pallet, hot glue, Distress Crayon Vintage Photo, and Picket Fence.


To start this project, we are going to be using the new Tim Holtz Idea-ology Reliquary Dome. Inside it, we are going to be creating a spring themed environment.


To start I am going to use one of the new Transparent Things 2 pieces. This is going to be our background and the foundation for the theme of Spring Frolic.


Next, we are going to build up the cork base of the dome with some tin foil. This I’m going to transform into a grassy knoll with some pieces of moss and collage medium. To start, crumple up the tin foil into a couple of oblong pieces and glue them to the cork base with some hot glue.


Next I smeared a generous portion of collage medium over the top of the tinfoil and then gently placed the moss pieces.


While the mossy knoll is drying, we are going to be altering some tiny toadstools. These are from an older Idea-ology release. I will be altering these with some alcohol ink. For alcohol inks I am using Terracotta and Latte.


With a little bit of isopropanol, I diluted the alcohol ink on the media mat before painting it onto the toadstools. For the caps of the mushroom, I use the Terracotta and for the stems I use the Latte inks.


For finishing touches on the tiny toadstools, I added a little bit of Distress Crayon Vintage Photo. I then smudged the crayon over the top of each of the mushrooms.


For our next alteration, I am taking some of the Adornments Foliage and altering it with a dash of Distress, Foundry Wax, Gilded. I painted the Foundry Wax directly onto the pieces before blasting these with the embossing heat gun.


For a pop of color I am going to be altering some of the Idea-ology flowers. 


To alter the flowers, I am using Distress Mica Spray Stain Harvest Moon and Peppermint Stick. I spritzed each bunch of flowers with some water before adding the mica spray stain. After which I then dried the flowers with the Ranger heat tool.


Here I am altering some leaves from the Organic Layers set. I distressed all of the leaves with some Vintage Photo distress ink before adding a wire onto the back of each leaf with some hot glue. I am adding the wire to the leaves so I can poke them into our tin foil base so the leaves can stand up.


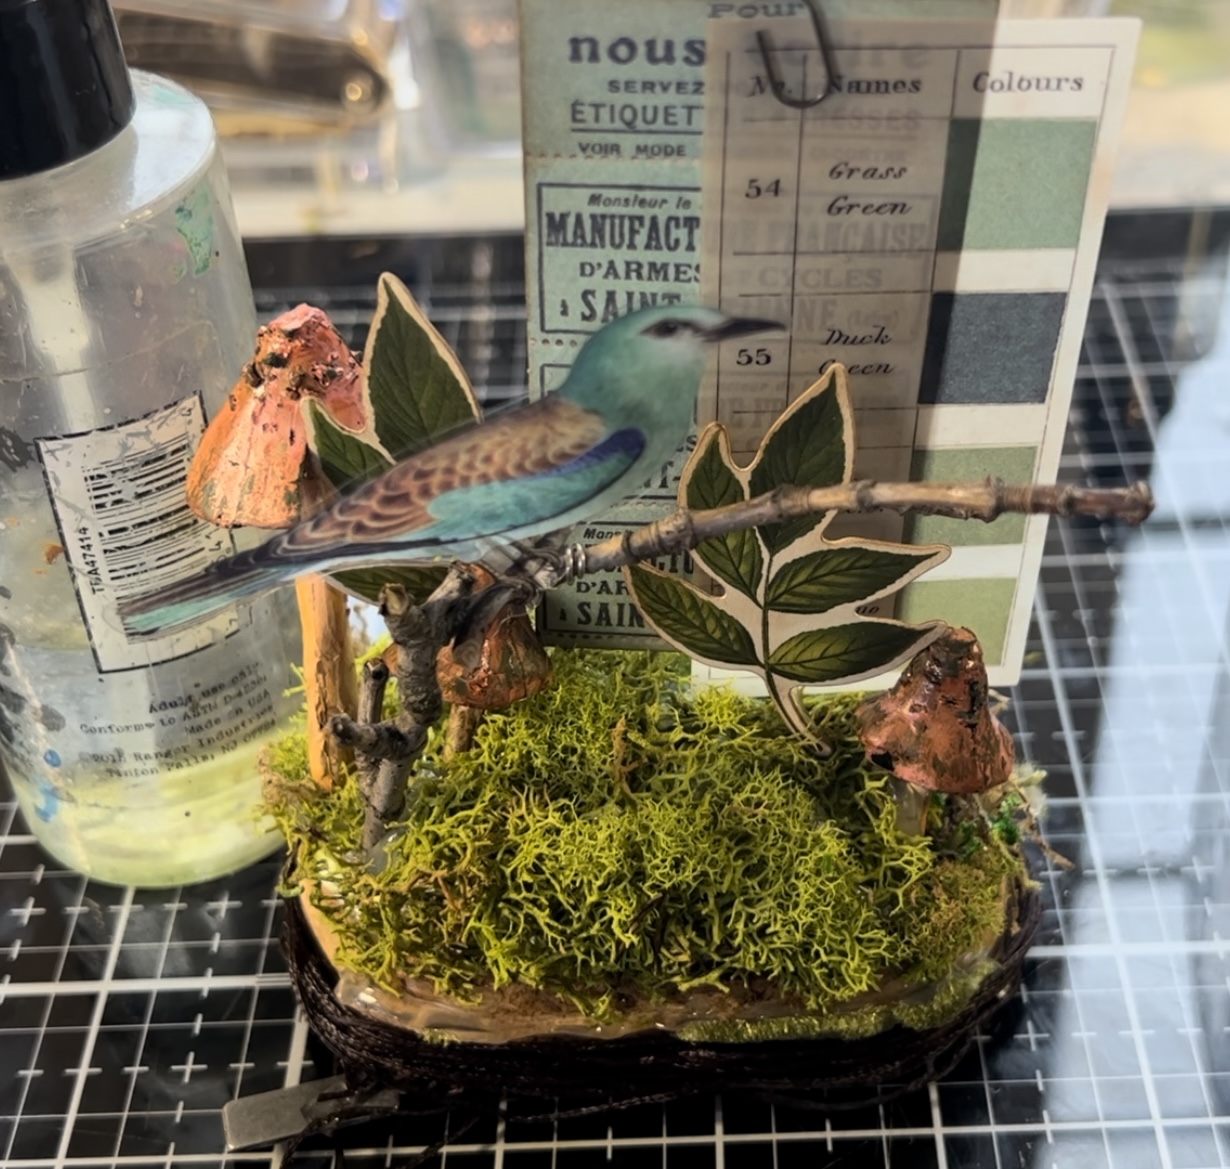
Either an added wires to other ephemera pieces, including a bird from Transparent Things 2. 


With wire in the base of our paper and transparent embellishments, I was able to place these onto the cork and tinfoil base. The wire allows each element to stand up on its own without support of other elements.


Here I am adding the leaf layer elements to the base.


Once the flat elements were placed, I then added in the tiny toadstools with a dash of hot glue.


Now, for some fun with sticks. I thought you probably remember sticks were a very big deal last year, so it always brings a smile to my face when I add a stick to a project now. Our bird from Transparent Things 2 was placed onto a twig that I found outside. With a piece of wire that I had attached to the bird, I was able to wind around the branch and allow the bird to sit upright.


Adding in the bird on the twig was my last large element for the interior environment of the Reliquary Dome. Now it is on to the finishing details for the interior.


For finishing touches on the inside, I added the Adornments Foliage Pieces, and the bright altered flowers. These elements I glued into the dome with some collage medium. Around the cork base I also wound a layer of brown twine. This I also paired with a piece of velvet trim to help conceal where the dome meets the cork base.


Next I placed the dome back over the top of the cork base, along with a backdrop from Transparent Things 2.  Around the base of the dome, I also added a pair of Metal Gates. These two are from an older Idea-ology release. Very gently with my hands I carefully bent each gate segment so that they curved around the dome. The gate I glued in place with hot glue.


Now for the finishing touches on the outside of the dome. Due to the weight of the Metal Gates, there was quite a bit of glue around at the base of the dome. To camouflage this, I added in more mossy pieces with Collage Medium poking out and in between the open areas of the fence. The last element that I added to the dome was a Word Tag with the word Story on it. I altered the tag with a touch of Picket Fence then I tied the tag onto the gates with a small piece of twine.


Below is the completed reliquary dome. I absolutely love the shape and space of the dome. There was so much room on the interior to create a full environment, and it was an absolute delight, placing each of the pieces.


Thank you so much for joining me here today for TFJB Inspiration Ave challenge. Until next time, happy crafting!

Janna~ 💕🎨💕

I can also be found on :
Instagram: treasuresofthesea_jannak

YouTube: The Crafty Corner with Janna


Supplies used:


Wednesday, March 8, 2023

Bunny Frolic

It's time for a "Spring Frolic" at TFJB Inspiration Ave, and The Funkie Junkie Boutique has Tim Holtz Idea-ology that fits the theme perfectly! I couldn't wait to get my hands on a few things that are in stock and get started on this Etcetera Mini Tag which I used as my 'vehicle' to carry some Easter goodies!

Hop on & hang on; it's a scroll down this crafty rabbit hole to see how I made it!


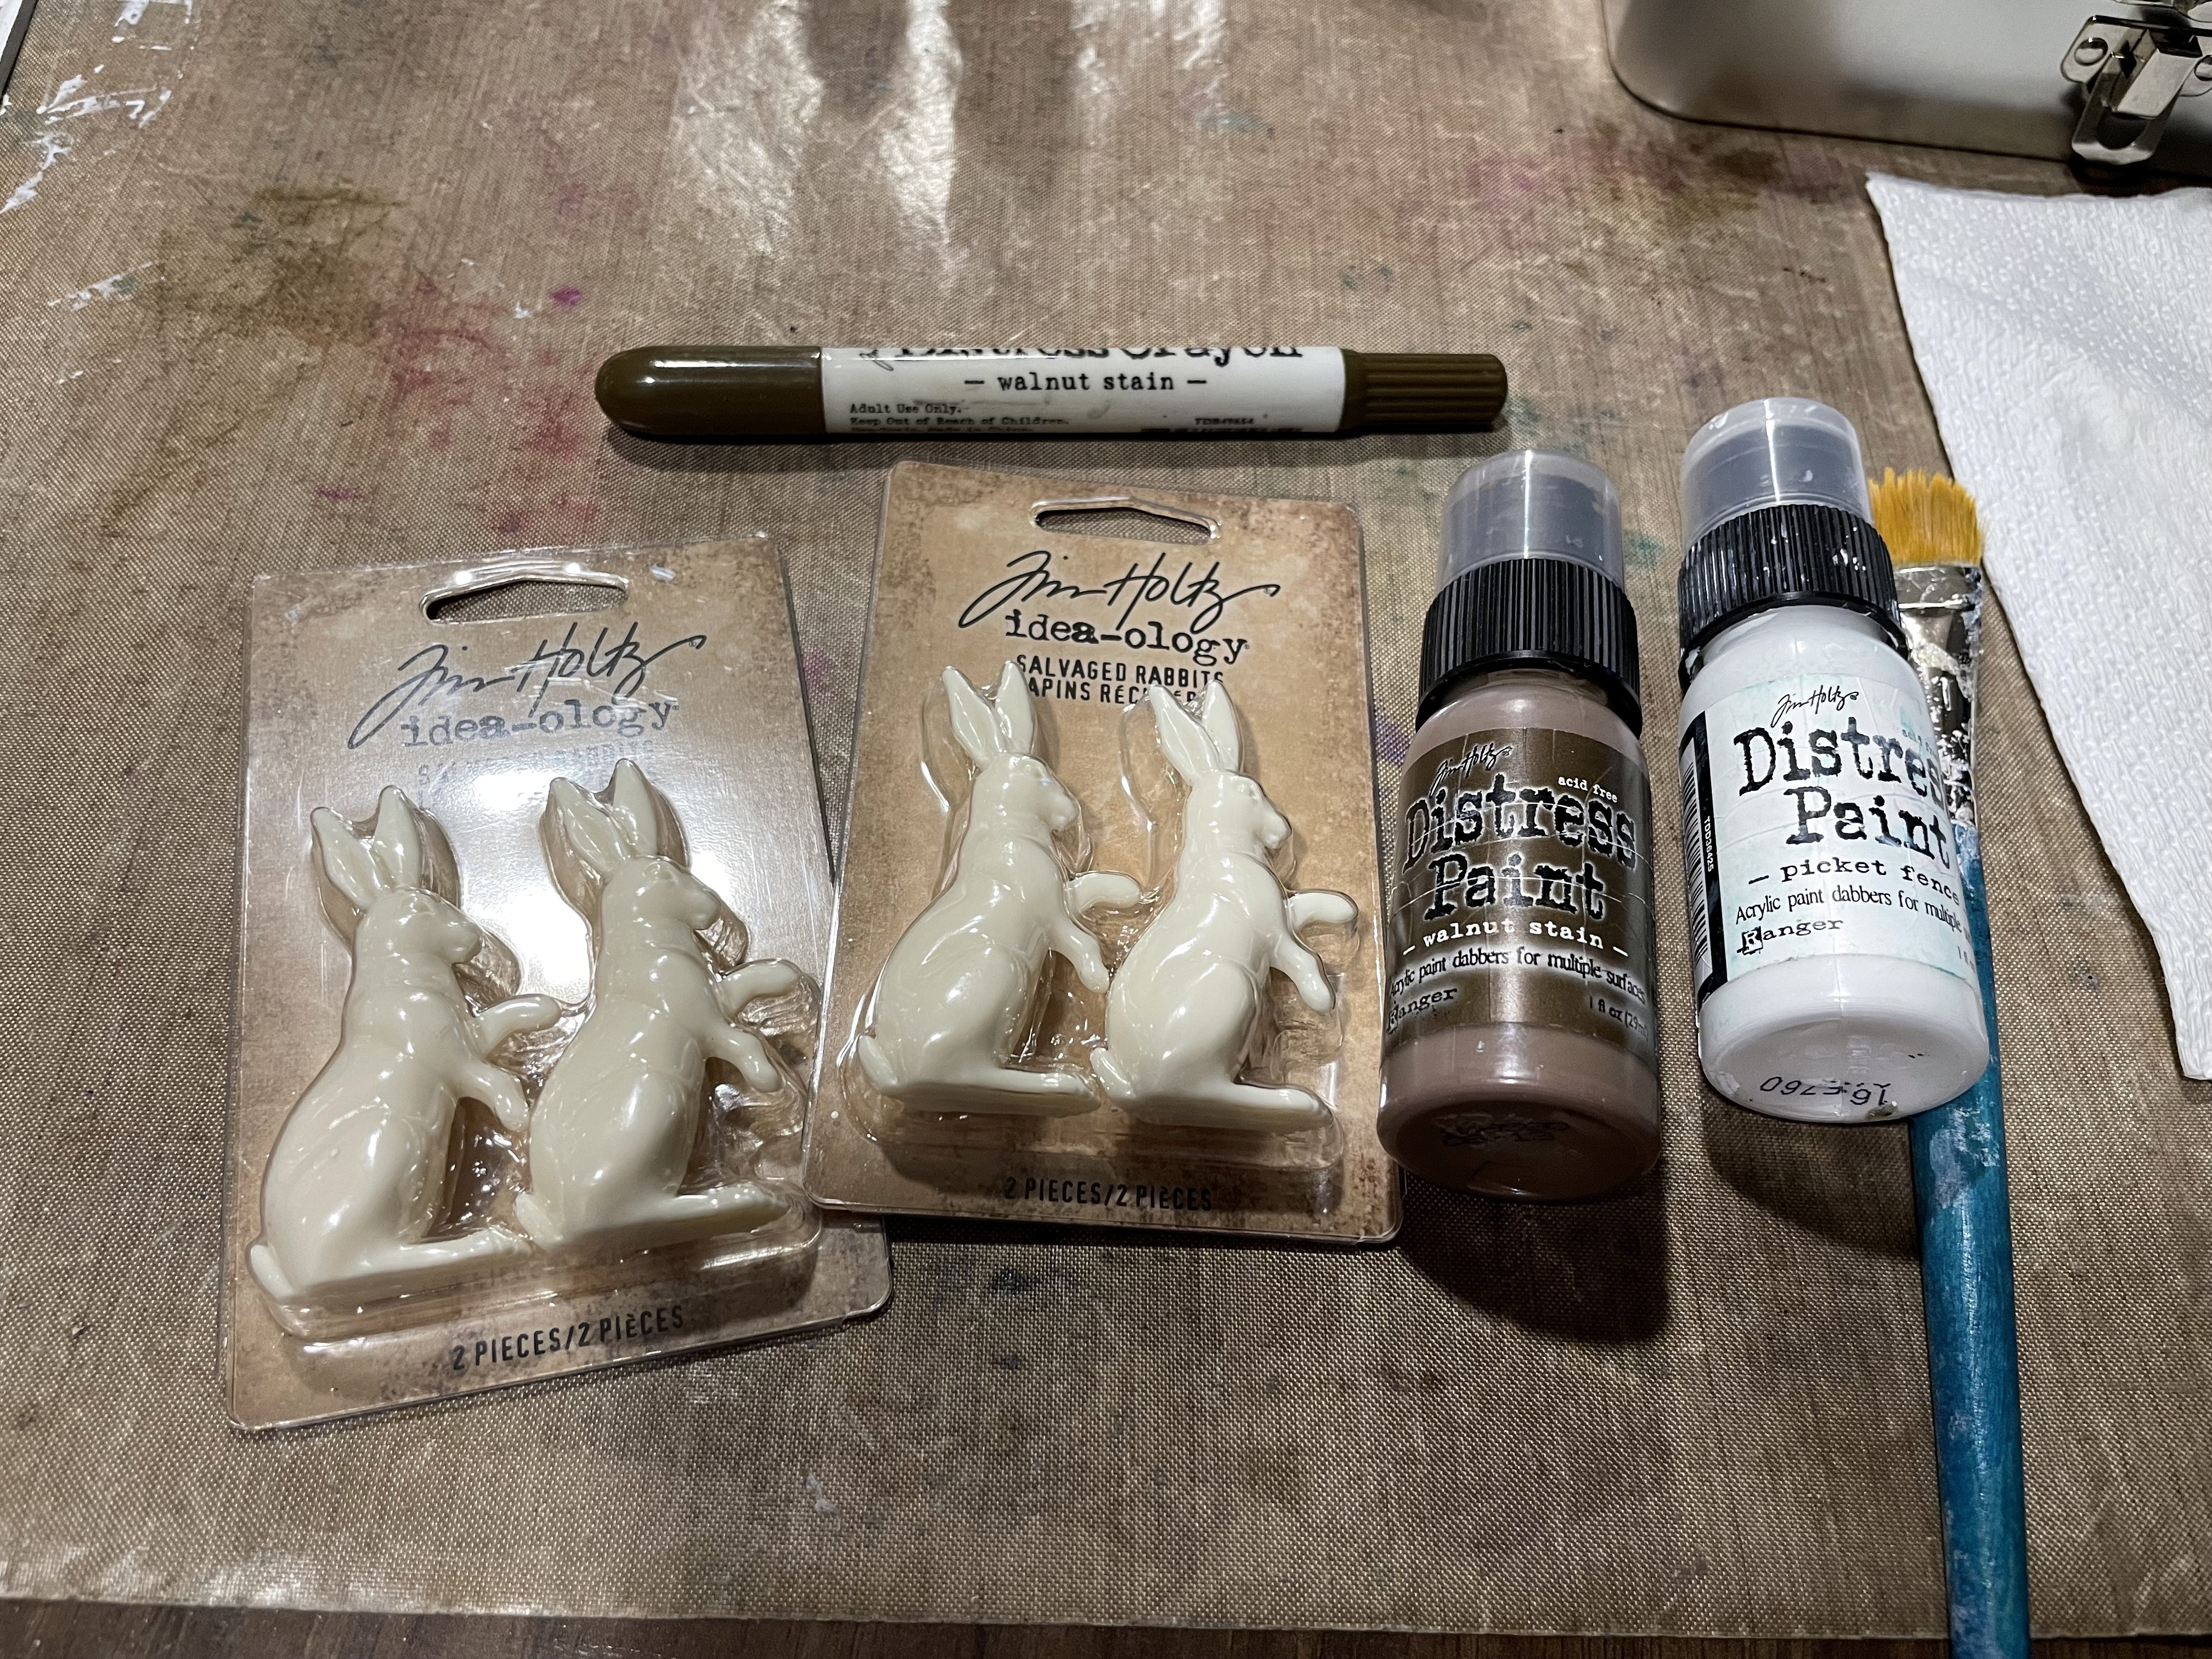
I started with some Tim Holtz Etcetera items, and some TH Idea-ology items- new just for Easter!

Here's a list of product links to help get you started:


I wanted to incorporate some of that *retired* TH paper stack...and I found a set of unused flowers in my stash (probably a dollar store find at some point).  Tim's new products still go very well with any of his past products!


I did my favorite technique using Glossy Accents to glue and burnish the paperie to the Etcetera pieces with my TH Grip Sander. The shelf is made wider by putting 2 pieces together as one while using a third for the normal bottom shelf holder piece. I like to do both sides of my tags, so I made another 'enforcer' for the backside by tracing the included one made from Etcetera. I then sanded all the front and side- gently and sparingly; just enough to have the words show up, but enough to look aged,


After wiping all the sanded bits and dust away with a dry cloth, I used Walnut Stain Distress Crayon on all the edges and rubbed it into the sides with my finger then heat dried everything. I scribbled some of the Crayon onto my craft sheet, sprayed a bit of water onto it, and used a Water Brush Detailer to get into the areas my fingers couldn't reach into. Again: heat dried everything.


The Etcetera Cathedral Window pack has 6 cuts inside: four this smaller size and 2 large sized. I took this pair of smaller, to stack together making one frame with a plastic (cut piece of trash) to go in between.


I gave both (laser cut- very clean and crisp cuts) a coat of Distress Paint in Picket Fence and allowed that to dry. I heat dried both frames just to make sure the paint was dry before I sculped on some TH Opaque Crackle Texture Paste. This, I let dry completely on its own. After the crackling appeared once dry, I used a Blending Tool to rub a bit of TH Vintage Photo Distress Ink on the front bottom edges for a bit of an aged look. Then heat dried for the last time (to dry the Distress Ink).

*NOTE: Distressing needs to be done BEFORE adding any plastic to keep from melting the plastic!


For the clear plastic, I simply dropped a lot of the 2 Alcohol Inks onto the plastic, and moved it back and forth - allowing the inks to "fight" for their places. I stood the plastic up onto the bottom end to let the excess inks drop off to the paper toweling. Then I set the widow down to let it finish drying on its own.


Once the Alcohol Ink was dry, I used Glossy Accents to put the plastic in between the two Etcetera Cathedral Windows, let it dry, then shaped the wire stems on these,,, felt??...roses, and glued them onto the sides.


Now that the entire background was finished, it was time for the cute stuff! Those TH Tiny Eggs really ARE tiny! They're so cute and since the package has 50 pieces, I used 18 for this project and still have plenty leftover! My own tip for Alcohol Inking these: rub the ink gently with the correct felt applicator/Alcohol Ink Tool. I didn't have mine here with me and paper towels/napkins were used in a pinch, but not as effective in moho.


After the AI was dry, I used my trusty old toothbrush to flick TH Distress Paints onto the eggs: Black Soot onto the blues and Picket Fence onto the pinks. I heat dried them all very gently- just to keep the paint on. I did do all sides of the eggs. It was a quick job since they're so tiny!


Next: those silly wabbits of Tim's! These Salvaged Rabbits are the cutest things he's made yet!! I wanted "chocolate" bunnies but did wonder about making white paws. I stuck with my original intent: milk chocolate bunnies with nothing but Distress Paint Walnut Stain.


This time, I decided to try out the tip on painting Idea-ology figurines: I used my tape runner to add just a tiny strip of tape to a lid (of anything, really), then topped the Salvaged Rabbits on and it really WAS easier to paint them!! I didn't need to do anything else to them (other than rip up some included-in-your-order-freebie-ribbon from The Funkie Junkie Boutique to use as little scarves to identify each bunny: as each of my Grandbabies)!


For the TH Chip Quote: A bit of color around the sides and a little "aging"...and that's that.

Check out this adorable hanging display Tag! 

Front


This bit of old stash ribbon made the perfect hanger!


This is Princess Chloe and Big Bubby Peanut! I did get a bit of glue stuck onto the egg here: I used my hot glue gun for this since it held fast better. I hate the glue strings that I always forget to get off before the photos. A bit of moss from my walks below the Spanish Moss trees; dried out and then stuffed into the TH Idea-ology Barrel, gave the Tiny Eggs a bit of a lift. I used some Walnut Stain Distress Crayon rubbed hard into the grooves then heat dried it. Gave it some more depth.


And here's Princess Rose with Big Bubby Pecan!

Back


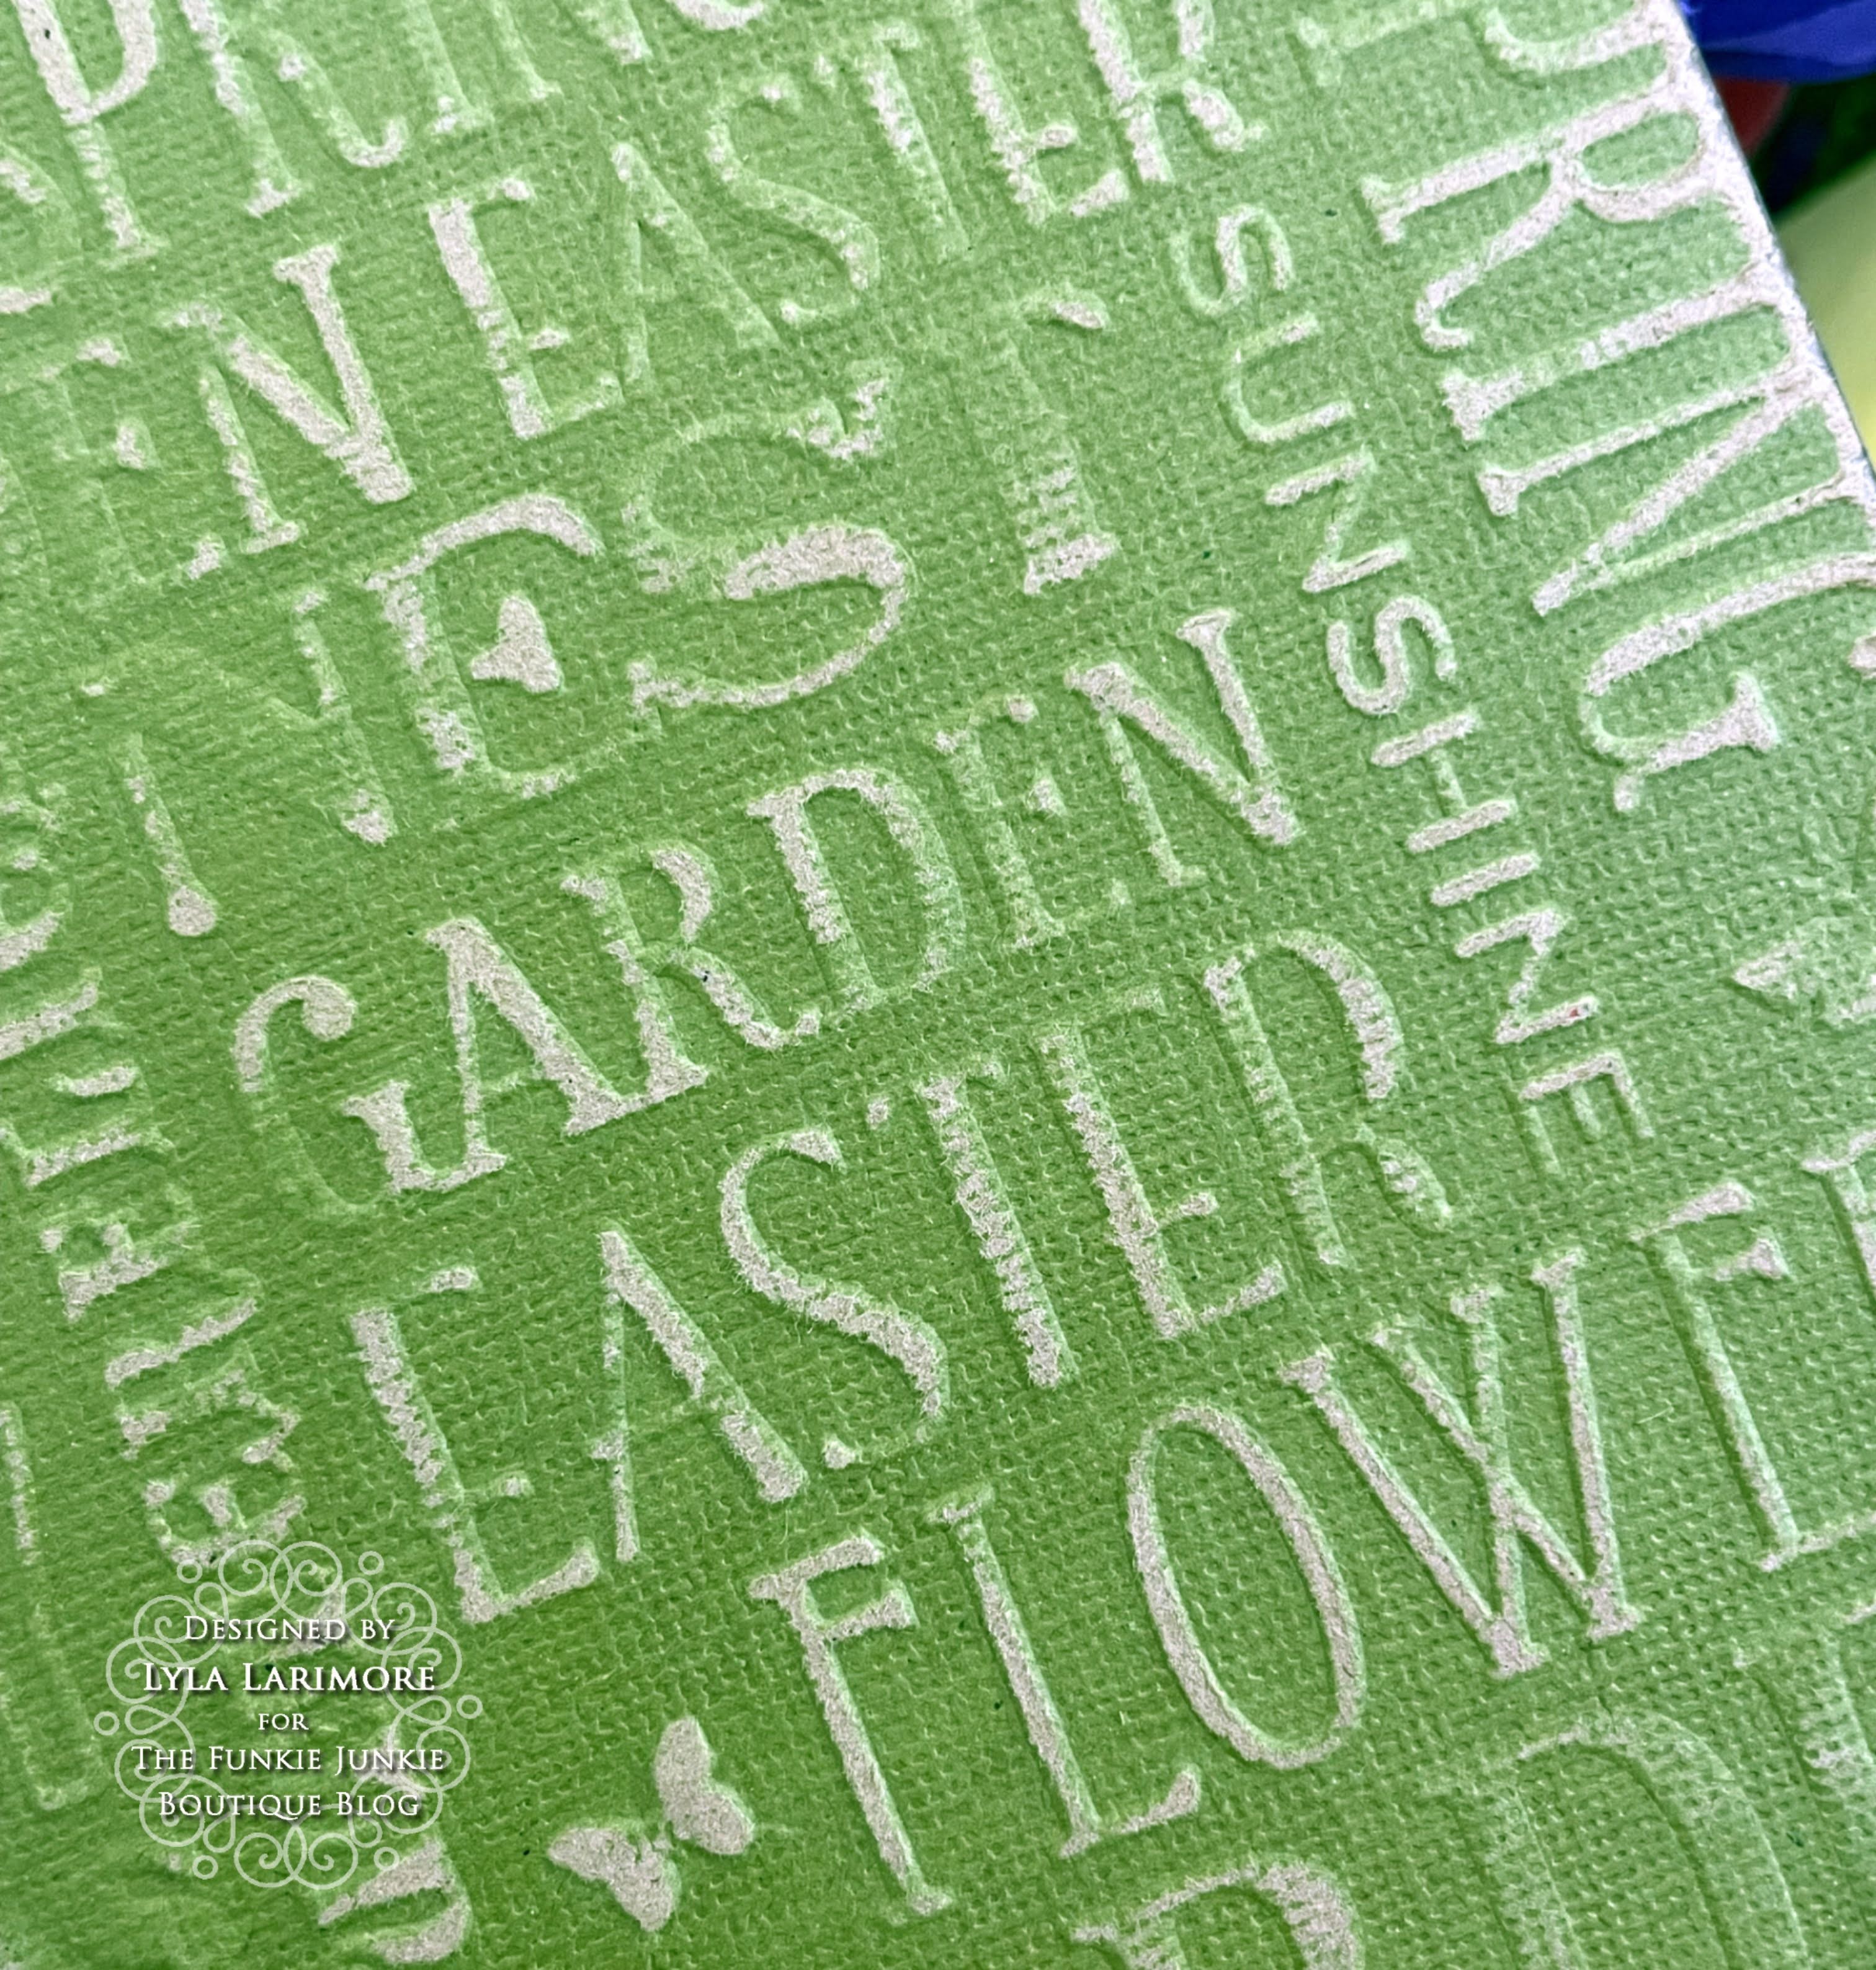
The color changed from better lighting, but you can see how the wording all applies to SPRING!

Thanks so much for joining me on this Spring Frolic! As always: be sure to pop back in over at
TFJB Inspiration Ave for more great projects & tips from the rest of the awesome Design Team from

Until next time...

Stay Safe &
HAPPY BLOGGING!!

Lyla

Monday, March 6, 2023

Good morning!

The DT challenge at The Funkie Junkie this week is 'Aren't We Lucky'

I really believe I am one lucky lady to have such an awesome family.


After layering all the beautiful Prima Indigo papers I fussy cut three frames out of one of the papers.

I also created 10 small flags for accent pieces


I added some Prima Flowers (and some from my stash) and some Prima Crystals

By adding some cardboard I was able to achieve some dimension with my layers

Thanks for stopping by

Laura


Friday, March 3, 2023

Suzz's Lucky Hearts

 Hi!  Suzz here sharing my inspiration around Aren't We Lucky?  

In my family we have a few St. Patty's Day birthdays coming up and it had me thinking about the 3 leaf clovers and how they bring luck.  I decided to use the hearts dies to create the leaves of the clover and  a few flowers. 

I thought it would be fun to use alcohol inks and yupo paper to create some clovers and flowers using the stacked hearts dies. 


The alcohol inks are magical in how they apply to glossy surfaces.  I have found that playing with them is the best way to get to something that you like.  For this effect I will give you just a few tips and let you explore and see what effect you can achieve.

  1. Start with Yupo paper.  This will help the inks move on the surface. You can use translucent or white Yupo.  
  2. I usually put down a base of alcohol blending solution to allow the alcohol ink I am applying to spread.  
  3. Then I will drip on the different colors allowing them to spread.  I will usually let the circles I drip dry. 
  4. Next drip a different color or the alcohol blending solution over the original circles and by themselves. Let the second layer dry. 
  5. Repeat with as many layers until you have beautiful circles overall. 
  6. Using the alcohol application tool drip several drops of blending solution onto the felt.  Dab over the surface
  7. This wills soften the edges of the circles and give the small bubbles of white across the surface.  If you blend too much you can always come back and add more drips of color and blending solution.  
  1.   
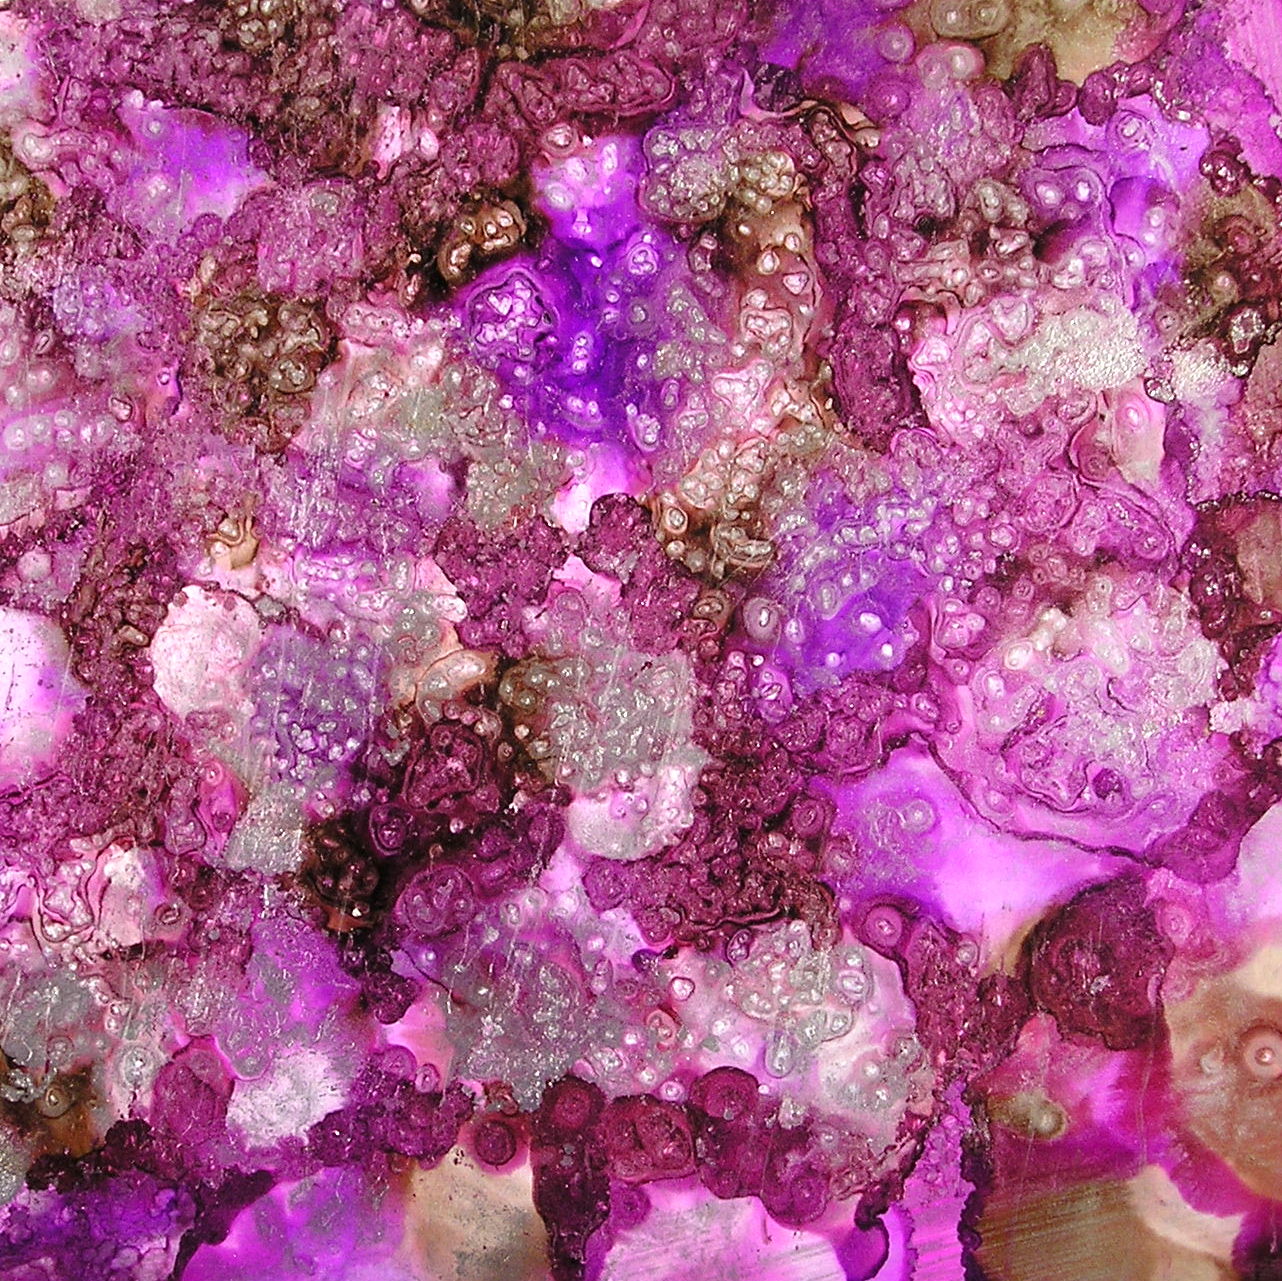
For the purple alcohol ink background I did two additional steps.  I added an alloy to give a silvery metal effect and I added salt to the pools of alcohol ink.  After it dried I brushed it off and it removed the pockets of color. 
 
Then I decided to cut out my many many hearts in varying sizes to make my flowers and clovers. 


Assembling them was easy as I took a big circle glue dot and attached it to a scrap piece of cardstock.  I then arranged the hearts around the circle.  I cut little stems from the extra pieces.  


I also decided to use some mica stain sprays to create a series of hearts and made a second card.

I stamped a mix of images using coordinating brown and green dye inks and then attached a few of the clovers along with a few embellishments.  

Thanks for stopping by! 

Suzz

Products: 

Wednesday, March 1, 2023

A Wee Leprechaun Estate

Hello, Lisa Hoel here – our current Funkie Junkie Focus theme is 'Aren't We Lucky?' Since it is March I decided to go all in with a St. Patrick's Day make. You would count yourself lucky indeed if you found a leprechaun's pot of gold!

Lisa Hoel for The Funkie Junkie Boutique - Aren't We Lucky? Leprechaun pot of gold  #creativejuicefreshsqueezed  #mymakingstory #tim_holtz #thefunkiejunkieboutique #sizzix

This little scene has a vintage saucer for its base (in the perfect shade of green). A Halloween Idea-ology Cauldron is a nice stand in for the 'pot of gold'. The leprechaun's wee little house stands under the shadow of four leaf clovers.

Lisa Hoel for The Funkie Junkie Boutique - Aren't We Lucky? Leprechaun pot of gold  #creativejuicefreshsqueezed  #mymakingstory #tim_holtz #thefunkiejunkieboutique #sizzix

I couldn't resist adding one of the new Salvaged Rabbits to the scene…

Lisa Hoel for The Funkie Junkie Boutique - Aren't We Lucky? Leprechaun pot of gold  #creativejuicefreshsqueezed  #mymakingstory #tim_holtz #thefunkiejunkieboutique #sizzix

Let's take a look at some of the how-to!

Step 1 was to make the pot of gold. I crammed a small styrofoam ball into a cauldron and painted it gold. To make the gold coins, I first cut 3/4" circles out of shrink plastic.

I shrank them with my heat gun so they made nice little coin shapes. Tip: flatten the coins with an acrylic stamp block while the plastic is still hot. I then painted each coin with Gilded Foundry Wax. When the wax dried, I heated each coin again with my heat gun to set the wax. It gets so shiny! (I held the coins in place with tweezers so the heat gun didn't blow them away.)


Step 2 was to form the scene base. I cut a circle of foam core to fit into the saucer. Aluminum foil was molded into the shape I wanted for the base and hot glued in place.

Then I covered the foil with plaster cloth strips. After that was dry I painted it various shades of green and covered it with moss.


Step 3 was making the lucky four leaf clovers. I colored white coffee filters with various colors of Distress Spray Stain. I like to use coffee filters because you can dye them any color you like and they look like tissue paper but are much stronger.

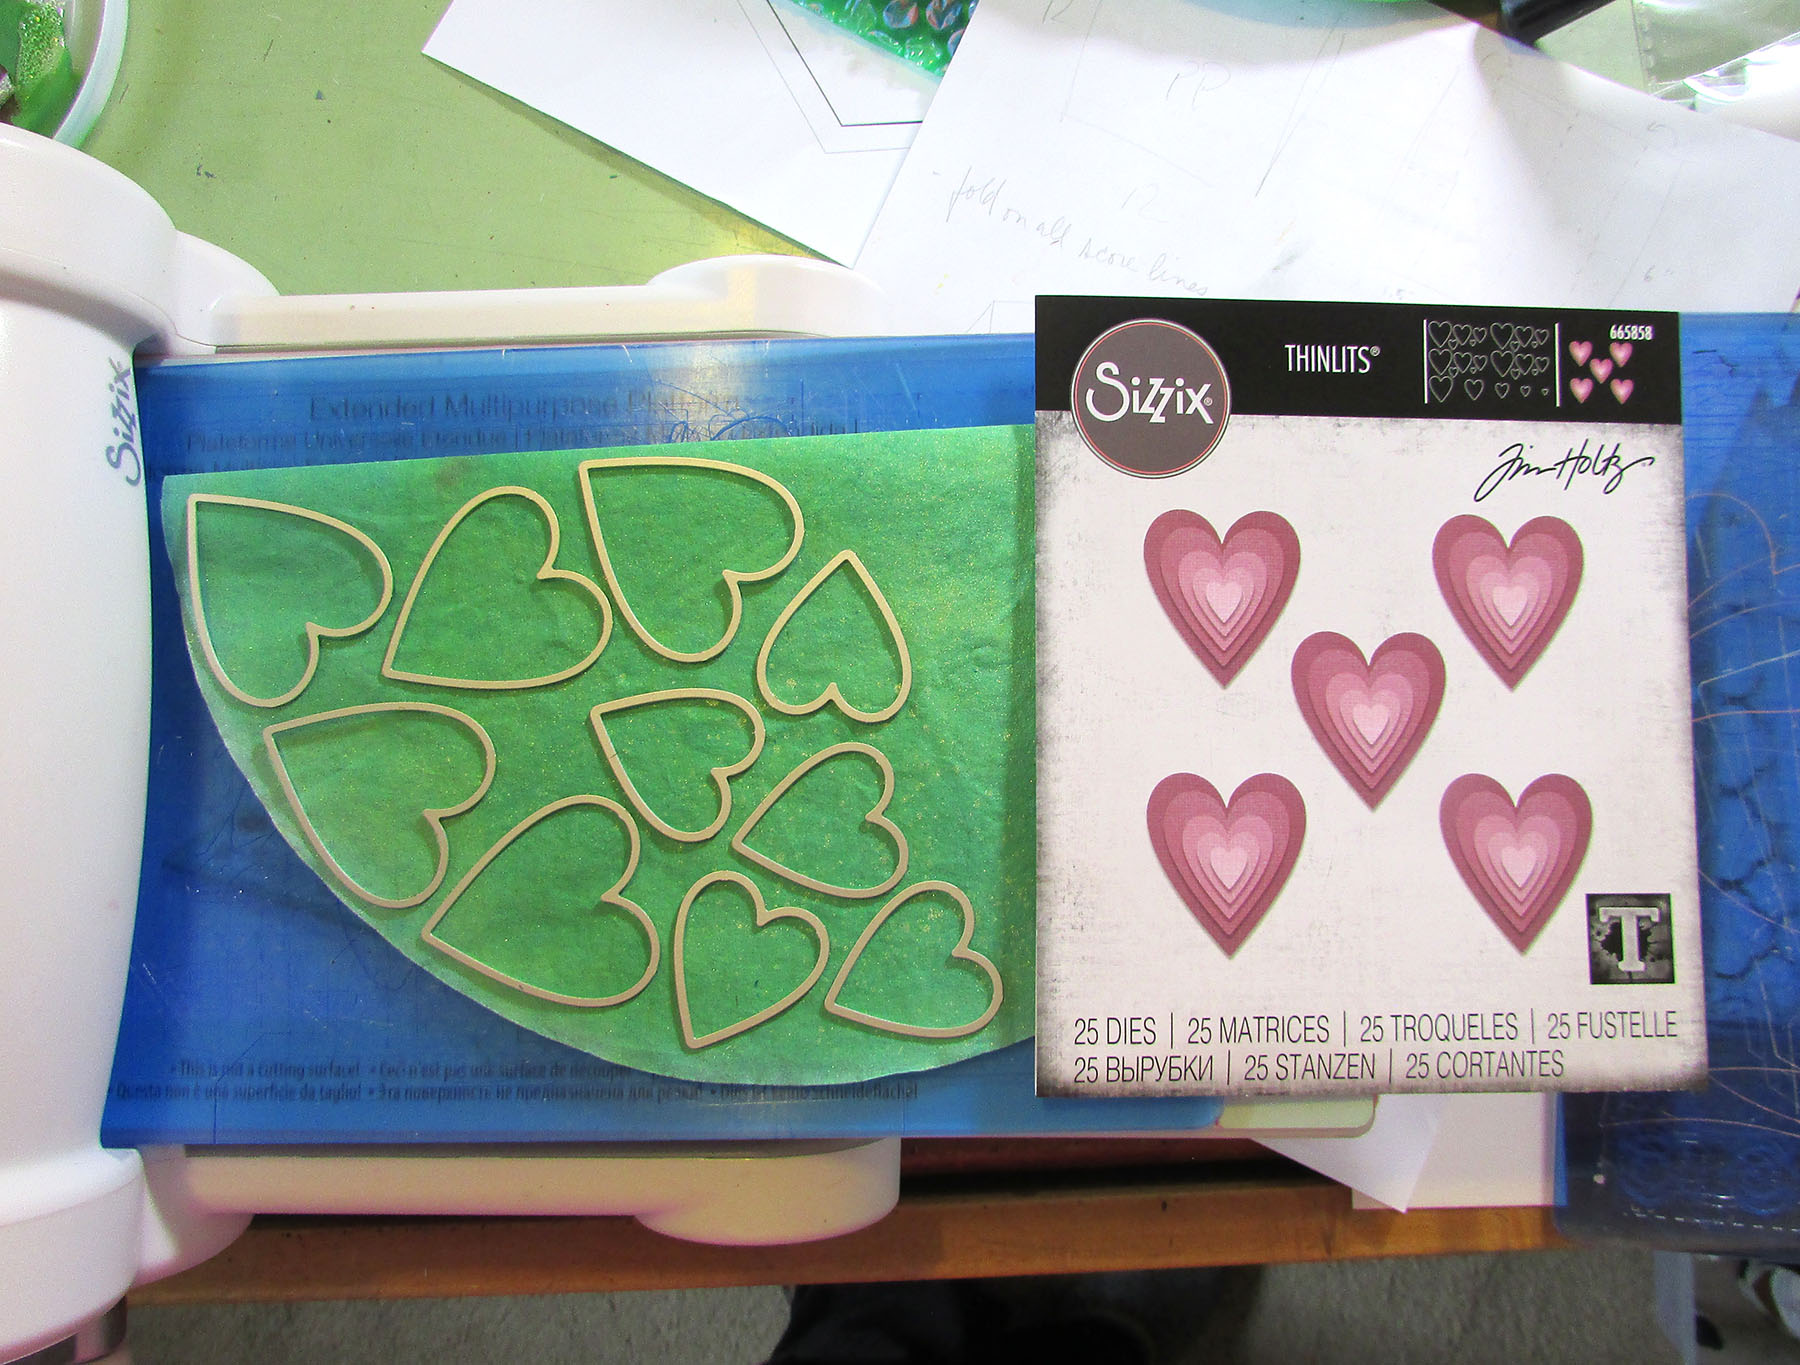
Heart shapes make great clover leaves! The handy thing about using the Hearts Stacked Tiles Die Set is that it comes with multiple dies of the same size. I was able to cut out all the shapes I needed in one pass.

Covered floral wire is perfect for the stems.

With a dab of low temp hot glue, I adhered the first leaf. I added each leaf with another dot of glue and compressed the leaf tips around the stem.

I hope you are feeling lucky now…


Thanks for stopping by. Keep an eye on the Funkie Junkie Boutique Blog, Inspiration Ave. because you are now getting regular doses of expanded (and inspiring) content each week. Don't miss it…

Supplies used:

Tim Holtz Thinlits Die Set - Paper Village
Tim Holtz Thinlits Die Set - Stacked Tiles, Hearts
Tim Holtz Thinlits Die Set - Funky Florals #2
Tim Holtz Thinlits Die Set - Funky Florals #3
Tim Holtz Thinlits Die Set - Small Tattered Florals 
Tim Holtz 3D Texture Fades - Mini Lumber
Tim Holtz Idea-ology - Halloween Cauldron
Tim Holtz Idea-ology - Salvaged Rabbits
Tim Holtz Idea-ology - Bouquet
Distress Paint - Lost Shadow
Distress Spray Stains - Vintage Photo, Tea Dye, Cracked Pistachio, Saltwater Taffy, Squeezed Lemonade
Distress Crayon - Walnut Stain
Distress Foundry Wax - Gilded
Distress Kraft Heavystock
Distress Collage Medium Matte

Generic supplies:
Plaster cloth
shrink plastic
coffee filters
moss
floral wire
mini spun cotton mushrooms