
This week we are focusing on the new Tim Holtz Everyday Collection of Sizzix dies. There are so many wonderful new dies to explore but this week I wanted to focus on Papercut Café.
Today I will be creating two cards featuring cards I made using Papercut Café. For instructional video click here.

Used: Alcohol Inks Laguna, Glacier, Cobalt, stamp set CMS447 Botanic Collage, Alcohol Lift Ink, AI Blending Solution, AI blower tool, Yupo paper, Distress ink Wilted Violet and Mermaid Lagoon, Distress Reinker Speckled Egg and Walnut Stain, Idea-ology stickers, Idea-ology Black Kraft Stock, Distress White Heavystock paper, Distress Foundry Wax.

To start this card, I am working with a Yupo base and some alcohol inks which include Glacier, Laguna, and Vineyard. I dripped into a piece of Yupo paper and then added Alcohol Ink Blending Solution. I then moved the ink around with a Tim Holtz Alcohol Ink Blower.

Once I had my base layer of alcohol ink I then decided to use a drip technique with rubbing alcohol 90%. Here I filled a mini mister with Isopropyl.

Then I sprayed the isopropyl across the top of the card (WARNING: wear a mask and do not breathe in droplets) and let it drip down onto a paper towel. By letting the rubbing alcohol flow and drip, this creates a very interesting wash on the Yupo paper. This technique I learned from a Tim Holtz Saturday live.

Next I cut down the background to 4” x 5 1/4” and placed it on a black background of kraft stock.

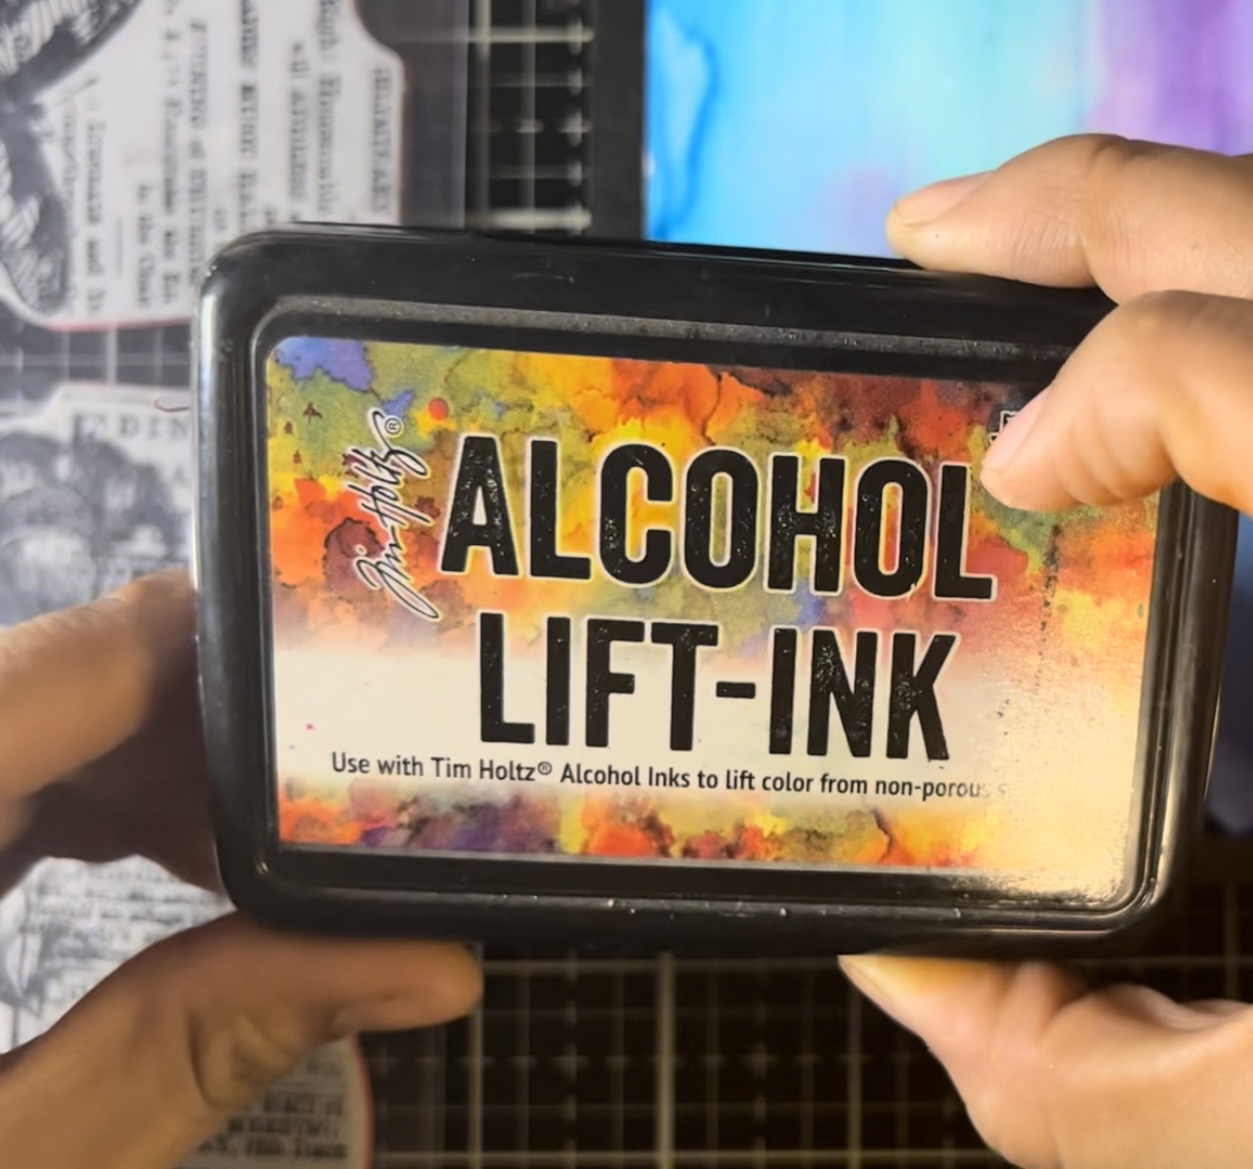
Next I will be embellishing the background using some Alcohol Lift ink. This will also give us a second background for another card. The stamps that I’m going to be using for the lift ink is CMS447 botanic collage.

Here we have the ink that I have lifted from the first background and then stamped onto some distress White Heavystock paper. I absolutely love how the alcohol ink has transfused and created a gradient in the stamped image.


Now back to the first card background. Here I added a rectangle of up cycled waxed paper to act as a landing zone for my main focal point. It's attached with a couple of squares of sticky foam. The rectangle is cut at 3” x 2 inches.


Thank you so much for joining me here today for TFJB Inspiration Ave challenge. Until next time, happy crafting!
Janna~ 💕🎨💕
I can also be found on:
Instagram: @treasuresofthesea_jannak
YouTube: The Crafty Corner with Janna
Below are some links for some inspired shopping at the Funkie Junkie
No comments:
Post a Comment