The base of the journal is created using Eileen Hull's new Frame Pocket Journal Scoreboards Plus Die. (A plus die is an oversize die that won't fit into a regular Big Shot machine. You will need a Big Shot Plus, Sizzix Switch or other comparable wide mouth machine.)
The journal can be created with or without the flap (but I think it adds a nice touch).
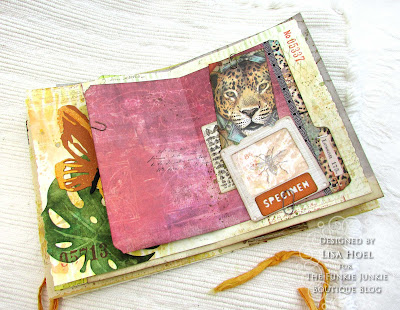
There is a pocket part on the die that you can cut out of matboard to create a rigid tag pocket as shown above. You can also cut it out of cardstock and use in the pages (shown later). If you don't include the pocket, you can fit more signatures in your journal. I made two signatures, thinking the pocket would take up the space of the third signature. I added so many inclusions to my pages however, the signatures became way too thick! I could only fit one signature into my journal. Oops! I made the extra signature its own little companion book. I couldn't let all that work go to waste. Plus you can learn from me. ;-)
Now for LOTS of detail photos! There are also in progress photos to see how it all went together.
Scroll all the way to the end for a supplies list.
 |
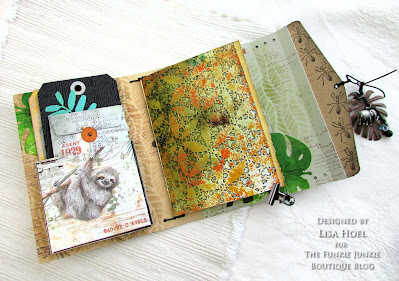
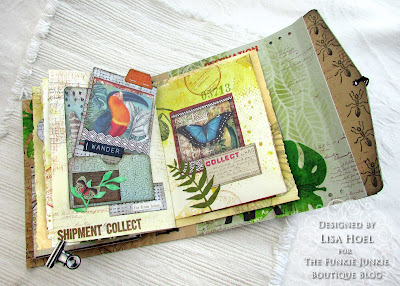
| Detail of the tags & envelope from the front pocket. |
 |
| The envelope is cut from a gel print I first embossed with the new ML Textured Impressions Embossing Folder - Dotted. |
 |
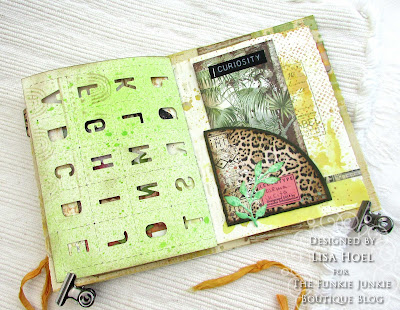
| The frame pocket holding the tag on the right page is part of the Frame Pocket Journal Scoreboards Plus Die. Cut them out of paper or cardstock and sprinkle throughout your journal. |
My "extra" signature as its own little book. I was so sad when I realized they were too bulky to both fit in the main journal. Oh well, this works!
 |
| The covers of the signatures are covered with paper embossed using the new 3-D Textured Impressions Embossing Folder - Tablecloth (how-to steps below) |
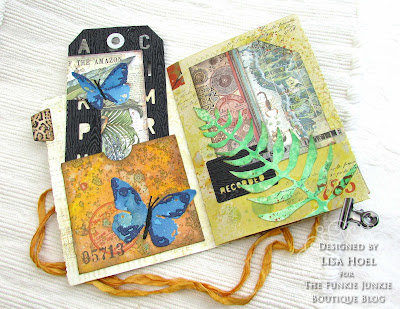 |
| I cut a tag out of a piece of Black Two-tone Woodgrain Cardstock and then used the Tile Alphanumeric Thinlits Die to cut the letters out. |
 |
| Another frame pocket to hold a tag. Perfect! |
 |
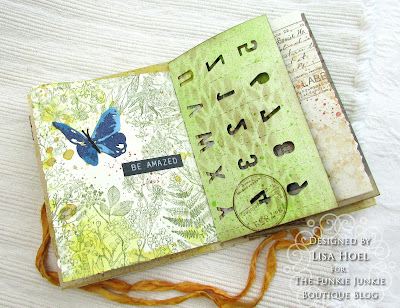
| I incorporated a whole sheet of a Tile Alphanumeric Thinlits Die cut to use as pages in the signature. |
How-to:
1) Embossing with the Tablecloth 3-D Textured Impressions Embossing Folder. I had some pre-inked cardstock in my stash so I grabbed that to use. (Having a stash is a time saver!) One of my favorite techniques to use with the 3-D folders is to ink it with archival ink and then emboss my paper. The ink is transferred into the debossed areas and really makes the detail pop.
 |
| The Frame Pocket Journal Die |
 |
| I did all my inking and stamping before assembling the parts. |
 |
| You can use strong dry adhesive like red line tape to assemble the cover, but I prefer to use a strong wet adhesive. |
 |
| The Library Pocket, ATC Card & Tabs Thinlits Die Set in action! |
 |
| I embossed the paper with Dotted first and then cut the envelope. |
 |
| The tag pocket cut from cardstock and some of the frame pockets. |
 |
| I decorated all the pages first and then stitched the signatures together. |
 |
| I made a charm cluster for the closure using Prima Marketing Mechanicals - Rusty Monstera and a broken necklace I had in my stash. |
Thanks for stopping by. If you hung in there for the whole post you're a rock star! Keep an eye here on the Funkie Junkie Boutique Blog, Inspiration Ave. because you are now getting regular doses of expanded (and inspiring) content each week. Don't miss it…
Supplies used:
New Sizzix Chapter 1:
Eileen Hull - Frame Pocket Journal Scoreboards Plus Die
Eileen Hull - Tile Alphanumeric Thinlits Die
Eileen Hull - Library Pocket, ATC Card & Tabs Thinlits Die Set
Eileen Hull - 3-D Textured Impressions Embossing Folder - Tablecloth
Tim Holtz - ML Textured Impressions Embossing Folder - Dotted
Tim Holtz Layering Stencils - Ringer, Markings, Dotted Line, Feather, Cells, Code, Nature
Distress Crackle Paste Opaque









No comments:
Post a Comment