TFJ Inspiration Ave Saturday Showcase: Tim Holtz Christmas Idea-ology
Hello and welcome to the crafty corner I’m Janna and I am pleased to present to you this week’s Saturday showcase for the Funkie and Junkie Inspiration Ave.
For the Saturday showcase we are going to be focussing on Tim Holtz Idea-Ology Christmas. This is going to be a three-part series: in part one we are altering some Idea-ology elements, part two building a peppermint gingerbread house, and in part three we will be assembling a sweet dreams vignette clock. Down below are links to all three parts which are presented in YouTube videos.
For step one we will be covering all of our pieces in collage medium.
Next we will cover these in Distress glitter clear rock candy.
Now that these are all sparkly we will let them dry for about 20min. Dry time might change depending on your location.
Altered Snowballs with Bubbles
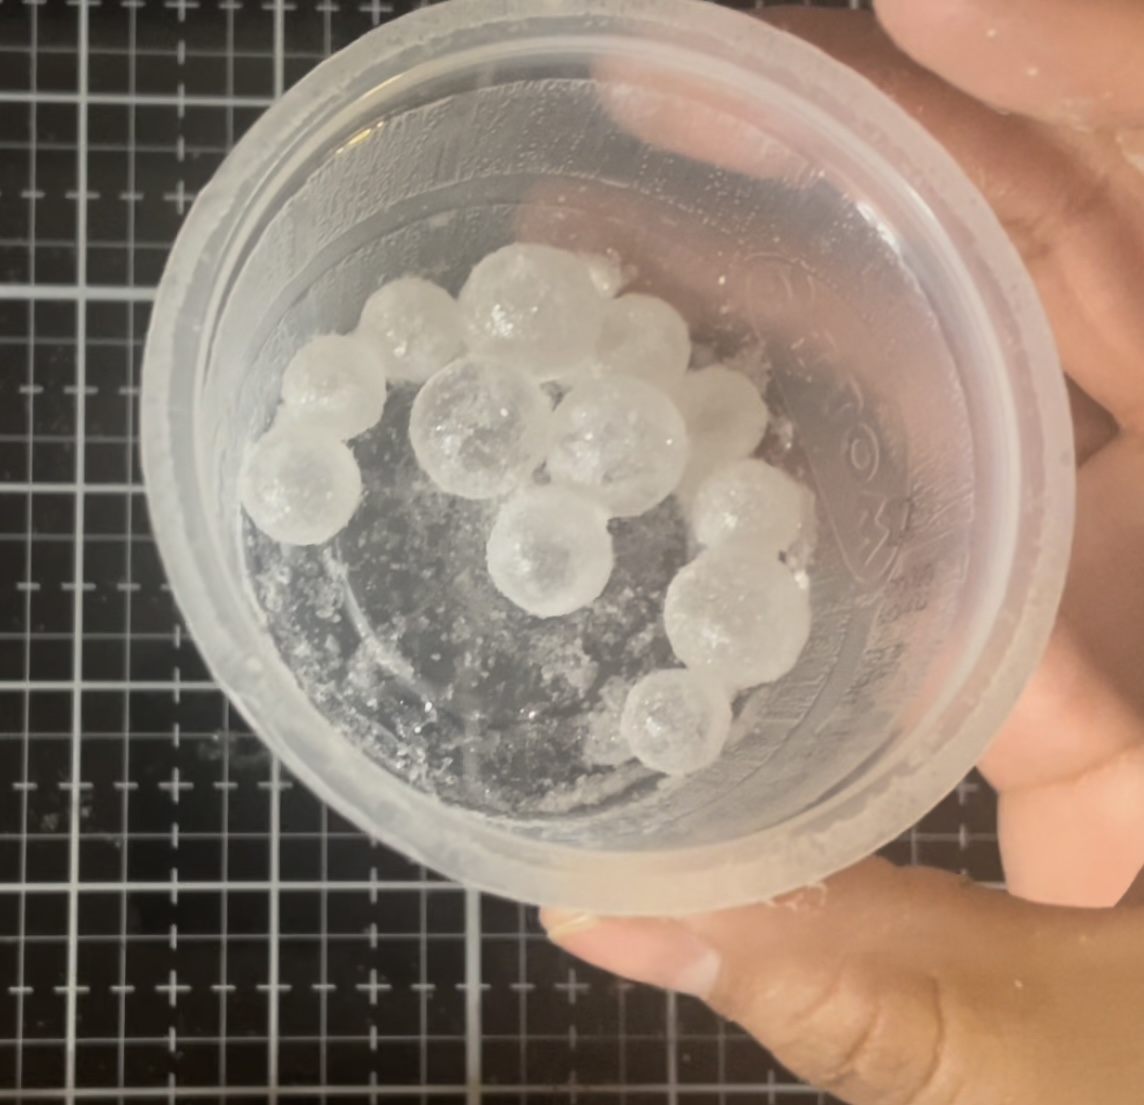
For our next alteration we are going to make some icy frozen snowballs with bubbles. This technique I learned from last year TH Holiday live part 4. To start we are going to coat the bubbles in collage medium.
Now I am pouring some distress glitter clear rock candy into a cup. Next I will shake the bubbles coated in collage medium in the fully until they are coated in glitter. With our snowballs glittered I will place them on a paper towel to let them dry.
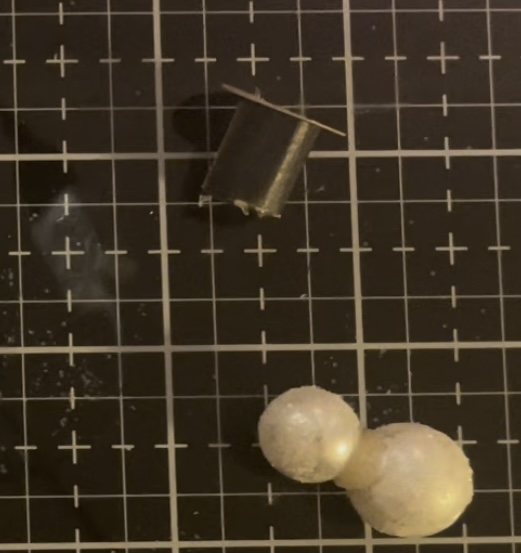
Next let’s build a snowman with some baubles. Here you will need one large and one medium sized baubles.
Next we are going to be putting the bubbles together. To do this I am using a strong hot glue for quick drying time.
Next I’m going to add a light dusting of glitter over the top by adding a dash of Collage medium to the two baubles.
For our next embellishment we are going to create a little hat out of metallic craft stock. First using a 1/4 of an inch hole punch I’m going to cut out a small circle. Then I am going to roll a thin strip of paper a quarter of an inch high into a small tube these pieces I will then glue together with a dash of hot glue.
Next I’m going to cut out a slightly larger circle for the brim of the hat and this will be attached to the bottom of the paper tube we just rolled.
The mini hat is now complete so we will next attach it to our snowman with another dash of hot glue. No it is time to add a face to a snowman. To do this I’m going to be painting on two black eyes and a row of dots to form a mouth and another dog for a nose using some distress black soot paint.
For the last little enbellishment I am going to be adding a tiny scarf to our snowman. Here I am using some of the older Tim Holtz Idea-Ology holiday trimmings and I am creating a fringe at the end of the scarf with the die pick.
Altered Snowy Mica Bottle Brush Trees
For our next operation we will be altering some of the Idea-Ology bottlebrush trees. For the alteration I will be using distress mica spray stain tree lot.
Well we spritz the spray stain onto the tree I will be using a splat box to catch the overspray.
Next I’m going to be adding some collage medium to the tree. This could be done by dipping the tree into the collage medium but I prefer to use my fingers to dab on the glue.
Once a tree has some glue on it we can then dip the tree into some distress mica flakes for a winter magical look.
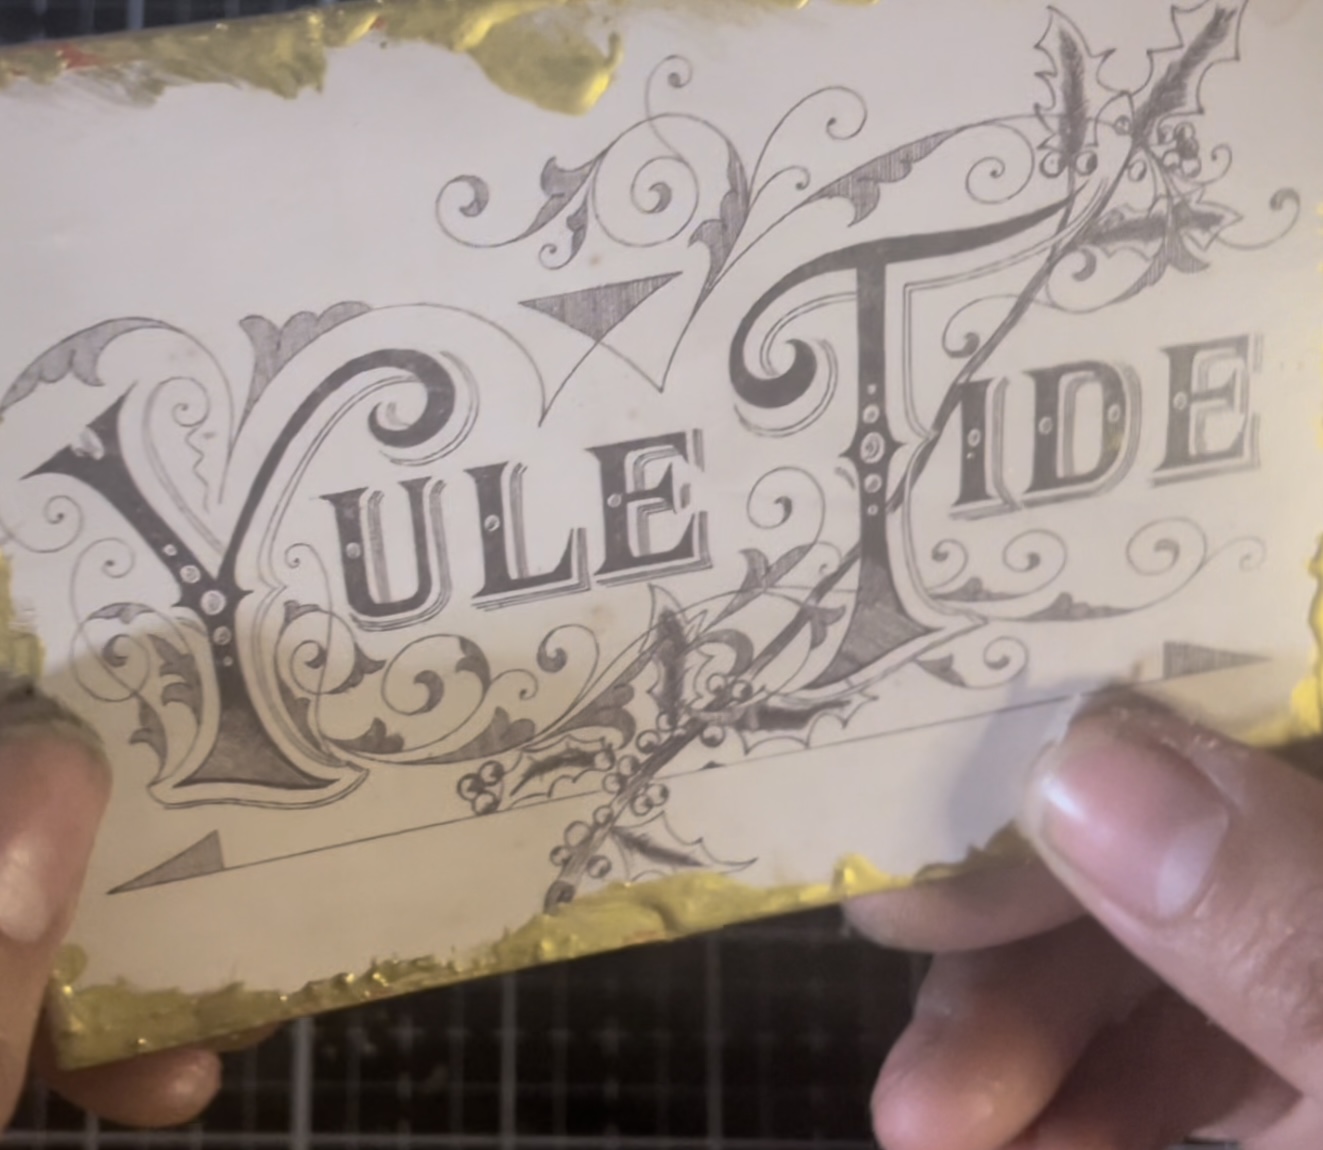
Here we are going to be altering some pieces of Idea-Ology a summer with some Distress Foundry Wax gilded.
For applying for distress county wax gilded I am putting a bit down onto the medium at off to the side. For applying for distress county wax gilded I am putting a bit down onto the medium at off to the side. Each of the Distress Foundry waxes has a different viscosity and will thicken in different amounts of time. I have found that the gilded foundry wax is the quickest to set so we need to quickly paint this onto the edges of our ephemera.
Once the foundry wax is applied we can then add heat with a Embossing gun. Just took check out the fantastic guilted edges we now have after the heat has been applied. Foundry what is one of my favourite ways to add some shine to the paper ephemera pieces.
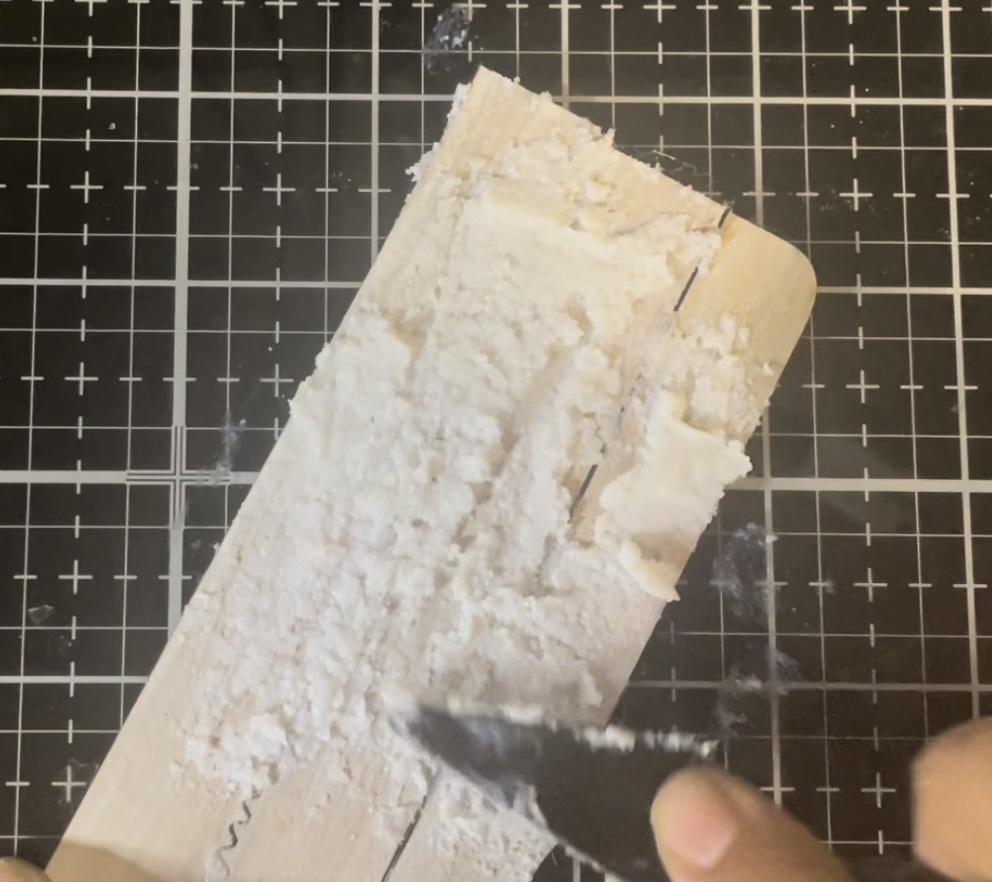
For our next alteration we’re going to be creating a base to set our vignette on. Materials I’m going to be using are a hot glue gun, snowfall texture paste, and some Etcetera baseboards.
First I’m going to be glueing three different pieces of trim together using a hot glue gun. Show the pieces are lined up with a jagged bit together too much to help form a ledge.
Next I’m going to be painting our base with some distress paint pick a fence.
Once the paint is dry where than going to be adding a coat of Distress text Paste snowfall to our best for a sparkly snowy look. The text to pace took approximately 30 minutes to dry thought remember depending on the area that you live text to pace will have a variety of different drying times.
For our last alteration we are going to be using some deco paper and alternate with a stencil and a bit of distress paint lumberjack plaid. The stencil that I am using is THS095 peppermint.
With our stencils THMS095 we are going to be dabbing on some distressed paint with a mini blending tool and mini blending foam.
Below are finished results of our beautiful peppermint strike with lumberjack plaid distressed paint. Below are finished results of our beautiful peppermint strike with lumberjack cloud distressed paint
Below are all of our finished Tim Holtz Christmas idea Ology alterations. I hope these give you a few ideas to jumpstart your holiday making season and don’t forget for a full video click here.
For the next two sections of this blog I am going to be posting two bonus videos for more creative inspiration.
Part 2: Paper Village Peppermint Gingerbread House
First we are going to be assembling a Sizzix village house an alternate with the Idea-ology products to create a peppermint gingerbread house.
Here is the final section of the Saturday showcase we are going to be creating a complete vignette inside an Idea -Ology Curio clock. For full video instructions click here.
Thank you so much for joining meet you today for this Saturday showcase and until next time happy crafting!
🎄♥️🎄
Janna
Down below or a few links for some inspired holiday shopping.


Fantastic tutorial, Janna. You have really shared some great tips and techniques that will be great inspiration for our readers!
ReplyDeleteThank you so much! I had so much fun putting this project together.❤️🤍❤️
Deletelove it!! super cute vignette
ReplyDeleteThank you so much!❤️🤍❤️
DeleteSo very CUTE!!!
ReplyDeleteLove all the details!!
Thank you so much!❤️🤍❤️
Delete