This week for The Funkie Junkie Inspiration Ave we are creating to the theme of “it’s in the details” featuring the 2023 Tim Holtz Idea-ology line.
For my project today I have decided to create a layered card with a Distress crackle background. If you would like to see step-by-step details, click here for a in-depth video.
Below is a list of the materials that I used to create this project.
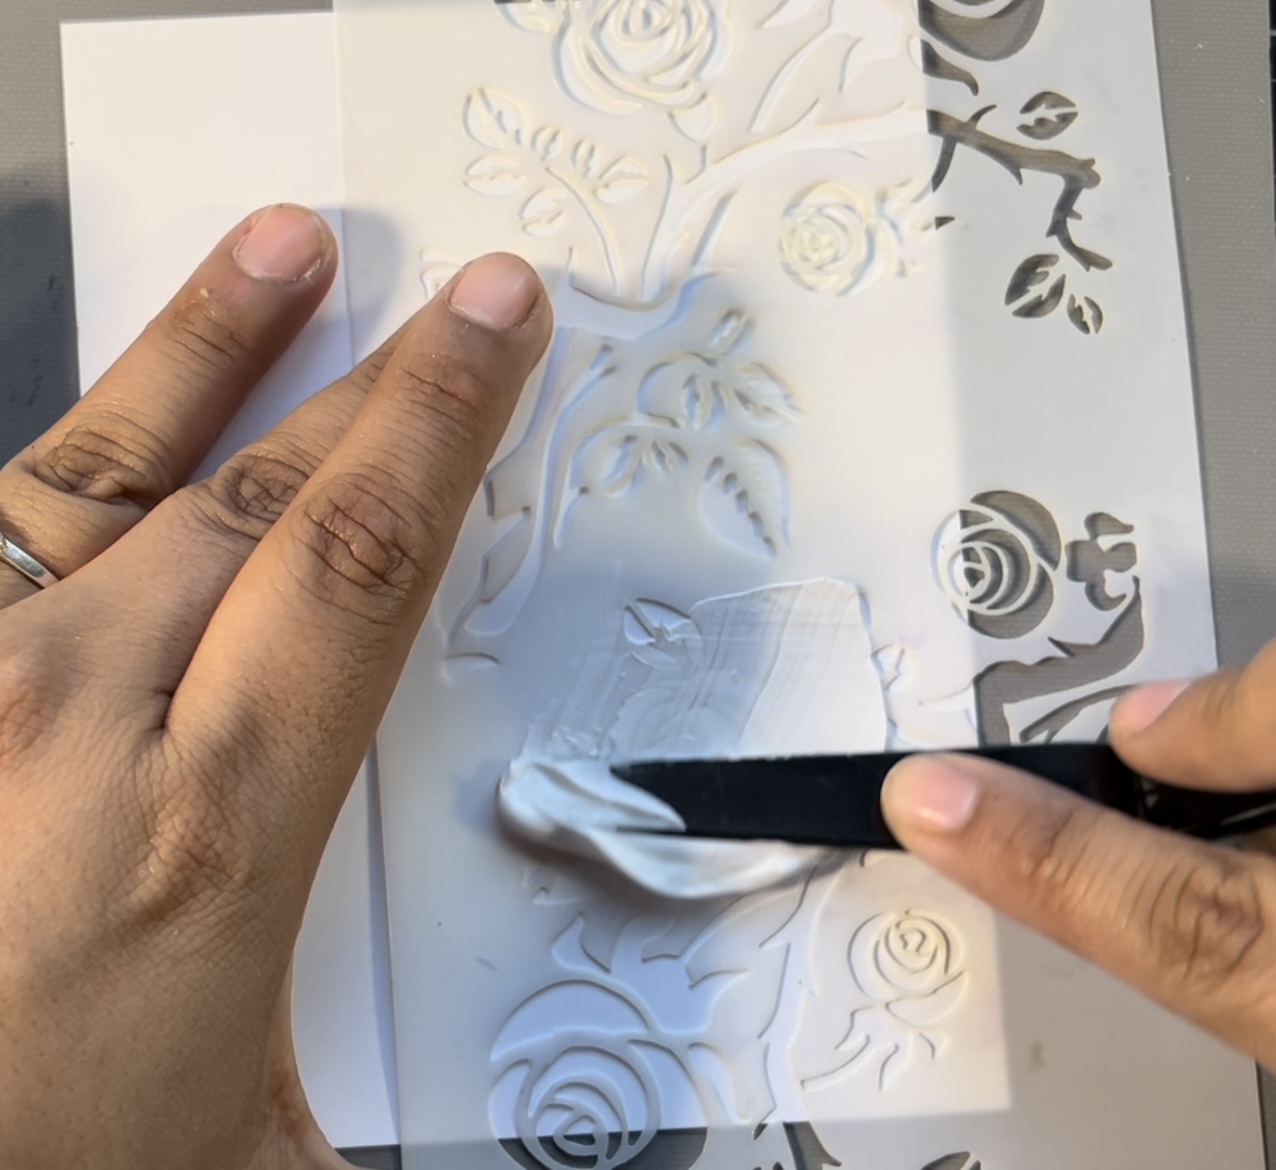
To start this card I am using a piece of Distress Heavystock white card stock for the base. To create the background, I will be using stencil THS162.
For the background, I am going to be stenciling with some Distress Crackle Paint to create a faux glass, crackle texture by combining the crackle paste with a Distress glazes. Here I am spreading the Crackle Paste Opaque with one of the Ranger Tim Holtz palette knives. The Texture Paste spreads with the consistency of butter. On average I have found the Texture Paste will take approximately 20 to 30 minutes to dry.
I love using these Stampers Anonymous stencils. They are great to place down parts and pieces of the stencil instead of just covering the entire background with a stencil pattern. I like to use small fragments, particularly in the corners to create backgrounds.
Once the crackle paste was spread through the stencil with a palette knife, I then sprinkled some distress glazes quickly over the top, so that they would stick to the opaque crackle paste. For colours I used Wilted Violet and Salty Ocean.
Once I had a generous sprinkling of the Distress Glaze spread over the crackle paste, I then tapped my fingers on the back of the card stock to evenly spread out the glaze. Below are the radiated results of the Distress Glaze over crackle paste. Now I am going to let the crackle paste dry for about 20 to 30 minutes.
Next, we are going to start putting together the main focal point of our card. I am starting the focal point by altering one of the Idea-ology Layered Frames. These frames are really cool and have stitching all around them. I altered the frame with a little bit of Vintage Photo Distress Ink to darken up the stitching.
For the next layer, I am glueing a Transparent Layer piece on the back of the stitched frame. After the glue dried I trimmed off the overhang of the Transparent Layer.
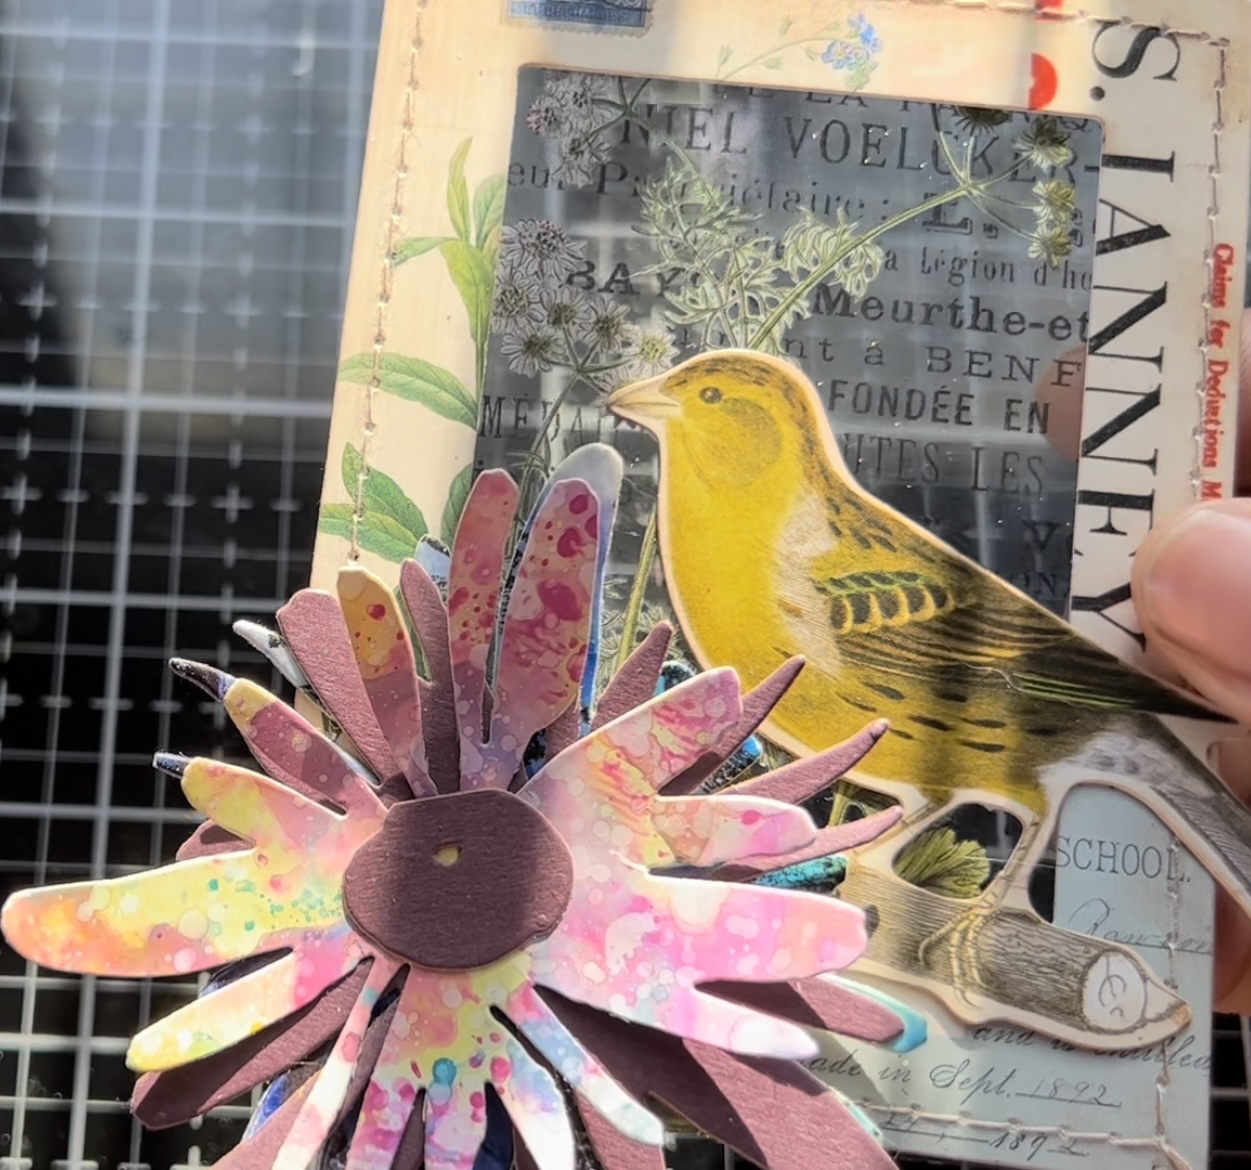
Next, using the die set Modern Floristry I die-cut some pieces to create a layered flower. I die cut the flower using some various scraps that I had in my scraps stash. Then I gave the top layer of the flower, some dimension with the Sizzix shaping tools.
Here is the finished layered flower.
After sticking the flower to the bottom left corner of the frame, I then added a bird from the ephemera set Botanic Layers. This completes our focal point for the card.
Now going back to our crackle paste backdrop. First I check to see if the crackle paste was completely dry. Then I used an embossing gun to melt the glaze over the crackled background. This gave me a shattered glass look.
Next, I added a layer of Distress Spray Stain Speckled Egg. I then spritz the spray stain with droplets of water before drying the card off with the Ranger Heat Tool.
After I ink the edges of the card base with a Ranger Mini Ink Blending Tool and some Distress Vintage Photo ink.
Now for some finishing details. To pull the entire card together I added a few pieces of ephemera from the Large Palette pack. I selected a variety of blue and neutral pieces of ephemera and added it around the stitched frame to add some more visual interest. I also included an Idea-ology Mini Paper Clip.
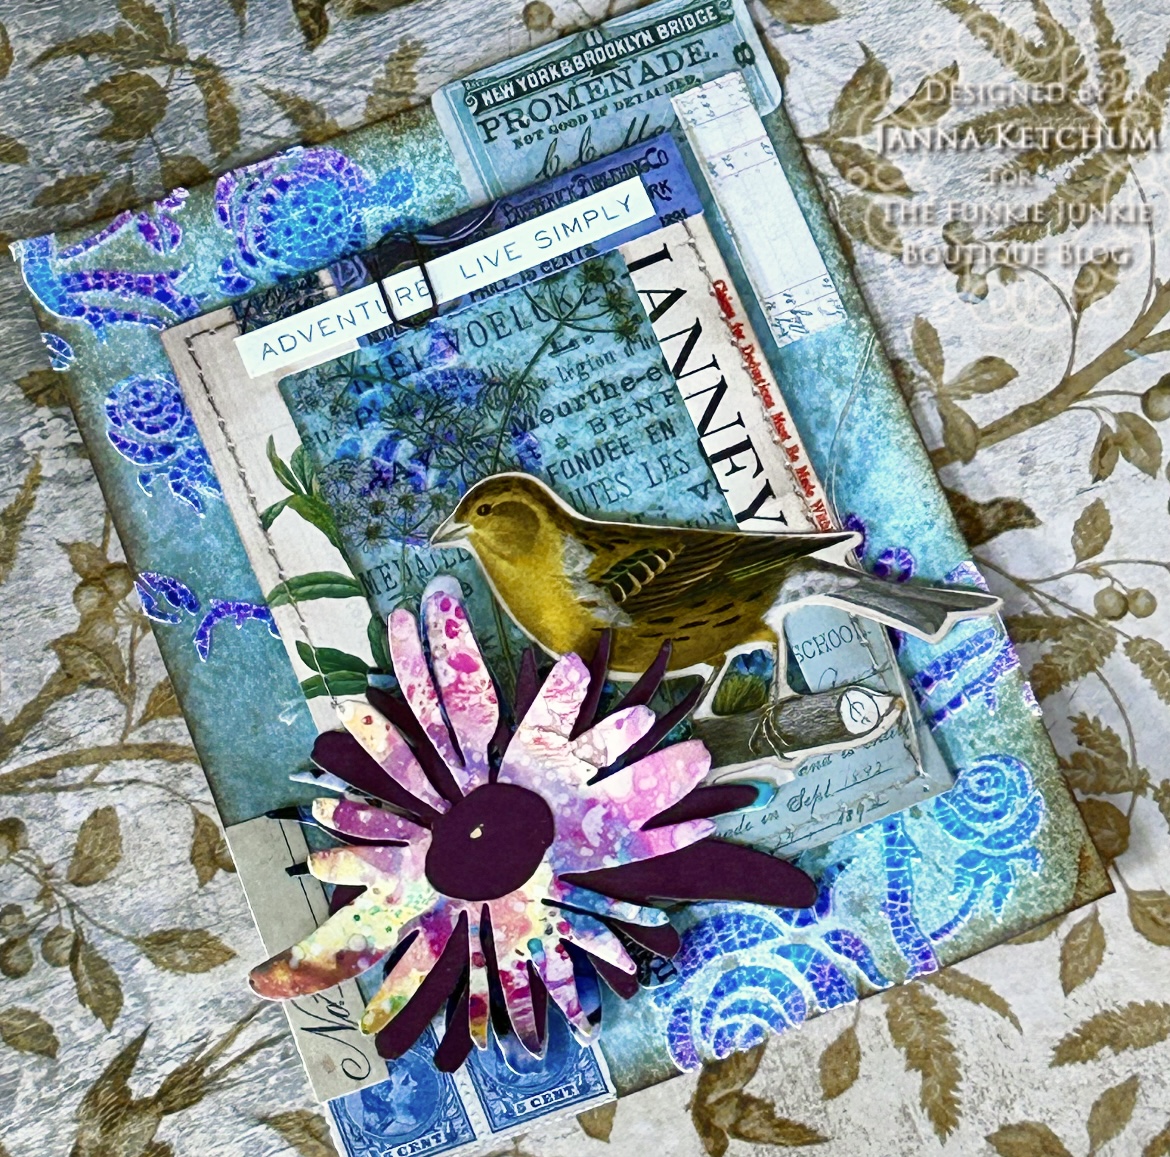
Here is the completed card with layers and texture. Some of my favourite details include the Distress Glaze crackle background and the transparent Idea-ology layer.
Below is our completed card full of details, such as the stitching around the Layered Frame, and the speckled inky details of the Modern Floristry flower.
Thank you so much for joining me here today for TFJB Inspiration Ave. Until next time, happy crafting!
Janna~ 💕🎨💕
I can also be found on :
Instagram: dunhamtreasuresofthesea_jannak
YouTube: The Crafty Corner with Janna
Idea-ology Organic Layers
Idea-ology Layered Frames


No comments:
Post a Comment