
I've broken down the steam into a two-part video along with our traditional written blog post. In this first section, we are going to be talking about tag types, sizes, materials, and what we do with tags. Later, in part two we are going to take our tags and create a couple of projects from them.
Video 1 Tag Time Techniques: click here
Video 2 Tag Team Projects: click here

Tag Time Techniques and uses
For video click here
For tag techniques the following materials are used: mixed media and craft stock tags, collage medium, collage, paper pallet, Distress Glaze Lumberjack Plaid and Lost Shadow, Distress Colored Pencils sets 1,2 and 3, Idea-ology rub ons, Distress Archival Ink Villainous Potion, Distress Embossing Ink, Distress Crayons Black Soot, Evergreen Bough, Broken China, Chipped Sapphire, Wilted Violet, Villainous Potion, Salty Ocean and Prize Ribbon.


I also pulled a couple of tag sizes from the old Sizzix set Tags. This is a retired set but if you have it in your stash, there are three different sizes of tags and a couple of little banners that are included in the set.

Now the big question... what are tags used for, why use them and what do you do with them after you have made them? I love using tags for three purposes. First, I like to use tags as mini swatch cards. Secondly, tags can be a useful and convenience source to place technique ideas on. I love to try a different techniques, but sometimes techniques take many steps so I will write the directions for a technique on the back of a tag to help me remember. Third, tags can be a place to play and to put down creative ideas. Sometimes ideas work out and sometimes they don’t. Tags also don’t take a lot of space and if an idea doesn’t work out, you can always die cut your tag and make something new out of it or if you really love how you can save it and place it onto a card.
Below, I have a set of swatch cards that I have created on tags for distress glazes.

I also love using tags for swatch cards. Here I decided to swatch out 16 different Distress Colored Pencils to create myself a little chart.


Now let’s get into a couple of technique tags. For the first technique that we were going to be creating with Idea-ology rub-ons. Now the most important thing to know about the rub-ons is to use the Idea-ology Rub-on tool. I find this tool to be very useful. Its two different ends allowsfor easy application of rub-ons to various substrates.

First, I’m going to alter one of the small size 5 mixed media tags with Distress Spray Stain Shaded Lilac, and Salvaged Patina. Then, after a quick dry, we will apply the rub-ons.


The last basic technique I’m going to describe is starting a collage. Here using a craft Mixed Media Tag I added a layer of Collage Medium over the base and then apply to different Tim Holtz Idea-ology Collage Papers over the top. For the Collage Papers, I used Typeset and Palette


Tag Team Projects
For video click here
For the two tag projects I use the following materials: Idea-ology Label Stickers, Paper Dolls, Ephemera, Crinkle Ribbon, metal element, and Field Notes Ephemera.

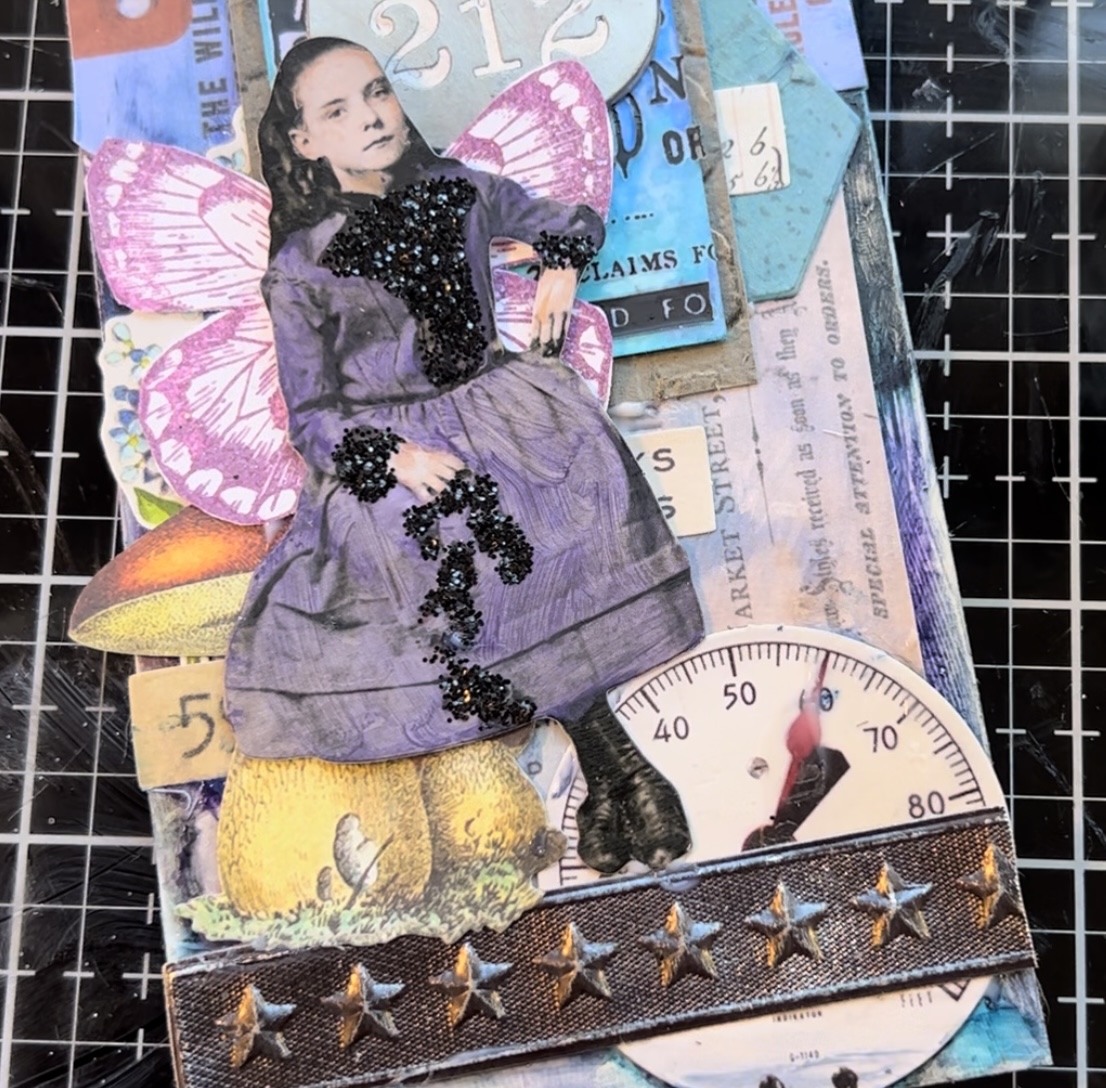
For this tag, we are starting with the Distress Crayon tag that we made earlier and we are going to be using that as foundation for a collage.
For the collage I decided that I wanted to colour coordinate my pieces and I went with blue and purple colours. For these collage elements I pulled from the years of Tim Holtz Idea-ology in my stash. All of these pieces were applied with a layer of Collage Medium.


The last few things that I am adding to the tag include a mushroom from Field Notes and an altered Paper Doll with stamped butterfly wings.
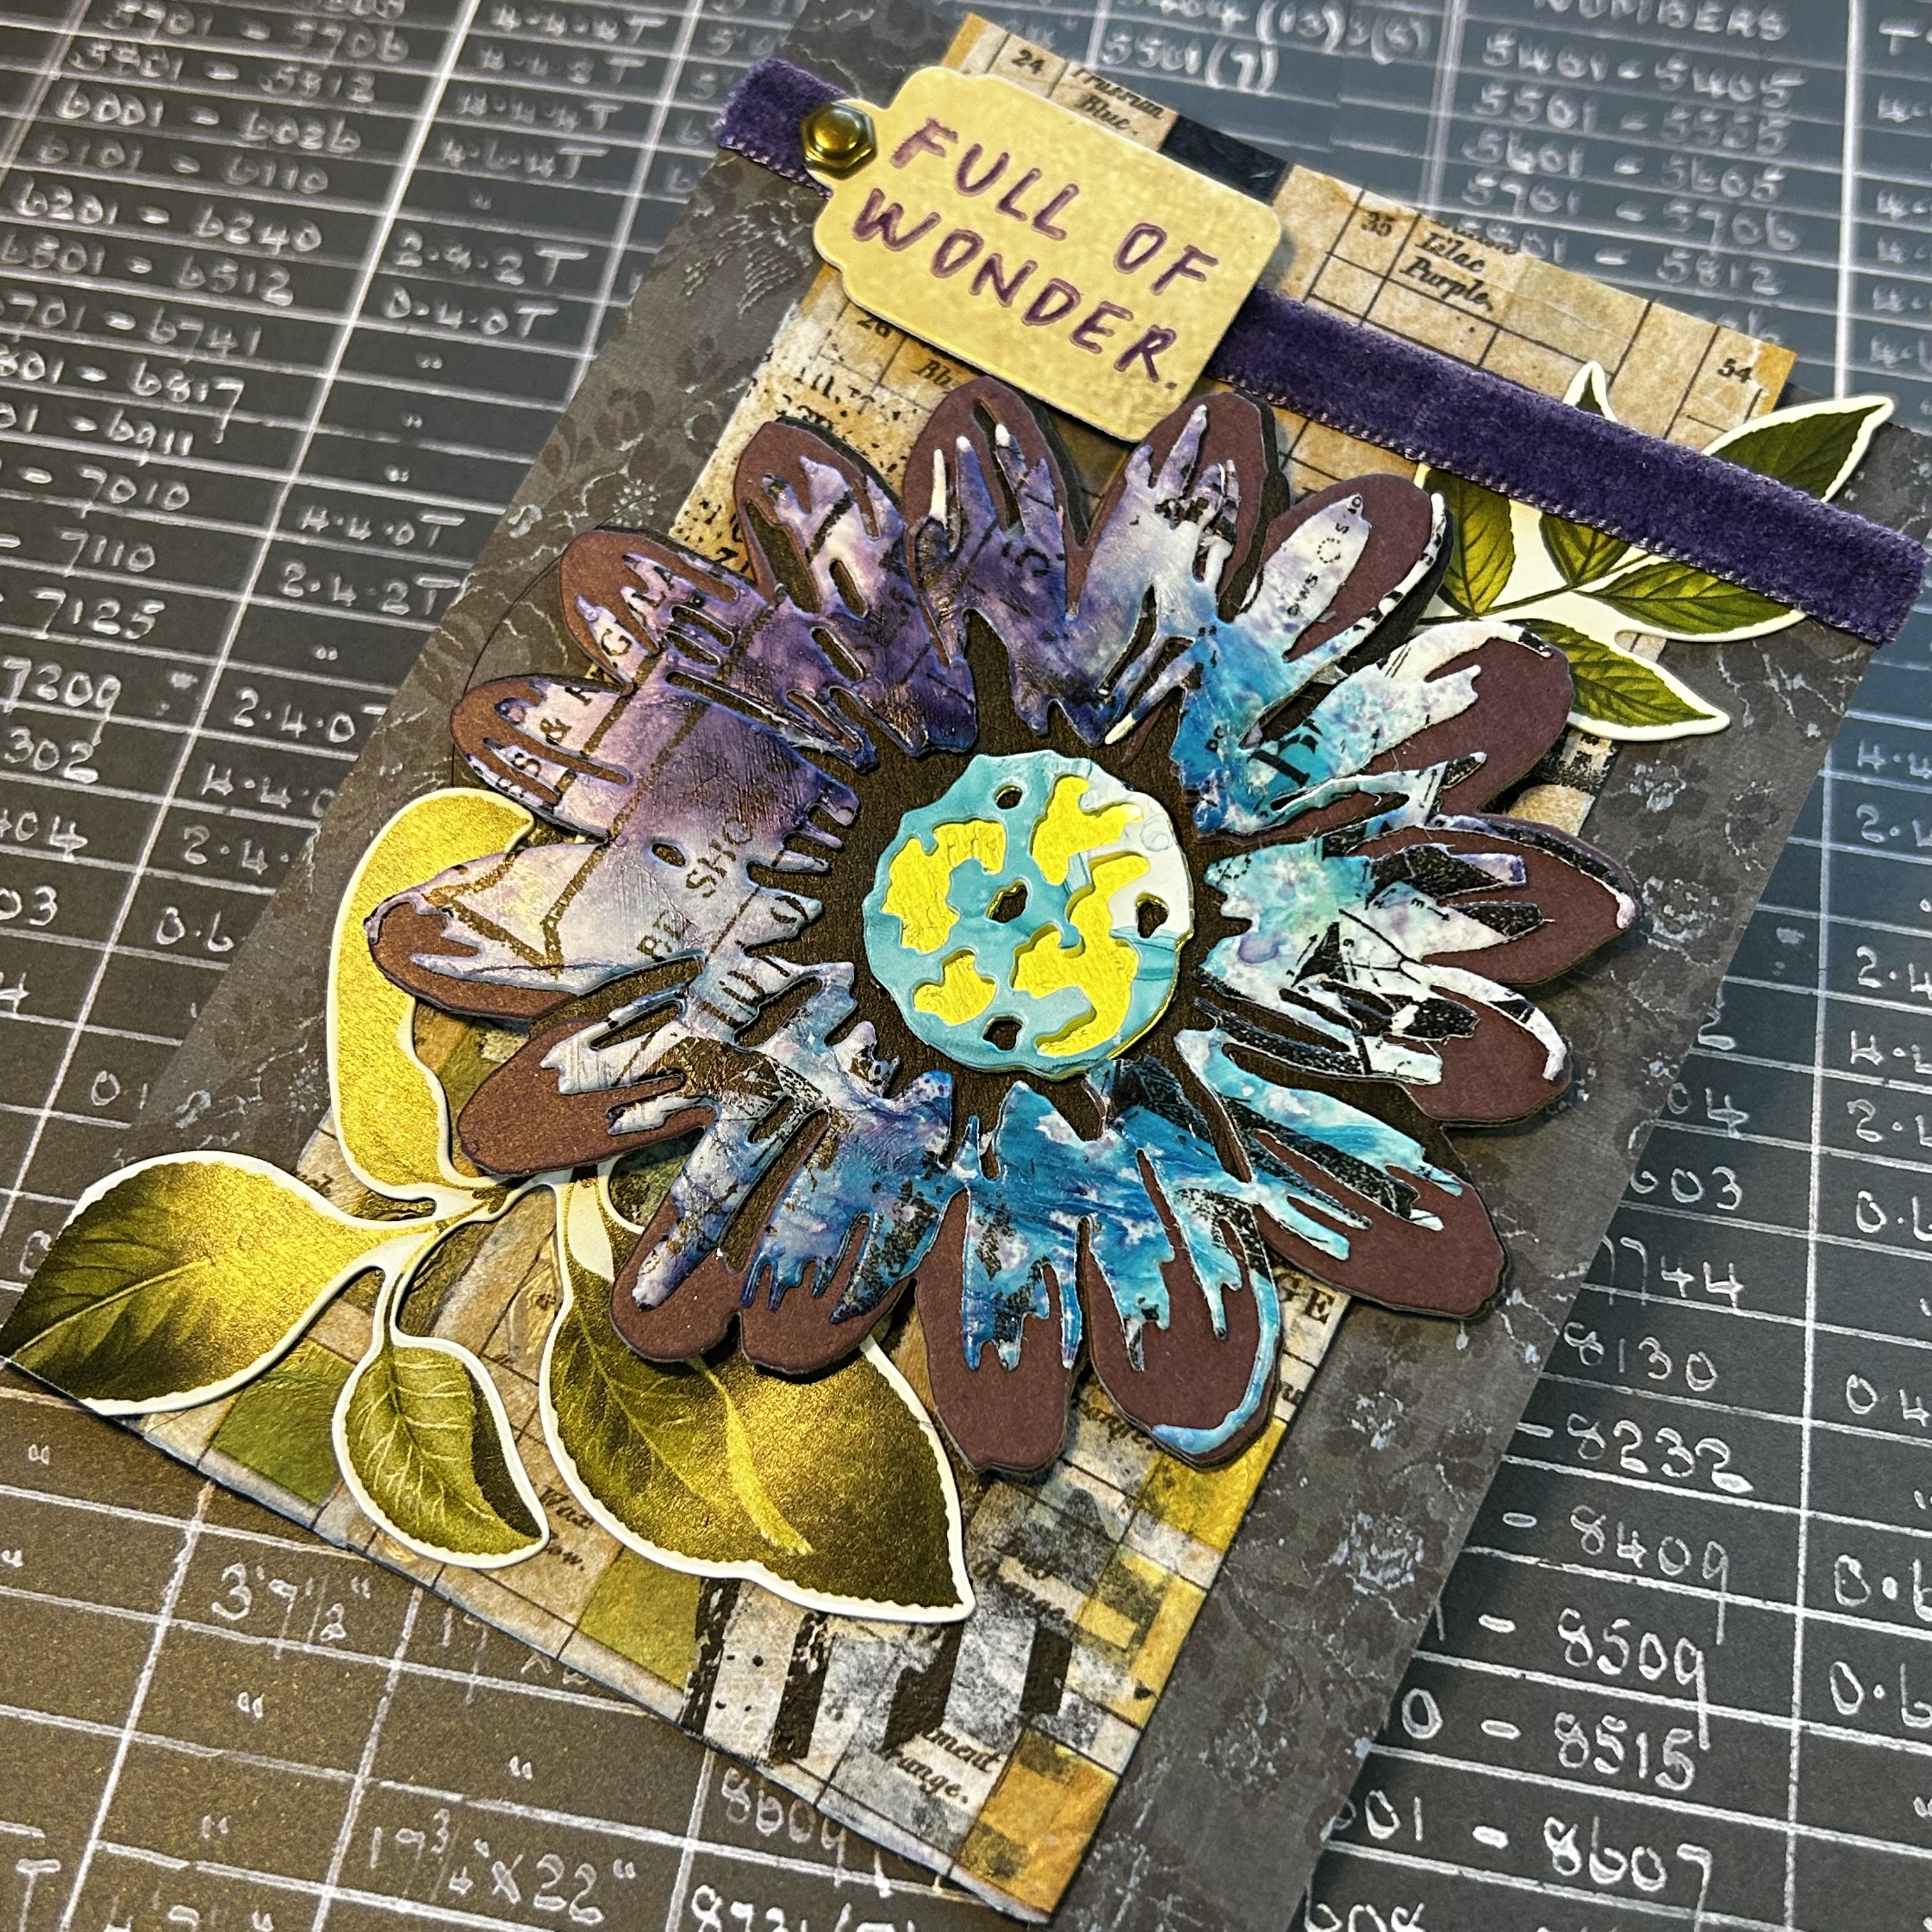
Another thing that we can do with tags is cut them up for die cutting or we can trim them down and use them as part of a background on a card. Here we are going to take our collaged kraft tag and turn this into a card.
I cut the tag down to fit on an average 4 1/4 x 5 1/2” card. For the base background, I cut up a piece of paper from the new Tim Holtz Idea-ology vVolume Five backgrounds pack.


For finishing touches on the tag in for a sentiment, I used one of the mini tags for the sentiment. I stamped with a Villainous Potion Distress archival ink from the stamp set CMS446 Noteworthy. I then attached the tag with a hardware brad to the card.


Thank you so much for joining me here today for TFJB Inspiration Ave. Until next time, happy crafting!
Janna~ 💕🎨💕
I can also be found on :
Instagram: dunhamtreasuresofthesea_jannak
YouTube: The Crafty Corner with Janna
Supplies used:
Idea-ology Organic Layers
Volume 5 backgrounds
Idea-ology Ephemera
Tim Holtz Sizzix Blossom
Tim Holtz Sizzix Frames Tags
Size 5 Ranger Ink Tags
Distress Collage Medium
Distress Spray Stain Mermaid Lagoon
Distress Spray Stain Salvaged Patina
Distress Spray Stain Villainous Potion
Distress Colored Pencils Set 1
Distress Colored Pencils Set 2
Distress Colored Pencils Set 3
Distress Crayons Set 12
No comments:
Post a Comment