
This week at the Funkie Junkie Inspiration Ave Blog we are focusing on the new Ranger Tim Holtz Holiday Distress pallet.
We also hope you will enter into our drawing for a $25 gift certificate to the Funkie Junkie Boutique by creating something with Tim Holtz Sizzix Chapter 4 dies or texture fade. Post on your social media and tag us at #thefinkiejunkie . At the end of our two week challenge we will randomly select a $25 gift certificate winner.


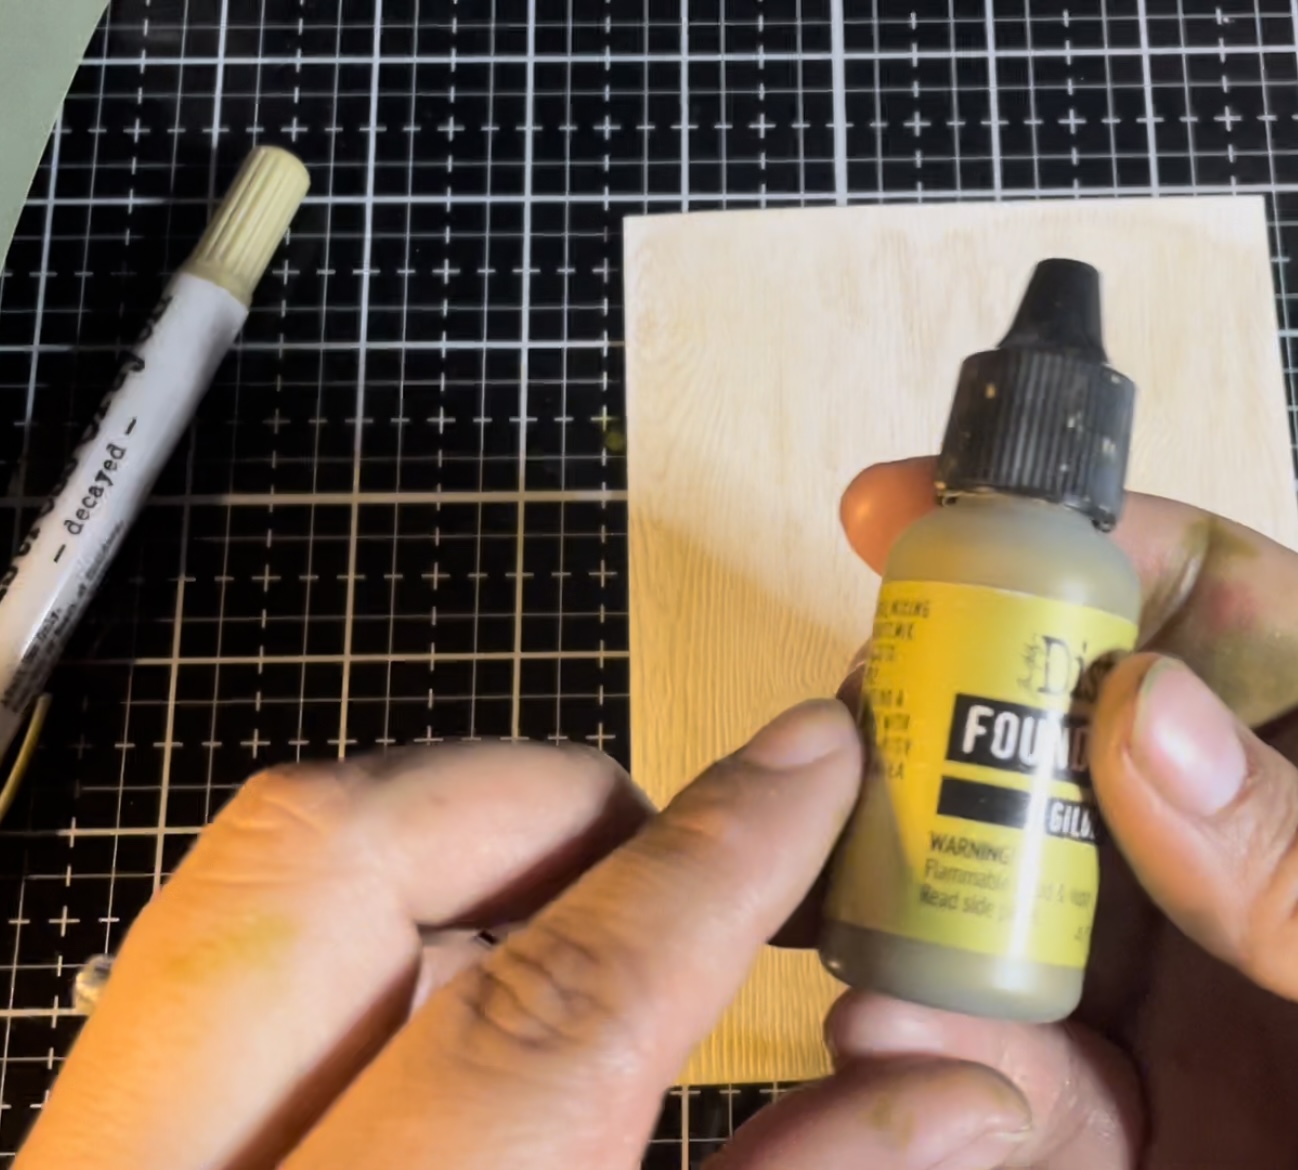
To start a creative session I am first going to be decanting some of the distress mica spray stains into some of the Ranger ink AI bottles. To do this I am using a large pipette. I transferred approximately four large squeezes from the pipette into each of the little bottles. Inside each of the little bottles is a small mixing ball that helps to keep the mica incorporated when you use the spray stains.


I decided to create these as layered backgrounds for the base layer I cut some Idea-Ology craft stock at 4 1/4“ x 5 1/2“. For the second layer I cut those pieces at 4“ x 5 1/4“.

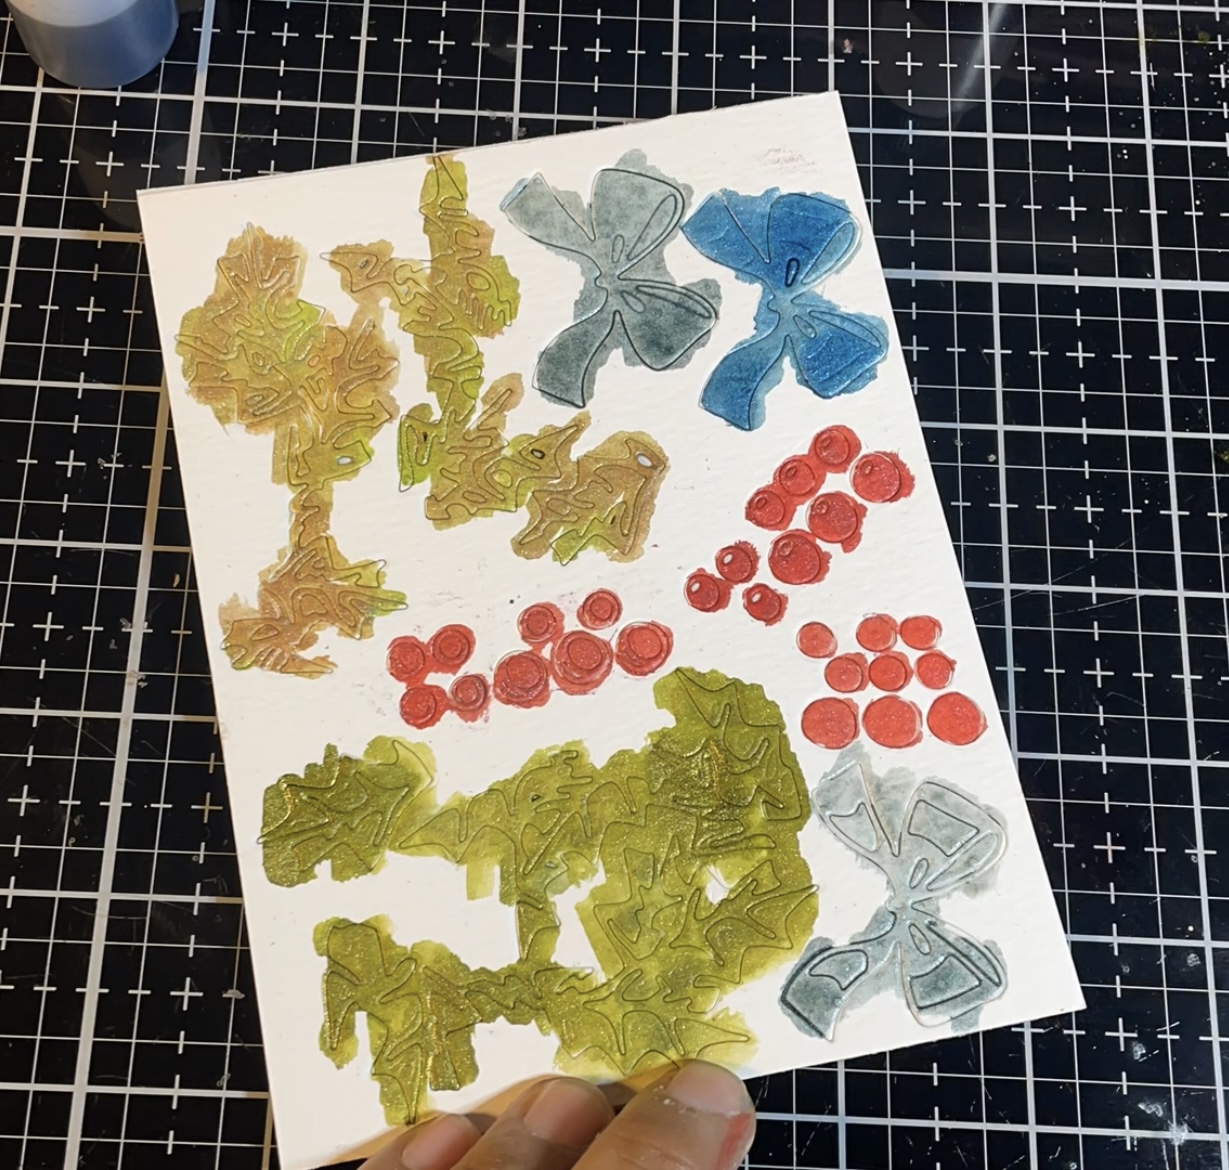
For the next part we are going to start colouring some diecuts. This is a Tim Holtz die set that I’m going to be featuring for these cards is Yule tide colorize. I die cut the pieces out of distressed watercolour paper and distressed white heavy stock. I cut the large wreath pieces out of the distressed white heavy stock and the small detail pieces out of the watercolour cardstock. For colouring I am also going to be using the Ranger fine detailing water brush and the following mica spray stains: Holly branch, wicked elixir, tree lot, frosted juniper, Snow flurries, winter frost, tart cranberry, and peppermint stick.

Here are my finished painted results using the Distress mica spray stains.
Next I am going to be colouring with the Distress pearlescent crayons. For colours on the large wreath sections I used bubbling potion, merry mint, and fresh balsam.

Other colours that I used on the detail sections include tart cranberry, peppermint stick, winter frost and snow flurries.


Thank you so much for joining me here today at the Funkie Junkie Inspiration Ave blog. Until next time, happy crafting!
Below are some links for some inspired shopping at the Funkie Junkie
Distress Christmas Mica spray stains set 3
https://www.thefunkiejunkie.com/Distress_Holiday_Mica_Stain_Set_3_TSCK81159_p/tsck81159.htm
Distress Christmas Mica spray stains set 4
https://www.thefunkiejunkie.com/Distress_Holiday_Mica_Stain_Set_4_TSCK81166_p/tsck81166.htm
Distress Pearlescent Crayons set 3
https://www.thefunkiejunkie.com/Holiday_Pearlescent_Crayon_Set_3_TSCK81173_p/tsck81173.htm
Distress Pearlescent Crayons set 4
https://www.thefunkiejunkie.com/Holiday_Pearlescent_Crayon_Set_4_TSCK81180_p/tsck81180.htm
Idea-Ology holiday drops
https://www.thefunkiejunkie.com/Idea_ology_Droplets_Metallic_Christmas_2022_p/th94289.htm
Idea-Ology worn wallpaper holiday
https://www.thefunkiejunkie.com/Idea_ology_Worn_Wallpaper_Christmas_2022_TH94182_p/th94182.htm
Collage mediumYuletide colorize
Fine detailed water brush
https://www.thefunkiejunkie.com/Tim_Holtz_Water_Brush_Detailer_Brush_Nib_TIP33080_p/wbdetail.htm
Metallic kraft stock
https://www.thefunkiejunkie.com/Tim_Holtz_Kraft_Stock_Metallic_Classics_TH94227_p/th94227.htm
No comments:
Post a Comment