
Chapter 4 Stamps is our theme for the next two weeks here at The Funkie Junkie Boutique's Inspiration Ave! Check back in for all Design Team makes as the days go by to find out which set they chose, and what they created with it. Remember to leave a comment here on the page, so you will be entered into our random drawing for a $25 shopping spree at The Funkie Junkie Boutique!
This is Lyla, leading off with Tim's Department Store (CMS458). Read on and I'll show you what I did with this awesomely Christmas stamp set..

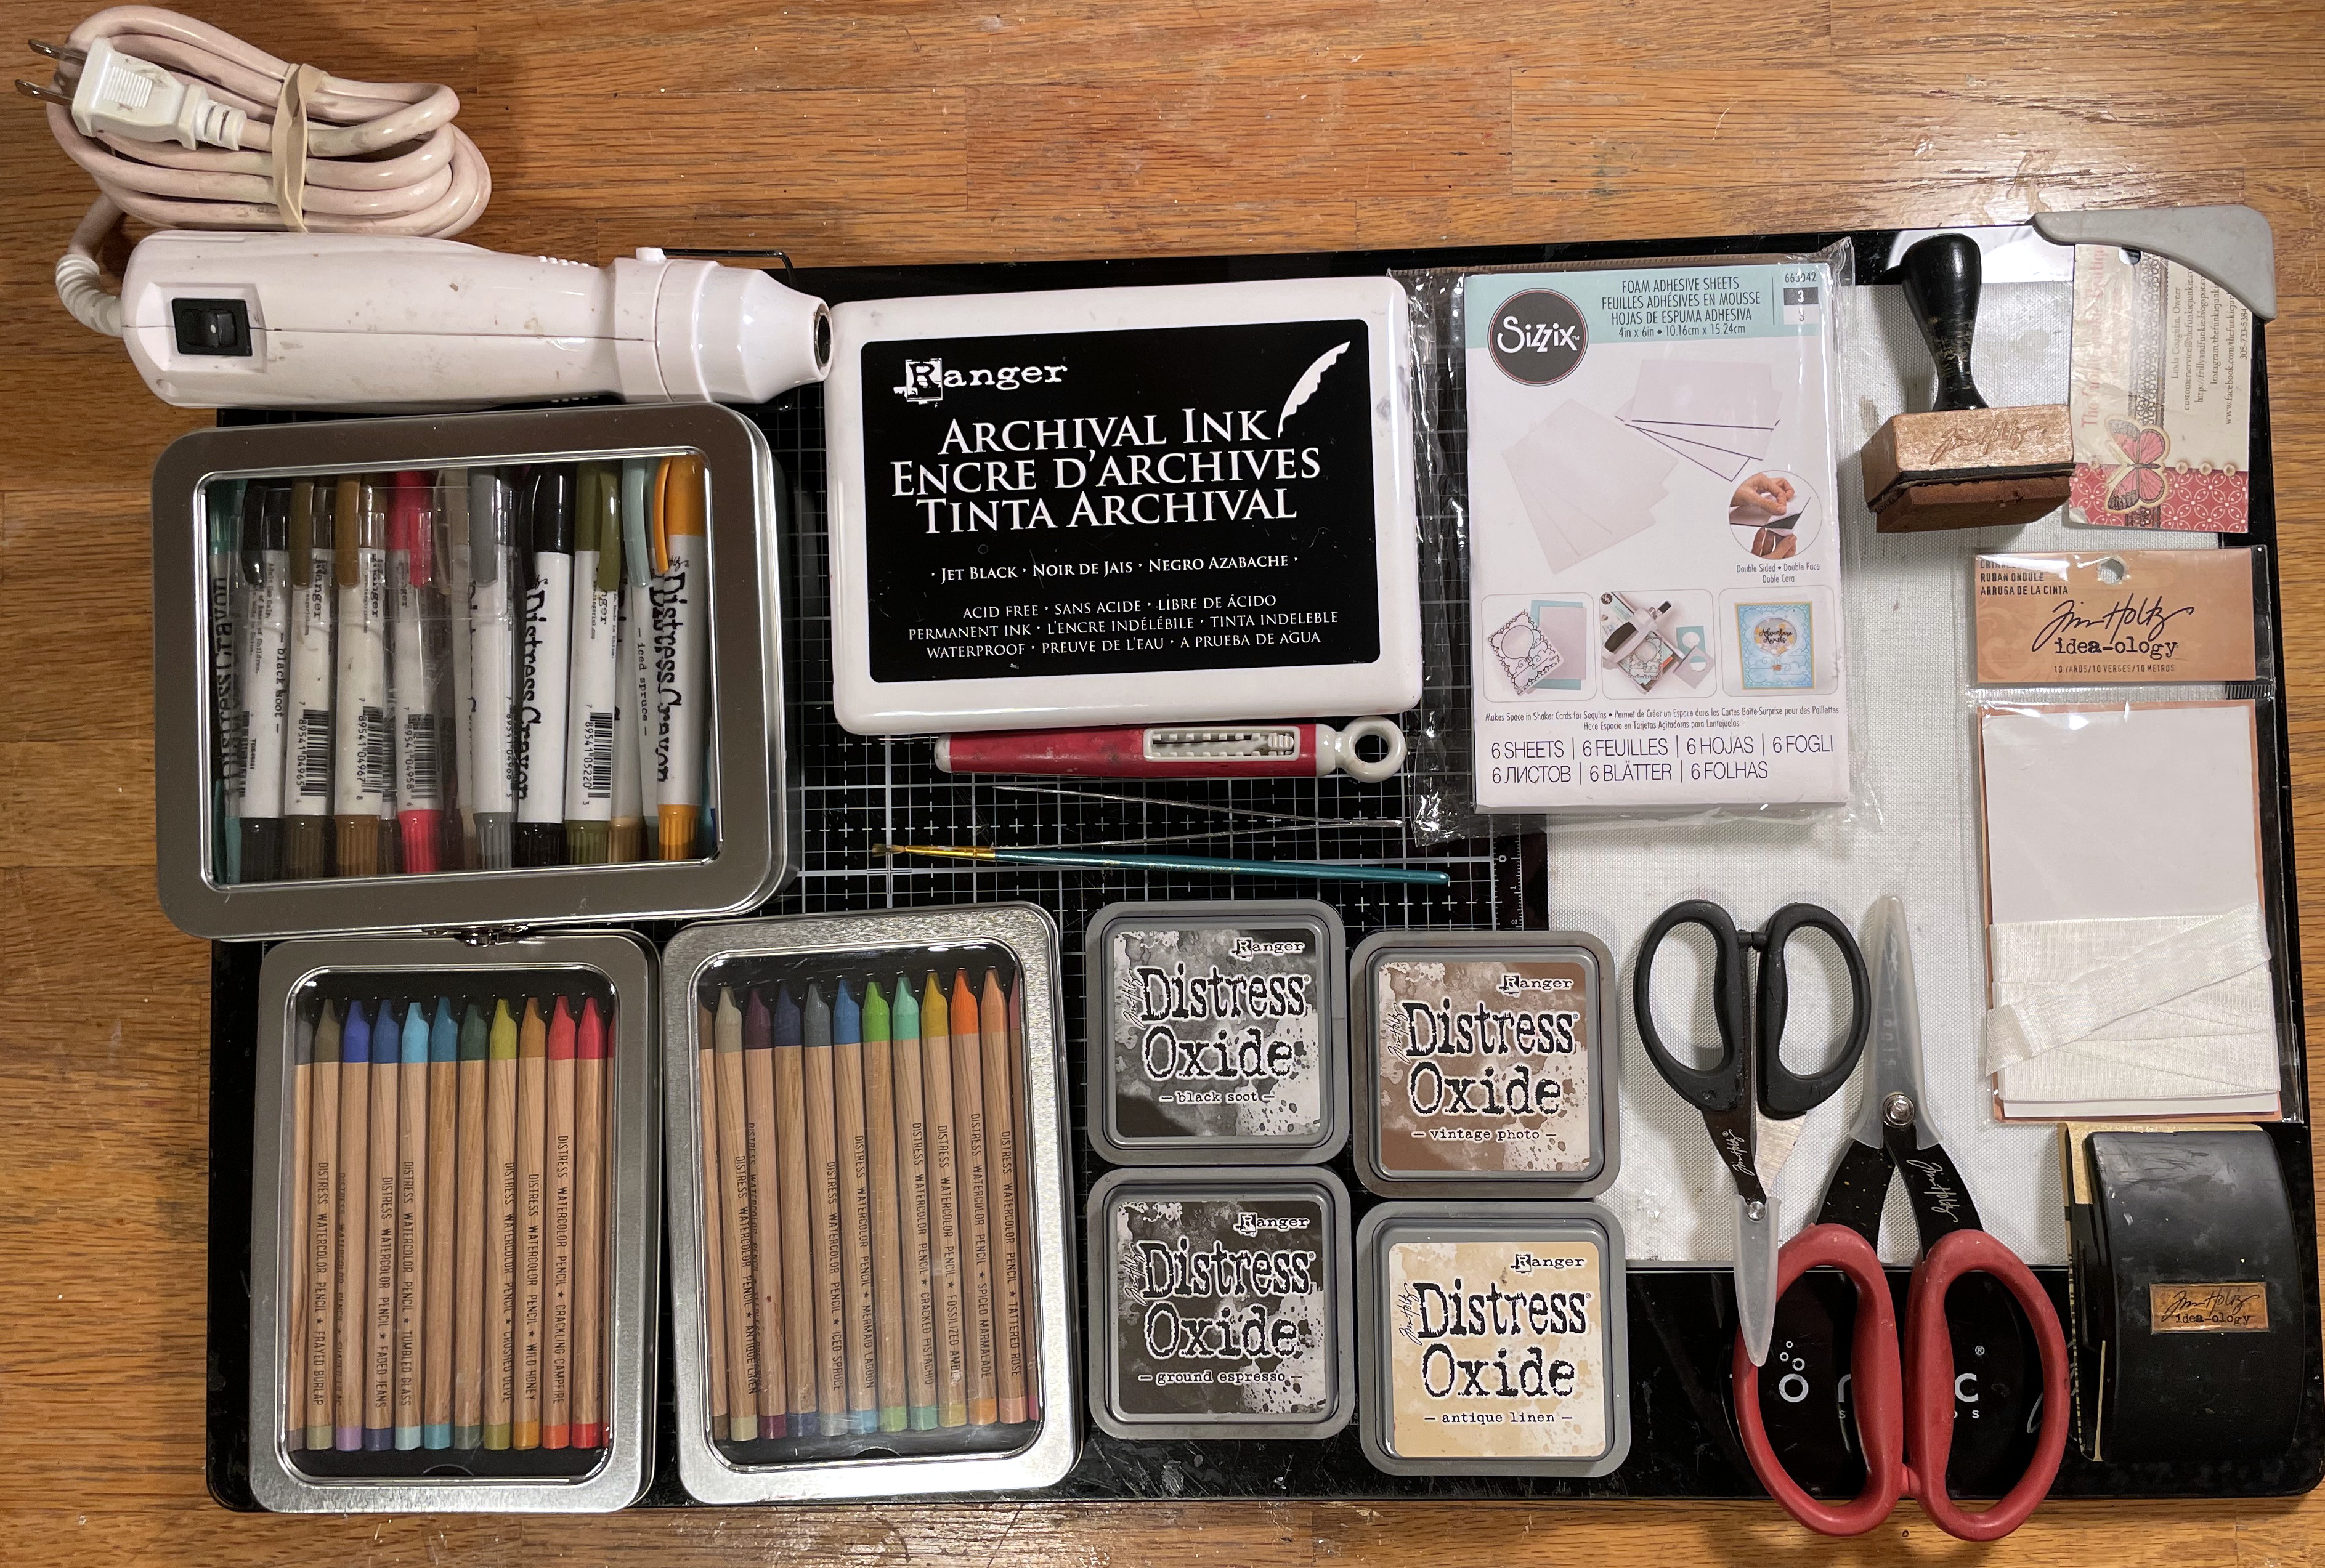
Happy Mail again- from The Funkie Junkie Boutique, of course!
I've chosen Stampers Anonymous Tim Holtz Stamp Set - Department Store
for this make. I not only love the music notes and
the old-fashioned-looking Merry Christmas sentiment, especially,
but for this, I wanted to try a layered wreath.
*Links for products will be listed at the end of this first part.

Remember from an earlier posted make; I got my hands on
Sets 1 & 3 of the TH Distress Watercolor Pencils.
Now was my chance to do some real coloring with them!

I covered the Tag and included Reinforcer piece with plain cream cardstock.
I like to make a back Reinforcer, so I always cut layers
of plain circle die of same size and simply cut a hole to fit.

I burnished all the edges with my TH Sanding Block,
then added a thick-in-some-places/thin-in-some-places layer of
Ranger TH Translucent Crackle Paste.
If you haven't tried this product by now: you surely will want to after
you've seen what it can do! I allowed this to dry overnight.
After the cracks appeared and were dry,
I scrubbed some Ground Espresso Distress Crayon
into them, and also went around the Etcetera Tag/reinforcers edges,
then heat dried again.

I got out some Ranger Archival Ink in Jet Black
and some watercolor paper and began making some
practice stamped images with my TH Stamping Platform.

I'm one of those folks who is "stamp challenged" so I made several images
from which I would be able to choose the best parts of 3 images...
one full, one ribbon, one all ivy leaves/berries.
From these, I would form the layers.

Distress Watercolor Pencils are the best things yet!
But I'm certainly not one to toss out my Distress Crayons.
They still come in very handy-
especially if you don't have the shade you want in a Pencil.

I've got my 3 chosen and colored, and also my sentiment from the Stamp Set.
With my plan in place by (No. 2) penciling under one that will be cut up,
I made sure to heat dry everything first.

Next came the cutting. TH Tiny Snips are great for the
tight turns of corners on the wreath!
Now, I was free to layer it all up with some
Sizzix double-sided foam sheets.

Note to Self: Self, check which house (Indiana or Florida)
you are sending your dies to
or you will end up not using them until the next year!
It worked out ok in my case, but I have no idea if
TH Fireside is still in production at all.
It does, however work well with Etcetera Scalloped Trims used here.

I cut a few layers of Fireside out of Kraft Stock Stack (Warm)
using the BACKSIDE of the paper.
The brown of the back just looked better as "wood".
Then ran the paper through my Big Shot with TH 3D Impresslit, Lumber
(You can also use Mini Lumber, which may fit scale better.)
using Black Soot Distress Oxide onto the folder's indents.
I also cut pieces to fit the Etcetera Shelf pieces.
Then edged all of it with Distress Oxide in Ground Espresso with a
bit of DO Black Soot where the smoke of a fire would leave smudges.

Cutting out the smaller detail pieces was a bit hard for me,
but well worth doing so after the make was finished!
I used Glossy Accents for all adhesion, which allows bending
the flames while it's still wet. That gave the black grate some
real dimension around the fire.

I inked up all the edges of the layered wreath and several pieces
from the TH Christmas Layers 2022, even if I didn't use them all.

Here's where the Little Golden Book "The Christmas Story"
came into play. I took my book (which is an original first print
which I found many years ago in a yard sale- a scored treasure!)
and carefully copied each page onto my computer.
I have a program which helps me size/shop photos for printing.
Then printed it out on plain paper and using plain white cardstock to form
the outside cover in which the zig-zag folded pages fit between.
A paper string is added into the spine before the final gluing
(Glossy Accents). Making a tiny book fit to 1 inch size
was easy following this method.
And that is how it ended up in my make.
*Please be aware of copyrights/rules of use to printed books.

Here's a list of links to help you find products to make this Tag:


Hoarded away TH Crinkle Ribbon (retired) with some
Antique Linen Distress Oxide.

A few TH Christmas Confection sticks cut in half add a bit of whimsy.


The grundgy-ness of this Tag shows through- on both sides.

Grab your glasses to read "The Christmas Story"
which is the entire point of CHRISTmas itself.

The 'official Christmas postcard: From Our House To Yours!

A Silver Snowflake Charm on a TH Wire Pin as the
perfect touch for the ribbon.
Linda (owner of TFJB) always adds little freebies
in the Happy Mail that goes out!

A Christmas stamp from the TH Christmas Layers pack.
another round of fun & creativity
here on Inspiration Ave!
Don't forget to check back for MORE from the rest of our
talented TFJB Design Team in the coming days!
The next post you'll see from me will be typed from the
(hopefully much warmer) Florida Emerald Coast.
I'll be taking as much of my Craft Studio as I can pack
so I'll be able to create more over the winter months to share with you
and inspire you to join us and create your own makes!

Until next time...
Stay Safe &
HAPPY BLOGGING!!
this is so lovely!
ReplyDeleteWow! What a lot of attention to detail and love, love, love!
ReplyDelete