Friday, August 31, 2012

FRIDAY FOCUS - Melissa Frances

Good morning friends, it is Teresa; I am once again sooooo excited about today's Friday Focus.  Linda is now carrying Melissa Frances.....eeecccckkkk, I know; isn't this awesome?  You cannot get more frilly than Melissa Frances!

For my first card, I used a sweet Melissa Frances tag(sold out), and the adorable resin keyhole embellie.  I have used the Tim Holtz Once Upon A Time Aplha to make the "love' word.  I added tiny gemstones all around, such sweetness.  The heart is covered in the amazing Tim Holtz glitter(also sold out), I luv this glitter! 

Yes, a Christmas card, my first of the year!  I have used the Melissa Frances Christmas card stock stickers, these are fabulous.  They will make your Christmas card making so easy; you can pull some of your favorite papers, lace, ribbon, a Melissa Frances card stock sticker and a little sparkle...poof and they will be done!
Be sure to stop by the Funkie Junkie Boutique, Linda is offering 15% off all Melissa Frances, woohoo...time to go shopping!


Tuesday, August 28, 2012

How can you Resist ?

It's time to kick off Week II of our Resist challenge.  This week our Funkie side is being featured with their take on Sue's How Can You Resist? challenge.  Wow, great resist work this week Funkies!

So how about it Frilly and Funkie fans?  How can you resist this challenge???  You still have until September 4th to play with some fun resist techniques and link up here.


Terry Horrall - Terry's Work In Progress

Marjie Kemper - She Who Stamps and Scraps

Anita Houston - The Artful Maven Haven


Week I - Frilly Inspiration


Hi it's Sue here and I'm your host for the next challenge. Thank you to all those who entered Linda's fab challenge of getting crafty with canvas, I hope you enjoyed it!

I am a self confessed technique junkie, I love everything and anything that involves a new technique. I also have my ongoing favourites and Resist is one of them! You can use different things to create a resist effect, acrylic paint, glue, embossing powder to name just a few. So let's see if you can Resist and show us how you can incorporate this into your projects! Have fun!

Sue Carrington - Stamping Sue Style


Tammy Roberts - Paperie Sweetness

Teresa Kline-Paperie Blooms
Linda Coughlin - The Funkie Junkie


Our challenge offers two opportunities for prizes - a random drawing for a $25 gift certificate to shop at The Funkie Junkie Boutique and a best project competition, judged by the voting of the design team members. The Funkie Favorite winner receives a winner's badge to display on their blog sidebar. In order to qualify for a prize, you must follow the challenge requirements and provide a link back to our challenge site in your post.

Thanks again for stopping by. Be sure to stop back next Wednesday for even more inspiration from our Funkie designers!

Monday, August 27, 2012

Getting Crafty With Canvas Winner

Hello friends and welcome back.  Today we are announcing the winners for the Getting Crafty With Canvas challenge that closed last Wednesday.  There were some really excellent and interesting pieces submitted for this challenge and we are so grateful to those of you who shared your amazing work with us.  We always have such fun visiting your blogs and examining what you have created for our challenges and this was no exception.

Our design team has voted and we have chosen Teresa Jaye's beautiful and inspiring canvas as our Funkie Favorite for this challenge.  Here is the lovely piece Teresa submitted:
 Such an inspiring piece built around that wonderful Bible verse.  Wonderful colors, the sun is fabulous and the house is just darling.  Sensational work Teresa - congratulations on being our Funkie Favorite this week. You can add another challenge win date to the Funkie Favorite badge on your sidebar!

And we have one more lucky winner.  Randon.org has picked entry #7 Petra as our winner for the $25 gift certificate to The Funkie Junkie Boutique.  Please email me at thefunkiejunkie@gmail.com for your gift certificate code.
Congratulations again to both winners and a huge thank you to all who played along.  Have you made an entry for Sue's Resist challenge?  The challenge is running through September 4th so you still have more than a week to make something and submit it.  And be sure to stop by on Wednesday for Part II of the challenge where we show you what the Funkie side of the team has made for your inspiration.

Have a great week!

Saturday, August 25, 2012

Saturdary StepXStep - Perfect Pearls

Welcome to this week's Saturday "Step X Step" in which I am using Perfect Pearls with Perfect Medium for stamping and on embossing folders! When Linda mentioned carrying these luscious and beautiful powders, I was so thrilled and hope you will be as well! For today I made up a couple of Christmas cards and some ornaments, which I may use for gift tags!
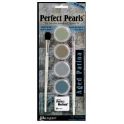
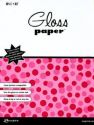
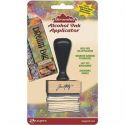
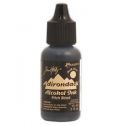
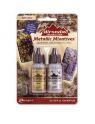
I inked up applicator with Black Alcohol Ink (4 to 6 drops) and a good size drop of Gold Mixative, with a little squirt of blending solution! Color was pounced on starting from the center and working out in a twisting motion onto glossy paper (4 1/4 X 5 1/4)to fit the embossing folder. For this I wanted a darker background with touches of gold. Once I was happy with the color, I did use the heat tool to completely dry the background. If you don't have a dry surface and add the Perfect Pearls, it will adhere where you don't want it!! Try to keep the PP as contained as possible.

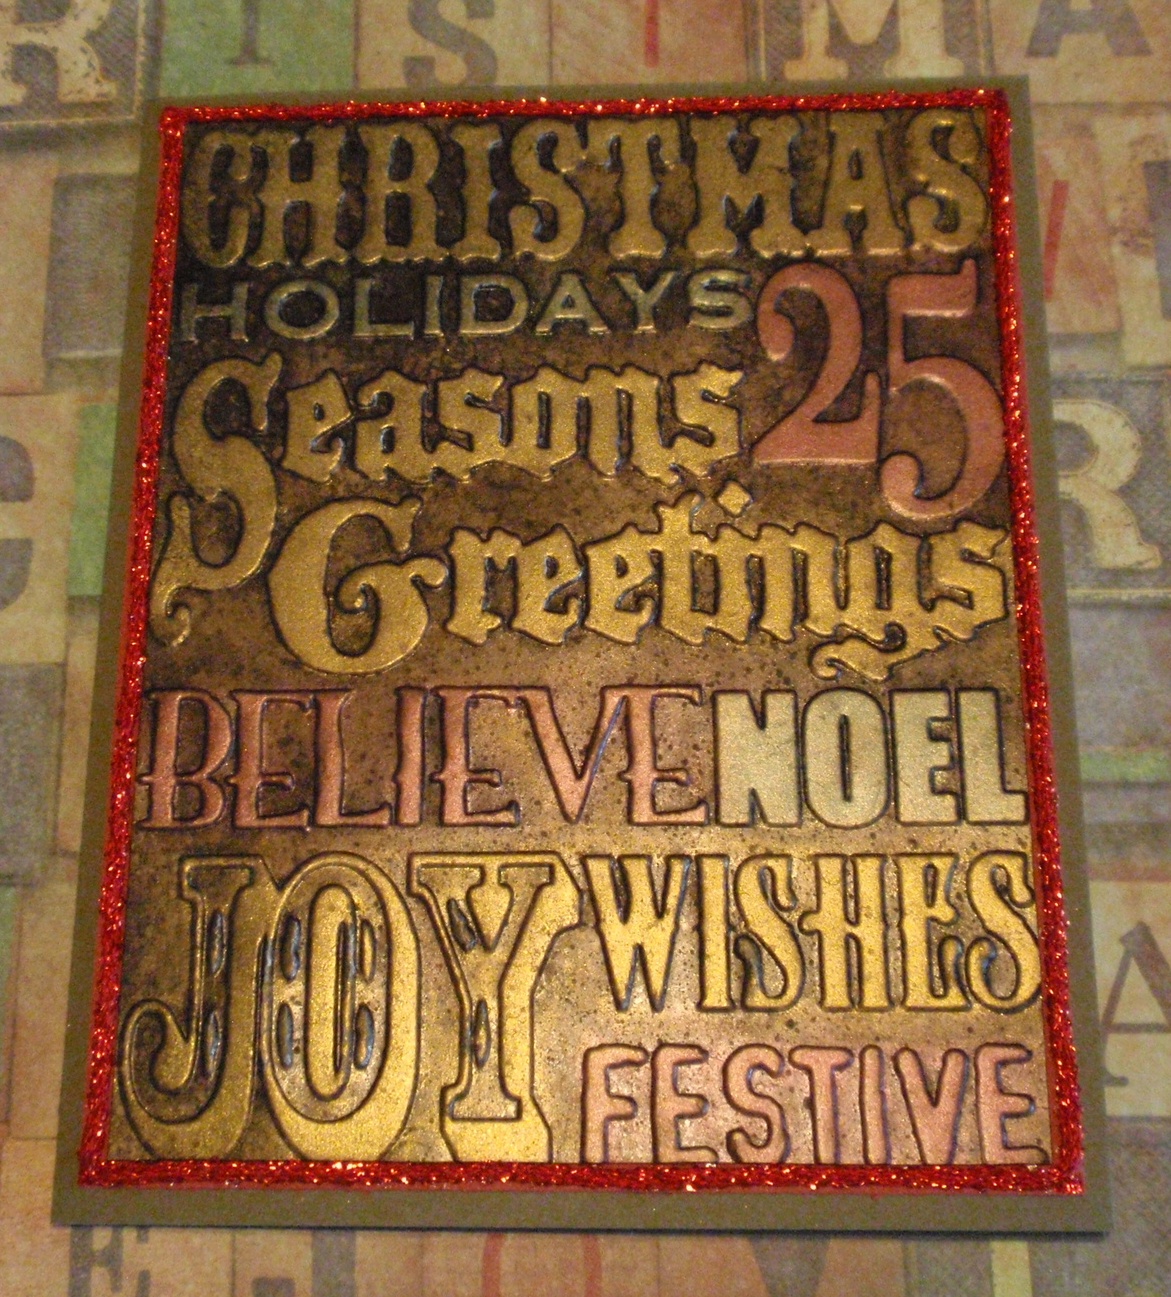
Now we place the inked background into the folder for embossing. Cover the raised areas with the Perfect Medium, being careful to not press too hard. You can work in segments, but the ink will stay wet long enough to cover all areas.
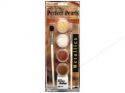
From there pick up the color you want to use. For this panel, I used red, green and gold Perfect Pearls. Once colored, turn the panel upside down to tap off excess and then lightly brush off remaining powder. I am always careful to brush away from each color as much as possible, because I would not want red to catch in a green area. Think glitters! I do use a cotton swab to pick up unwanted powder.

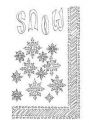
Pearled, Excess Brushed Off and Sealed
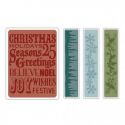
Once I was done with my Perfect Pearls panel, all additional panels were cut 1/4 inch larger and a little trim was added here and there. I was so excited with this, that I went and did a second panel, cut off the lower embossed section (which is MIA) and added some additional edge embossing, sanded and inked this up and colored with Green and added a few Stickle berries! Fun stuff! This really goes quicker than you might think!
Because I was having so much fun, I decided to play with the Carved Ornament Die, which I was never quite sure what I would use it for! The idea of gift tags came to mind and I had a blast! Tried using the Perfect Pearls a couple of different ways. One I stamped on a foil sheet, which was adhered to card stock prior to cutting. A couple I used Dyan's new and fabulous snowflake stencil with Deco Art Decorating Paste, let it set a little and then added my colors (gold and blue). When I was finished, I gave the entire lot a spray with sealer. It worked perfectly and even on the foil, which I was not sure about! I wanted to test before showing this! I did not want any PP rubbing off and some of these surfaces are quite slick!


Things to know: You can use embossing ink, but I really prefer the Perfect Medium as it is thicker and not as wet! Even though there is a binder in the Perfect Pearls, I will always give a quick spray of Krylon Matt Sealer over the surface and especially on a slick material such as glossy, foil or alcohol inked papers. I have also given a quick spray with water out of the misting bottle when inked on regular card stock. Don't over load your brush when you are doing lettering as you risk it falling off and adhering to places unwanted! I like to start with the lighter colors and work toward the dark. Keep a paper towel handy to wipe between colors or wear some jeans!! Before brushing off excess, I will turn my piece upside down and tap off and then brush off excess away from other inked areas if possible. Just try to avoid contamination! I do keep colors as separate as possible, but when I know that is next to impossible or too time consuming, I have a container that I use for Perfect Pearls Dump. Will use that when I don't care about a particular color!


I sure thank you for stopping by and visiting on this Saturday. If there is anything I did not cover or you have a question, please don't hesitate to ask! Have a wonderful rest of the weekend!
                                                                   

Friday, August 24, 2012

Friday Focus - Art Parts


Marjie Kemper here, sharing a home decor piece I made with Wendy Vecchi's Studio 490 Art Parts.  Art Parts are our Friday Focus product, and they're on sale this week at The Funkie Junkie Boutique at 15% below regular prices.   

I made this awhile back using several of Wendy's Art Parts, and it's got a standing place in our home. Art Parts are thick and durable paper board surfaces, designed exclusively for altering. That's what it says on the package, and I have to say... I agree! They really hold up to whatever medium you use with them, and they stand up to time as well.

I used the filmstrip frame, flower, leaves and bottle Art Parts here. You can color Art Parts with practically anything.  I used Scattered Straw Distress Stain on the filmstrip frame, flower, and bottle, then stamped on top with Seedless Preserves Distress Ink.  For the leaves, I used Forest Moss Distress Stain followed by Seedless Preserves Distress Ink.

You can mix and match chipboard from your stash to compliment the APs, as I did with small chipboard flowers I stacked on top of the large AP one.  My 'welcome' letters are also chipboard.  They were inked with Seedless Preserves, then stamped with one of Wendy's background stamps, then heat embossed with clear powders.

Each Art Part is 1/8" thick, so they really add a lot of depth and dimension, especially when stacked:


The background is Tim's tissue tape. I've also stamped and cut out a few things on manila card stock such as the ledger border, bottle label, and purple flower.  The ledger stamp reminded me of a row of houses so it seemed fitting on a 'welcome friends' piece.

Linda has these sets and more on sale in The Funkie Junkie Boutique this week. Thanks for visiting!

Marjie