Hello and welcome to TFJB Inspiration Ave. Today we are creating to the theme of “Our Favourite Tim Holtz Product”. This is a very hard question. The initial answer is what ever TH product I am using in the moment. However, the one product I could not live without is Distress Ink. Distress Ink started the whole Tim Holtz line so it seems most fitting to feature Distress Inks in this week’s feature project.
This week I am creating a collection of tags and backgrounds featuring my favourite Tim Holtz Distress Ink techniques. For video tutorial click here.
Also including a bonus project video to show what I made with the inky techniques. Click here.
Materials used: Distress Ink Picked Raspberry, Mermaid Lagoon, Mustard Seed, Squeezed Lemonade, Vintage Photo, Walnut Stain, Peacock Feathers, Wilted Violet, Uncharted Mariner, Crackling Campfire, Prize Ribbon, Salvaged Patina, Lost Shadow, Salty Ocean, Tumbled Glass, Chipped Sapphire, and Saltwater Taffy, Mixed Media tags, Stencils THS168, THS162, Moon Mask, stamp set CMS400 Baroque, Idea-ology Ephemera
Ink Blend and Splat
Start the first classic Distress Ink technique I am going to be choosing three colours of Distress: Crackling Campfire, Uncharted Mariner, and Vintage Photo. We will also need a piece of Mixed Media cardstock and a Mini Blending tool with Dome Foam.
To blend on Mixed Media paper, working on the Media Mat, I try to start the blending foam at an angle to the substrate. Then, in a light circular motion, I apply the ink to the paper. I prefer to start the blending process on the craft mat portion of the Media Mat.
Once I’m done blending, I added some droplets from the Tim Holtz Distress Sprayer. Once the droplets were on the paper I then dried them with the Ranger Heat Tool.
Ink Dip
For the next technique, I’m going to be using the ink dip and dry. This is an absolute classic, and it is one of the very first distress techniques that I learned while watching Tim Holtz demos. Using Mustard Seed, Picked rRaspberry and Mermaid Lagoon. This is my all-time favourite colour combo for creating with.
Next, I smooshed the ink directly onto the craft mat and then spritzed the ink with some water droplets from the Distress Sprayer.
Next, I dipped the Distress Watercolor cardstock directly into the inky droplets. Then I dried the first layer of Distress Ink. I repeated this process about five more times to create a layered inky effect.
Below, are the finished results of the ink dip and dry technique.
Tinting
Next are going to use the Distress Ink to alter a bit of Idea-ology ephemera.
Here I took some Saltwater Taffy Distress Ink and added it to the edge of this piece of vintage ephemera, using the Mini Ink Blending Tool with Dome Foam.
For this piece, I inked evenly around the edges.
After I was done inking, I added a few water droplets to give a more vintage look to this piece of ephemera.
Ink Stencilling
Here we are going to be doing a bit of stenciling using Distress inks Prize Ribbon, Salty Ocean and Peacock Feathers with the stencil THS168.
For stenciling, we have several options for applying ink. We could use the Dome Foam, but in this case I have decided to use the Tim Holtz Blending Brush. The brush is more flexible and it allows me to get into the smaller parts of the stencil to give a crisp clean look.
For stenciling, I did a simple gradient from Prize Ribbon and ending with Salty Ocean.
Ink Stenciling and Ghosting
For this next technique, I’m going to be using the Distress Inks Dusty Concord. To start this technique I blended the inks onto a number five tag.
Below are the results of the blend. Next we’re going to need a stencil and theDistress Water Sprayer.
For the stencil, I decide to pull out the Moon Mask. Sending this on the cross that I didn’t spritzed the moon mask with water.
Then I flipped the wet stencil water side down directly onto the tag. Then I dabbed off the extra water with a piece of paper towel.
Here are the results of the ghost in technique with water. After pulling off the stencil I then quickly dried the tag.
Now we’re going to try the same technique, but with a larger stencil. This time I’m going to be using the inks Picked Raspberry, Saltwater Taffy and Tumbled Glass. I had thought about using Twisted Citron as well but at the last moment I change my mind.
Below are the results of the blend.
Again, I am applying water to the back of the stencil.
After flipping the stencil over ,water side down, I then dried off the extra water with a paper towel. Then I dried the entire tag with the Ranger Heat Tool.
Below are some more water ghosting results.
Stamping With Ink and Embossing Resist
For the next technique, we’re going to be doing some classic stamping, but adding an embossing resist. The stamp set that I’m going to be using is CMS400 baroque.
For ink I’m going to be pulling out my rainbow DIY distress ink pad. I made this rainbow distress ink pad during one of the mini Tim Holtz live demos over on YouTube.
Here are the results from stamping with the DIY pad.
Next I stamped a second time with distress embossing ink. Then I added clear ranger embossing powder.
Below are the results of embossing.
With a beautiful rainbow ink sealed in a resist, I then added Hickory Smoke, Prize Ribbon and Vintage Photo to the Media Mat to do a dip and dry technique. Here I am going to be creating contrast to the rainbow inky stamping with a grungy background.
Here are the finished results of the embossing resist.
Our next technique is going to feature some Stampers Anonymous stencils and some of the Ranger Distress Micro Glaze.
To start, I added some Micro Glaze to the stencil THS162 using a Mini Ink Blending Tool and Dome Foam.
After the Micro Glaze was applied, a combination of Wild Honey and Abandoned Coral. To add the ink I first smooshed it on the mat and then did an ink dip and dry technique.
After the first layer was dried, I then added a second layer using stencil, THS160 and more Micro glaze.
I also added contrasting inks in this next layer, including Seedless Preserves and Dusty Concord.
For the last layer, I used stencil THS162 and Micro Glaze. To help the last layer pop, I added some Distress Ink Chipped Sapphire over the top.
Here are the finished results of the Micro Glaze resist tag.
Inky Watercolor
For the last technique, we are going to be using Distress Inks to create a faux watercolour effect. First, I tapped Distress Ink onto a aroque flourish from stamp set CMS400, using the colors Picked Raspberry, Mustard Seed and Mermaid Lagoon.
Then I spritzed the stamp with water from the Distress Sprayer. I then stamped with the Tim Holtz product Stamping Tool onto a mixed media tag.
I also did a second generation stamping, after applying a second misting of water.
Below are the finished creations that I made today using many classic Tim Holtz Distress Ink techniques.
Now as a bonus I’m going to show you what I did with some of these creations. Below I created two cards using these inky drops.
Finished cards
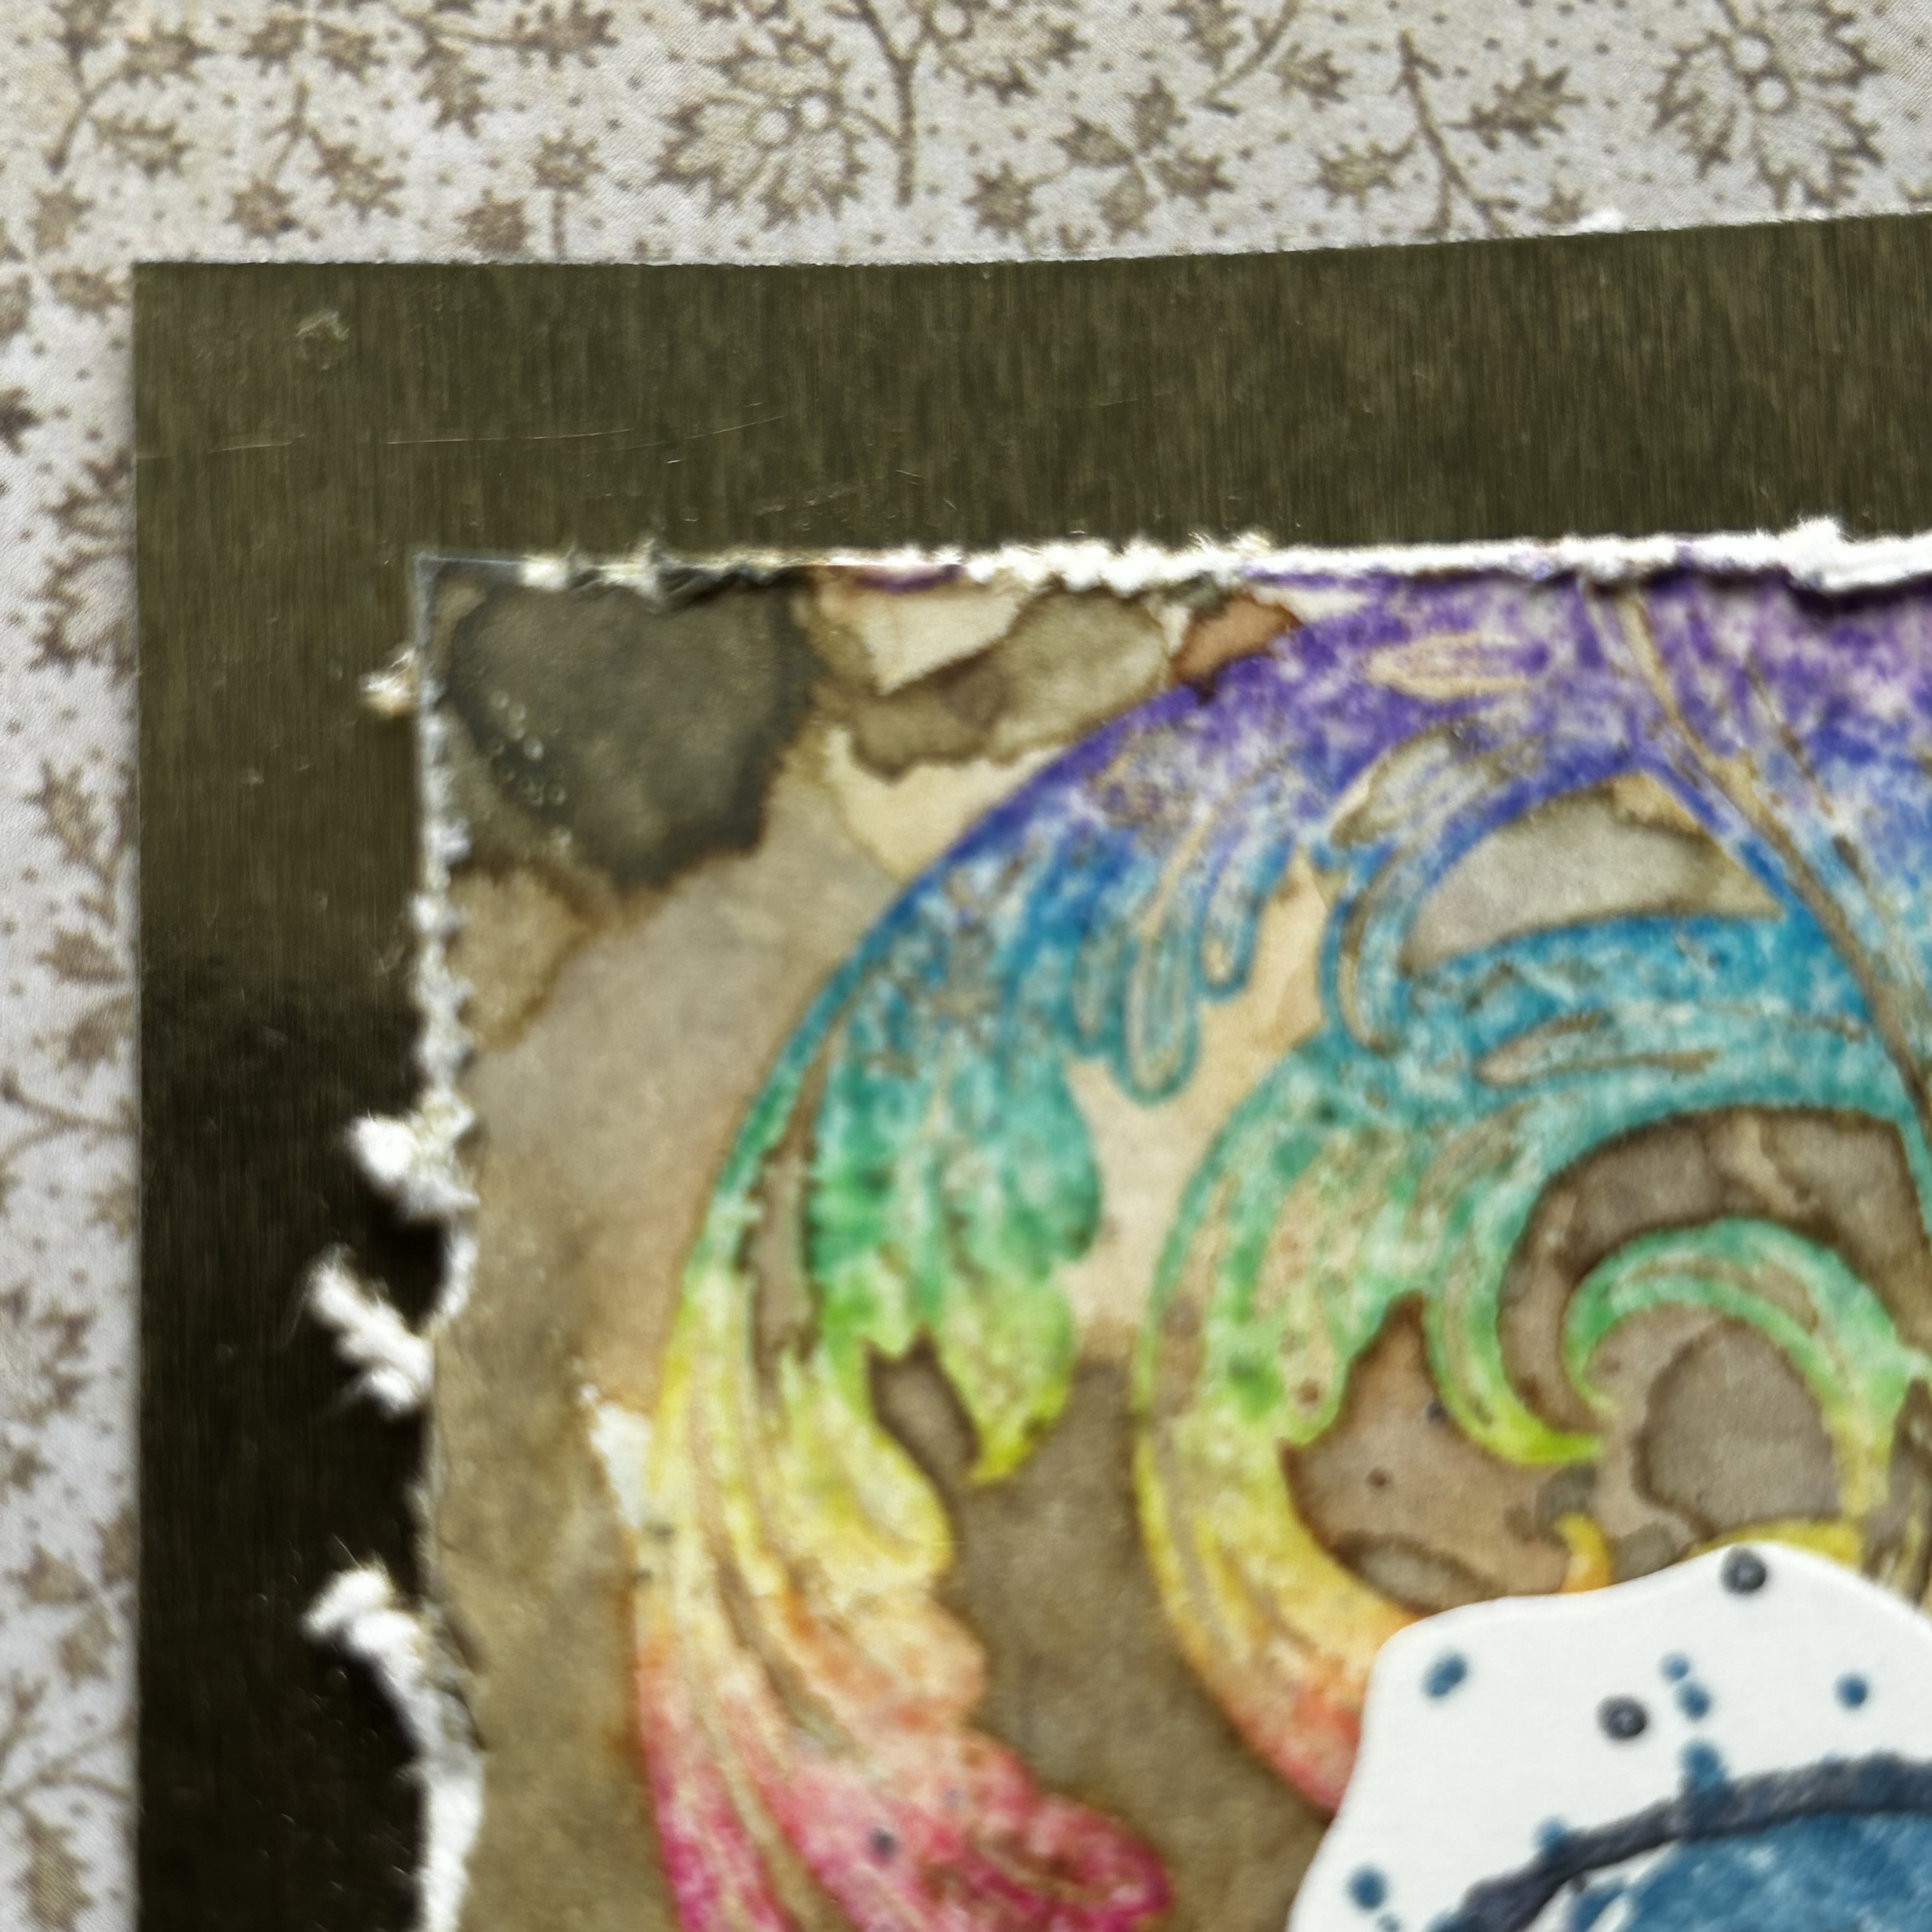
For the rainbow themed card, I stacked metallic kraft stock and a background from one of the Tim Holtz Idea-ology background sets.
For the sentiment I stamped with the set CMS 463 Note Quotes. I stamped the splat with Uncharted Mariner Distress Ink and the ring with a Black Soot Archival Distress ink. I also embossed the sentiment with some gold Ranger embossing powder. Behind it I added a blue velvet trim ribbon from Idea-ology
For the second card I started with the Sizzix die set Mixed Media Five and die cut a rose background from the card base. I then backed it with a scrap of distress inked paper. Here I used the tinted piece of ephemera as the main focal point which I layered over a piece of Distress white card stock. Under that I added the water ghosting technique tag.
For the sentiment, I used the stamp set CMS 463 Note Quotes again, but this time with the Distress ink Saltwater Taffy.
Below are the finished cards using some of the inky backgrounds that we created earlier
Thank you so much for joining me here today for TFJB Inspiration Ave. Until next time, happy crafting!
Janna~ 💕🎨💕
I can also be found on :
Instagram: dunhamtreasuresofthesea_jannak
YouTube: The Crafty Corner with Janna
Distress Inks:
Picked Raspberry,
Mermaid Lagoon,
Mustard Seed,
Vintage Photo,
Walnut Stain,
Peacock Feathers,
Wilted Violet,
Uncharted Mariner,
Crackling Campfire,
Prize Ribbon,
Salty Ocean,
Seedless Preserves,
Tumbled Glass,
Chipped Sapphire,
Saltwater Taffy