Hello and welcome to this week’s TFJB Inspiration Ave. This week we are featuring the Stampers Anonymous Everyday Stamp and Stencil collection.
Today I want to focus on the stamp set Floral Trims CMS461 paired with alcohol inks and Dura-Lar. We will also try a few stencil techniques to create our background. Click here for video tutorial.
Used: Ranger Alcohol Inks: Vineyard, Laguna and Glacier, Ranger Dura-Lar, Distress Ink: Fossilized Amber, Peacock Feathers, Pine Needles, black kraft stock, Stamp set CMS461 Floral Trims, Tonic Snips, Stencil THS166, and Ranger Distress White Heavy Stock

To start today’s card, I am going to be working on a Ranger substrate for alcohol ink. Today’s substrate is Dura-Lar, which is a transparent and heat stable substrate for alcohol inks.
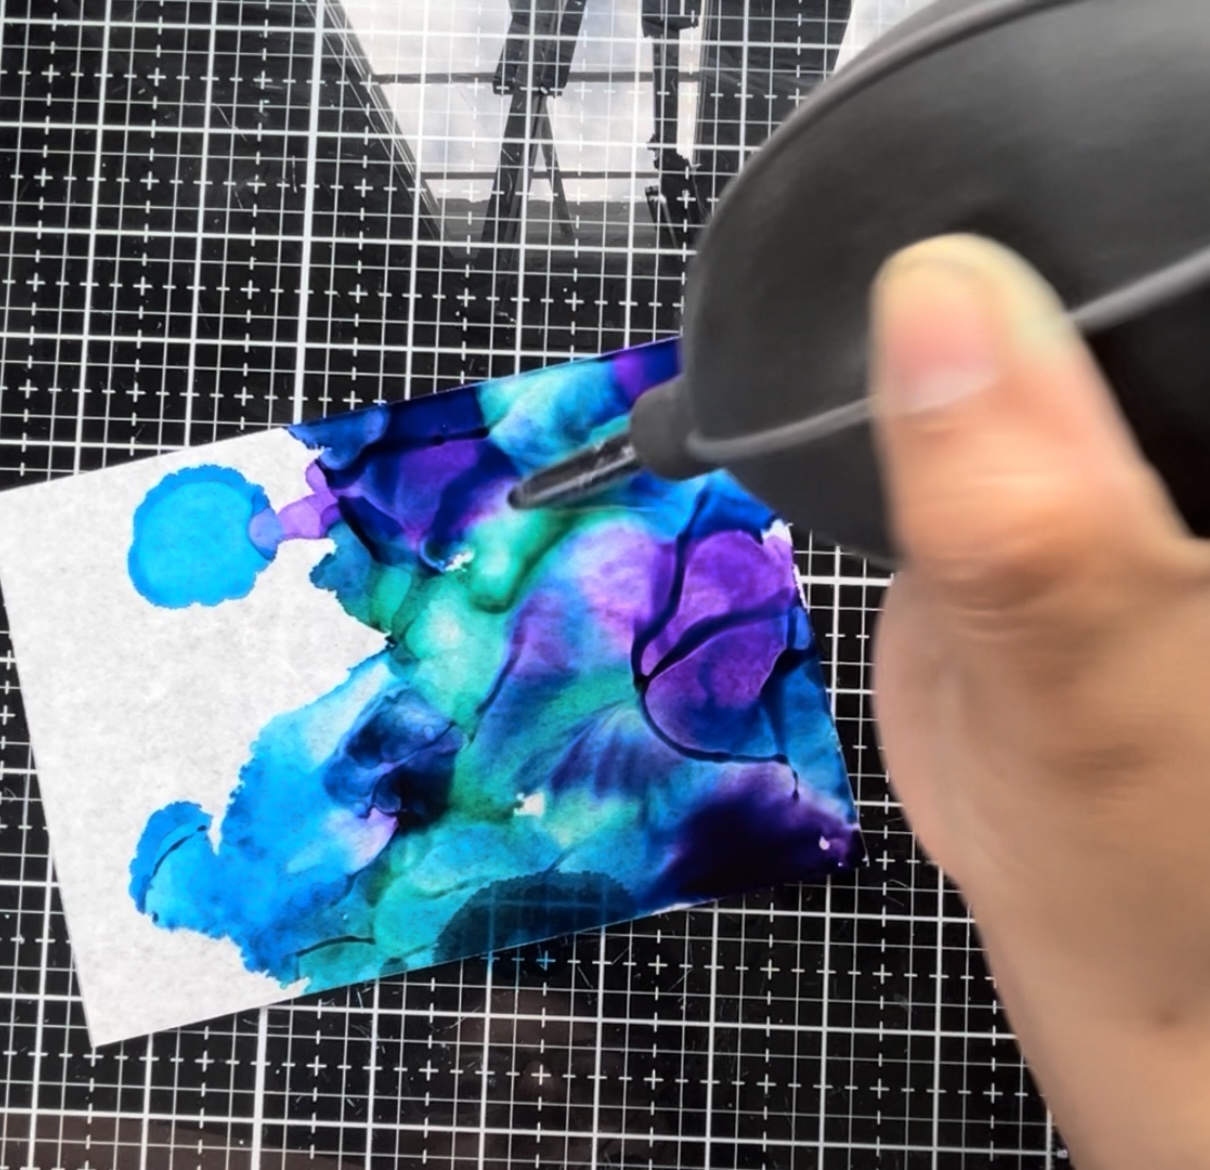
For our background, we are going to be using the alcohol inks Vineyard, Laguna and Glacier. Here I have dripped a few drops of alcohol ink of each colour onto the Dura-Lar. Then I added a few drops of alcohol, ink, blending solution and then moveD the ink around with the Tim Holtz Ranger Ink Blower tool.
Once I was happy with the ink flow, I then pulled in one of the most recent Tim Holtz Stampers Anonymous stamp sets, Floral Trims CMS461. Then I took the Embossing Dabber and gently tapped on some embossing ink. Before stamping I like to check my stamp at an angle to make sure that I have a good coverage with embossing ink. When there is good coverage, the embossing ink will sheen on the stamp. If there are any dull spots, then those spots were missed with the ink.
Next, I added some Ranger fine detail, gold, embossing powder.
Next, I embossed with an embossing heat gun. Because the Dura-Lar is heat stable it is possible to apply heat to the substrate. I absolutely love the results of the embossing, and the gold really does highlight the colours of alcohol ink. Next I cut out around the Floral Trim with Tonic snips.
For the next step, we are going to be using the cut out as a stencil, while we apply distress ink to the background of our card. For inks I am using Fossilized Amber, Peacock Feathers and Pine Needles. I applied these inks to the card base in a gradient using the Ranger dome foam.
Next, we are going to be trying out a ghosting technique with water and stencil THS166.
To start this technique, I sprayed water on the back of the stencil and then gently dabbed off the excess with a paper towel around the edges. Then I turn the stencil over and placed it directly onto the inked areas of this background. With another paper towel, I then blotted up the extra water. Then I placed the stencil facedown on the the paper. When lifting stencil, a ghostly image of the hexagons was left behind from the water. I also added a few extra drip drops with the distress sprayer for added, visual interest.
Next, we are going to attach the floor trim cut out to the card base using the Idea-ology tiny attacher.
Now for some finishing touches. To conceal the staples on the card base I added a border of washy tape all around. Then I layered up this background over a piece of plain black kraft stock. I also added a sentiment from the Tim Holtz Idea-ology metallic sticker book.
Below are the finished results of our card.
Thank you so much for joining me here today for TFJB Inspiration Ave. Until next time, happy crafting!
Janna~ 💕🎨💕
I can also be found on :
Instagram: dunhamtreasuresofthesea_jannak
YouTube: The Crafty Corner with Janna


No comments:
Post a Comment