Happy Saturday, everyone! Linda here to take you through some steps I used in making my 3 tag wall hanging that I shared on Wednesday.
You may recall this wall hanging from Anita's Altered Tag challenge earlier this week. It's my turn this week to do a StepXStep. Since this was a giant project that took me a couple of sessions to complete, I am not going to bore you with all the step-by-step details but rather just focus on a some of ways I did things here.
Getting Started: I think it is always interesting to hear how artists go about getting started on a project. Do you have it all sketched out in advance, do you sit down with a design in your head, do you have specific colors or stamps or papers or embellishments that you want to shape your piece around? For me, it varies from piece to piece, challenge to challenge, depending on the initial requirements of course. For this piece, when I thought of doing something different with tags, a triptych came to mind, which I love making. That is where I was heading when I first started, but I wanted to make it a wall hanging too. So I started out with three of my jumbo tags and went vertically with them rather than horizontally.
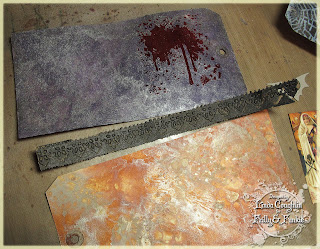
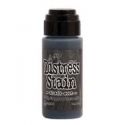
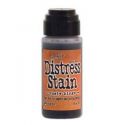
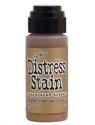
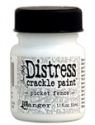
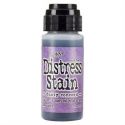
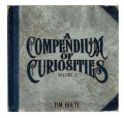
I am totally hooked on Tim's Marbled Stains technique (page 46 Compendium of Curiousities 2). For this piece I used Dusty Concord and Brushed Pewter for the top one and Rusty Hinge, Picket Fence and Tarnished Brass for the bottom one. I had the black middle tag left over from
this project. When I have a puddle of leftover stains on my craft sheet, I just grab a blank tag and mop it up, resulting in a variety of ready-to-go backgrounds.
I dried my tags with my heat gun resulting in some warping, which I took out by ironing with my tiny craft iron. I bought mine at Jo-Ann Fabrics and must tell you I don't recommend it. It just doesn't get very hot. I know Tim Holtz says his craft iron gets hotter than a normal iron, but not this one, resulting in having to go over and over a tag to get it flattened out.

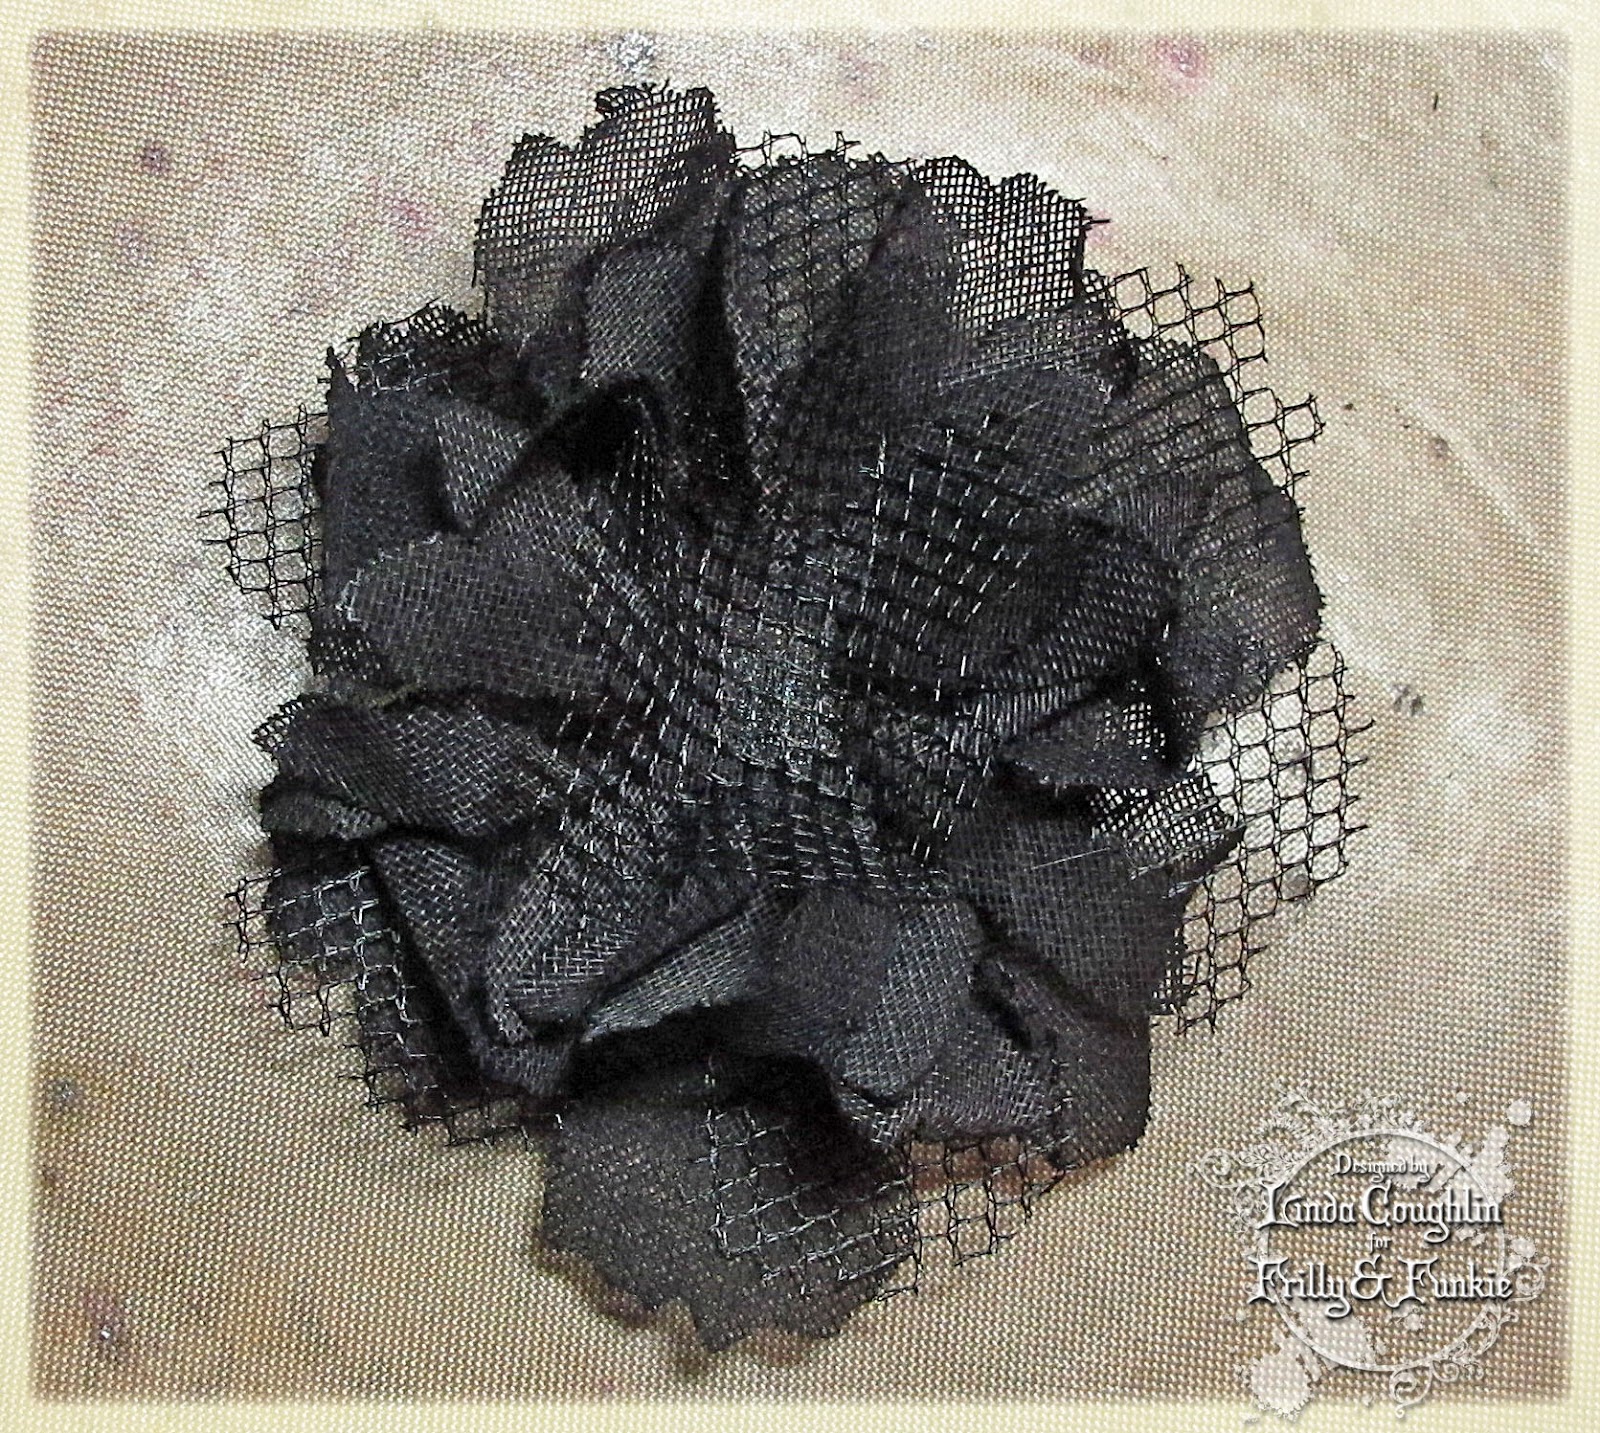
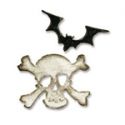
Last year when I was REALLY into making crinoline flowers, I dyed up a batch of black flowers using black Ritz die (a scary and messy project). Fortunately I have a small number of leftover black pieces of various sizes that had been cut with the Tattered Florals die. I stacked up several of them together, added a couple of layers of black tulle and glued them together with Beacon Fabri-Tac glue. I added a chipboard bat that I colored with Black Soot DS. Because it was all black, it sort of faded into the flower and you couldn't really see it. To correct this, I edged it with Brushed Pewter Distress Stain and added two tiny red nail jewels for beady bright red bat eyes.

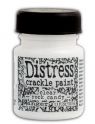
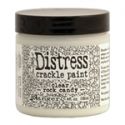
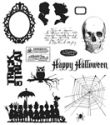
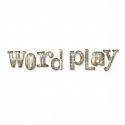
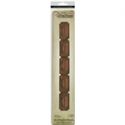
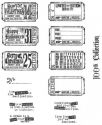
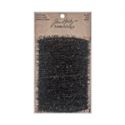
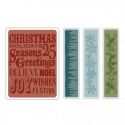
Below is the middle black tag, embossed with the TH Halloween Words and Cobwebs TF and then I ran a white craft ink pad over it, direct to paper style so the web pops a bit. The rope for the banner is the new TH Tinsel Twine - love that stuff and still have a few packs of various colors in stock at the boutique, but it's bound to sell out soon. The tickets were cut with the Decorative Strip Ticket Die and stamped with one of the ticket stamps from the Odds and Ends set. The letters were cut from chipboard with the Word Play die, colored with Dusty Concord DS and then painted with Clear Rock Candy Distress Crackle Paint. When dry, I went over them with Vintage Photo DS to take the neon purple glare out.

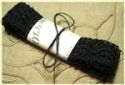
My biggest problem with this piece was how to hinge the tags together. I finally decided to use pieces of crocheted lace. I liked the sort of vintage gothic look of the lace, but in the end, I didn't like the overall look it gave the piece. I have to say that sometimes things seem like a good idea but when you actually do them, it just seems lacking in some way. That was the case here. I would like to re-engineer that bit but haven't come up with the right approach yet.

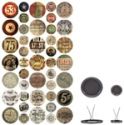
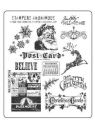
I was pleased, however, with the hanger I fashioned out of Grunge Paper cut with the Hardware Findings die. I painted the Grunge Paper with Black Soot DS then created custom fasteners with Tim's new (appropriately named) Custom Fasteners. Basically these are flat headed brads with a recessed circle top. They come with graphic stickers that you adhere to the recessed circle and then cover with the included epoxy sticker. But there wasn't a Halloween graphic in the set, besides I needed two - one of each side so I made my own. I used the tiny spider stamp from the Halloween Minis 3 and then punched it out with my SU circle punch which was perfect fit for the brad.
Whew, long post, I know and I only hit the hit spots. This was a marathon project. Thanks for hanging in until the end and of course if you have any questions, just leave them in the comments and I will update this post so everyone benefits from the answer.