Hello and welcome! It's Nancy here and I'm excited to be presenting the Saturday Step by Step this week. Today I have a layered, shabby tag tutorial to share with you.

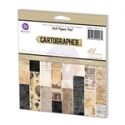
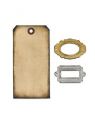
I started out by die cutting a Tim Holtz large tag from grunge board and Prima Cartographer paper. I also die cut a large Tim Holtz Movers and Shapers oval from grunge board and Cartographer paper, along with a smaller oval in Prima's Cartographer.

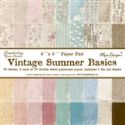
I hand crafted two large roses and painted some additional flowers from my stash to coordinate with my color scheme. You can find a tutorial for the roses HERE. I also die cut several leaves from Maja Vintage Summer Basics paper.

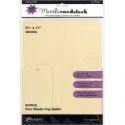
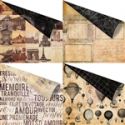
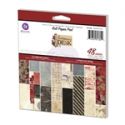
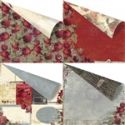
For my layers I cut 3 pieces of Prima Stationer's Desk paper. The larger size is 5 1/2 by 3 1/4 inches.The two smaller pieces are 5 by 3 1/4 inches. After cutting my papers I distressed all the edges with a Tim Holtz distress tool.

I misted the two smaller pieces with water and crinkled them a bit, setting them aside to dry.

I used the grunge board as the base for my tag, covering it in a neutral design paper.

I applied the larger strip of patterned paper over the first layer.

Next I staggered my smaller, crinkled layers and adhered them to the tag.

I covered the large grunge board oval with design paper then centered my small oval with the stamped sentiment onto it.

Next I adhered my finished oval about half way onto the tag.

I added an eyelet die cut that is part of the Tim Holtz large tag set.

Now for the fun part! Arrange your flowers and leaves until you are pleased with the lay out.

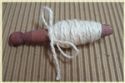
Finally I added a jute string bow and topper, and a couple more leaves.

Thank you so much for joining us today at the Frilly and Funkie Challenge Blog! It's an honor to be here with you! I hope you'll have as much fun creating your own shabby tags as I did this one.
Hugs,
Nancy
 |  |  |  |  |
 |  |  |  |  |
 |  |  |  |  |
 |