Hi everyone and welcome! It's Zoe here with a brand new Friday Focus.
This is our opportunity to share with you ideas, tips and techniques for
using a specific product or range currently available at
The Funkie Junkie Boutique. And even better news, those products then have an extra 15% discount added through the coming two weeks!
In the spotlight this time are
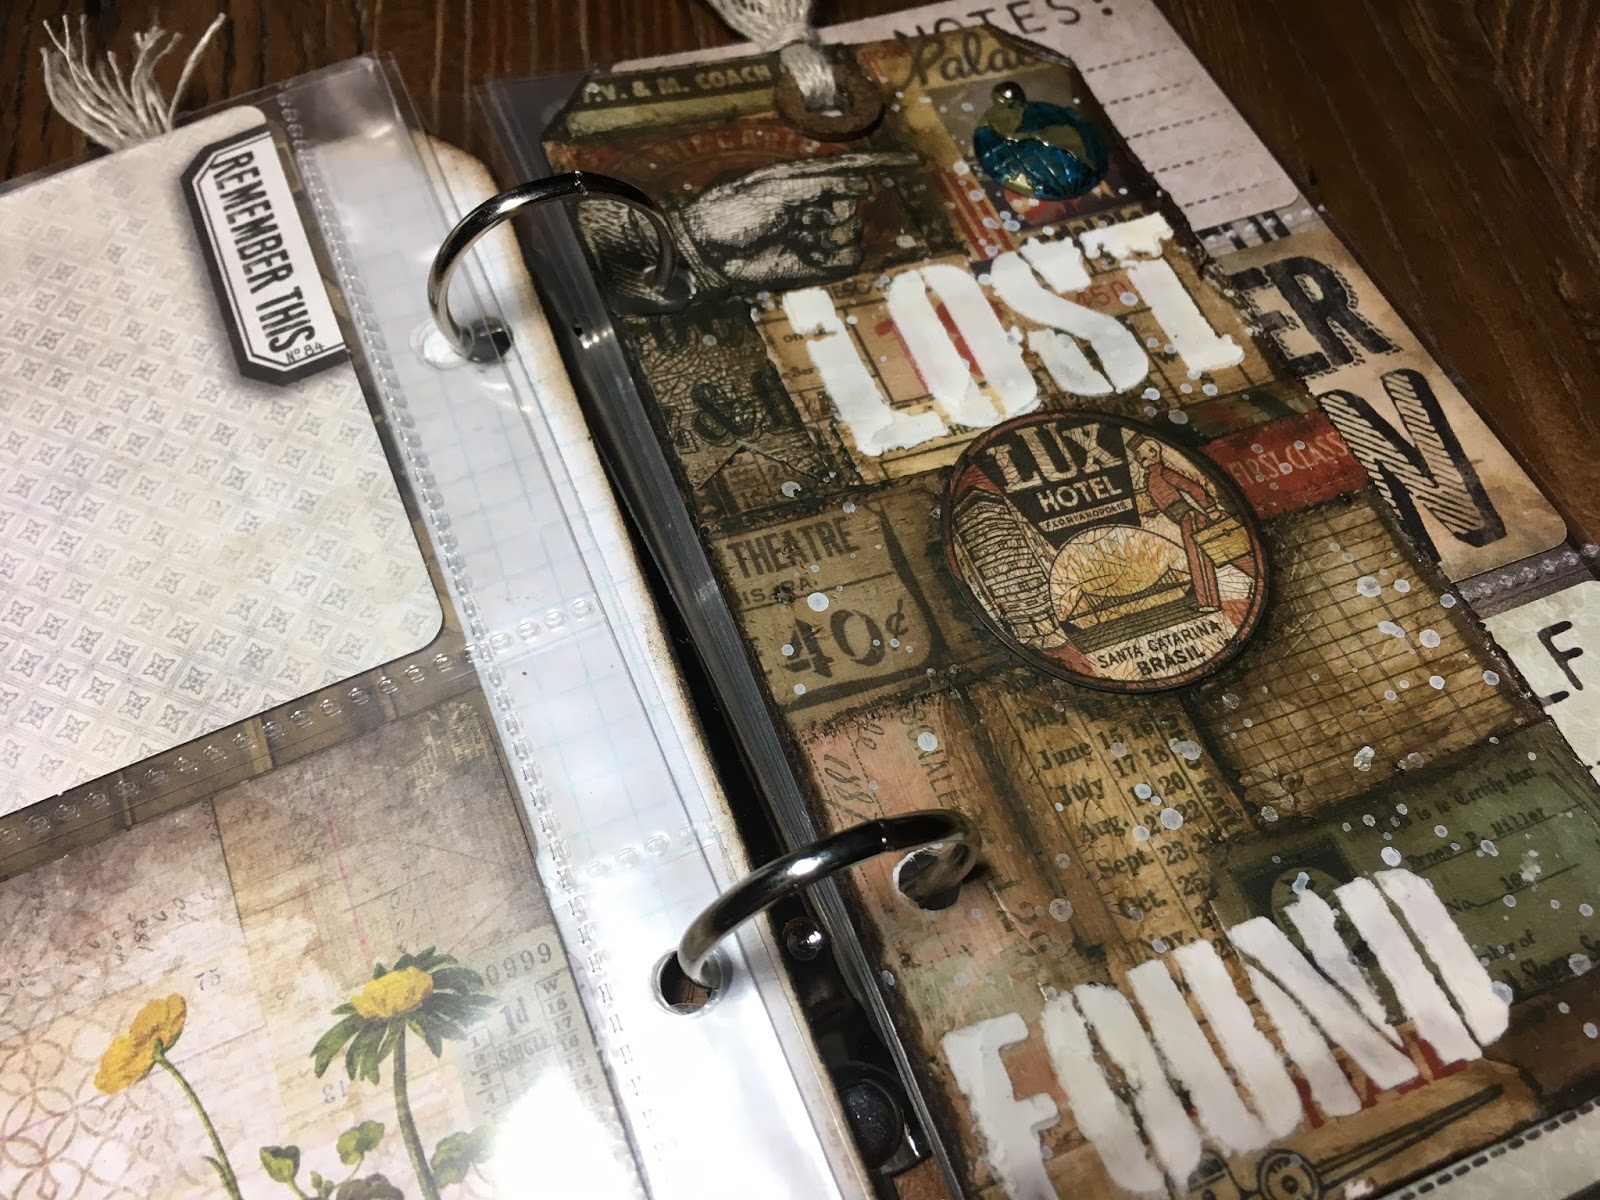
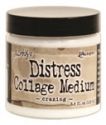
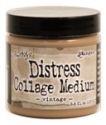
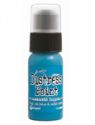
Tim Holtz and Ranger Collage Mediums and Texture Pastes. I have made a couple of tags to go into a travel journal using distress collage medium matte, vintage, crazing and texture paste. Here's how...
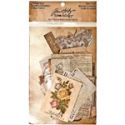
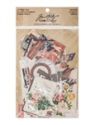
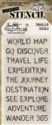
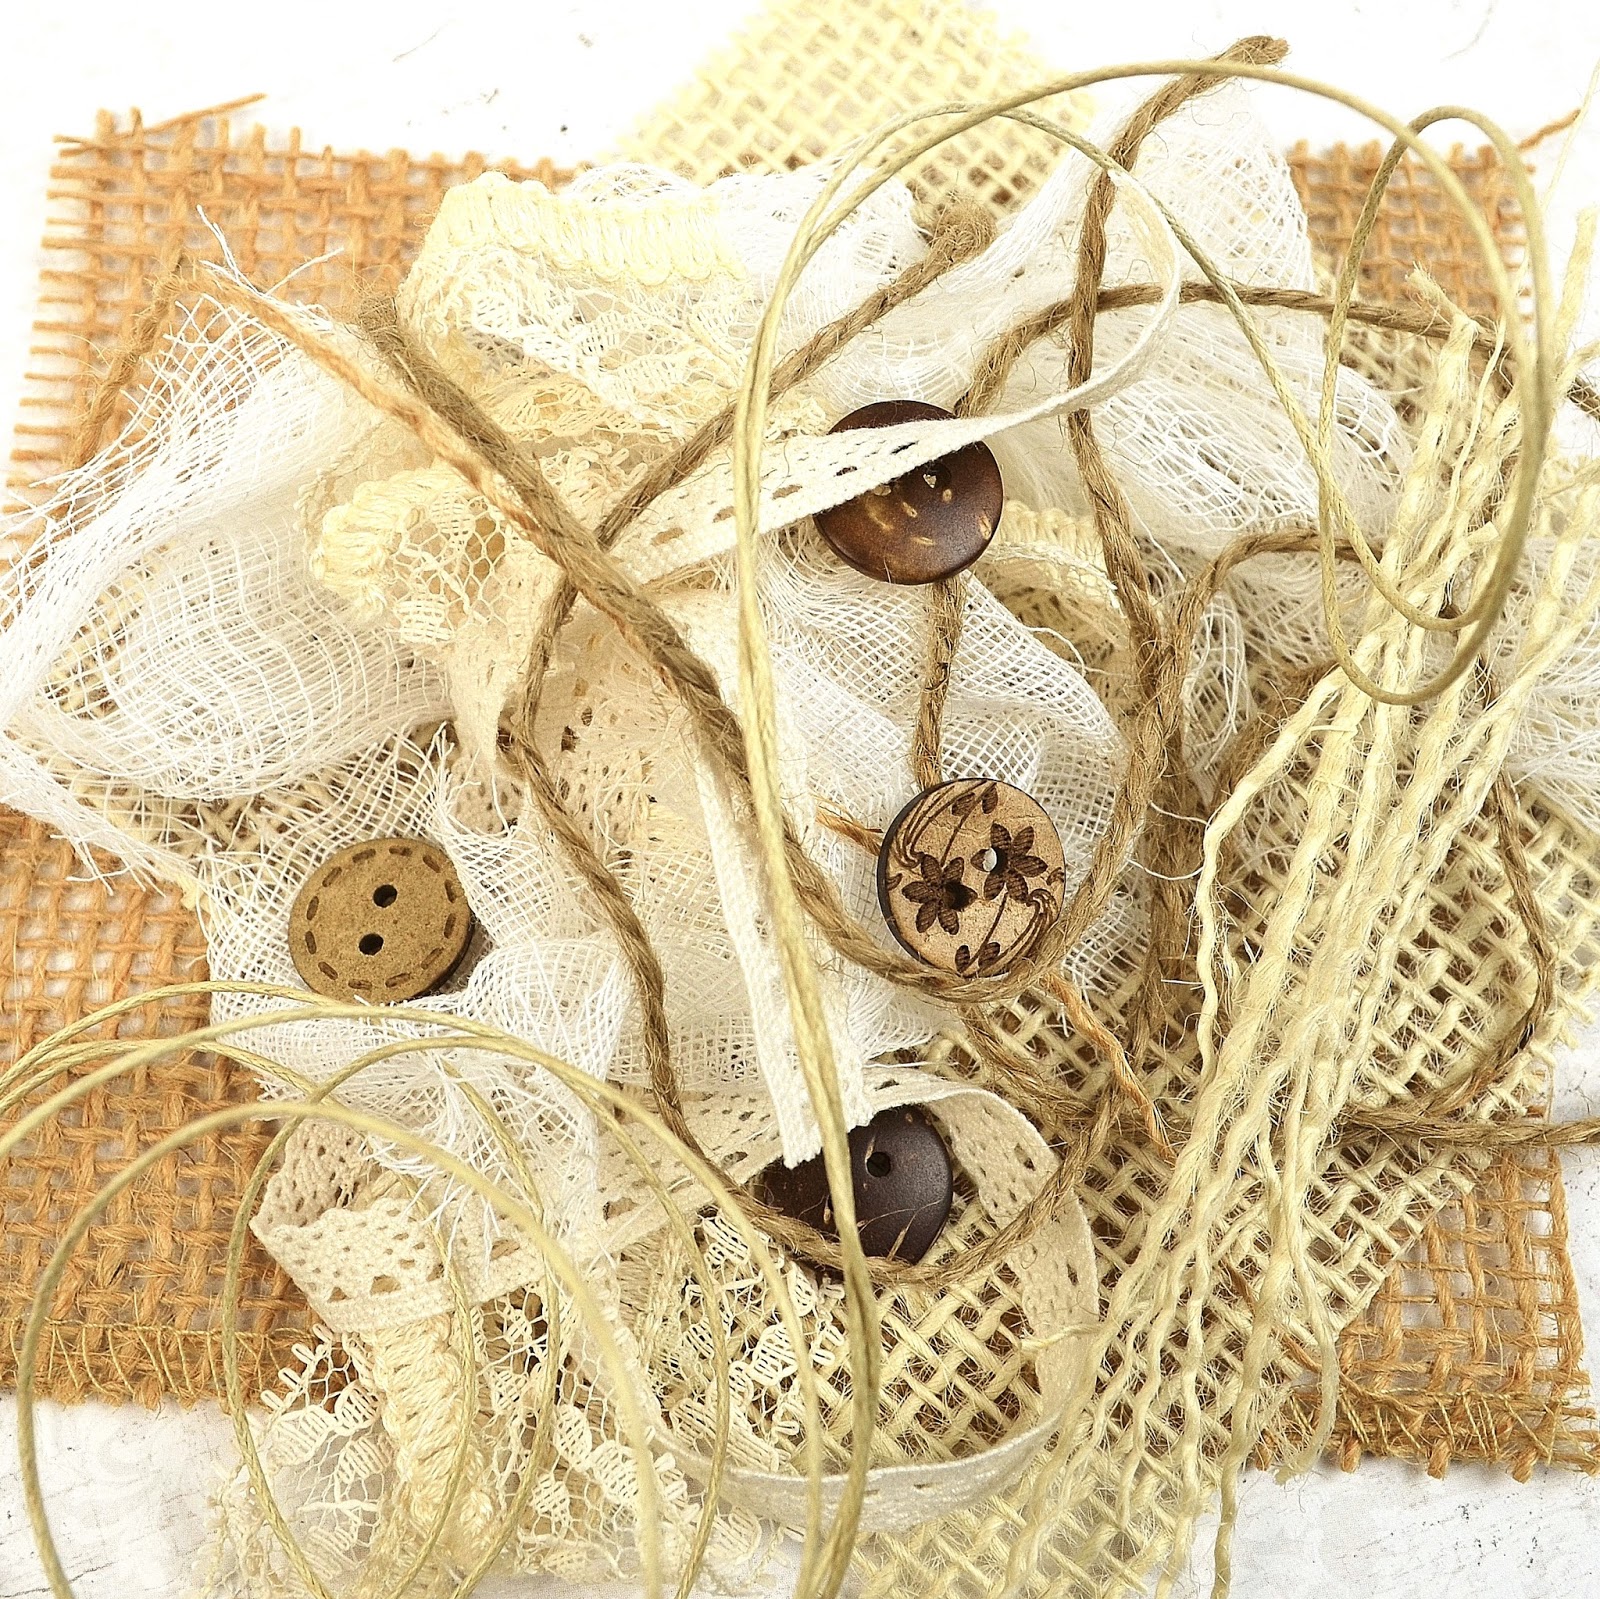
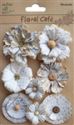
Start with a #8 manila tag and gather ephemera and distress collage medium matte.
Layer and overlap the ephemera and adhere to the tag with distress collage medium matte and trim the excess. Add a final layer of distress collage medium matte over the top. The dry time on this is seconds but the surface remains slick enough to blend in distress crayon.
Which brings me nicely to my next step... trace around the ephemera with a distress crayon and blend with your finger. Spritz with water and allow the crayon to wick slightly. As the distress collage medium matte creates a waterproof barrier, the water droplets will sit on the surface of your tag so you will need to dry with a heat tool or pat dry with kitchen paper.
Distress the edges of the tag with a paper distressing tool and run distress crayon around the edge and blend with your finger.
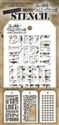
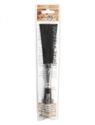
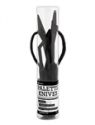
Using a splatter brush, flick picket fence distress paint onto the tag and set aside to dry. Once dry, spread texture paste through a stencil using a palette knife and also set aside to air dry. You can mix a drop of distress reinker or distress paint with texture paste on your craft matt to colour it, however, as my tags were so grungy I left the texture paste white.
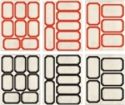
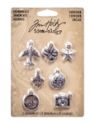
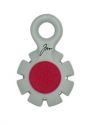
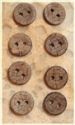
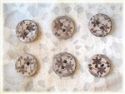
Age an adornment charm by rubbing a tiny drop of weathered wood distress paint between your fingers and rub onto the charm. Using a cotton bud add a hint of mushroom alcohol ink. Die cut a hole reinforcer and adhere both with distress collage medium matte. I love that it adheres paper as well as metal embellishments and substrate surfaces.
For the second tag, follow the same steps but this time instead of covering the tag with a final layer of distress collage medium matte, use distress collage medium vintage.
The distress collage medium vintage creates a really gorgeous vintage hue over the tag, whilst still sealing it like the collage medium matte. It also provides a slick surface to blend distress crayon into the edges of the ephemera for definition.
Cover several pieces of ephemera with distress collage medium crazing using your finger, (it does not need to be a thick layer), and set aside to air dry.
Once dry you will see that cracks have formed. Rub distress crayon onto your craft mat and add a tiny drop of water. Mix with your finger and rub over the ephemera. I really loaded it on and then wiped away the excess with kitchen paper so the crayon just sits in the cracks. Seriously, the crazing medium is ridiculously cool!
I painted an adornment charm with mermaid lagoon and peeled paint distress paint and glued into place with distress collage medium matte, along with a hole reinforcer. I added texture paste as before.
I punched holes into the side of the tags using a page pocket as a guide.
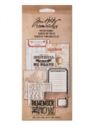
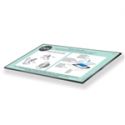
Have you seen these cool idea-ology pocket cards by Tim Holtz?
They fit perfectly in the idea-ology page pockets and make journaling or memory keeping really simple.
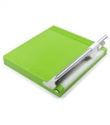
I intend to use one of the new idea-ology worn binders for my travel album, but until then, this 2 ring binder keeps it all together while I build my album.
I covered the reverse of the tags with a card from the idea-ology pocket cards using distress collage medium matte.
I will make some more tags to put between the page pockets ready for travel later in the year. This is a such a quick project to make to take when you travel and the page pockets will keep any ephemera you collect along the way. Tim Holtz and Ranger have also just released a small bottle of the distress collage medium matte which would be perfect travel size to take with you and journal on the road, especially if you have a instax or other portable photo printer.
I hope that you've enjoyed this tutorial and that you're inspired to
check out more of these products, especially while they are carry that
extra 15% discount at
The Funkie Junkie Boutique!
Have a great weekend!
Zoe