Welcome to our Saturday Showcase where we feature a particular product or range stocked by
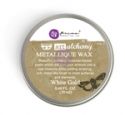
The Funkie Junkie Boutique. It's Sara Emily here to show you a quick technique using heat embossed stamping, clear powder, and Prima Art Alchemy Metallique Wax. Please feel free to follow the tutorial or skip down to my finished card. Click on any photo to zoom in.
The steps are simple, and I've used the same formula for each of my samples:
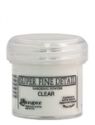
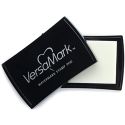
1. Heat emboss card stock with Versamark, clear embossing powder and a patterned stamp. Here, I've used Tim's Sparkle stamp.
2. Swipe on wax paste lightly with your finger.
3. Wipe with clean soft cloth, making sure to move to a clean area of the cloth with each pass. You'll see I substituted this step with sand paper and steel wool on different samples to achieve different looks.
You will be left with a shimmery pattern. Try this with a variety of stamped images--repeating small patterns work best.
I first did this technique on my card
HERE. I only stamped around the edges of the card knowing it would be a backing panel.
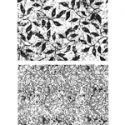
I loved how it looked on the black panel, so I wanted to try it with different stamps. Here's a sample using Tim's new Botanical stamp and White Gold wax. I didn't apply it evenly, as you can see below. So I thought, what the heck--sand it! The sanding removes more of the wax from the embossed areas. Shown below: before and after sanding.
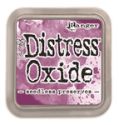
I took it one step further and dipped it in some Distress Oxides. The ink is resisted by the embossing, less so by the wax. I found it's best not to add to much water after smooshing my ink pad on the craft mat--just one spritz should allow the color to bead up nicely on your craft mat. Then I just barely touched my card into the beaded color. In some areas, I blotted it with a paper towel to remove excess moisture and some I let air dry. Not my favorite, but I might use it on something someday.

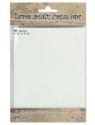
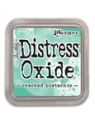
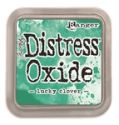
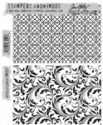
Then I got to thinking... this might look nice on white card stock. I had some Specialty Stamping paper within arms reach, so I tried that first. I colored the paper with Distress Oxides in Cracked Pistachio and Lucky Clover using the puddle and dip method, drying between the colors. I used the Flourish stamp and White Gold wax. This time instead of sanding, I used steel wool to remove the wax from the embossing. It's so hard to get a good photo of the beautiful shimmer effects you get with this, so you just need to try it for yourself! I'm not crazy about the shine, which seems to be magnified by the stamping paper, but I have to say this paper took the Distress Oxide color beautifully, and even after getting soaked, the paper lies nice and flat! Interestingly, the White Gold wax buffed to a silver-grey over the green. I may rescue this one with some Distress Matte Collage Medium to take the shine off.


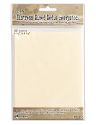
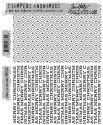
I wanted to see if changing the paper might rectify the shine problem, so I tried Heavy Stock and used the tightly patterned Batik stamp. I did not add color prior to embossing. I used White Gold and Old Silver waxes and buffed with the steel wool. I added back color by blending with Vintage Photo Distress ink and splashing with water. I blotted it dry with a paper towel. It has beautiful subtle pearly shimmer that I couldn't even begin to capture with the camera. This is by far my favorite of my experimenting with this technique so far.


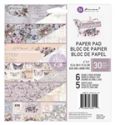
But, I couldn't stop there. My Prima Lavender 6 x 6 paper pad was out, so I gave my technique a go using this beautiful patterned paper. I used the Flourish stamp again and the White Gold wax. This time it was back to sanding. The sanding gives it a beautiful shabby look. Oh, I'm so happy I tried this! This is even prettier in real life where I can tip it toward the light and see the gilt effects over the entire surface--so hard to capture with my old Iphone. The first photo is prior to sanding, and the second is after sanding.
(oops! My computer wouldn't let me flip this!)
I decided to make this one into an Easter postcard with a couple interactive elements to further inspire you to play along with our current challenge,
'Get in on the Action'. The egg basket image is from my stash. Everything else can be purchased at The Funkie Junkie Boutique; just click on the links below this post.
Pull out the two tags to write your personal message, since this is a post card!
I hope you'll give this quick technique a try! You probably already have everything you need to make it happen. But if you need these or any supplies you can always click
HERE to be magically transported to The Funkie Junkie Boutique where all products are discounted every day! I can't wait to see what combinations you'll come up with!
Another Frilly and Funkie team member will be back next Saturday to share a new tutorial. In the meantime, there's still time to enter the current Frilly and Funkie challenge,
'Get in on the Action'!
Happy Creating!
Sara Emily
The following products were used and are available for purchase at
The Funkie Junkie Boutique: