
The prices in the shop are normally 20% off list but for the next two weeks these select products will be our Friday Focus special and you can get an additional 15% off but act quickly because this special only runs through through April 27th.
I have made a couple of cards with the new paper collections and I don't have a lot of process photos for you because I decided to make shabby cards that were easy to construct but I will describe how I made each one.

The first card features the Rose Quartz 6"x6" pad.
1. Prepared the card blank (this is a 6"x6" card).
2. Cut two papers making one slightly smaller than the other and distressed the edges.
Tip: If you are anything like me, you never want to waste your papers, especially if they are double-sided like these are so what I did was cut a big square from the middle of the background paper and saved it for later since I knew I was adding a panel on top of it.
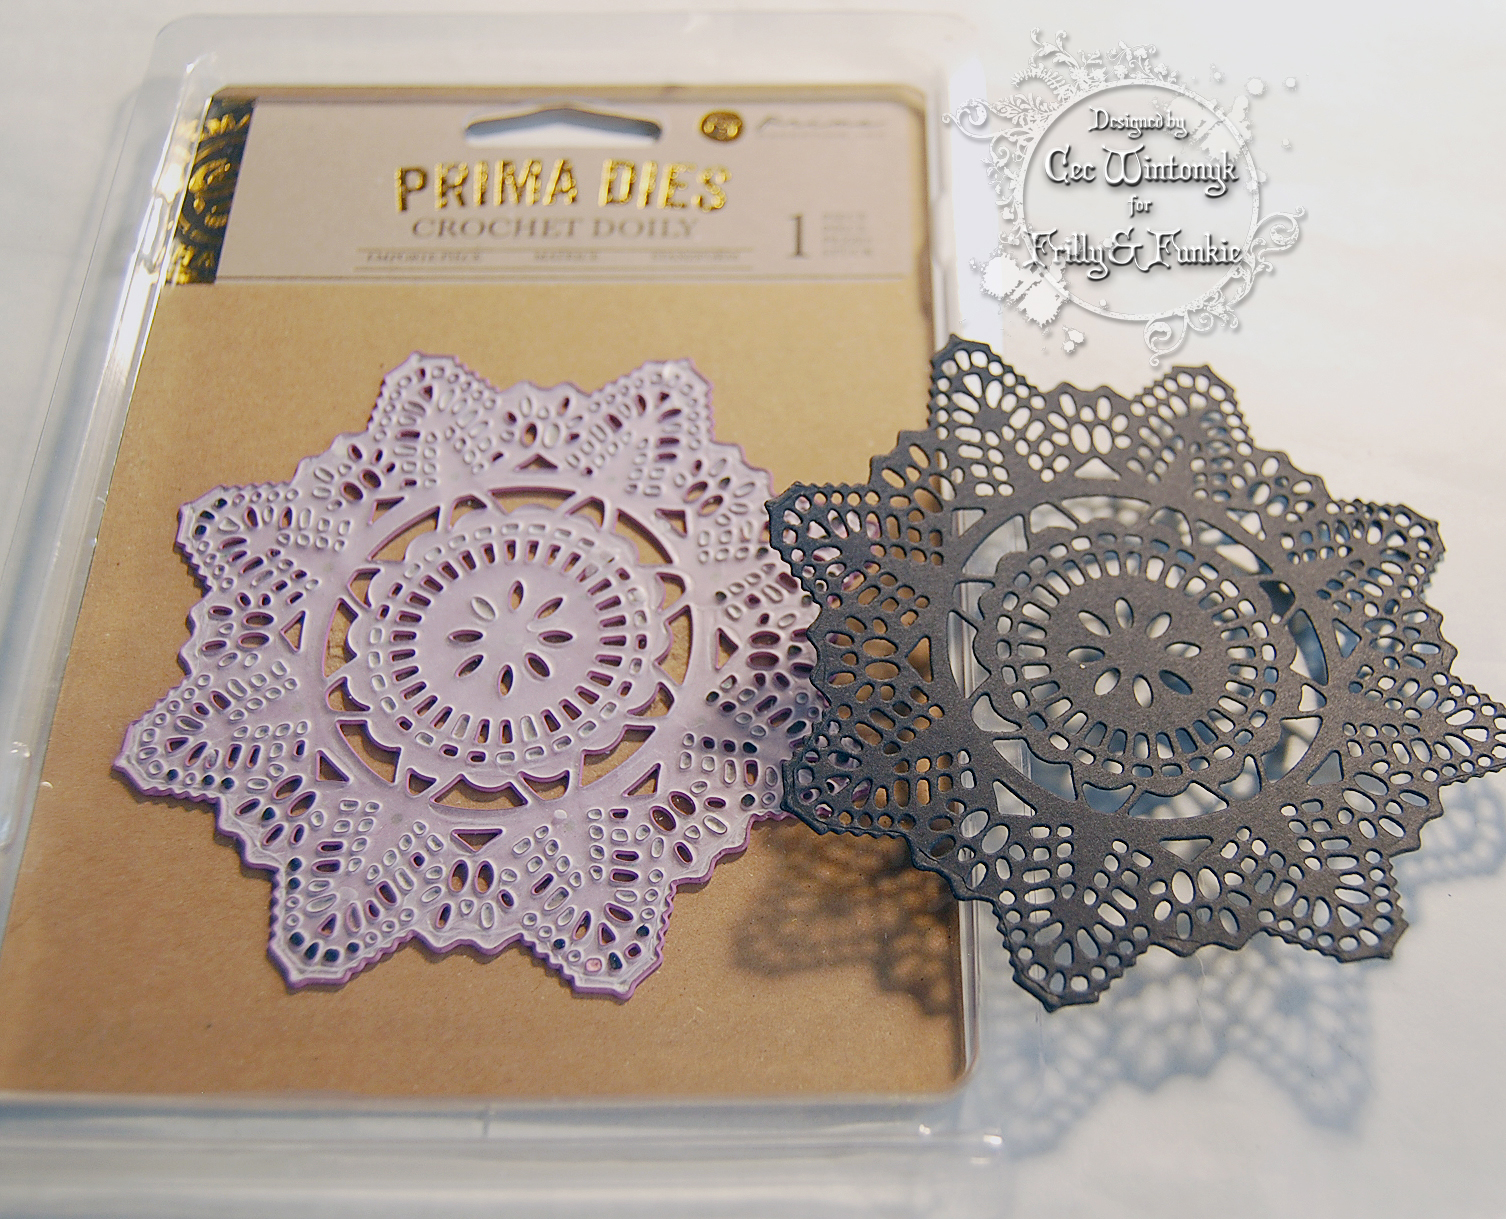
3. Used the Prima Crochet Doily die and some scrap black card stock to cut the doily.
Tip: I recommend that you put a piece of wax paper between your card stock to ensure that you can remove the cut from the die since it is so intricate. I don't have a heavy duty machine so in order for the pieces to come out easily I also taped everything down, made multiple passes through my machine and rotated it part way through.
4. Made some leaves using scraps of white card stock and a Tim Holtz die called Garden Greens.
5. Shaped the leaves with a large embossing tool and inked the edges with some Black Soot Distress Ink.
6. Chose a sentiment from the Tim Holtz Big Chat stickers and inked the edges.
7. Printed the image, fussy cut it and distressed the edges. (The vintage image came from the internet and is an actress from the late 1800s by the name of Lily Elise.)
Now it was time to put the card together.
8. Added the largest paper to the blank first and then added the floral panel.
9. Added the doily followed by the image.
10. Adhered some black gem flourishes next and then the tailored bow.
11. Added the flowers and tucked the leaves underneath them.
12. Glued the sentiment sticker on.
Easy, peasy and so pretty.

This next card was made with the Wild and Free 6"x6" Collection and was just as easy to make.

This time I decided to tear and distress some of the papers to create layers.

1. Added a main panel to a card blank.
2. Tore and distressed a variety of paper pieces.
3. Added the embellishments starting with a feather.
4. Next added the big Prima flower and tucked some leaves cut with the Tim Holtz die underneath.
5. Added a copper coloured button from my stash (I just cut the shank off first).
6. Punched little flowers from some of the background paper and topped them with a couple of the little Prima flowers that coordinate with the collection.
7. Created a loopy bow from coloured twine (I used strands from some fabric that had frayed) and tucked it under the big flower.
Now you could add all manner of mixed media to these cards but I decided to let the papers shine through on their own. I hope I have inspired you enough that you will pop over to The Funkie Junkie Boutique and pick up some Prima papers and flowers to play with.
*Friday Focus sale does not apply to the new pre-order St. Tropez Collection, a limited edition to be released in May.
Love these Prima cards Cec! Thank you for sharing how to create them with us xx
ReplyDeleteSo pretty Cec! Love the Rose Quartz collection and you have made it shine! Your black accents really make it pop. So pretty and shabby. Great Friday Focus.
ReplyDeleteHugs,
Linda
It's a stunning card Cec, thank you so much for sharing your process. It helps me a lot when you ladies do this Karen xx
ReplyDelete