Friday, October 13, 2023

Suzz's Treasure Chest

Ahoy Matey! Suzz here.  How would you like to see my treasures!  


The beautiful lion from Finnabair's Regal Lion mold was my inspiration to start building a treasure chest.  I was thinking about creating a series of items that would fit in a treasure chest.  I heated up a big batch of gold and black embossing powder and poured that into the molds.  I let them cool off and popped out the pieces.  The embossing powder I had was mixed ended up with more black on the images than gold.  I wanted more gold to be prevalent, so I used the Metallique wax to smear over the surface and add the gold highlights.

You can see the various pieces from the molds mixed in with the other treasures.

Then I decided to work on additional goodies to fill the treasure chest.  I pulled out pearls (Tim Holtz's Bubbles or Baubles work great) and had them ready to put in the treasure chest.   

I also envisioned gold doubloons and decided to create my own.  I started with cut circles die cut  from cardboard.  I covered both sides with versamark ink.  Then they were dipped into the mix of gold and black embossing powder.  Heated up to melt all off the embossing powder.  I repeated this multiple times to increase the depth of the embossing powder on the coins.   You can either re-ink with Versamark and dip back into the embossing powder or heat up the coin holding it with rubber handled tweezer and dip it back in again and melt it right away.   Then to add an image to the gold coin you will ink up the stamp you want to use with versamark and then heat up your coin until the embossing powder is molten or soft and then place the stamp into the heated embossing powder.  Press down and leave to cool off.  Once it is cool you can pull the stamp out and have an impression on the embossed surface and your stamp will be clean.  (I only do this with the rubber stamps) 

There also had to be a treasure map!  I cut a piece of scrap paper and spritzed it with the same mica stain sprays used on the outside of my chest.  After it dried I added stamped script on the inside along with picking up some extra inky stains.  Then it was wrinkled and rolled up and tied with some twine. 

The remainder is a mix of shimmery buttons, old fake jewelry and a watch fob to add to my treasures!

To create the treasure chest: 

  1. I drew a template for my box along with the circle for the arch on the sides of my top. 
  2. I cut all the pieces based on my measurements and template. 
  3. I ran all the cardstock through the texture fade Cracked. 
  4. I sprayed them all with two seasonal mica stain sprays (Fallen Acorn and Unravelled)
  5. I then assembled my box.  I reinforced the inside with sheets of cardboard that were sprayed to coordinate. 
  6. The top was cut in strips to emulate wood strips.  They then were applied to a sheet of cardstock that was attached to the arched ends.   This was also reinforced with a rectangle of cardstock around the bottom.

The decorative trim is the lace dies cut from tissue paper and embossed with gold embossing powder.  They made a beautiful decorative edge around the corners.

Suzz

Products:

Wednesday, October 11, 2023

Lisa's Snow Globe Scene

Hello Funkie Junkie fans! Lisa Hoel here. Our theme this time around is "Make a Scene" so I decided to create a Halloween "snow globe". When the new Idea-ology Display Globe was debuted I was pretty excited because I love snow globes!

Lisa Hoel for The Funkie Junkie Boutique  #halloween #creativejuicefreshsqueezed  #mymakingstory #tim_holtz #thefunkiejunkieboutique #sizzix

Lisa Hoel for The Funkie Junkie Boutique  #halloween #creativejuicefreshsqueezed  #mymakingstory #tim_holtz #thefunkiejunkieboutique #sizzix

Lisa Hoel for The Funkie Junkie Boutique  #halloween #creativejuicefreshsqueezed  #mymakingstory #tim_holtz #thefunkiejunkieboutique #sizzix

There are no mystical techniques used in this project, but here are a few "in progress" photos.


I glued several 
Mischievous cat die cuts together to make a thicker "cat" and glittered it with Nightfall Distress Glitter (seasonal release from a past year).


With a craft knife, I cut the middles of the letters out of the "EEK!" die cut from Big Frights so I could have the cat stepping through.

There you go! I'm looking forward to making a Christmas project using the Display Globe (or several) so subscribe to my Instagram account to see.

Thanks for stopping by. Keep an eye here on the Funkie Junkie Boutique Blog because you are now getting regular doses of expanded (and inspiring) content each week. Don't miss it…

Supplies used:  

Tim Holtz Die Set - Big Frights
Tim Holtz Die Set - Mischievous
Tim Holtz Die Set - Vault Series: Halloween 2021
Tim Holtz Stamp Set - Scared Silly

Tim Holtz Idea-ology - Display Globe
Tim Holtz Idea-ology - Halloween Confections
Tim Holtz Idea-ology - Trick or Treat
Tim Holtz Idea-ology - Halloween Trimmings 2022
Tim Holtz Idea-ology - Memo Pin

Distress Mica Spray - Bubbling Cauldron
Distress Spray - Wilted Violet, Seedless Preserves, Shaded Lavender
Distress Glaze Embossing Powder - Twisted Citron
Distress Glitter - Nightfall
Distress Glitter - Rock Candy


Monday, October 9, 2023

Teri's Dreadfully Wicked Tag Scene

 Teri Wilson - TerisMailbox

Hello and Happy fall! It's Teri with TerisMailbox posting for The Funkie Junkie Boutique. Check out this very spooky scene created with an etcetera tag and layers of spooky goodness!


Love all this darkness, from the Black Grit Stenciling to the Shattered Glass!

I do have a video HERE if you prefer to watch.


Create the Background

Trim a piece of Distress Heavyweight Cardstock to be the size of the Small Etcetera Tag. 


Ink smoosh Villainous Potion onto the tag by smooshing the ink pad on the craft mat and dipping and drying until you are satisfied with the color achieved. Use a second layer of Villainous Potion, Twisted Citron and Carved Pumpkin Spray Stain to achieve a darker layer. Once dry, use Black Soot Distress Ink to fill in the gaps and color the edges.

Stitch black thread around the perimeter of the tag for interest using straight and Zig Zag stitches.

Use THS171 Fractured Stencil plus Black Grit Paste to add the lines on the panel.  Once dry, attach to the Etcetera Tag with Collage Medium.

Create the Spooky Pieces

Choose an Etcetera Window, from the Baseboard Window Set. Add Black Soot Distress Ink to darken the frame.


Attach a Shattered Window Ide-ology piece to the window and trim to size. Use 4 of the 1/4 inch strips from the Bat and Webs Trim to provide dimension and room for the broom and witches. Select your witches from the Halloween Paper Dolls set and trim to fit inside the window. Attach to the tag with collage medium. Add a broom for interest. Use a hot glue gun to stack the strips and add the broom and window to the base. You may need to trim the broom to fit. Add a strip sentiment from the Halloween Baseboard and Transparencies Set. There are three total sentiments on the tag.


Select a web trim plus a shelf with another solid web piece. Paint with black acrylic paint. Glue the web piece to the top of the tag and create a shelf using the other 2 pieces.


Use Crypt Grit Paste to add gray layers to the skeleton heads, gravestone and the shelf. Use the hot glu


Now, let's make a spooky glow in the dark eyeball! Use the new Halloween Grit Paste Glow and spread an even layer on cardstock. Once dry, use the eyeball die set from Trick or Treat Colorize to create the eyeball.


Love how it glows in the dark!


Finally add an Ideo-ology spider colored with red alcohol ink to a sentiment strip and attach to the tag. Use Villainous Potion Distress Ink to color the number 31 and attach.

Thanks so much for stopping by today! I'd love to have you follow/subscribe on my social media sites InstagramFacebookBlogger and YouTube all named TerisMailbox. Be well. Be creative!

Products used:

Friday, October 6, 2023

Janna's Garden at Midnight

Today we are creating a Halloween night scene for this week’s TFJ Inspiration Ave blog theme “Make a Scene”. Here I want to feature lots of fun and spooky Idea-ology and Ranger products such as Distress Mica Spray Stains, Crackle Paste, and Paper Dolls.

If you would like to see the more in depth instruction click here.

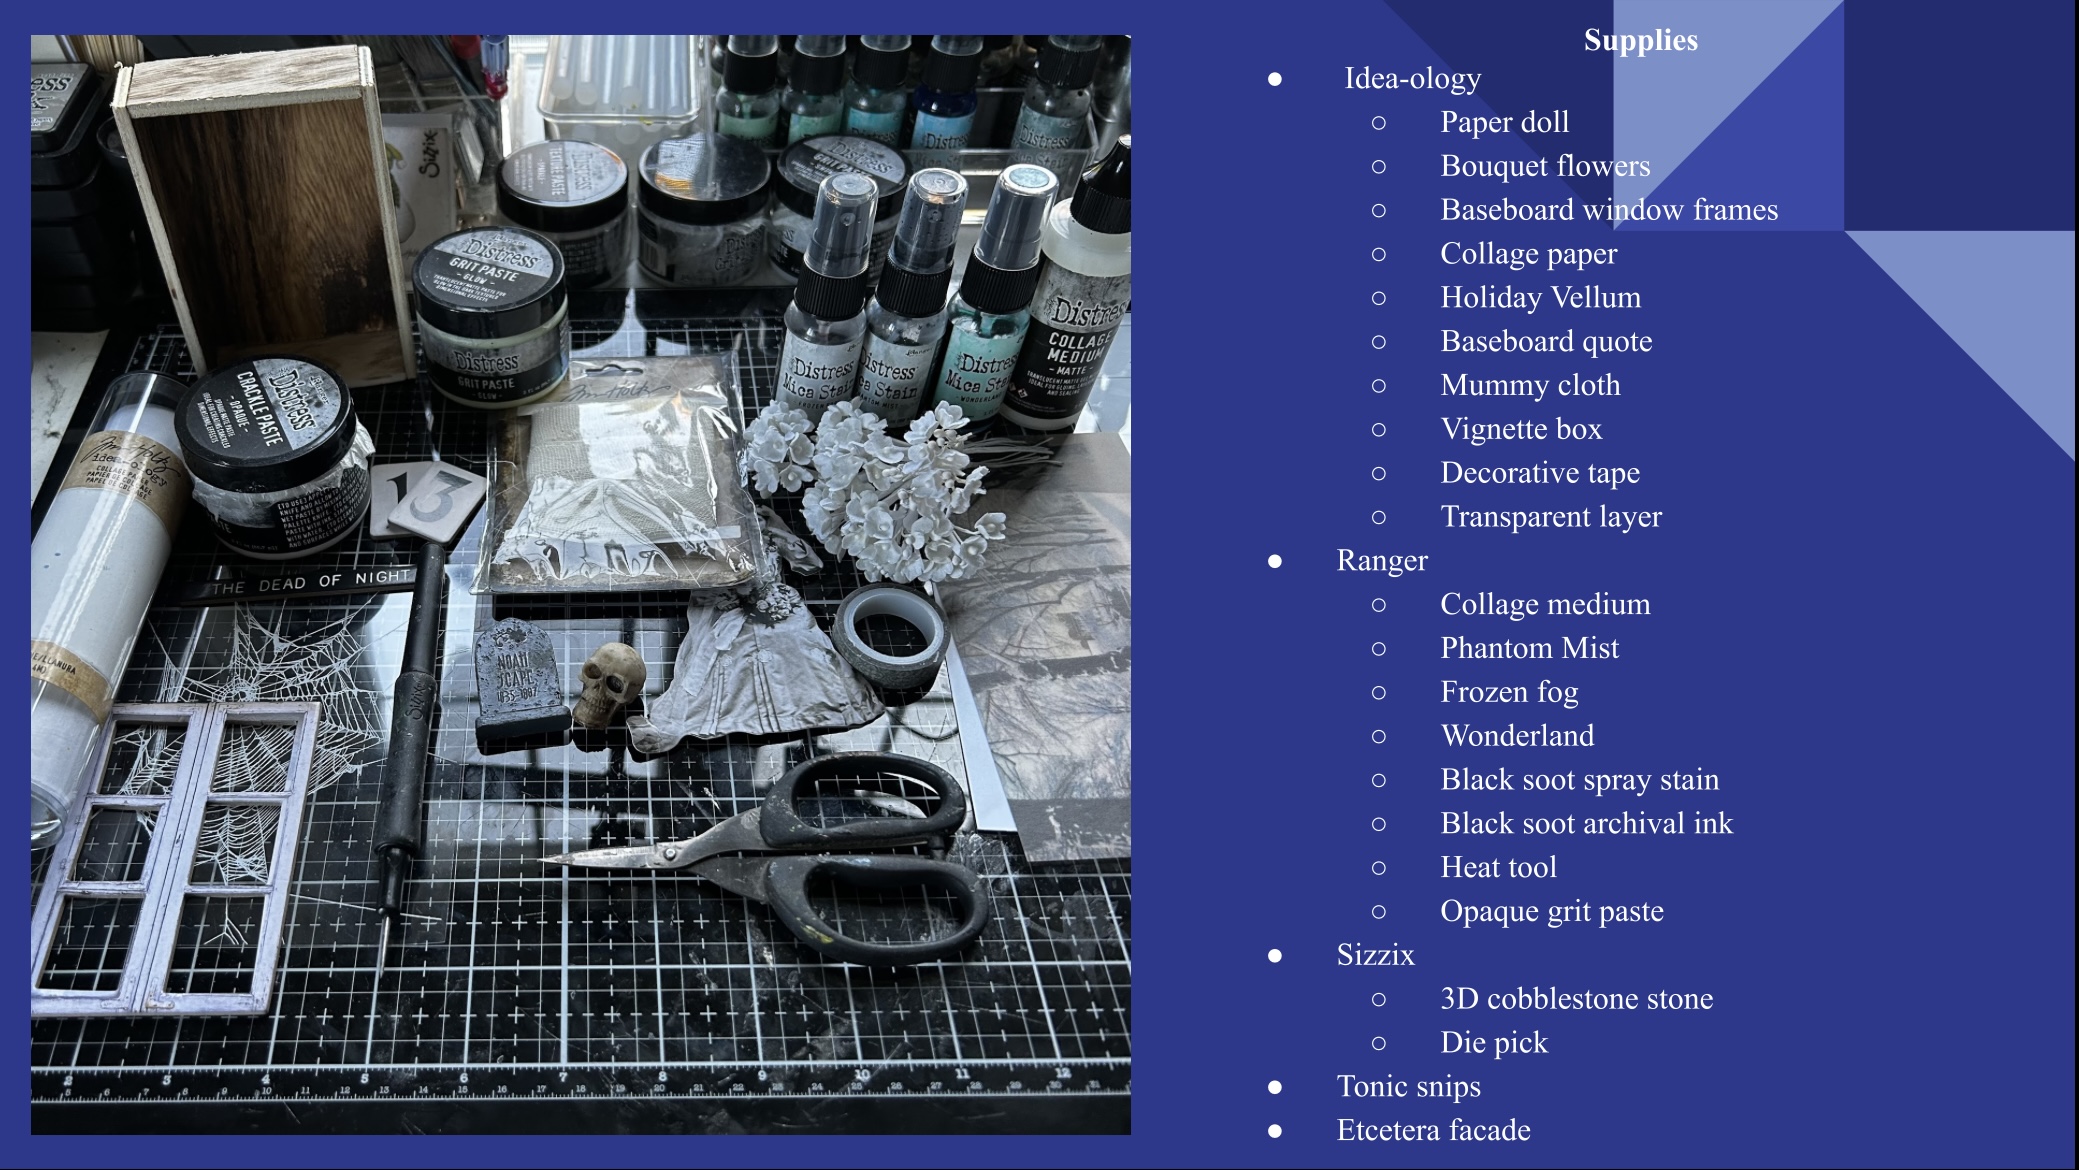
Supplies used: Vignette Box, Idea-ology: Decorative Tape, Bouquet Flowers, Halloween Paper Doll, Baseboard Window Frame, Mummy Cloth and Collage Paper, Mica Spray Stain Frozen Fog, Phantom Mist, Collage Medium, Sizzix 3D Cobble Stone Texture Fade, Etcetera, Tonic Snips, Ranger Heat Tool, Black Heavy Stock, Black Soot Distress Spray Stain, Distress Glitter.

To start our Garden at Midnight vignette, I decided to begin with the main focal point which happens to be a Tim Holtz Idea-ology Paper Doll. 


To start the alteration, I cut along the lines of her arm that attaches to the dress with some Tonic Snips. Then I snipped two triangular pieces by her waist. These snips are going to allow me to cinch a piece of velvet trim ribbon after we have created a fantastical dress for her.


To create the dress, I am altering some blank Collage Paper. I decided to use some Distress Mica Spray Stain Frozen Fog for the main color and a dash of Phantom Mist. I spritz the Collage Paper first with some water and then added the Mica Spray Stains. After, I dried the paper with the Ranger heat tool.


Then I sectioned the Collage Paper into three parts. Two of the pieces I fan folded to create the pleats of her dress. The third portion I glued directly over the existing dress to give us a foundation to work on. Next I glued one of the fan folded sections to the right hand side of the Paper Doll before mirroring it on the other.


To bring the dress together, I used a piece of velvet trim to hide some of the glue lines and placed the ribbon around the Paper Doll’s waist.


Now it’s time to add some more embellishments to the shimmering dress. Here I have colored some Idea-ology Bouquet flowers with Distress Mica Spray Stains. I used the colors Phantom Mist, Frozen Fog, and Wonderland. With the Distress Sprayer, I spritzed each of the bunches of flowers before adding the shimmering Mica Spray Stains. After I dried the bunches of flowers off with the Ranger heat tool. 


Once the flowers were dry, I snipped all of them off the stems with the Tonic snips. To add some more visual interest to our bride, I glued some of the flowers into a bouquet for her to hold.


Next, we are going to be altering some Idea-ology Mummy Cloth with some Distress Mica Spray Stain Frozen Fog. First, I spritzed the cloth with some water and then added the spray stain. After I wiped up the extra spray stain with a cloth before drying it with the Ranger heat tool.


Once dry I then took the Sizzix die pick tool and shredded the Mummy Cloth to make it more tattered and torn.

Then I glued several pieces to the Paper Doll to create a tattered and torn vail. I also added in a few of the flowers from earlier to give the Paper Doll a headdress.


Next we are going to alter some windows for the Vignette Box. To start, I took a Baseboard Window Frame and I cut it in half with the Tonic scissors. Then I took a piece of the spiderweb acetate from the Halloween layer pack and glued the cut window frame to it. I then let this dry for about 15 minutes.


Once the window frames were dry, I then trimmed off the excess acetate with a pair of scissors. To make curtains, I took some of the remaining Mummy Cloth and glued it to the back of the Baseboard Window Frames.


Now it is time to start altering the Vignette Box. To start I spritzed some Distress Black Soot Spray Stain onto the interior of the box. Then I dried it with the Ranger heat tool.


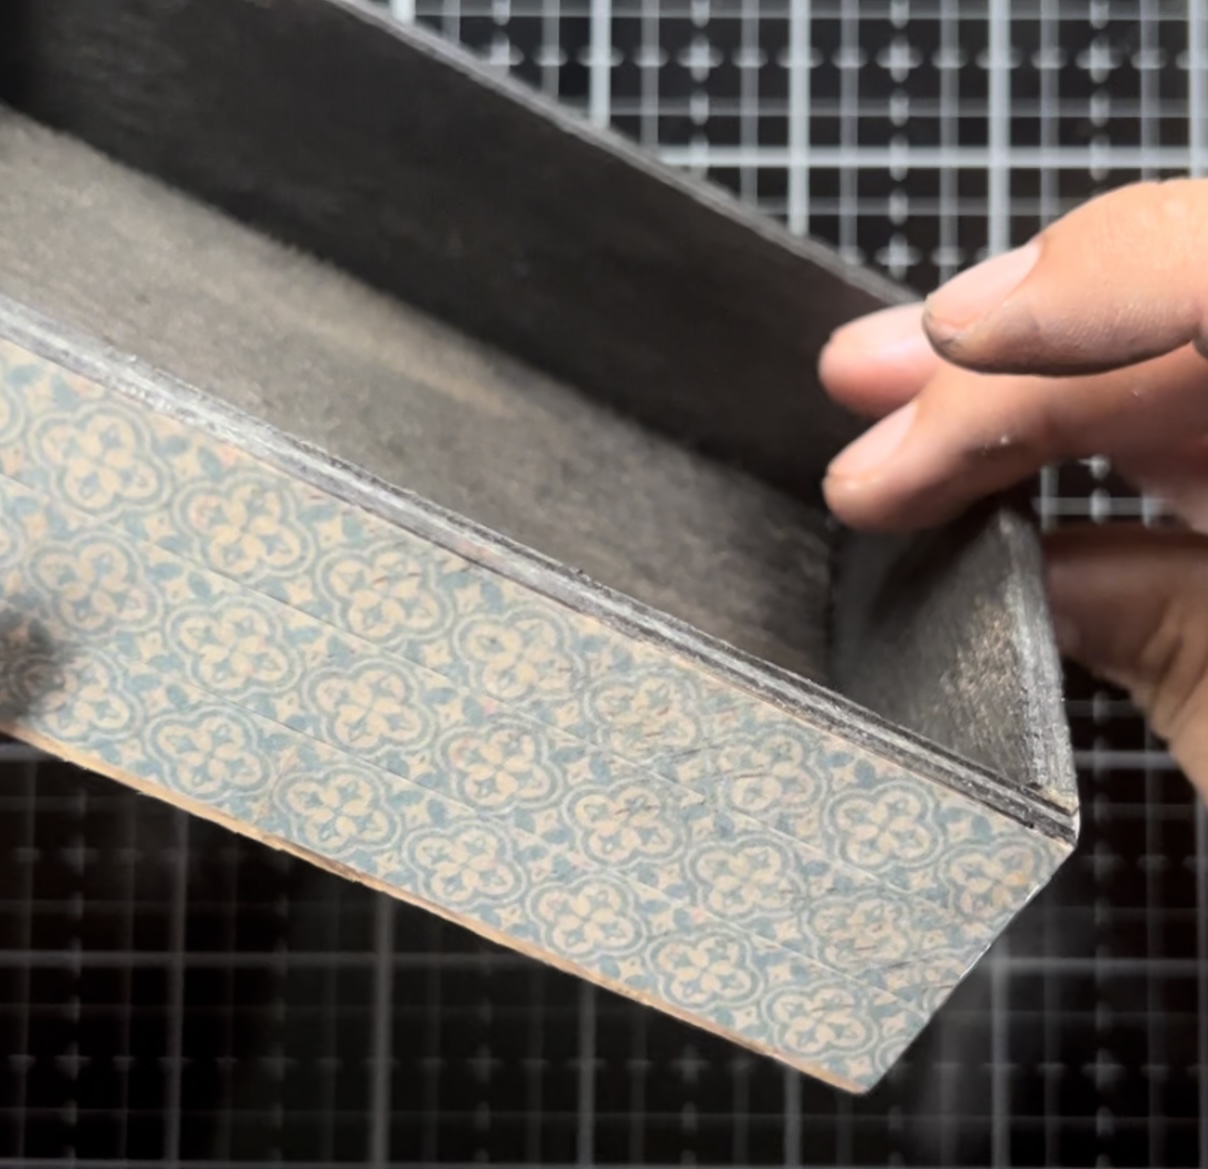
For the outside of the box I wrapped it with some Design Tape from Idea-ology.


For a background for the inside the box, I took an older background from the winter Idea-ology Vellum Scenes and mounted it on a piece of heavy stock paper. Then I added a touch of Opaque Grit Paste to the bottom to complete this snowy look. I absolutely love how this turned out.  The background looks very cold and desolate. For the base I used an interior piece from the Etcerera Facades pack. Then I glued some cobblestone texture over the top. I used the Sizzix 3-D folder Cobblestones to get that really cool texture and I spritzed with Phantom Mist to add some color. After I hot glued the cobblestone onto the base of the vignette.


Next I hot glued the windows onto the vignette at an angle.


Now for some finishing touches. First, I placed our bride in the centre of the vignette and propped her up with a couple pieces of bent cardstock. Then I decorated the window frames and the stone walkway with more of the bouquet flowers. These I glued in place with lots of Collage Medium.


At the top of the vignette, I added a chip quote that says “the dead of night”, which seemed the perfect sentiment for our garden at midnight. While the glue was still wet from adding all of the flowers, I also dusted the entire vignette with a layer of distress glitter for some added sparkle.


Below are our finished results for Garden at Midnight.


Thank you so much for joining me here today for TFJB Inspiration Ave. Until next time, happy crafting!

Janna~ 💕🎨💕

I can also be found on :
Instagram: dunhamtreasuresofthesea_jannak

YouTube: The Crafty Corner with Janna

Supplies used: 

Halloween Mica Spray Stains 6

Holiday Mica Spray Stains 5


Wednesday, October 4, 2023

Lyla's Scary Scene!

 This is Lyla, back at the start with you once again! It's October and pumpkins are appearing in yards, along with ghosts and goblins galore, making giant scenes in yards all over the country. October has a way of doing that to us and some folks spend a lot of time and expense to make these house-sized vignettes. Over at The Funkie Junkie Boutique, Owner Linda Coughlin, is using her time and energy to get orders of Tim Holtz's brand new IdeaOlogy (both Halloween and Christmas) out to everyone and she's asking the Design Team to use some of that yummy new IdeaOlogy to 'Make A Scene'! I'm excited to take the lead on this and just as excited to pop back in every couple of days for the next two weeks, to see what the rest of the Team has! Grab your pumpkin spice latte and pumpkin spice cookies and scroll down to join me at my Scene...

WARNING: LOTS of PHOTOS!
(And nothing was actually harmed during this make. ;)


I didn't use the TH Die Halloween Night, but I've included it in my List of Links.


I found this little box during our summer Florida trip. It set me back a whole 25 cents.


Let's do the Happy Helpful List of LINKS so you can find what I've used here!


The first thing I always do (besides play with the new Idea-ology, lol) is get an idea of what will fit and how it can fit. 


I had an older broomstick (left) along with a newer 2023 stick and just couldn't choose which (or witch?) one to use because I'd end up cutting it down to fit. I decided to do as Tim does; just go for it! The new one it is!


Drippy Candles are SO FUN! I decided to try my hand at making a TH Silverware Adornment into a candle holder for the wall. Tim mentions doing this in his Halloween Idea-ology video - it's a clever MAKER's idea!

I used a couple of older TH Ring Fasteners and a bit of chain - both from stash-to make some gruesome arm stretchers. Just rolling some cardboard (and later painting).


I got out my glue gun to touch up the Drippys after attaching them.


The cast iron pot needed some "boiling trouble" TH Baubles.


And just about everything got sanded, Alcohol-Inked, painted, grunged, or trimmed up.
To be "junk" in the attic, it all needed to look old.


After everything was ready for the house inside, I needed to decide how it was going to look on the outside. The all new TH Baseboards and Transparencies was perfect!


To make the doorway, I took it out to the barn and stuck it between the vise. Cutting was easy using the ChiefHubby's electrics. After taking a look at the "attic" space, I decided to add two round windows at the top  just for extra light to come through- let the moonlight in!


A coat of TH Distress Paint in Black Soot took care of all the edges that might show, and I gave all the metal pieces some dry brushing of Black Soot, too. The TH Bones and Skull got a bit of Alcohol Ink in Espresso and some finger-grunging with Distress Crayons from Set #2


I used the older Th Halloween Wallpaper- cutting to fit. There are people who measure every tiny piece- twice- then cut exact pieces. Then there are people like me who can cut to fit by eyeballing it and marking with pencil. I'm very blessed in that way- I eyeball just about everything to balance or cut. When I get out the ruler to double check my eyeballing... it's usually spot on. "You do YOU" is what Tim advises and it's great advise!


I wanted to put things in as I went along, when it came time to do the downstairs. This way, I could hang up the arm stretchers, as well as the framed photos.


The cast iron kettle looked a bit naked without some fire lit underneath it, so I used some "cloth tissue paper" and cut a long strip from it. I made a small pom-pom and used the 2 smallest from TH Industrial Gears to make a fire pit ring. The kettle fit on top perfectly!


How to make Dear Old Dad in a smokey "Mirror, Mirror, on the Wall"...cover chosen head with laminate (I use the rolling kind), then cut out chosen head and adhere it to a frame (another older TH IdeaOlogy). Allow it to dry before using a paintbrush to paint over the laminate. Spread the paint towards the outside edges of the frame, allowing bits of it to cover the face. It should be thicker around the edges and thinner as it goes into the middle. Let dry completely before adding to your project.


Now you know who's house this is: Edison's ! I cut the usual Edison out and inked him up with Ground Espresso Distress Oxide. I cut an extra back- reversing the TH Classic Craftstock (stash) as well as a long, thin rectangle of the same. I scored the rectangle so it would fold like a boat with points for the bow and stern. Then I began the light set by putting together the kettle first, then moving to Edison...

.
.. keeping all his lights away from the openings to hide the wiring. I wanted a GLOW from the lights, not for the lights themselves to show.


Then added the backside to Edison and glued the cute little kitty cat in with the broom lastly. You can see the wire going up to the attic for now, but you won't see it later.


This was before the outside was all put on, so you can see the details better.


From here, you can see the wire, but again; you won't see it later!


I decided that Edi would have a LOTTA weird junk stuffed up there.


Now it was time to do the outside... in white stones with Black Soot Ink embossed into the cracks and then lightly brushed onto the top here and there.


The roof was going to be woodsy.


And not wanting to make cracked windows all over, I decided that this would look like an apple cut in half- where it's actually a wall; the cut-out allowing you to see what's hidden from everyone's view.

It's time to Trick or Treat at Edison's House!

The Front 


Aww, the cute wittle kitty cat is saying "hello",and George, Edison't pet spider, welcomes you! The wire becomes hidden behind the spider web Transparencies!

The BACK with the cut-out roof.

The lights are on and it's time for Trick or Treaters!


The Santa hat is a nod to "The Nightmare Before Christmas" which both our Daughters love. Ummm.... that's NOT George..... eek! Bats flying around in a TH Laboratoy jar are lighting up the place, and it doesn't look too good for a couple of little skeletons in that specimen jar.


The TH Baseboard and Window Frames pack came in very handy for some light up there!

Dear Old Dad


Edison! He's such a happy Bumpykapunkin!!


Mummy was a bit strange. She liked to poison people.


Here's where someone got away... well, mostly anyway.


I dare ya to try and take any leftover candy during the daylight!

THANKS for joining me on another fun make and tutorial! 
There's plenty more Tim Holtz IdeaOlogy to see over at The Funkie Junkie Boutique!

And... don't forget to come back here to Inspiration Ave, 
so you don't miss the coming attractions
from the rest of my amazingly talented TFJB Design Teammates!

Ya'all fly back soon, ya hear?!


Until next time...

Stay Safe &
HAPPY BLOGGING!!