
Editor's Note; before we hand over to Nancy for a fabulous tutorial and details of our Friday Focus products for this fortnight, we wanted to remind you that our 'Block Hop partners' this fortnight are The Artists on the Block. Their amazing Design Team has been joining in with the 'Hip to be Square' fun and have come up with even more inspiration of their own for using these versatile cube shapes. Make sure you hop on over to their blog HERE to see what they've created and let them know if you like what you see!
Now, back to Nancy for that exciting tutorial...

Hello! Nancy here, and I'd like to welcome you to the Friday Focus at the Frilly and Funkie! Our focus this period is on burlap and jute, and for the next two weeks Linda is generously offering an additional 15% off this line of products at The Funkie Junkie Boutique!
I have a simple technique to create these rustic yet elegant flowers using burlap and crinoline. Working with burlap can be challenging because it likes to shred and fall apart, but I've found a fool proof solution that makes these flowers sturdy and long lasting.

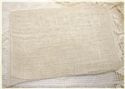
I begin by die cutting the petals using a Tim Holtz Tattered Florals die. You need two burlap petals and two crinoline petals for each flower. It's amazing how easily the die cuts through the burlap and crinoline. I cut two layers of each at a time.
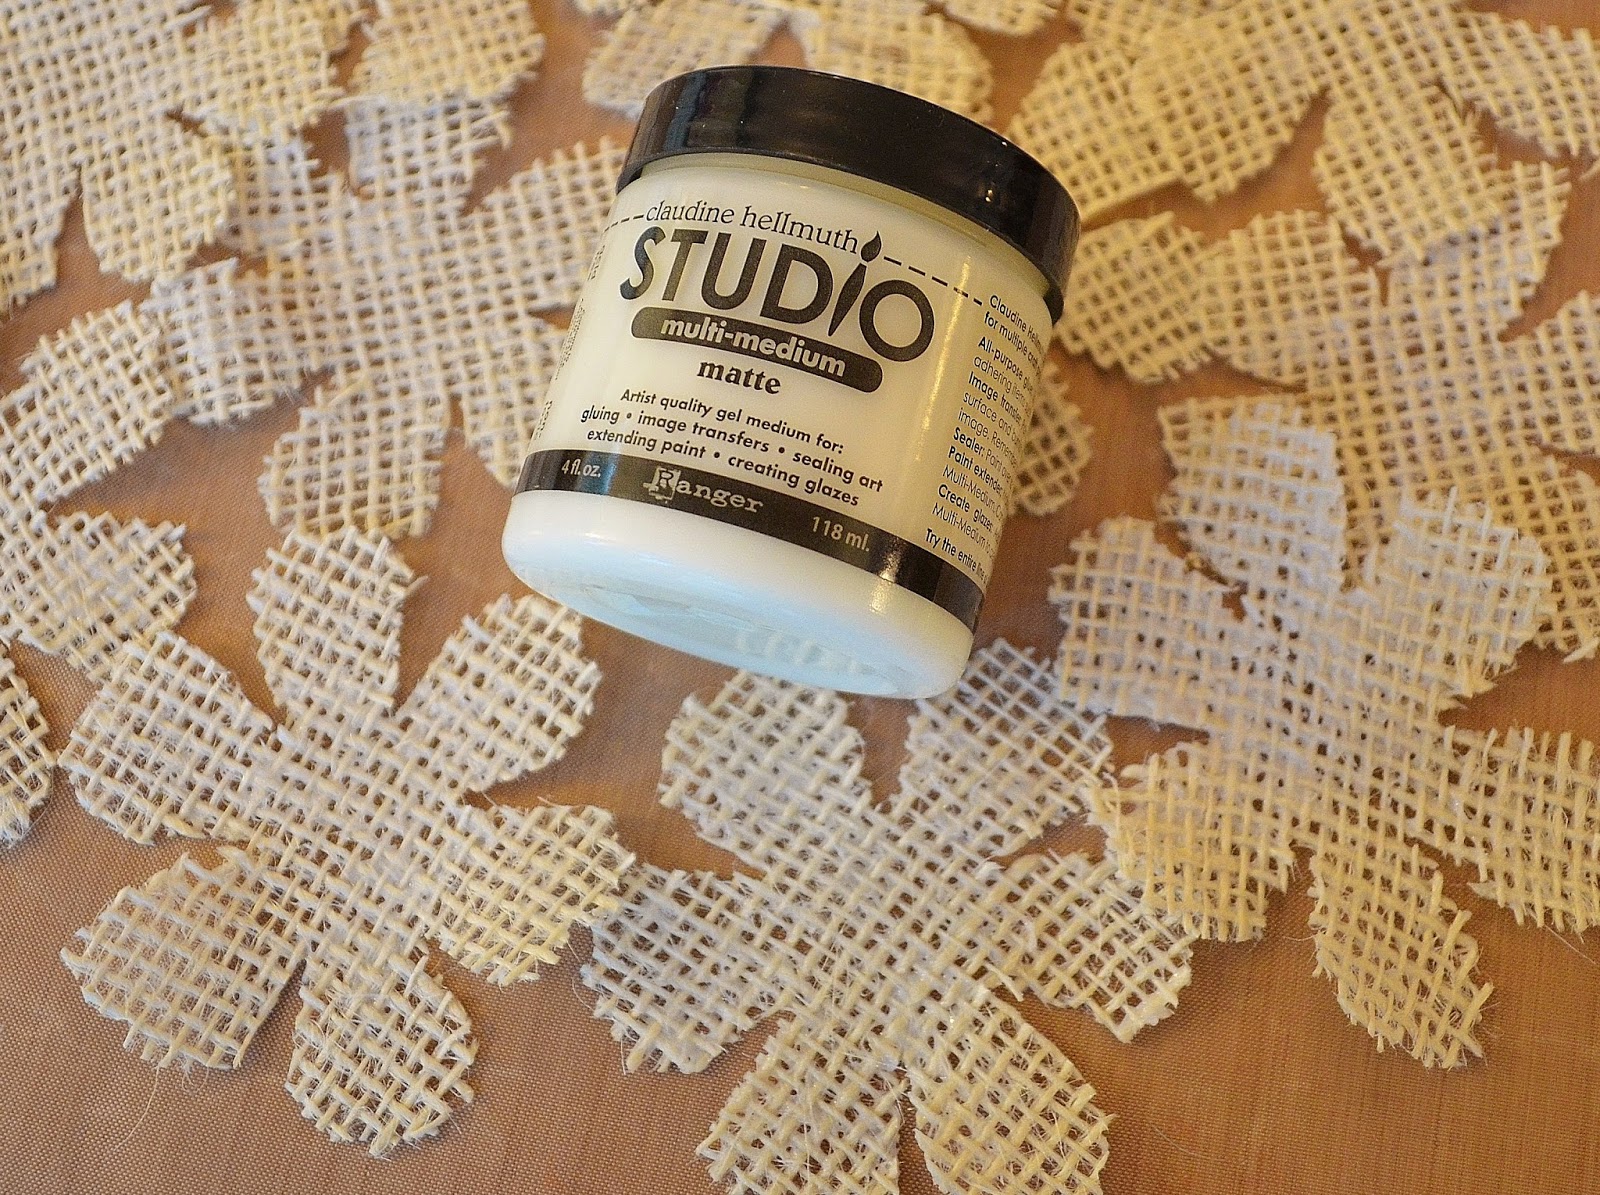
The next step is to coat both sides of the burlap petals with Claudine Hellmuth Studio Matte Medium. (You can substitute Ranger Multi Medium Matte for this, available in a range of sizes at The Funkie Junkie Boutique). I do this using a foam brush. This is the step that will prevent your burlap petals from shredding apart on you. The petals will look very white when you first apply the medium, but it disappears as it dries.

Layer your petals while the Matte Medium is still moist. I use crinoline as my bottom layer and end with the final layer of jute on top. Be sure to stagger your petals as you layer.

Next I simply roll them up. Place each flower in an egg carton and let them sit until they are almost dry but still tacky and pliable.

At this point I use a needle and thread, pinch the bottom of the flower and stitch a couple of times through all the petals in both directions.

Trim away any stray threads from the back then turn your flower over and begin shaping it. I do this by pinching the bottom with my left hand while twisting and shaping the petals with my right hand. I repeat this process until I get a look I'm happy with. The Matte Medium keeps the burlap from shredding and helps you mold your petals to give them a bit of shape.

The final step is to set the flowers aside to finish drying. Once dry you can get creative with adding leaves or other embellishments. I chose to keep mine 'as is' for a beachy project I have in the works.

These flowers are so fun and versatile! Add additional layers, use larger or smaller petal sizes, use only burlap, or alternate lace with the burlap, the possibilities are limited only by your imagination.

I wish you a wonderful weekend! Thank you so much for stopping by, and don't forget to take advantage of the 15% discount on burlap and jute at the Funkie Junkie Boutique!
Hugs,
Nancy
Don't forget, you can use Ranger Multi Medium Matte for this technique.
 |  |  |  |  |

gorgeous flowers and a great step x step x hugs x
ReplyDeleteThank you, Trace!!
DeleteWonderful flowers and a fantastic tutorial Nancy! I can just see these covering a pale shabby chic box... Jenny x
ReplyDeleteThank you, Jenny!!
DeleteThese look wonderful and such a great step by step Nancy, can't wait to see that beach project now. I definitely will give these a try, love the different textures in them. Using the medium is a great idea, thanks for that!!
ReplyDeleteThank you so much, Jenny!!
DeleteThank you so much, Astrid!
DeleteThis is absolutely beautiful, great tutorial too.
ReplyDeleteThank you.
Thank you so very much!!
DeleteFabulous Nancy. Love these shabby chic handmade flowers. You are definitely the queen of handmade flowers! I also use Ranger's Multi Medium Matte to strengthen my burlap before I die cut it. It's like magic!
ReplyDeleteHugs,
Linda
Thank you so much, Linda!! I use the matte medium all the time also!
DeleteThanks for the great tutorial. The flowers are gorgeous and I cannot wait to try your tip to use the multi medium.
ReplyDeleteThank you so much, Sara!
DeleteI love the tip of using matte medium to keep the burlap from fraying. Beautiful flowers, Nancy!
ReplyDeleteThank you, Maryanne!!
DeleteLovely flowers...would using the Multi Medium on the fabric before you cut not make it easier for the flower petals to get out of shape? Hmmm...guess that part doesn't really matter if you're going to be playing with them anyway.
ReplyDeleteThank you so much, Susan! You could definitely use the matte medium first if you wanted to. I use it after cutting because I like to shape the petals while they're tacky.
DeleteThat's a lovely tip of applying medium on the flowers, thanks for the step by step and the ruffled and layered flower looks fab.
ReplyDeleteThank you so much, Rupa!
DeleteA great tutorial Nancy and fabulous flowers. Thank you too for the tip about putting the medium on the burlap - I never got further than cutting them out! Have a lovely weekend x
ReplyDeleteThank you so much for your kind words, Jennie! It took me a few tries of different things, even hairspray, before I found the matte medium worked so well.
DeleteThank you for this great tutorial , I am definitely going to making these , they are fabulous!
ReplyDeleteGreat tip about using the multi medium,
XxRuth
Thank you so much, Ruth!!
DeleteAdorable flowers! Love them!!
ReplyDeleteThank you, Linda!!
DeleteOh these flowers are so adorable. Grnge like and feminine at one time. Great tip using Multi Matte Medium. Thanks a lot for a great tutorial !! And yes I tried to make burlap flowers but the fell apart.. But now I know what to do... Wohooo.. Thank you.
ReplyDeleteHugs from SPAIN
Thank you so very much!! I hope you have a great time making flowers!!
DeleteFabulous make! Thank you for sharing...
ReplyDeleteThank you so much, Ana!!
DeleteThanks so very much Nancy for this GREAT TUTORIAL... I love these flowers and just bought some burlap the other day... and now I have NO EXCUSE... thanks a million... looks really easy after seeing this... thanks ... Love, light and Peace...Bonnie
ReplyDeleteThank you so much for your kind words, Bonnie!! You are the absolute sweetest person!!
DeleteHugs,
Nancy
Thank you, Astrid!
ReplyDeleteNancy thanks so much for the tutorial, they are beautiful and will look forward to trying them soon. I think I have most of the material on hand, it's the time I don't have. lol
ReplyDeleteThank you so ,unchanged, Gretchen! I wish you many happy days of crafting! I know what you mean about time...seems like it slips by so fast.
DeleteLol, Gretchen! I typed in 'thank you so much' and my ipad changed it to 'thank you so unchanged'! I hate auto correct!!
DeleteThose are darling!
ReplyDeleteThank you so much, Nichola!!
DeleteWhat a great tutorial! I usually back my burlap with iron on interfacing, but this technique affords more opportunity to shape. Wonderful! Thank you!
ReplyDeleteThank you, Kathy!!
DeleteThese are gorgeous and yet down to earth! Love them and will have to give them a try. Thanks for sharing!
ReplyDeleteThank you, Marianne!!
ReplyDelete