
What is the difference between a master board and a background you might ask? Well, nothing really except that a master board can be used as is, perhaps even as a background, but more often it is chopped up to make smaller pieces that can be used in a variety of ways on a project. Usually these are made from larger pieces of substrate but for this showcase I used big and small pieces so I could create quickly to share just a few options.

With Valentine's Day fast approaching, I thought it might be fun to make a master board in shades of pink and red. I used a piece of perforated paper from a spiral bound mixed media pad (Canson) that I use for art journaling but left the tear-away strip attached in case I decide to make an art journal page from it rather than chop it up.
For this one I used paints as the ground. Now I must admit I don't have any of the fabulous paints available from Linda's shop - YET. In the summer I was doing some organizing and counted the bottles and jars of acrylic paint in my stash and was shocked to discover that there are no less than 285 of them so I am on a mission to use up some of this old stash so I can replace it with paint from Linda's shop since the ones she sells are top grade and my teammies swear by them. If you don't have many paints in your supplies, I highly recommend that you pick some up from Linda - you can find them HERE.


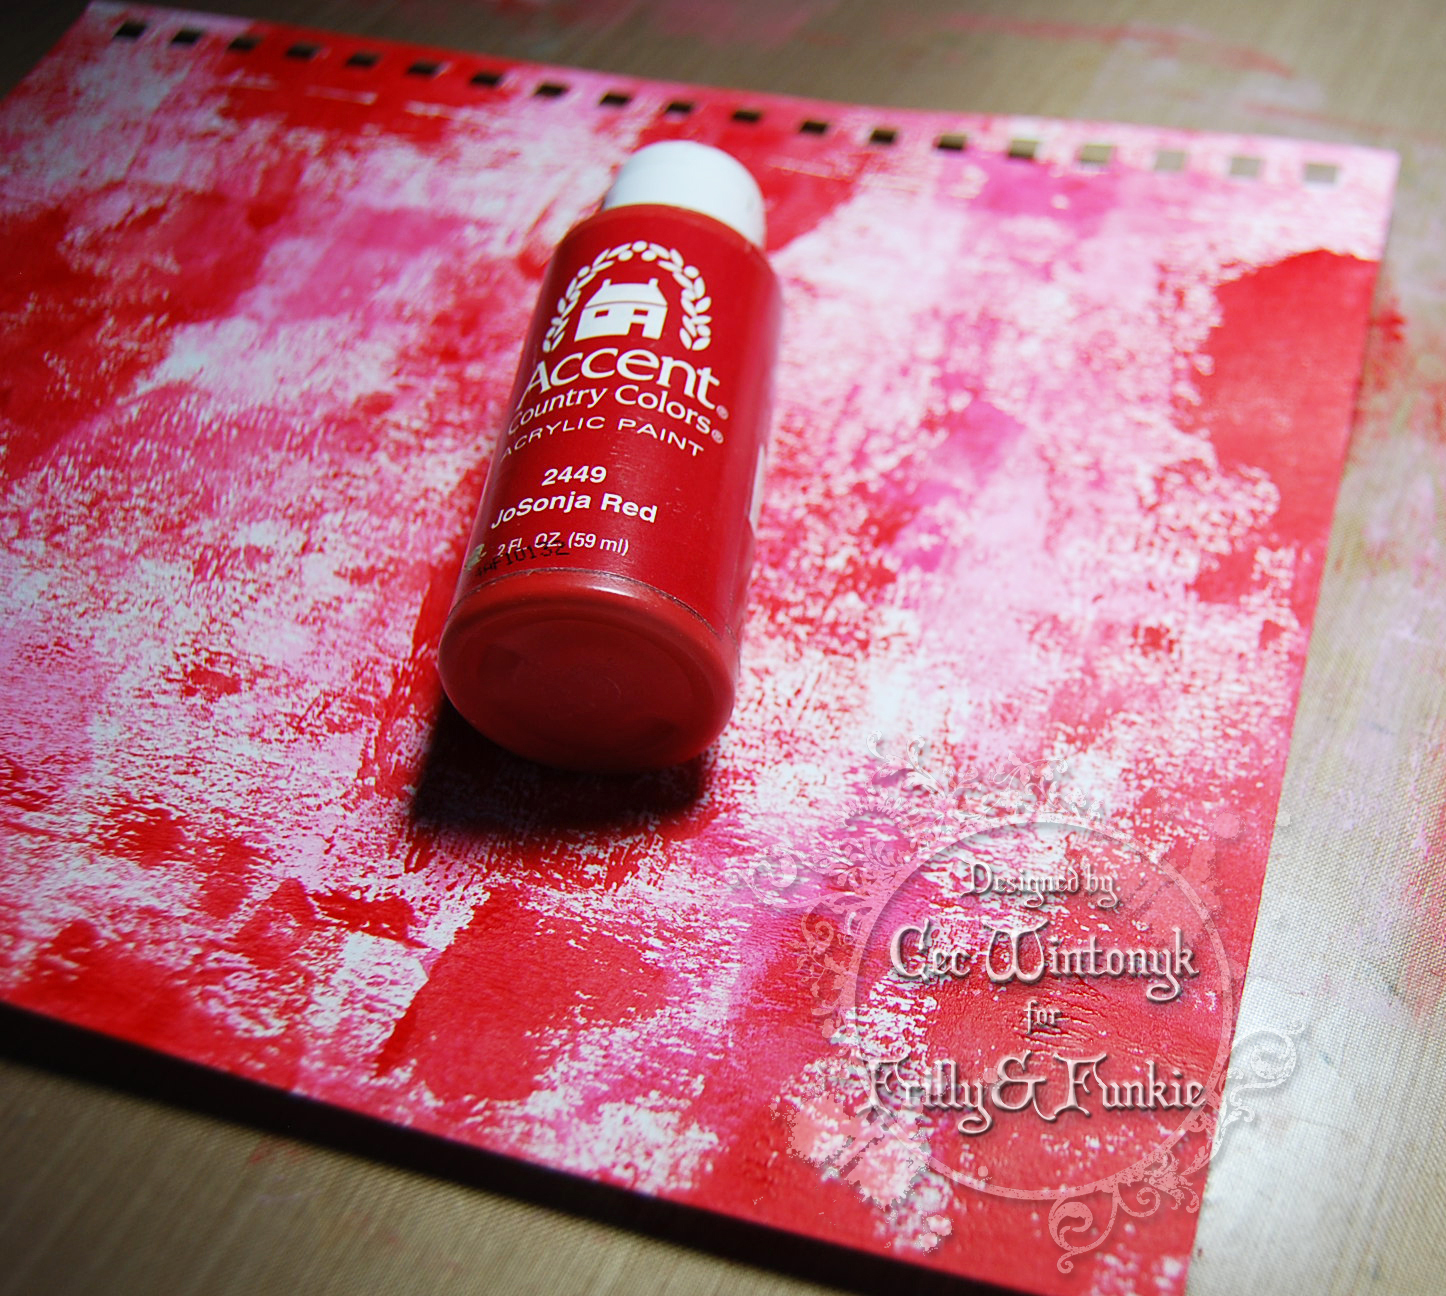
Using a small brayer (Ranger), I started adding acrylic paint to the page - Hot Pink (Folk Art), Poodleskirt Pink (DecoArt) and JoSonja Red (Accent). I recommend holding the brayer at a 45 degree angle and adding the paint randomly in short strokes going both vertically and horizontally. I continued to build up the layers of paint drying between each colour addition until I was happy with the result. This paper has a bit of tooth so the result is not smooth. If you want a softer look, remember that white is a colour and you can use it to knock back the vibrance.


For this piece I decided to add a bunch of stamping but wanted to leave lots of the colour showing. I used archival inks - Jet Black and Magenta Hue (Ranger) along with Watering Can (Wendy Vecchi).
The stamps used were Large Collage (Wendy Vecchi), Faded Fragments and Border Lines (Seth Apter), Sheet Music (Kaisercraft) and a couple of fun little wood mount hearts (Sorry, no idea who made them).

As you can see by the photo above, using the Magenta Hue was a bit of a fail since it was too close to the background colour so I have put some arrows on my photo to show you that it is there. I like mixing the Watering Can and Jet Black but you could use just Jet Black and do some second generation stamping if you want it to look lighter. Don't hesitate though to use coloured inks if your background colours will allow it.

I had a piece of 110 lb. card stock (Recollections) sitting on my desk so I decided to make something out of it while the brayer was still out.

Again I added acrylic paint - Spa Blue, Melon and Wild Orchid (DecoArt). When it was dry I thought it had a beach feel to it so I added some related stamping and stenciling.

I used Cornflower Blue Archival Ink (Wendy Vecchi) with a Bubble stencil (Tim Holtz) to add the stenciling and some little sea shell stamps (Recollections) with Watering Can Archival Ink (Wendy Vecchi). I also took the lid from a tiny spray bottle and some white paint (Delta Ceramcoat) to make some circles. A white pen or even the paint and an old credit card can be used to make marks.

Next I pulled out some Specialty Stamping Paper (Ranger) and added Fern Green, Dandelion and Garden Patina Archival Inks (Wendy Vecchi). To do this I smooshed (real crafting word) the inks one at a time onto my craft mat, spritzed it with the rubbing alcohol and then dragged the paper through the ink. I started with the lightest colour first. The alcohol and ink combination dries very quickly but I did wait to add each colour until I was sure the previous colour was dry.
I have made a background like this before and added stamping and stenciling with archival inks for a fabulous result. This time I just left it plain until I decide what I am going to use it for.

For this one I dropped Terra Cotta, Sunshine Yellow, Sunshine Orange, Poppyfield and Salmon Alcohol Inks (Tim Holtz) onto a scrap of Specialty Stamping Paper and blew on it through a little straw to cover the paper.
If you blow directly above it, it will spread in a more even circle but if you blow from an angle it will spread with tentacles. One or two drops of ink goes a long way. Once it was dry, I splattered some rubbing alcohol on it, which added more movement and then I added a couple more drops of the lighter colours and that created even more movement. I am saving this one for fall and might make a few more so I can make leaves - awesome.

Finally I did a little comparison with air or no air and stamping over or under the alcohol ink. The air allows the ink to move further although it will spread without it. I also discovered that you must stamp on top of the ink or it runs even though I used Jet Black Archival Ink in both cases. You can also use Gloss Paper (Ranger) although it is somewhat porous and the inks don't move as well. Yupo paper (Tim Holtz) is also very effective but is a thinner product.
Like many of you, I have made a background only to decide that it isn't really going to work for my project but I don't throw them out because they can often be used for a different project as is or upcycled with some texture or additional stamping or stenciling. Even the smallest pieces are useful to create with - I punch flowers out of them, make little tags, emboss them for small panels and even cut them with fancy scissors for borders. If you make mini/micro albums or ATCs, the little pieces are so handy.
I hope what I have shown you today will inspire you to create your own master boards and backgrounds or to upcycle ones you planned to throw away.
Wonderful tutorial Cece, I really liked it.
ReplyDeleteSo enjoyed reading your post and learnt lots...Thank you for the inspiration. I had no idea you could smoosh with archival inks and rubbing alcohol x
ReplyDeleteFabulous tutorial, and your results are amazing! Great tips! I've never mixed alcohol with archival inks before. I always keep a spray bottle full of (rubbing) alcohol on my desk, so I'm going to give it a try! Love your autumn colored AI background! Hugs!
ReplyDeleteFantastic Showcase! Loved learning from all your great techniques!
ReplyDeleteReally cool Cec! You've really inspired me to try this. Love the outcome. Hugs, Autumn
ReplyDeleteGood info here, thank you.
ReplyDeleteVery thorough and detailed tute - thanks! xoxo
ReplyDelete