

Happy Saint Patrick's Day friends! Autumn with you today to share a simple shadow box card tutorial featuring the new Tim Holtz Worn Wallpaper. A good while ago I came across THIS pin (cute, I know!) and wanted to recreate the idea Tim Holtz style, then my friend Julie posted THIS and it really inspired me to finish my concept. The beauty of a shadow box card is its ability to fold flat for mailing. This particular card will fold to 6 x 5 3/4" to fit into a 6 1/2" square envelope. The front section measures 6 x 4 3/4".


To begin, cut one panel to 6 x 6 3/4" and two panels to 6 x 5 3/4". Score the longer panel one inch from each side. Score the second two smaller panels half an inch from each side.

I cut my panels from watercolor paper. I cut one sheet of Tim's new Worn Wallpaper to 5 7/8 x 4 5/8" for the front section. The side sections were cut to 5 7/8 x 7/8". To make my window, I used Tim's largest Stitched Oval die, first cutting the wallpaper, then attaching to the center of my largest watercolor panel and running through again. This makes sure things are even without being too thick for the machine.

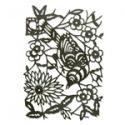
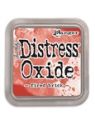
Next I cut a Paper Cut Bird die from Metallic Kraft Core. I sanded with an emery board (thanks for the tip @carolinasweetlee ) then inked it with a variety of Distress Oxides for an aged look.

I cut an oval from one of my smaller two watercolor panels. Then I glued my bird to the back, cutting off one section and adding it to the bottom to fill the space.

I gave the final of my smaller two watercolor panels a light sponging with a variety of Distress Inks. I spritzed the panel and lifted some of the ink for a mottled look.

Next, I assembled my pieces. I folded the flaps of the center bird panel up and used wet glue to attach inside of my front panel. Then I folded the flaps of my inked background panel up and adhered inside of the front panel, butting up to the middle panel.

You can see how they line up better here.

I decorated with a Paper Doll, a handmade flower, a quote chip and an embossed butterfly, all relatively flat for mailing.

I made the flower with the Small Tattered Florals die and Tattered Rose Distress Ink. The center is a Say It In Crystals gemstone by Prima (SIIC).

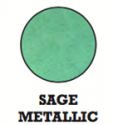
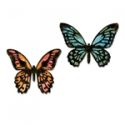
I embossed the Mini Detailed Butterfly in the GORGEOUS new Metallic Sage embossing powder by Ranger. SWOON!

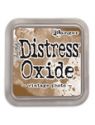
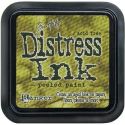
For card two I stained my Worn Wallpaper panels with Peeled Paint Distress Ink. I thought this particular pattern resembled four leaf clovers.

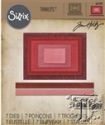
I used a base of kraft card and used the second largest Stitched Rectangle to cut my front panel window, slightly offset. I used the largest Stitched Rectangle to cut my middle window.

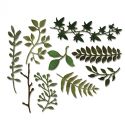
I stained Wildflower dies and mounted on black bases for stability then glued my flowers to the perimeter of the middle window.
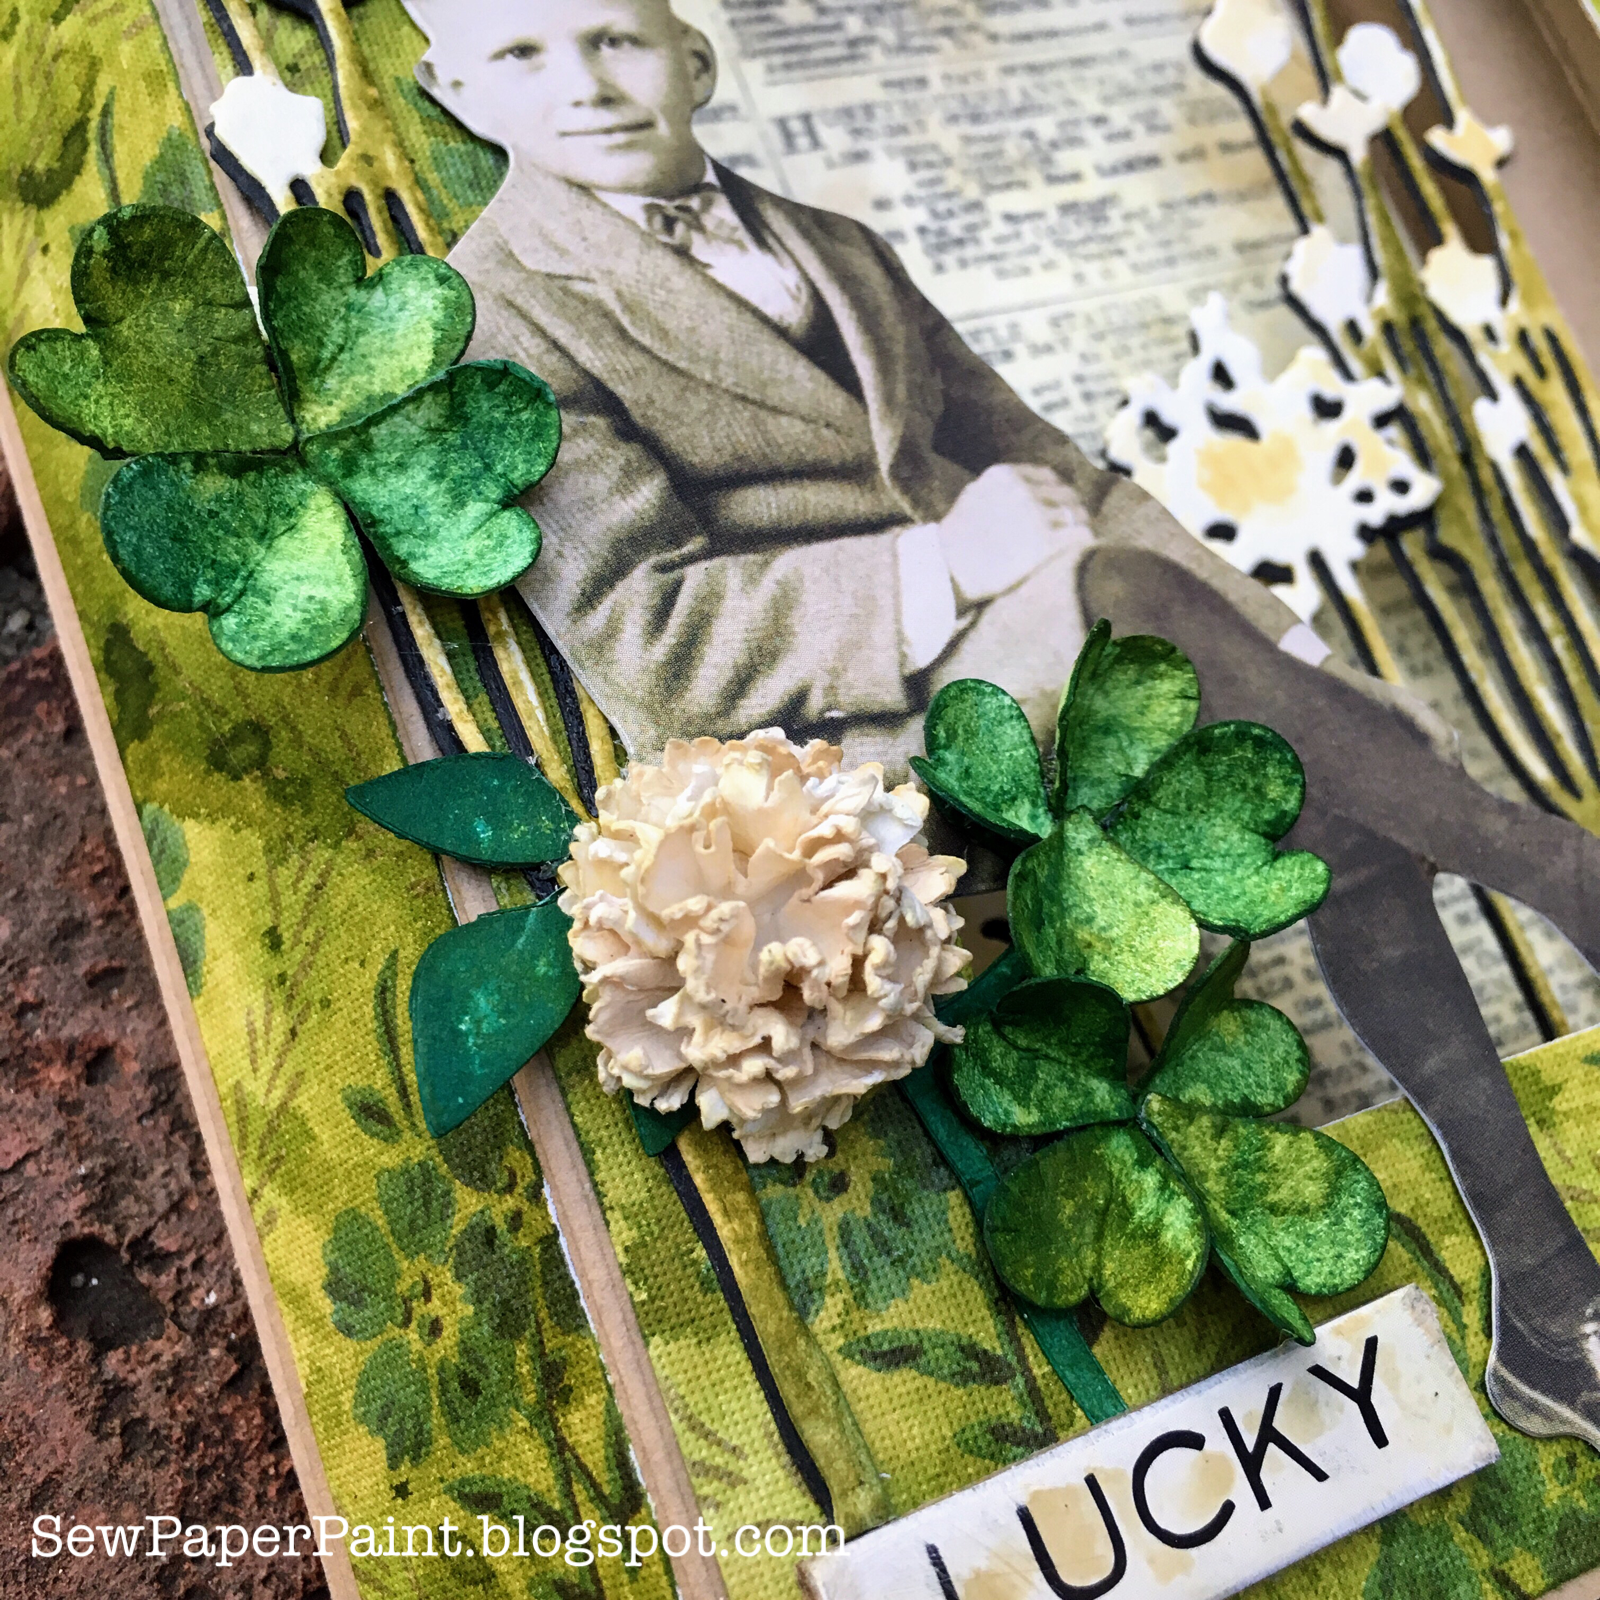
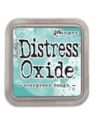
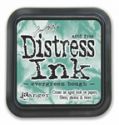
I embellished the front with handmade four leaf clovers made from tiny punched hearts. I used a spring of die cut greenery as a base to glue my petals onto. The flower was made with a Tim Holtz flower punch and dyed with Antique Linen Distress Ink. I used the same ink with a bit of Pumice Stone for the stamped background panel and stamped a Tim Holtz text stamp in Watering Can.

Check out these and other new releases at The Funkie Junkie Boutique today:

 |  |  |  |
 |  |  |  |
 |  |  |  |
 |  |  |  |
 |  |  |  |
 |  |  |  |
 |  |  |
BRAVO! Autumn, my head is SPINNING! What a fantastic tutorial with really GORGEOUS results! I'm pretty sure I have to get that wall paper now; was thinking I could do without. GREAT designs! Hugs!
ReplyDeleteI am in LOVE with this idea Autumn! So wonderful how it folds flat but the most brilliant part is your beautiful creativity, both cards are gorgeous, right down to the inks and embellishments! Thanks for sharing!
ReplyDeleteOh, Autumn, these are gorgeous card, and I love that they fold flat -- amazing! What beauty, and I especially love the girl and the pretty paper (you know me well enough to know I love flowers and feminine!). Thank you for the wonderful tutorial. I would never have guessed it was flat-folding. Hugs!
ReplyDeleteThese are beautiful Autumn, thanks for the tutorial, and I'm sure all will become clear once I'm playing along. Have a wonderful weekend, Sue xx
ReplyDeleteLove the idea of the flat fold. Thanks for the tutorial! I had a weekend full of things to do...and this post just made it a LOT fuller! Got to conquer this!
ReplyDeleteWow, Autumn!!! These shadow box cards are so beautiful!!! Wonderfully designed and made!!! I couldn't make that without a die :-) xx
ReplyDeleteLove how it all concertinas Autumn, it really does help when sending something well embellished through the mail. As ever your tutorials are fabulous to follow. Both beautiful creations, Thank you for sharing.
ReplyDeleteHugs Tracey xx
Thank you so much for your excellent tutorial, both cards are fantastic and I love that they can be folded flat for posting .. just beautiful! Hugs, Anne xx
ReplyDeleteTwo beautiful cards and such a fun desig! Thanks Autumn!
ReplyDeleteThese are so awesome! I adore your two different beautiful takes on the shadow box! Fabulous inspiration!
ReplyDeleteSensational cards Autumn and a super tutorial, TFS.
ReplyDeleteJulie x
Both absolute stunners Autumn!!! LOVE the clever design and the way you've used the Wallpaper including staining one! Genius!! xx
ReplyDeleteThanks for the inspiration Autumn, beautiful work!
ReplyDeleteOh Autumn, such two fantastic cards.
ReplyDeleteAs the born sentimentalist I adore the pinky one, with your beautiful flower ,the stunning dye, and butterfly with metallic embossing- but the other is amazing too- love the newspaper in the background and your 3 leaf clowers !! Hugs, Dorthe
Very special cards. Love all the details and the tutorial is much appreciated.
ReplyDeleteFantastic Saturday Showcase Autumn. Love all the clever details. <3
ReplyDeleteJust gorgeous, Autumn, love these! I especially love how you transformed that worn wallpaper and made it look like St. Patty's paper that you bought. Great job on both!!!
ReplyDelete