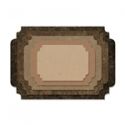
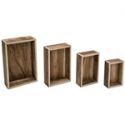
Happy weekend, and welcome to Frilly and Funkie's Saturday Showcase! It's Sara Emily here today to bring you some ideas on using Tim Holtz Baseboard Frames. Linda has plenty of these in
The Funkie Junkie Boutique, and I have to say they are one of the best crafty bargains on the market, at just $4.79 (all of the prices at
The Funkie Junkie Boutique are discounted every day) for a package of eight heavy chipboard detailed frames.
You can use these frames as they come, right out of the package, because they have so much vintage detail. Or you can choose to alter them as I have in two of my examples that follow. Please forgive my lack of step by step photos. For some reason, my phone chose to discard some of my process shots. As a reminder, you can click on any photo to zoom in.
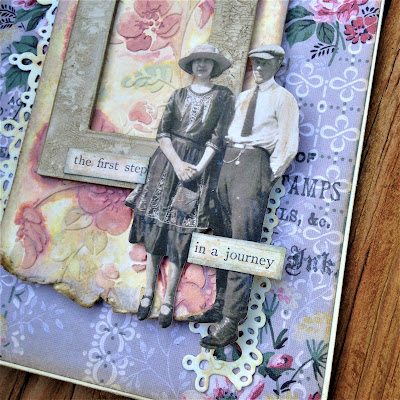
For my first example, I chose one of the small frames, and simply smeared a thin coat of Distress Collage Medium Crazing over top and allowed it to dry overnight. Thicker doesn't necessarily mean larger cracks; just a smear gives really amazing crackling.
When it was dry, I scribbled with Walnut Stain Distress crayon (one of the missing photos, but I think you get it) and blended with my slightly dampened finger to expose those wonderful cracks. All ready to use on my card I made for my nephew and his fiance' to celebrate their recent engagement.
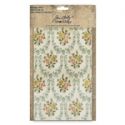
For my background, I picked one of Tim's Worn Wallpaper designs I felt went well with my frame. I did some stamping in Watering Can Archival ink with an image from Tim's Purveyor set and blended the panel with Frayed Burlap ink.
For the panel under the frame, I ran some texture paste through Tim's beautiful Roses mini stencil over watercolor paper. When dry, I colored with Distress oxide and ink and tore off the bottom. I layered with some Lace die cuts and gave it some dimension by adhering with Ranger adhesive foam tape.
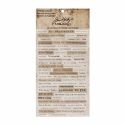
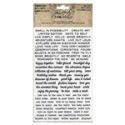
This happy couple is from the Paper Dolls (colored with Antique Linen crayon), and the sentiment I chose is from Clippings Stickers. Instead of removing the sticker from the backing, I cut the phrase out from the sheet to give it more presence. As an added bonus, when I blended it with ink, it highlighted and created a 'frame'. Squeal!
I love it when a card comes together so quickly!
For my second sample, I chose to make a piece of home decor using a couple of the frames right from the package. This is another project made quickly, thanks to these frames.
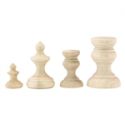
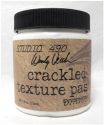
I started by spraying the Vignette Box with Picket Fence Distress Spray stain and allowing it to dry. Then I applied Wendy Vecchi's crackle paste to the box and a set of Vignette Finials and set them aside to dry while I assembled the previous project. When dry I gave all wood pieces a wash of watered down Weathered Wood Distress paint and then rubbed with watered down Walnut Stain crayon to highlight the cracks.

Both of the Baseboard frames I used fit perfectly into the second to the largest Vignette Box. This ornately decorated frame has such lovely detail, I didn't need to add a thing! I stenciled a panel with the Ornate mini stencil from the same set used above (#25) and gave it a wash of watery Weathered Wood paint to show off the texture a bit. This panel was moved forward from the back of the box with waste cardboard, and each frame layered over it with adhesive foam tape to create dimension. I tucked in some pretty flowers from Botanical Layers, and topped off with these lovely ladies from Paper Dolls. I colored the mother/daughter pair and some Bouquet Findings with Distress oxides and added greenery cut with one of the Sizzix Alterations Flower Jar dies from a scrap of inky paper.


I chose 'love you to the moon and back' from Tiny Text Remnant Rubs, since I made this for my daughter's 20th birthday coming up next week. This is 'our' phrase. The heart charms and chain are part of a charm bracelet I picked up at a yard sale. I patted them with a little Picket Fence paint. You could easily substitute with a couple of the many
heart charms offered in the
shop.
For my final example, I decided to cover a frame with hand designed paper, but you could easily cover yours with any designer paper if you need to quickly customize one of these frames. I haven't used this frame on a project yet, but I suspect it will be showing up in the near future, as I need a guy project for my son's 20th birthday next week.
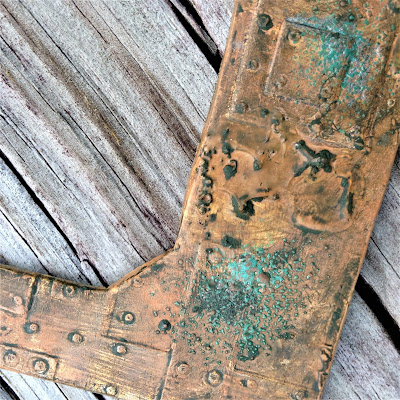
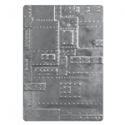
Again, I am missing a few shots, but I'll try to walk you through the process with a combination of these photos and text. I started with Metallic Kraft Core card, cut it to fit my new Foundry 3D Texture Fade. After I ran it through my die cut machine using
Tim's tips, I scuffed it pretty good with a steel wool pad.
Next, I gave it a coat of Ground Espresso paint, followed by Rusty Hinge paint. You can see I die cut the center of the panel with a Stacked Label die. This one fit the opening of the frame I chose pretty well, so it made it easier to cover the frame later on.
I spritzed with water to get the colors to move around and partially dried with my heat tool. I removed some of the paint by blotting with a clean cloth while the paint was still a bit tacky.
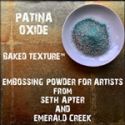
I dribbled on Gunmetal alcohol ink and immediately spritzed with water to get the ink to move around. While wet and still sticky, I sprinkled with Patina Oxide Baked Texture powder. I carefully dried with my heat tool, so as not to blow away the powder. I gently heat from beneath, and then carefully heat from above, just until the powder starts to melt. I did this before adhering the card to the frame with Collage Medium Matte.
I smeared on Crazing medium (this is where I learned thicker is not equivalent to bigger cracks) and ended up being impatient and heating with my heat tool. I lost some of the cracking, but was rewarded with some cool bubbles, so I went with it.
Lastly, I scribbled with Walnut Stain crayon, and coaxed it into the crevasses with my finger.
Well, that's a 'wrap' for today's Saturday Showcase tutorials! Of course, there are many, many more ways to use these versatile frames, but I hope you've picked up some ideas from today's post and are inspired to give these Baseboard Frames a go in your own crafty endeavors. I'd love to see how you use them in our current challenge, '"B" Happy'!
Happy Creating!
Sara Emily











Oh, my, goodness!!! Sara Emily Barker take a bow! Absolutely in love with all three ideas for altering and using Baseboards Frames, and every one SO different!!! You have worked your socks off to share all of this inspiration and I just know we'll all be grabbing ours and playing along this weekend. Thank you so much for sharing xxx
ReplyDeleteWow, Sara Emily! What a lot of inspiring creations you are sharing today! You always have such unique ideas. These projects are fantastic!
ReplyDeleteOh. My. Goodness! What a lot of wonderful ideas and techniques to use with these fabulous baseboards. I love each and every one so much! Your artistry and ingenuity always gets my creative juices flowing, Sara Emily! I especially love ...well...I can't pick. I love each one for different reasons. So much gorgeous texture and such brilliant techniques. Thanks so much for all the time and effort that went into this wonderful tutorial!
ReplyDeleteFabulous work with the frames... I especially love that weathered Foundry one - brilliant effect!
ReplyDeleteAlison x
Wonderful tutorial and sample makes, Sara Emily. Enjoyed all your ideas. xoxo
ReplyDeleteHigh 5!!!!
ReplyDeleteThat vigenette is REALLY rockin'!!!
These are all such incredible ideas and truly make me want to have a play. Thanks for sharing all the tips and tricks and your gorgeous creations. :)
ReplyDeleteBeautiful Sara Emily!!
ReplyDeleteThank you so much for sharing your stepouts- I love each of these pieces!
Jackie xx
Thank you so much, ladies! I am truly enjoying these Baseboard Frames! Hugs!
ReplyDeleteYou had me at purple, Sara, but I drooled over both makes. Love! xoxo
ReplyDeletePhoto frames truly make memories come alive!I recently found some elegant and affordable photo frames at VibeCrafts perfect for gifting or home décor. Loved the quality and modern designs!
ReplyDelete