
This week at TFJB Inspiration Ave we are creating to the theme of Frozen Winter. I recently finished watching “Game of Thrones” season 8 and was inspired by the cold north to create a white dire wolf. Most definitely a creature of the frozen winter. For this project I will be creating a journal spread.

Today’s tutorial is going to be broken into three parts.
1: Frozen Winter themed Ranger Tim Holtz mediums and journal elements
Click here for video.
2: Sizzix Abstract Elements: Building a Dire Wolf
Click here for video.
3: The Frozen North Art Journal Spread
Click here for video.
Part 1: Frozen Winter themed Ranger Tim Holtz mediums and journal elements
Materials list below.

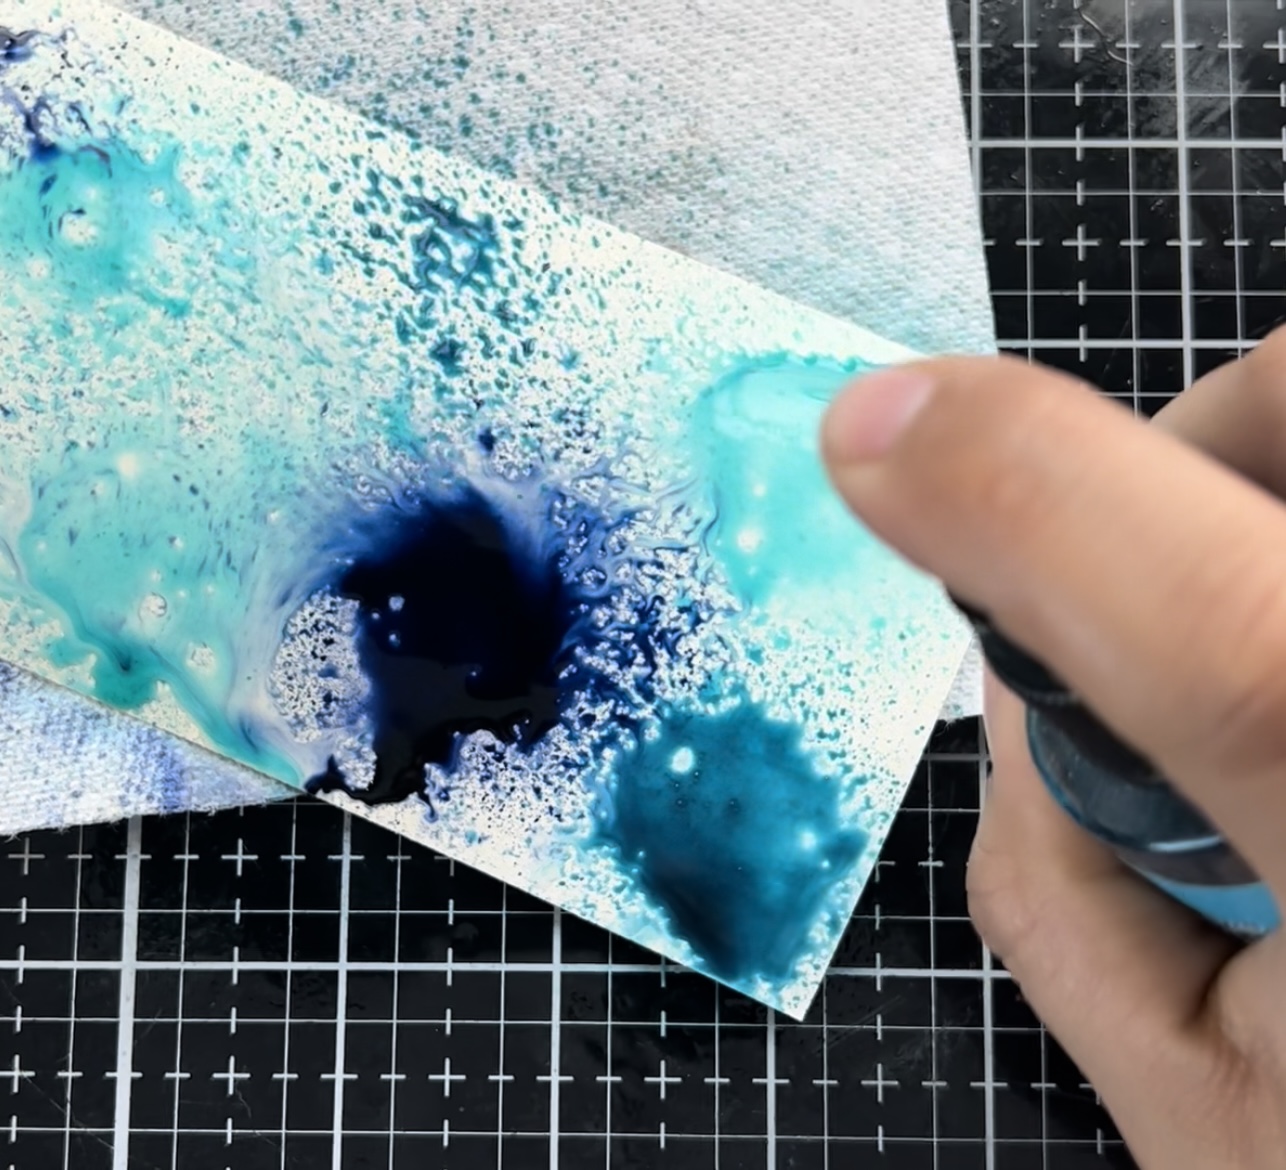
What is tutorial? I want to start with a quick swatch card using a variety of Ranger mediums that fit the theme of Frozen Winter. To begin I have spritzed a standard sized mixed media tag.


To finish this tag off I altered a piece of crinkle ribbon with some Winter Frost Distress Mica Spray Stain.

Now, for some journaling embellishments. For the first embellishment, I am pulling some die cuts from an older Tim Holtz die set called Labels. From the die set I chose two different sized shields to stick together. The larger one was cut from some leftover Tim Holtz packaging, and the smaller one was cut from some black kraft stock. For the base, a thin layer of ink was used to darken up the edges. Then, on top of these two layers, I am going to be placing a wax seal. I altered the detail of the wax seal to make it more noticeable with some Distress Brushed Pewter paint.

Down below, we can see the finished results of our first alterations.

Again, we are going to be dipping into the die set Labels for the next alteration.


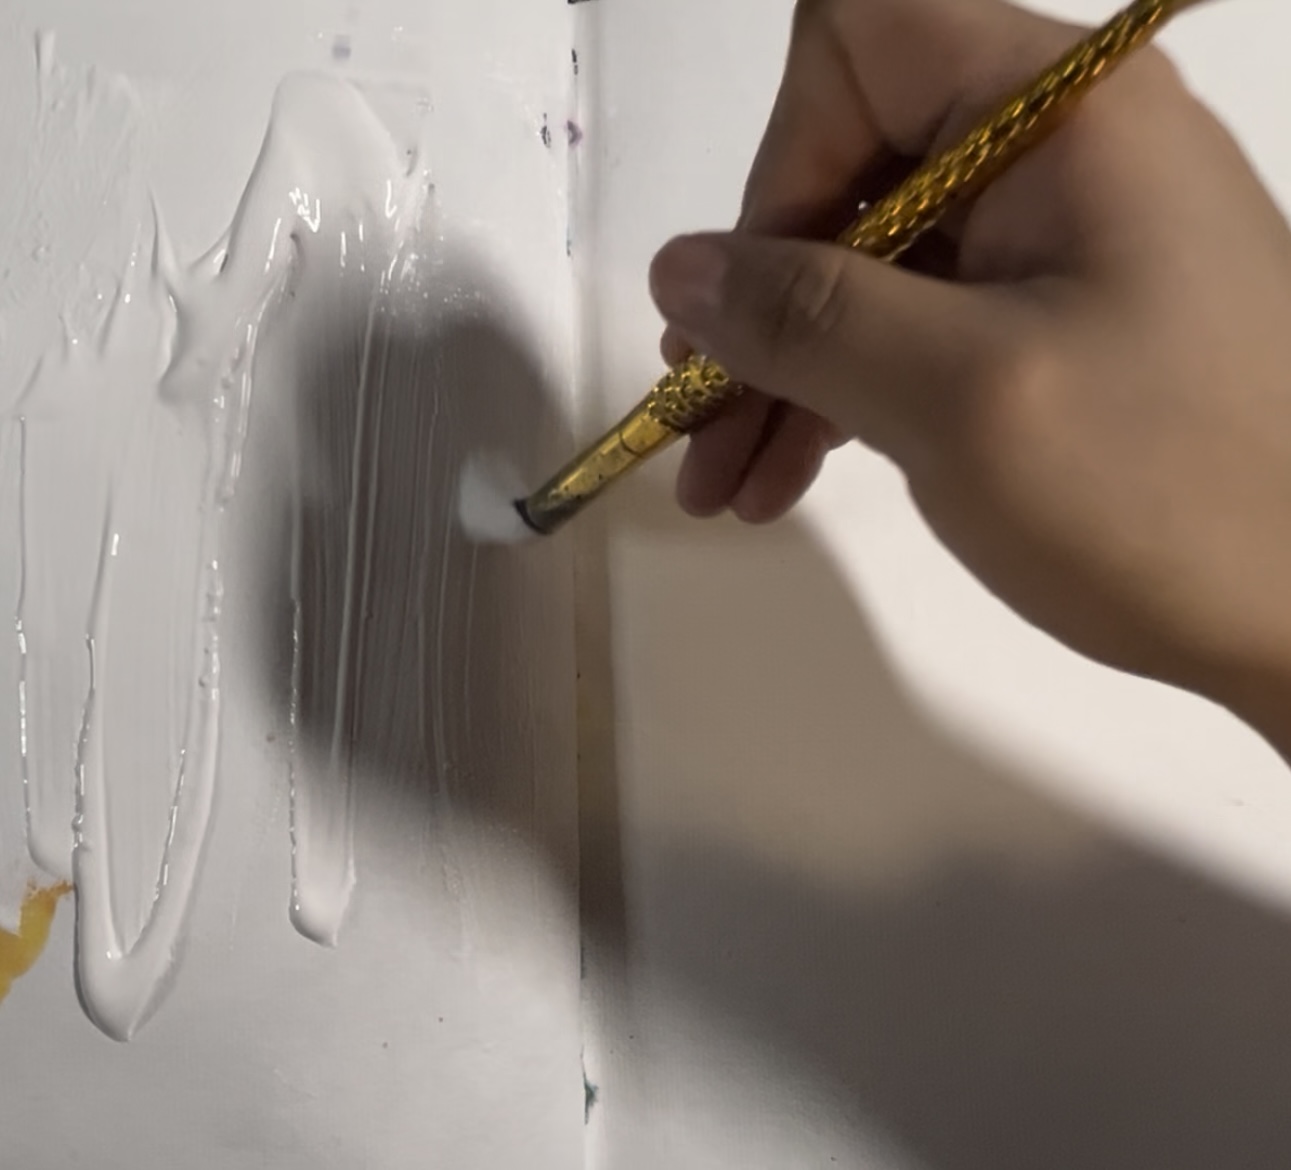
For our last alteration, I wanted to create a bright silvery Moon. I painted on some craft stock with a splash of distress paint brush pewter..


Below are all of the finished journalling embellishments.

Part 2: Abstract Elements and Dire Wolf Creation.

For the dire wolf I used the following: Abstract Elements die set, Distress Watercolor Paper, Distress Watercolor Pencils, Tumbled Glass, Back Soot, and Candied Apple, Ranger Fine Detailed Water Brush, Vagabond die cutting machine, and double sided tape.

Before diving into today’s project, I wanted to show another tag using the Abstract Elements die set from Tim Holtz's new Everyday Collection from Sizzix. Abstract Elements is a collection of shapes that can become pretty much anything you can imagine. In my example below I turned a few shapes into a goldfish. When creating with this die set there are three ways that I would recommend going about the creation process. 1: imagine and build, 2 draw your idea and fit shapes to the drawing, and 3 print a picture and then fit the shapes over the picture.

I also highly recommend spreading out all of the shapes on a magnet sheet. I have found this makes looking at the shapes much easier.

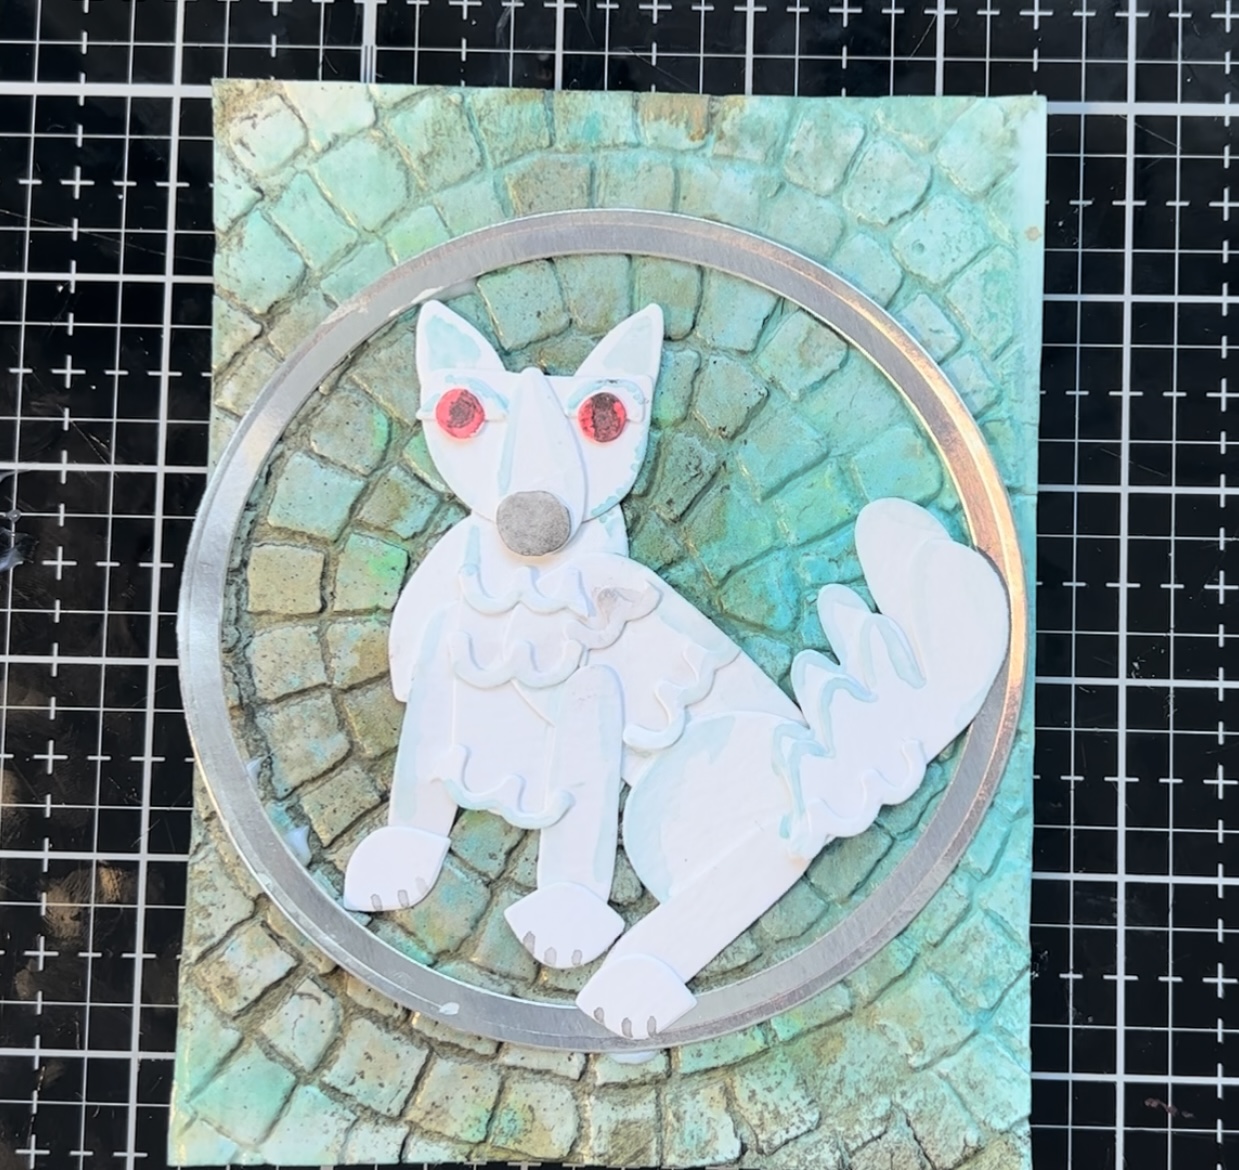
For starting my wolf I pulled shapes together and lined them up to give myself the shape of my wolf. To create the dire wolf I used a half circle, medium sized tread drop, two small circles, and one larger circle for the nose to create the wolf face.

Next I started looking at parts for the body of the wolf. Here I chose a large oval and a skinny oval for the body and legs. For the paws I found a lemon shaped piece and the tail is an interesting cloud squiggly shape

With all my pieces assembled I then die cut all the pieces outbox distress watercolor cardstock. Before die cutting I added double sided tape to the back of the paper. For cutting I used the precision chrome base plate with the vagabond.

To start the wolf I began with the big oval and attached the half circle piece. ThenI added the tear drop shape for the face and snout of the wolf.

Next I added the nose of the wolf. This I colored black with some Distress Watercolor Pencil. Then I cut a lemon shape in half and added them as ears. For the legs I added two skinny ovals and attached two small lemon shapes for paws. For the body of the wolf I added another oval and a large half circle for the back leg.

Next, I added to half moon shape to form eyebrows for the wolf. Then I added two of the squiggly longer pieces to form a bushy tail. I also added one more lemon shape and a skinny oval to finish the back leg.


Part 3: The Frozen North Art Journal Spread

For the journal lay out, I am going to be creating a frozen winter scene from the north in a mixed media art journal by Dina Wakely. Below are the materials that I use for the journal spread.

To start the background I am going to be using Distress Spray, Stains: Salvage Patina, Chipped Sapphire, and Broken China.

In the background, I also added, Winterfrost and Snowfall Distress Mica spray stains for a touch of sparkle in the background. After I dried the background, I added a few drip drops of water to create a splattered and sparkly look.


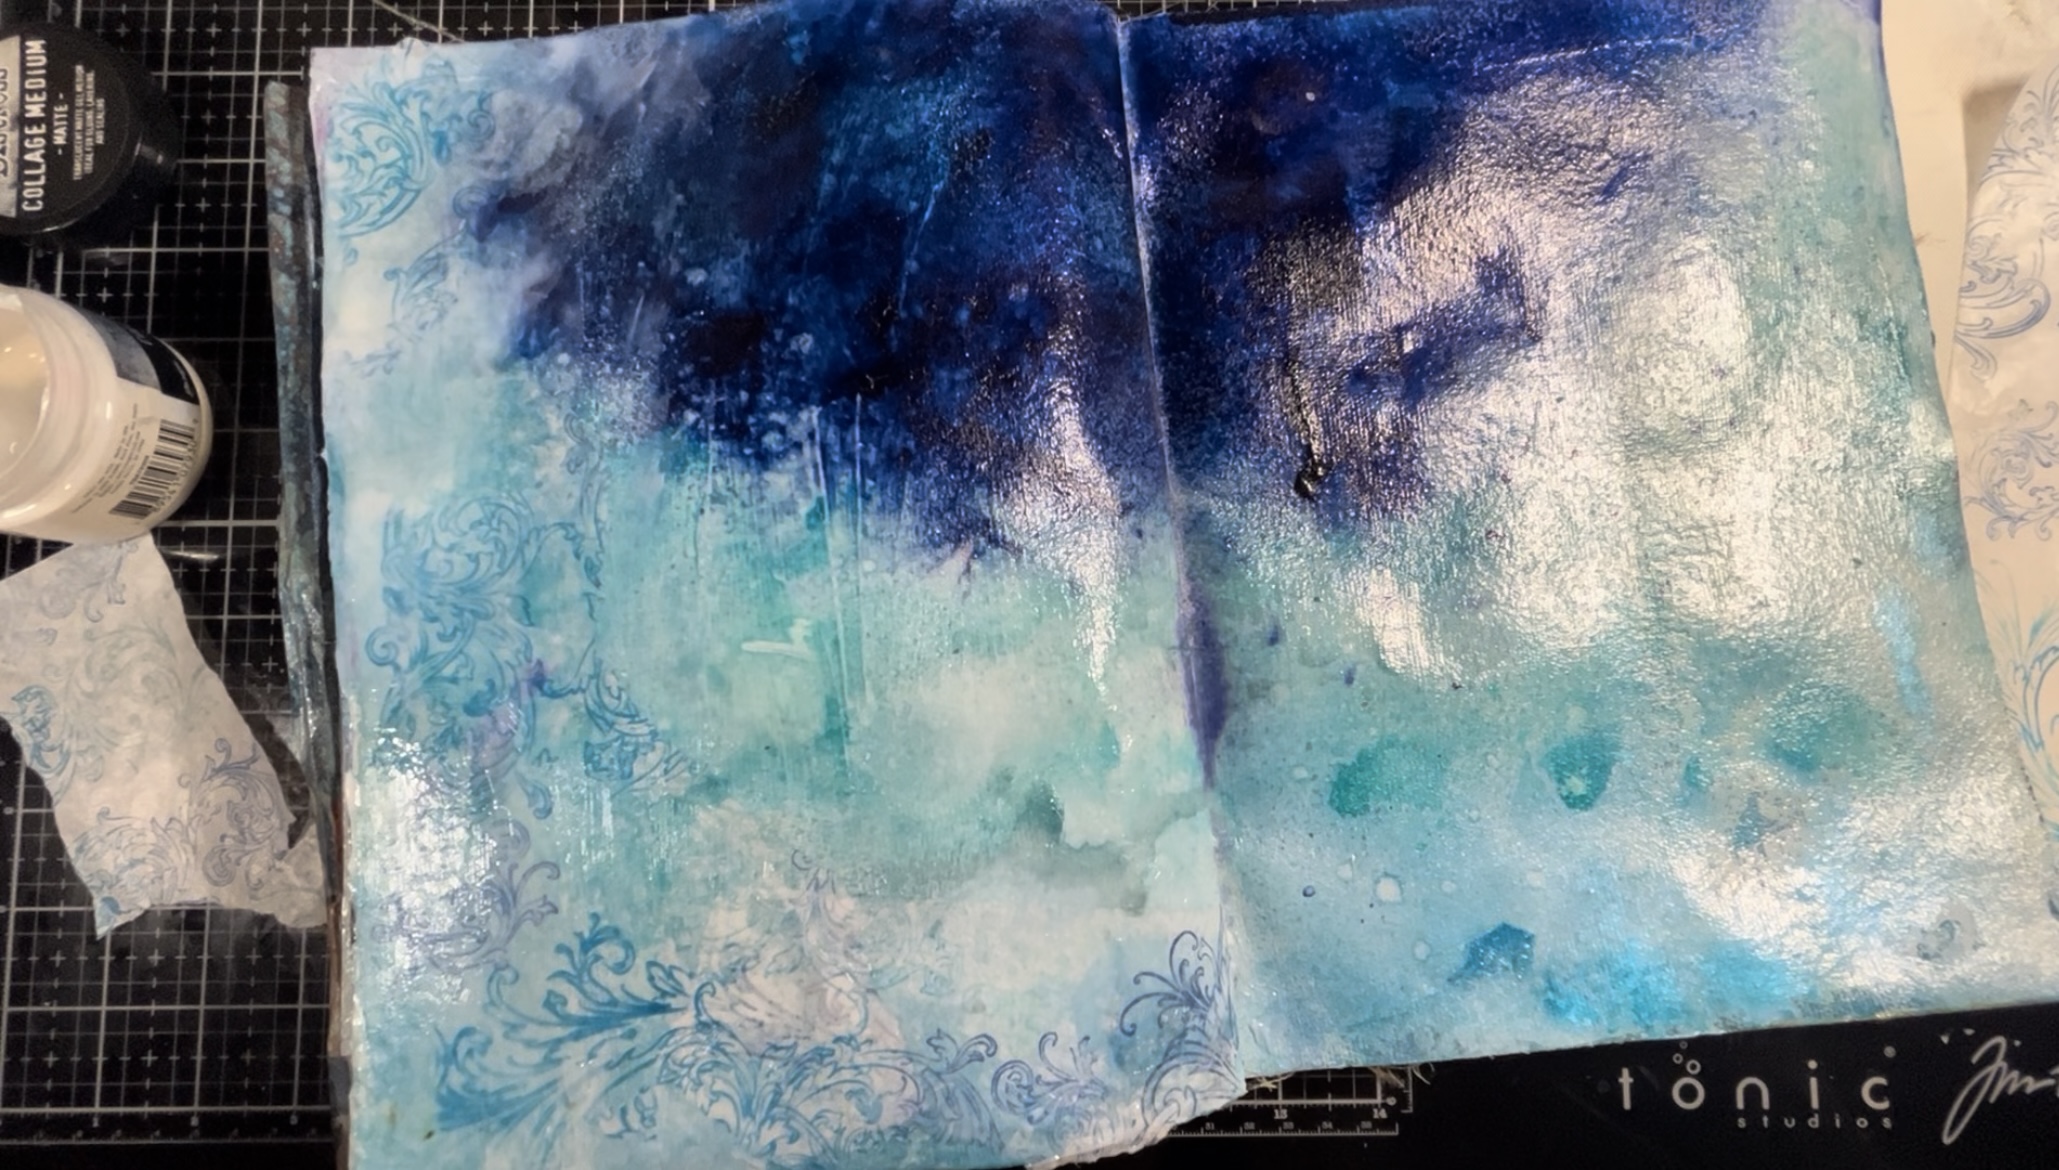

For more frozen fun, I also added some Texture Paste to create snowfall. Here I used a snowy stencil from the Tim 2022 Stamptember stamp and stencil set.

To finish up the background, I also added a layer of Distress Crackle Paint to the edges of this icy scene. I also included a few dashes of Distress Clear Rock Candy Glitter, for some added sparkle. The distress crackle paint took approximately 45 minutes to dry before I started seeing crackles. After the paint was dry I then switched in some Distress Crayon Picket Fence and Broken China to help highlight all of the wonderful crackles in the background.

Before I reassembled the journal page, I wanted to add one last embellishment. For this bonus embellishment, I am creating a raven using stamps from Royal Script CMS016. I stamped the image of the wings onto some collage paper.

I stamped the wings from the set with some Distress Black Archival Ink and then I painted on the body of a raven.


Thank you so much for joining me here today for TFJB Inspiration Ave challenge.
Until next time, happy crafting!
Janna~ 💕🎨💕
I can also be found on:
Instagram: @treasuresofthesea_jannak
YouTube: The Crafty Corner with Janna
Below are some links for some inspired shopping at The Funkie Junkie Boutique
Ranger Crackle Paste Translucent
Distress Archival Ink Black Soot
Distress Watercolor Pencils Set 3
Distress Paint Ground Espresso
Distress Spray Stain Chipped Sapphire
Distress Spray Stain Salvaged Patina
Distress Spray Stain Broken China
Distress Oxide Spray Stain Speckled Egg
No comments:
Post a Comment