
This week at TFJ Inspiration Ave we are creating to the them “It’s Ideal”. Here we are featuring many of the new Tim Holtz Idea-ology pieces. For my project I decided to highlight the vintage tape, collage papers, faceted heart, screw heads, and typed tags.
For this vignette I wanted to create a fairytale scene. For full details check out the two part video set for tips and tricks and assembly process.
Part 1: Idea-ology alteration tips and tricks
Click here for video.
Part 2: Vignette assembly process
Click here for video.

For the alterations I used: Distress picket fence crayon, typed tags, toadstools, crimson alcohol ink, distress glitter, paper dolls, collage medium, distress watercolor pencils tattered rose and tumbled glass, faceted heart, statue foundry wax, distress crayon walnut stain, Ranger distress crackle paint, collage paper, distress reinkers squeezed lemonade, picked raspberry, festive berries, twisted citron, and kitsch flamingo, vignette box, distress paint tumbled glass, bouquet flowers, distress mica spray stain harvest moon and distress spray stain squeezed lemonade, cell tape stickers, and aluminum jewelry wire.

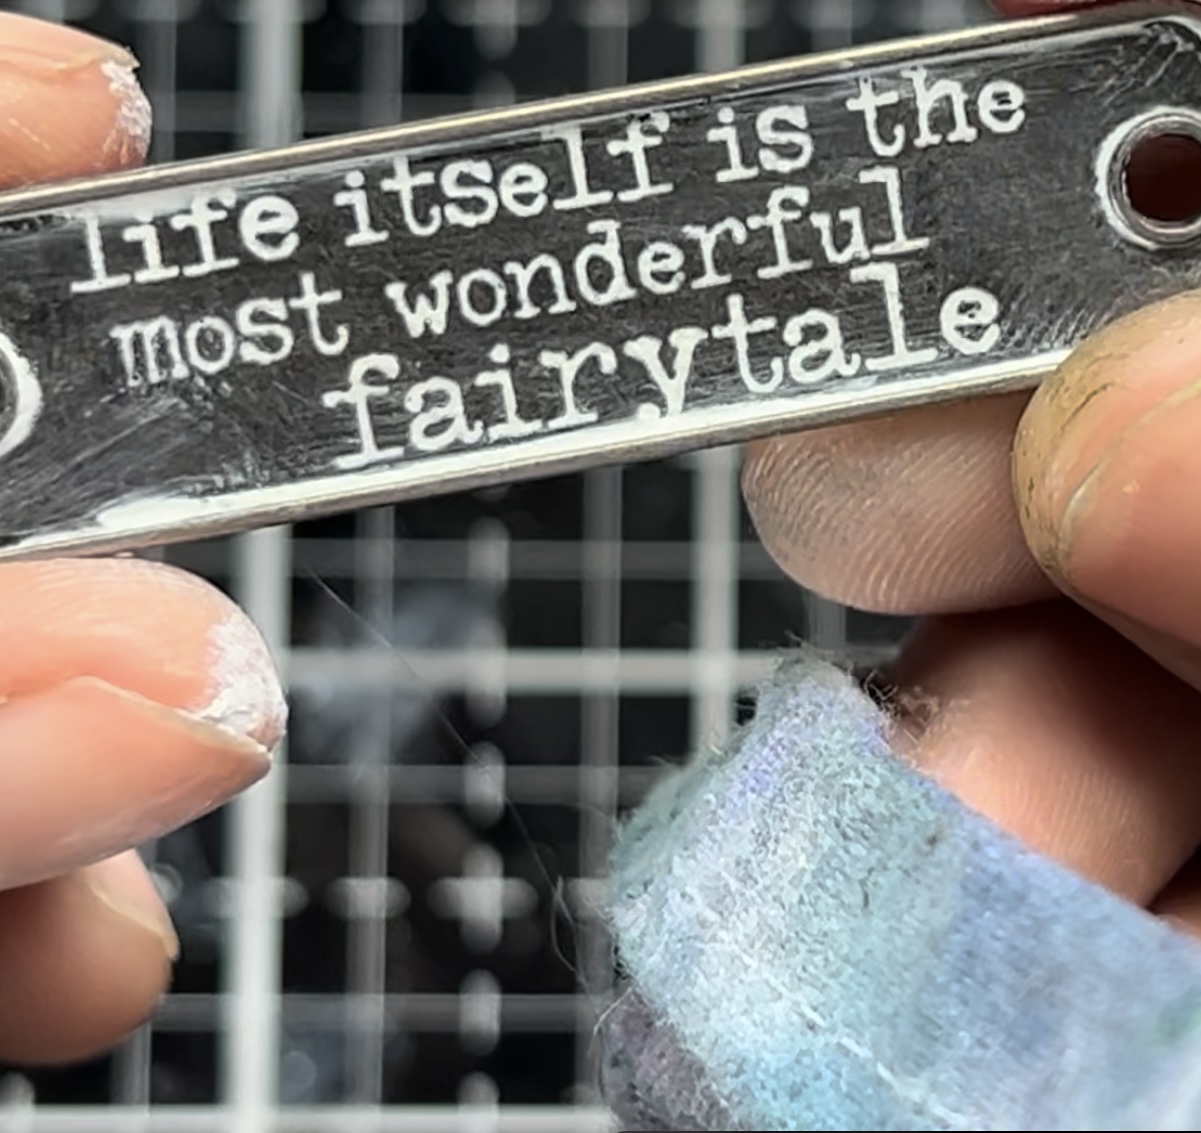
For the first alteration I took a word plaque and altered it with some distress picket fence crayon. I scribbled crayon over the recessed words then rubbed the crayon in with my fingers. After I took a wet paper towel and rubbed off the excess crayon.


After I took some walnut stain crayon and scribbled it down onto the media mat. Then I spritzed with water and scooped it up with a distress blending brush. I then applied a wash of distress walnut stain crayon to all of the mushrooms to add some grunge.

For finishing touches I added a sprinkling of distress glitter applied with collage medium to the cap of the toadstool.

For the main focal point of this piece I altered one of my favourite paper dolls, the little Bavarian girl. I altered her with distress watercolor pencils tattered rose and tumbled glass. I applied the color with the Ranger fine detailed water brush.

Once the color was added I added a bit of sparkle to her with some collage medium and distress glitter.

Next an easy alteration. Here I took bouquet flowers and spritzed them first with water then with squeezed lemonade distress spray stain and harvest moon mica spray stain. After I dried off the flowers with the Ranger heat tool.

For the next alteration I absolutely had to pull out the new salvaged hearts. I decided to alter the smallest one.

I painted the heart with distress foundry wax statue with a small paint brush.

After heating up the foundry wax I added a layer of distress paint. I let the paint dry until crackles appeared. Then I added a layer of distress crayon walnut stain to highlight the fun crackles.

After I then altered two sheets of collage paper. I used distress inks to paint in the flowers with a water brush. The colors I used included: squeezed lemonade, twisted citron, kitsch flamingo, picked raspberry, mermaid lagoon, and shaded lilac.

Below are the finished results of adding distress reinkers with a water brush.

For the next alteration I started altering the vignette it self. First I removed one of the dividers. Then To I painted the outside and inside with some distress paint tumbled glass. After the paint dried I added a section of paper to the interior of the box. The paper I used was from the 2023 Christmas Idea-ology backdrops set.

The last build I completed for alteration was to build a swing for the paper doll to stand on. I cut down a piece of scrap cardboard to 1.75in by .75in. I then poked holes in the ends of the cardboard with the Sizzix die pick.

I then threaded wires through the holes that will later become anchored to the vignette box.

Part 2: Assembling the Vignette
To start the assembly process I first drilled two holes in the top of the vignette box with a 1/8th inch drill bit. These holes will be used to attached the wires of the swing.

Next on the outside of the box I added the collage paper that we altered earlier. I first ripped it up into small pieces.


On the interior I started to build up the terrain of the fairytale scene by building some hills with tinfoil. I crumpled the tinfoil up into hill like shapes and then set them aside while I continued to alter the interior of the box.

I added some distress crypt texture paste to simulate stone on the two shelves of the vignette box. Then I went back and glued in the tinfoil hill pieces with hot glue.

Once the hot glue sets and the crypt paste is dried I then started adding in chunks of craft moss. At this point the vignette is a bit of a hot mess, but I have found that most large makes go through an ugly phase before all the parts and pieces come together. The moss was also hot glued in place.

Next I started adding in the little yellow flowers. These were glued in with collage medium. They helped to hide some for the exposed tinfoil and cover up some slightly gluey spots.

Once the flowers were in place I then glued in the red toadstools. These were also attached with hot glue. I added in more flowers after the toadstools were in place.

Moving up to the second level of the vignette I started adding lots of vines and greens. Earlier I die cut out an assortment of greens from the Sizzix die set Garden Greens. These were hot glued in place and draped to from crawling vines in the background.

With the vines in place I then added in more of the yellow flowers.

With all the vegetation in place it is now time to add the wire swing. I carefuly poked the wire through the top of the box and folded over the edges.

Then I added the little ballerina girl. I glued her to the swing with a small dash of hot glue and again added in more flowers.

The last steps included adding some tape pieces to the outside of the box and adding a layer of distress transparent crackle paste. After the crackle paste dried I added a wash of distress walnut stain crayon to give a more grungy look.

Below are the finsihed results of the Fairytale vignette.
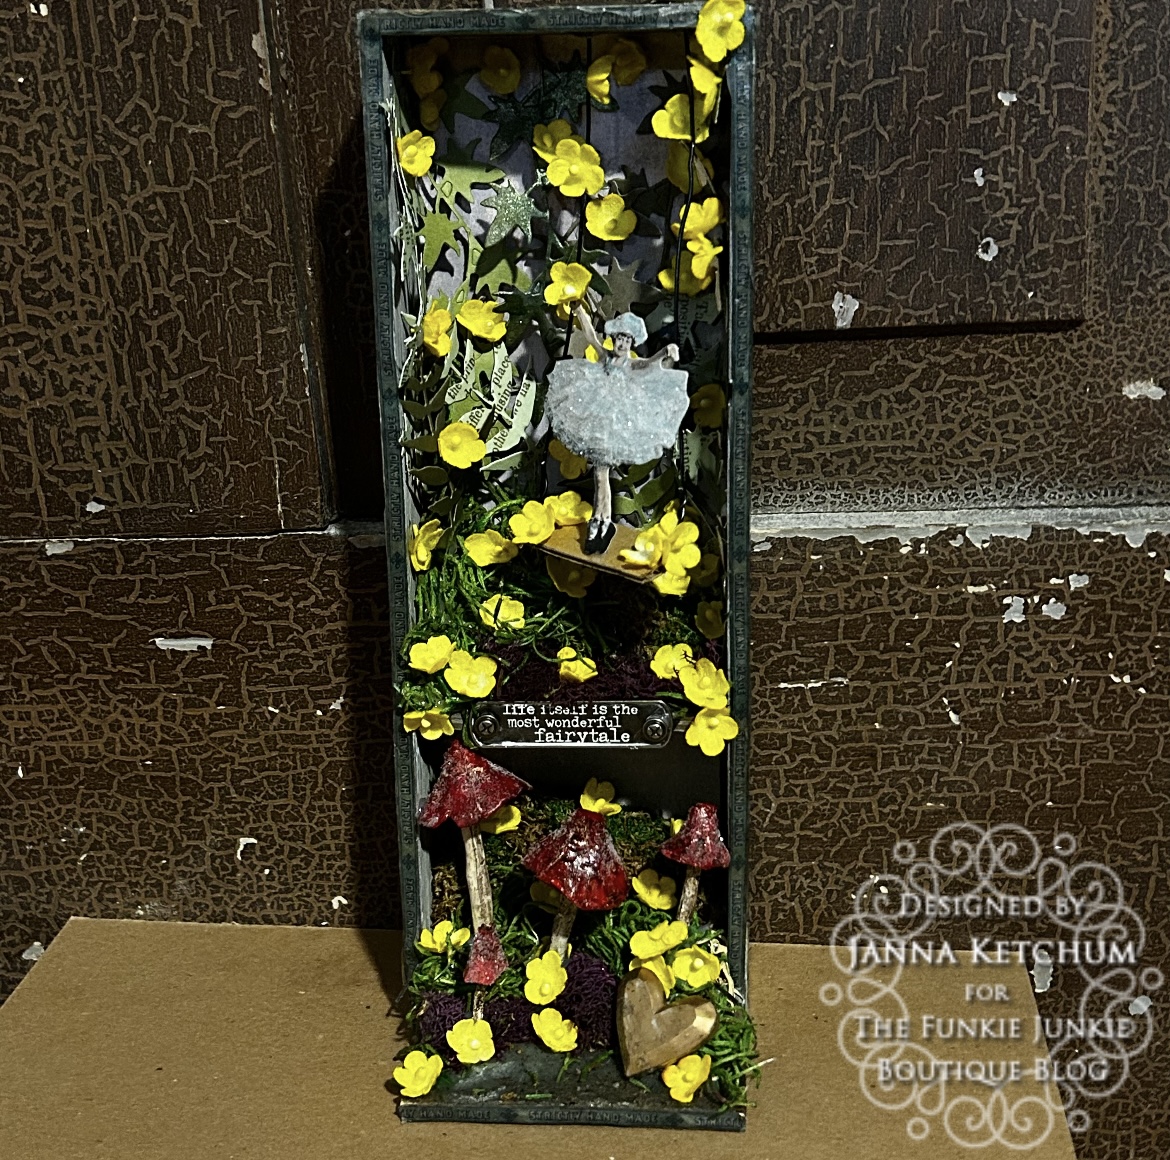
Thank you so much for joining me here today for TFJB Inspiration Ave. Until next time, happy crafting!
Janna~ 💕🎨💕
I can also be found on :
Instagram: @treasuresofthesea_jannak
YouTube: The Crafty Corner with Janna
Supplies used:
Distress Watercolor Pencils set 3
Typed Word Plaques Screw Heads
Distress Reinkers:
The examples and explanations in this article are very helpful for understanding the topic clearly. Best Gemstone Shop for Aquamarine
ReplyDelete