Start by cutting a piece of card from a black tag. Make sure the piece is slightly larger than the blueprint image that you want to use.
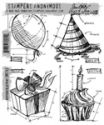
Stamp the image onto the cardstock with Distress embossing ink.
Cover the image with white EP and heat the image.
Using a ruler and a white pencil draw lines around the image to create a border. I like to use a ruled cutting mat as a guide to make sure the lines are straight.
Continue until you've achieved the desired look.
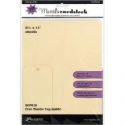
For the card I used a piece of paper from one of Tim's paper stash pads. I also stamped the cupcake blueprint onto manila cardstock twice and colored the image using distress markers and a water brush.
I fussy-cut the colored images and used foam tape to create a cupcake with a dimensional look. I added clear rock candy stickles to the frosting and the candle.
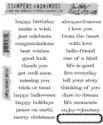
I stamped the label frame from the Simple Sayings stamp set twice on manila cardstock. Inside one frame I stamped one of the sentiments and then cut it out. Using foam tape I mounted the sentiment on top of the other label frame.
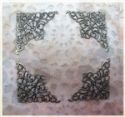
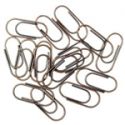
To finish the card I added some filigree metal corners and a mini paper clip tied with a piece of dyed ribbon that came with an order from the Funkie Junkie Boutique!!
And there you have it! A quick birthday card that is appropriate for anyone. I hope you like it! Thanks for joining me today!
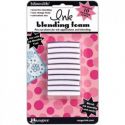
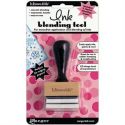
The following items that I used on my project can be found at The Funkie Junkie Boutique! The boutique offers it's merchandise at up to a 20% discount from the typical retail price! That's a great deal and you should check it out!!







Such a cool technique, Donna. Love the way the card turned out, especially the frosting on the cupcake. Super StepXStep - thanks so much for sharing!
ReplyDeleteHugs,
Linda
Fabulous StepXStep Donna ! Love this technique, the images really pop against the black. Sue C x
ReplyDeleteA great stepXstep. Looks great hugs trace x
ReplyDeleteThis card is such a winner Donna! Love how it looks with a really clear tutorial to help us all replicate it. Gotta try this:) Hugs, Jenny x
ReplyDeleteThis really is a great technique Donna and I love the finished card with the beautiful corners. Thanks for the very clear step x step. Hugs, Anne x
ReplyDeleteWhat a beautiful card. I love it.
ReplyDeleteWhat a great card... your chalkboard technique looks really cool! Lovely step-by-step, thank you.
ReplyDeleteAlison x
You did an amazing job with the tutorial. The card is really, really cool. Thank you for sharing the technique with us.
ReplyDelete