
It's Friday and that means I (Nicole) get to do this week's Friday Focus and this time we are featuring Sizzix Texture Fades. A Friday Focus is our opportunity to take turns at finding out more about using a specific product or range currently available in The Funkie Junkie Boutique. Bonus, the product has an extra 15% discount added for the next two weeks!
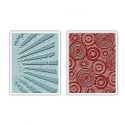
Here's a collection of my own Texture Fades. Last year Sizzix introduced the steel rolled die and matching embossing folder, making your dies even more versatile.

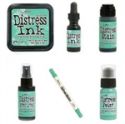
Getting started with a variety of distress paints for the background. Dab and mist.

I used regular cream card stock and dragged it though. Don't waste the left over paint. Drag through another piece of paper and use it later, or ink up some crinkle ribbon.

I used the Rays Texture Fade, but any one will do great!

To help pop the embossing add some distress inks.

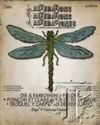
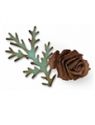
Time for the Layered Dragon Fly. I used watercolor paper and clear acetate.

Run your watercolor paper through your die cutting machine with the die. Then place it on the Texture Fade and run it through again.
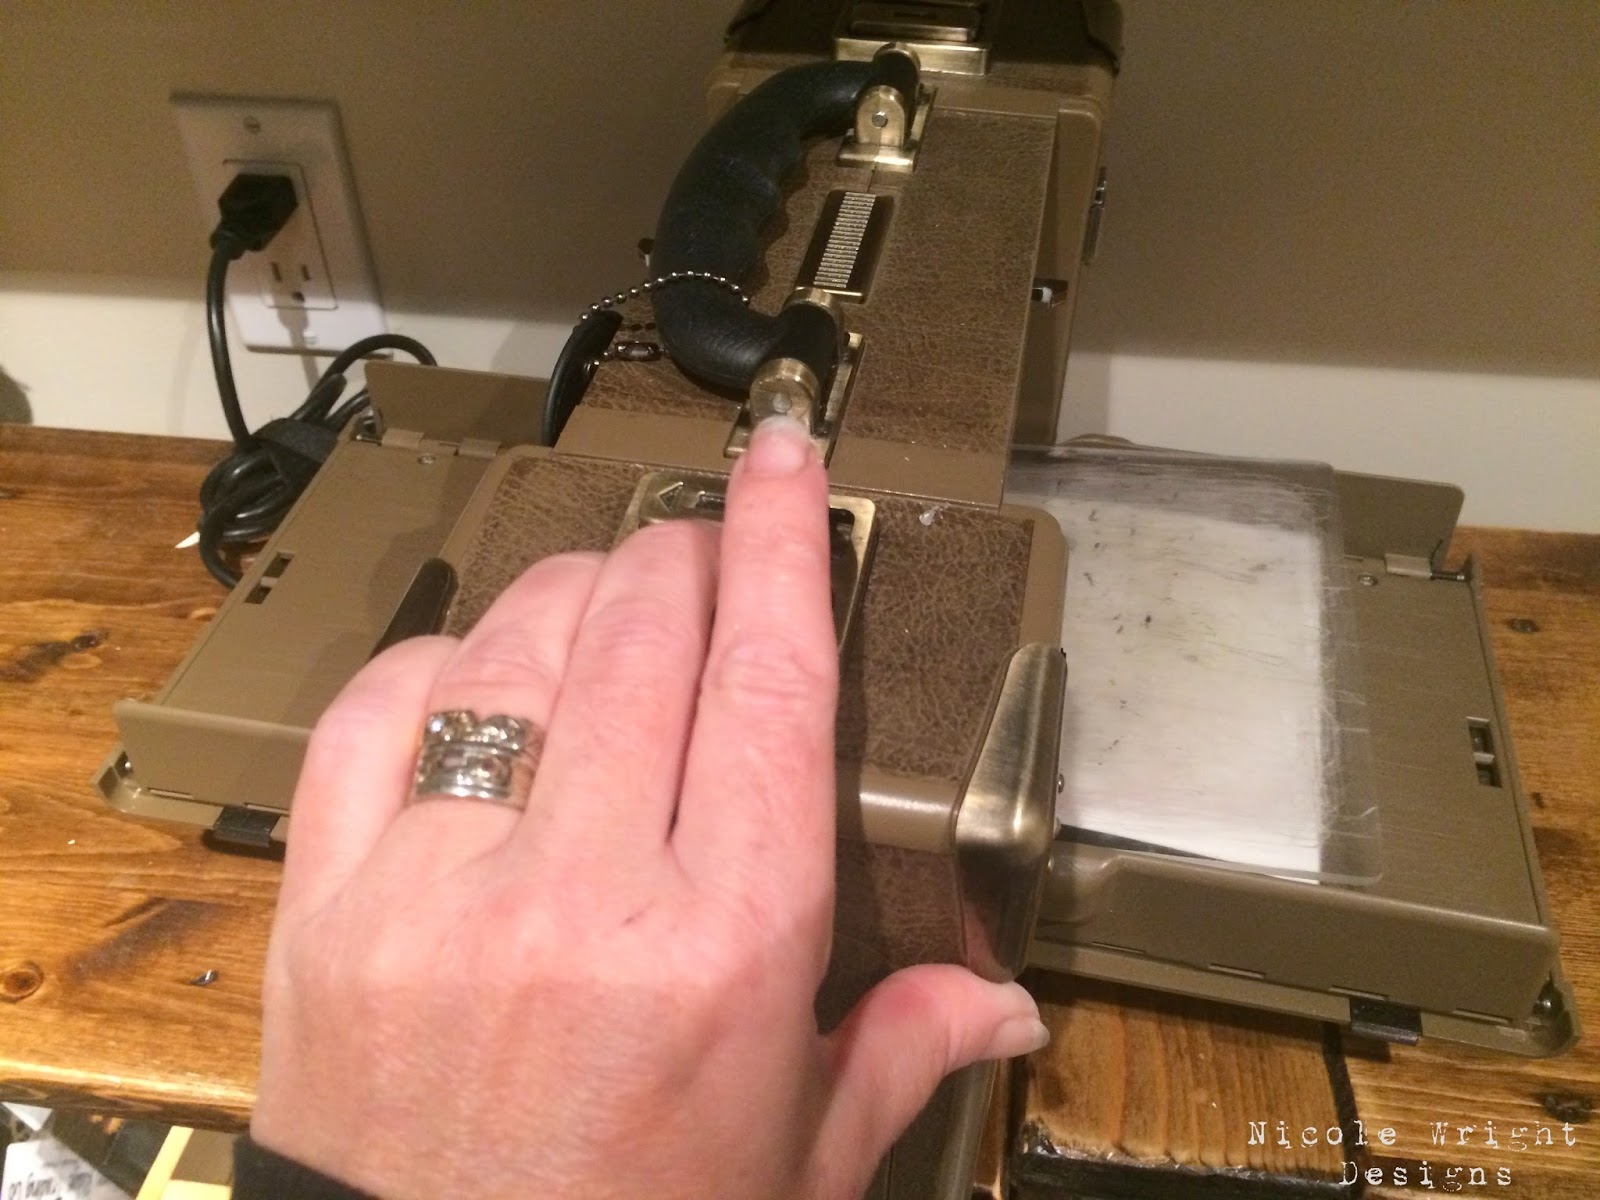
See, now this dragonfly comes to life.

I cut a small stripe of acetate for just the wings. Once cut with the die I trimmed off the extra bits leaving me with the wings only. You can run this through with the Texture Fade too.

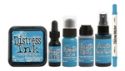
Now to ink the dragon fly up. For this I used Mermaid Lagoon and Cracked Pistachio Distress Markers.

Highlighting the veins with the Distress Markers really shows the embossing off.
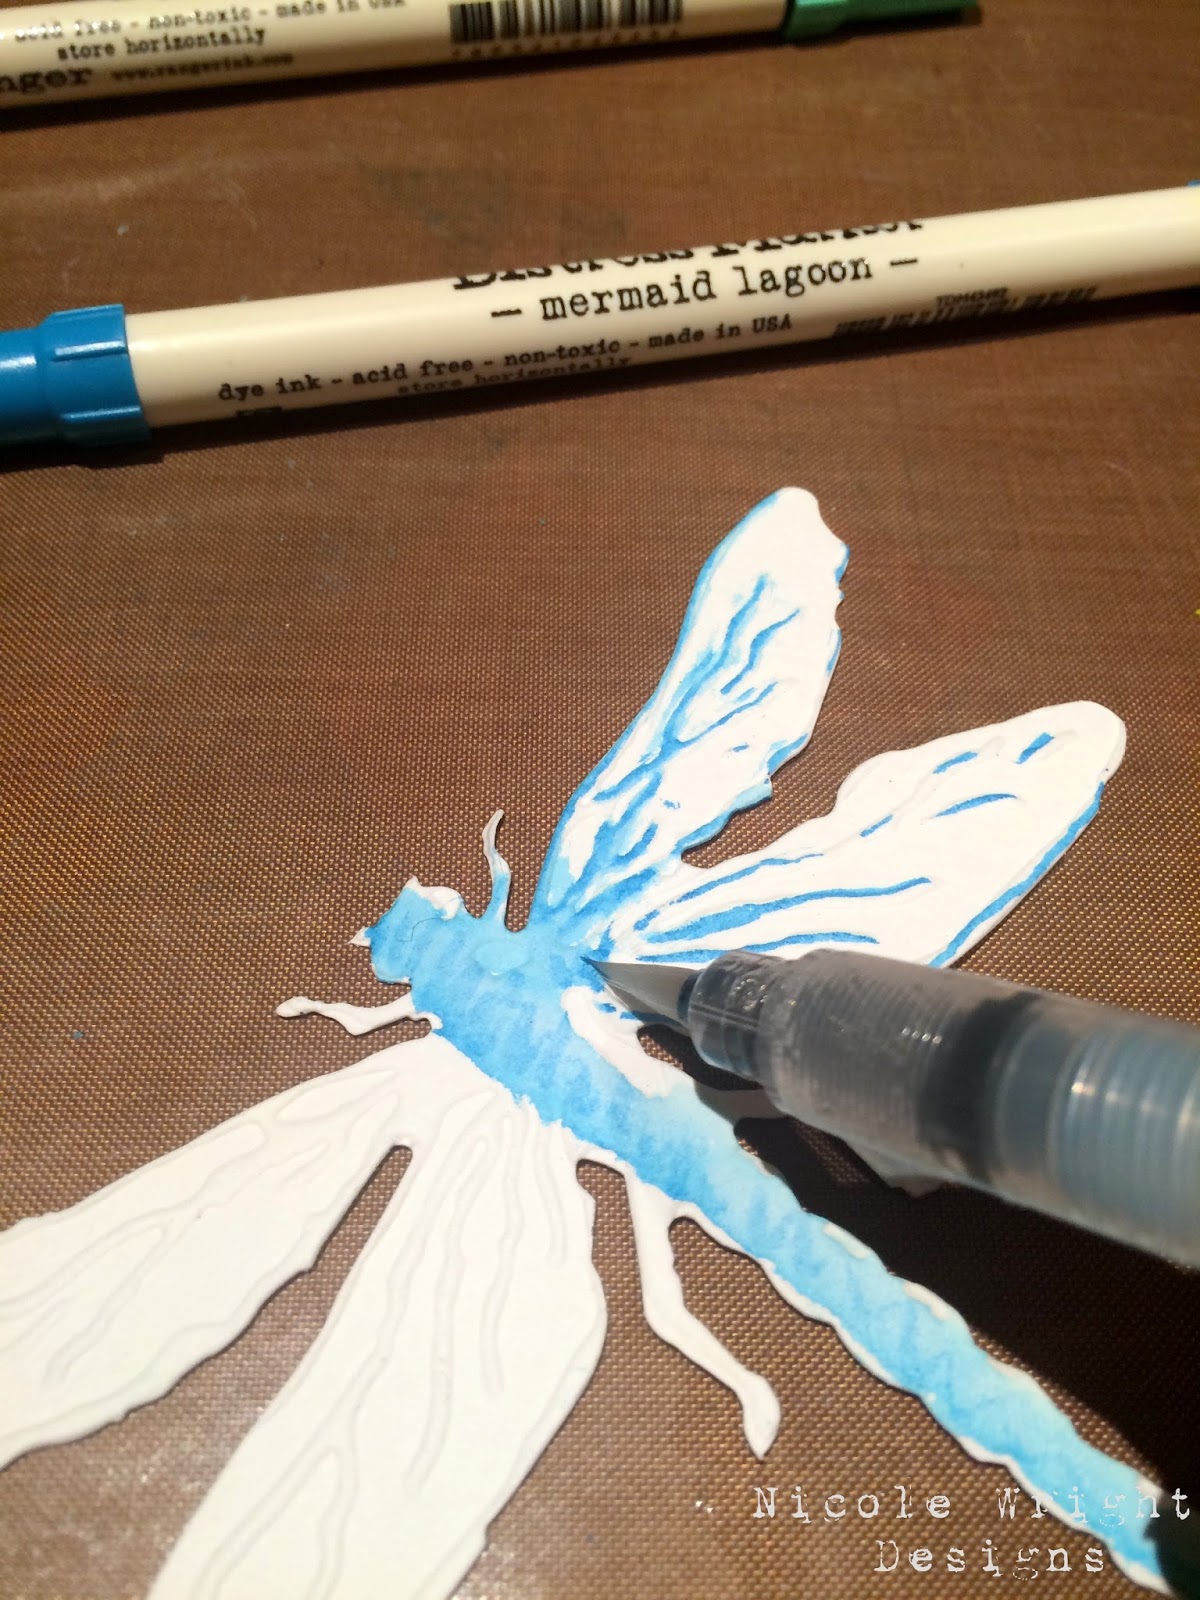
If you go back again you can get a more intense color!

At this time you can add the acetate wings and attach with a tiny attacher.

Time for some embellishments. I went to my flower jar.

An assortment of flowers including the Tiny Tattered Floral's and some Idea-ology spinners to embellish.

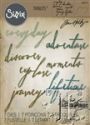
Who loves the Hand Written Thinlits... ME!!!

These Thinlits are a great way to add a sentiment over texture fades without covering the embossing like you would if you stamped.

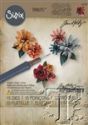
Pull it all together and you have a dynamic card full of color and texture!

I love how the acetate wings adds dimension. You can ink your Texture Fades and run your project through. For acetate you would need Memento or Stazon on and I didn't want to mess up my Texture Fade up.

I love using the Tiny Tattered Floral's as greenery accents.

Look how the Texture Fade Rays pop with added color.

Using Texture Fades for making your own background is a great way to coordinate your project. It adds so much texture. With Texture Fades you can add dimension to your dies, background, you can ink them and your paper. The creative possibilities are endless. And with an extra 15% discount applied at The Funkie Junkie Boutique for the next two weeks it's a great time to add to your own collection.
Thanks for stopping by.
 |  |  |  |  |
 |  |  |  |  |
 |  |  |  |  |
 |

Oh what a beautiful card Nicole, the colours are just wonderful and the dragonfly looks wonderful with his acetate wings. Great tutorial too. Anne xx
ReplyDeleteThose acetate wings are LOVELY!! Vibrant, bright, gorgeous colors!
ReplyDeleteBeautiful Nicole! I love blue and green together and the contrast with the black text is amazing! Great techniques for the texture fades. :)
ReplyDeleteOhhhhhhhhhhhhhhhhhhhhhhhhh - sooooooooooooooooooo INCREDIBLE Nicole. Just love this. Your creativity just SHINES throughout this project. j.
ReplyDeleteLove this, Nicole. Fabulous texture.
ReplyDeleteThis is amazing Nicole, really enjoyed you FF xx
ReplyDeleteGreat tutorial Nicole, I don't use my texture fades nearly enough, thanks for this great reminder to break them out more often!
ReplyDeleteThis is gorgeous! I love the colors you've used and the way you've used the different texture fades together. Aren't Tim's texture fade folders and die sets amazing!
ReplyDelete