

Hello, friends! It's Nancy here, and I'm excited to share a new flower tutorial for our Saturday Step by Step. Just because we're in the midst of winter doesn't mean we can't be surrounded by lovely blooms, right?
I love handcrafting my own flowers. It goes a long way in achieving a perfectly coordinated look. These blossoms are actually quite large, measuring in at around 3.25 inches, and are sure to make an elegant statement on your projects. They're super easy as well!
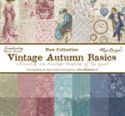
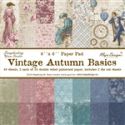
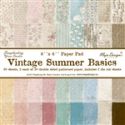
Maja Design Papers are the perfect weight and durability for creating flowers. The colors in the different collections work together so well. You'll find it's easy to mix and match from what you have on hand. I'm using Vintage Autumn Basics and a little bit of Vintage Summer Basics today.

Select your papers and cut four each of the two largest petal styles using the Tim Holtz Bigz Tattered Florals Die. This die is extremely versatile. It can be used for almost any flower you can dream up.

Mist your petals with water using a Tim Holtz Mini Mister. You'll want to get them fairly moist (but not drowning in water) before you go to the next step.

Now it's time to twist, scrunch, and roll. That sounds a little bit like a dance or an exercise routine, but you're prepping for the shape of your petals here.

Once you've scrunched up every petal put them on a baking sheet in a 250 degree oven until dry, checking often. It takes me about 5-10 minutes depending on how moist the petals are.
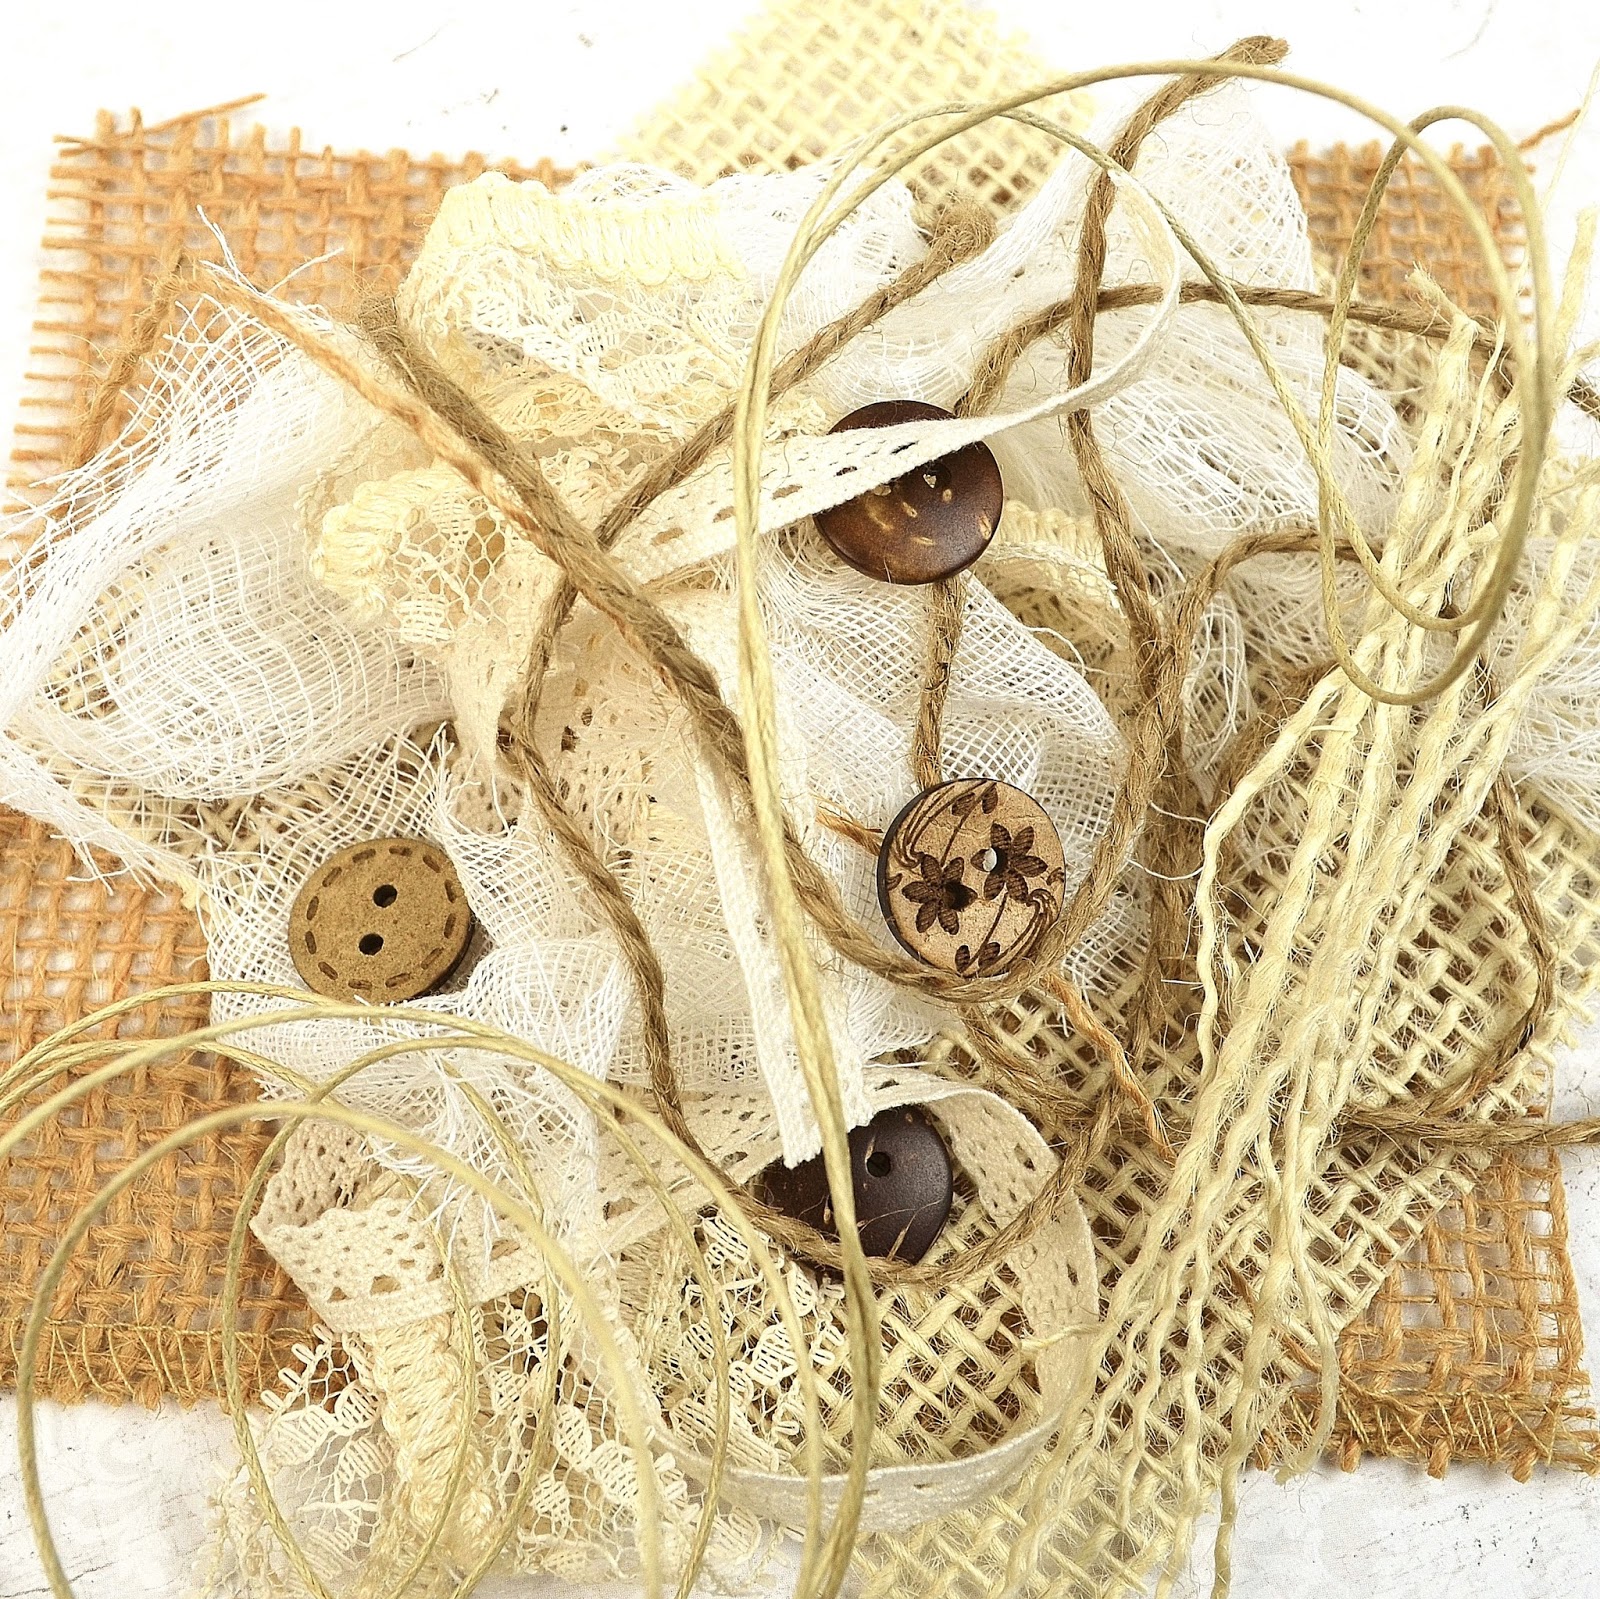
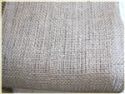
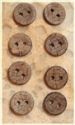
While your petals bake you may begin gathering what my mom called 'bits and bobs'. Here I have burlap, twine, lace, buttons, and cheesecloth.
Once your petals are finished in the oven you will carefully unfurl them. Don't be concerned if a couple of the more delicate pieces fall off. It happens. You can adhere them back in when you assemble your flowers.
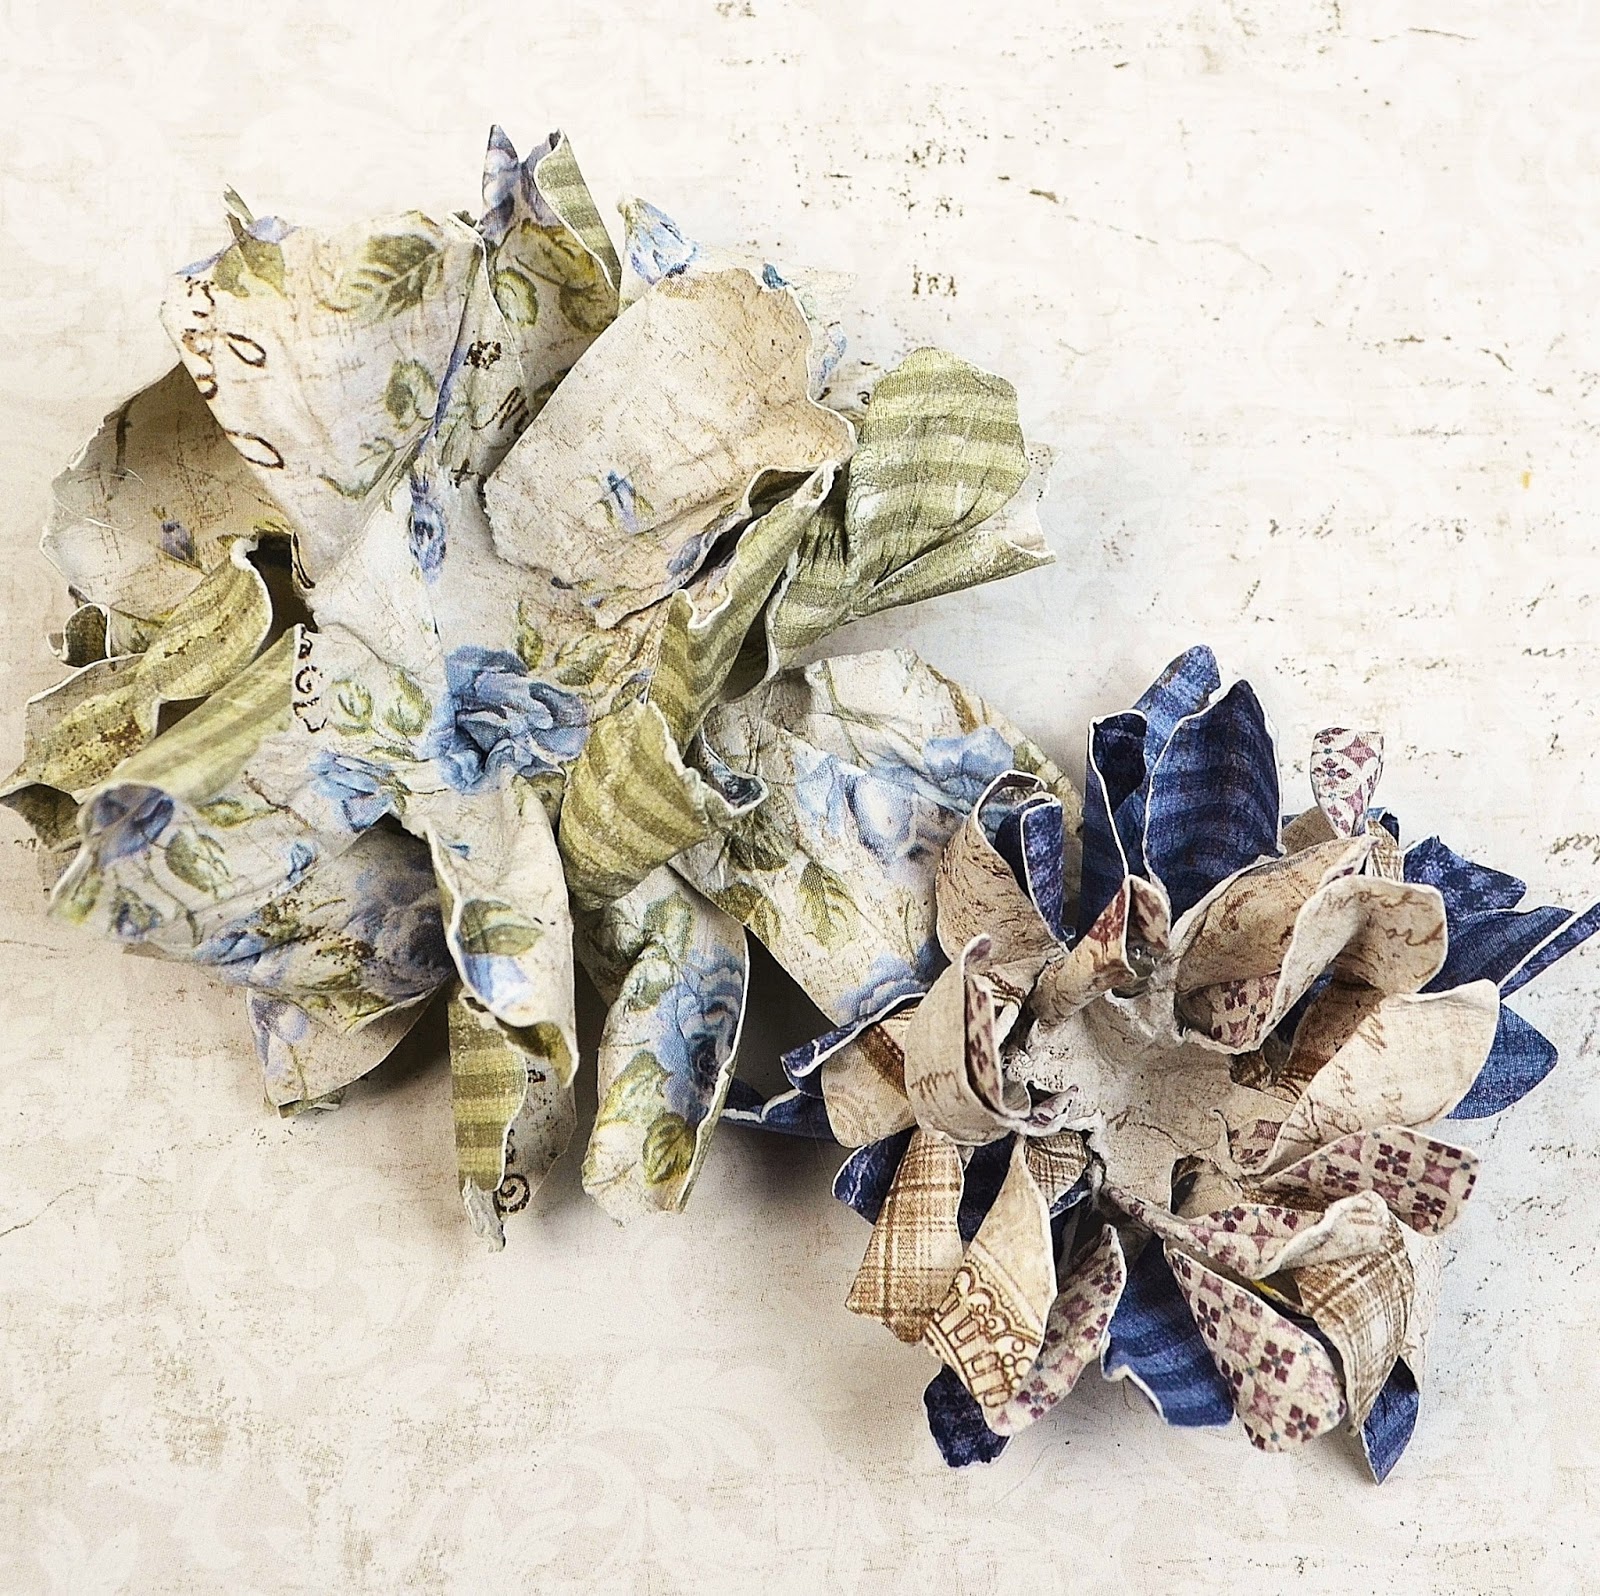
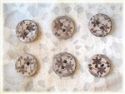
Below are stacks of my unfurled petals. The larger petals form the base. The smaller, more delicate petals form the center. They'll be all twisty. This is exactly what you want.

Adhere each stack of petals together being certain to stagger each one for a more full appearance.
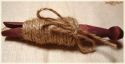
Below demonstrates just one way to embellish your flower. I'm adhering burlap and twine to the base of this one. A button is adhered to the center of the flower.

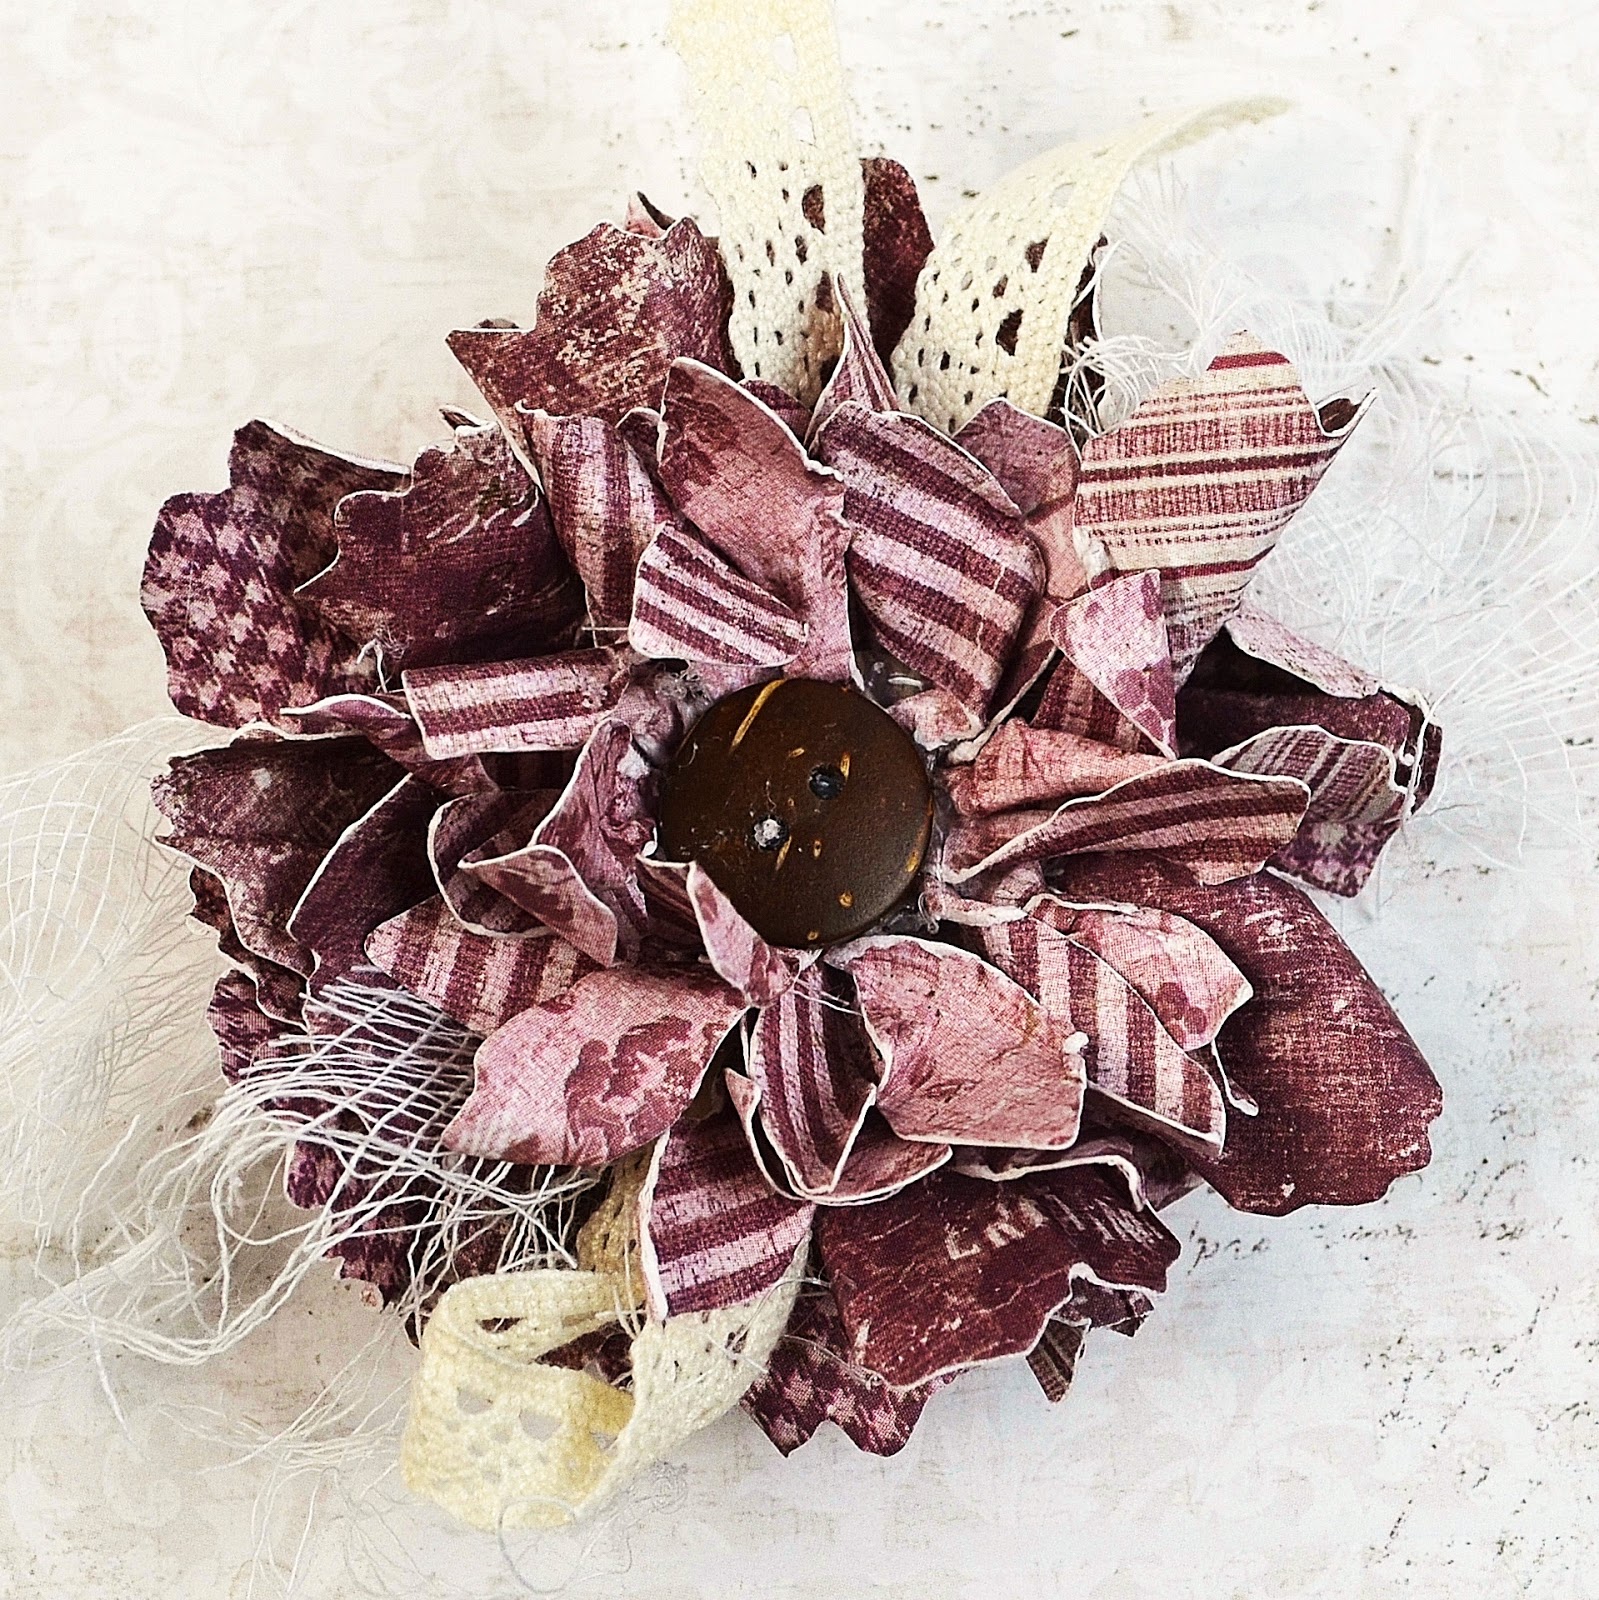
Join both stacks to form a completed flower.

I'm adding in a few burlap strands. It didn't look quite finished the other way.

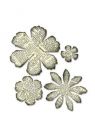
Below are additional embellished flowers. You'll find a full supply list (with links) at the end of the post. Everything you need to make these can be purchased in Linda's shop.

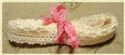
The flowers below are embellished with lace and cheesecloth.

The final flower is in a completely neutral tone. You can never have too many of those.


Thank you so much for being here with me today! I send wishes your way for a wonderful weekend. Hopefully you'll be able to spend some cozy time in your craft area!
Hugs,

 |  |  |  |  |
 |  |  |  |  |
 |  |  |  |  |
 |  |  |  |  |
 |  |  |

These look so professional Nancy and it would only take one to really bring a card, journal or dimensional project to life! Thank you so much for sharing this wonderful tutorial xx
ReplyDeleteAbsolutely gorgeous flowers Nancy, that is a great tip about drying them in the oven too! Anne x
ReplyDeleteAmazing ideas. Never thought to dry them in the oven
ReplyDeleteLove Chrissie xx
Such a wonderful tutorial! I love your handmade flowers, Nancy! I've never used the oven to dry my papers, but that is certainly safer than using the heat tool..and I think quicker, too. Thank your for sharing this wonderful tutorial with us! xo
ReplyDeleteSuch gorgeous stunning flowers Nancy! I always love your wonderful flowers and these are just beauties! Thank you for such a great tutorial and some fabulous ideas for layering the burlap and lace. And I have never dried mine in the oven either! I will be trying that x
ReplyDeleteAwesome! I always LOVE your flower tutorials!!
ReplyDeletewOW! Awesome inspiration! Thank you :)
ReplyDeleteBeautiful flowers that bring on the feeling that spring is on the way.
ReplyDeleteWonderful tutorial and such gorgeous flowers!! Thank you so much for sharing!!
ReplyDeleteThank you very much, great project great tutorial!
ReplyDeleteThese are absolutely stunning, Nancy!
ReplyDeleteAlison x
These are gorgeous! What a fantastic tutorial to start off the new year! Fabulous Nancy!
ReplyDeleteYour flowers are amazing! Thank you for the tutorial! I would never think to bake them!
ReplyDeleteLove these! Can't wait until I have some free time to make my own. And that Maya paper is gorgeous!
ReplyDeleteSuch a beautiful way to make gorgeous flowers!
ReplyDeleteJust catching up... these are just stunning Nancy! Love how you make them and I am going to try these out. Thanks for sharing such a great tutorial. x
ReplyDeleteVery excited, I have been working on my flower making skills so this tutorial is great! Love the project
ReplyDeleteThank you for sharing these techniques. I will certainly give them a try.
ReplyDeleteThese are wonderful. Can't wait to go digging in my paper supply!! Thanks for tutorial.
ReplyDelete