Hi Friends and visitors! It's Sara Emily here to welcome you to this week's Friday Focus where I will share ideas, tips and techniques focusing on Christmas products currently available at
The Funkie Junkie Boutique. For the next two weeks, all Christmas products in stock will be discounted an additional 15% off Linda's already discounted prices. With this extra savings, you will want to hurry over and stock up for your upcoming Christmas crafting or maybe even pick up a gift or two! At these prices I'm sure things will be selling out fast!
Christmas is one of my favorite times of the year to create, and with the vast amount of supplies available, my head is spinning with ideas! I couldn't wait to use every Christmas product I have, and I thought a Christmas junk journal would give me plenty of space to use my new goodies.
I was gifted with 3 sets of Eileen Hull's ScoreBoards XL Journals cut from matboard by blog buddy
Julia Aston (Create With Me) this summer. I was thrilled with her generous gift, but honestly, I have been very intimidated by all the beautiful journals I've seen created out there in blogland that I have been slow to get on the journal bandwagon. A huge thank you to Julia for this awesome gift! I am so grateful for these die cuts, and I thoroughly enjoyed making this.
I'm afraid my colors are a little off. I had to take photos under my craft light, since it was pouring cats and dogs today! I promise this really is more red than pink!
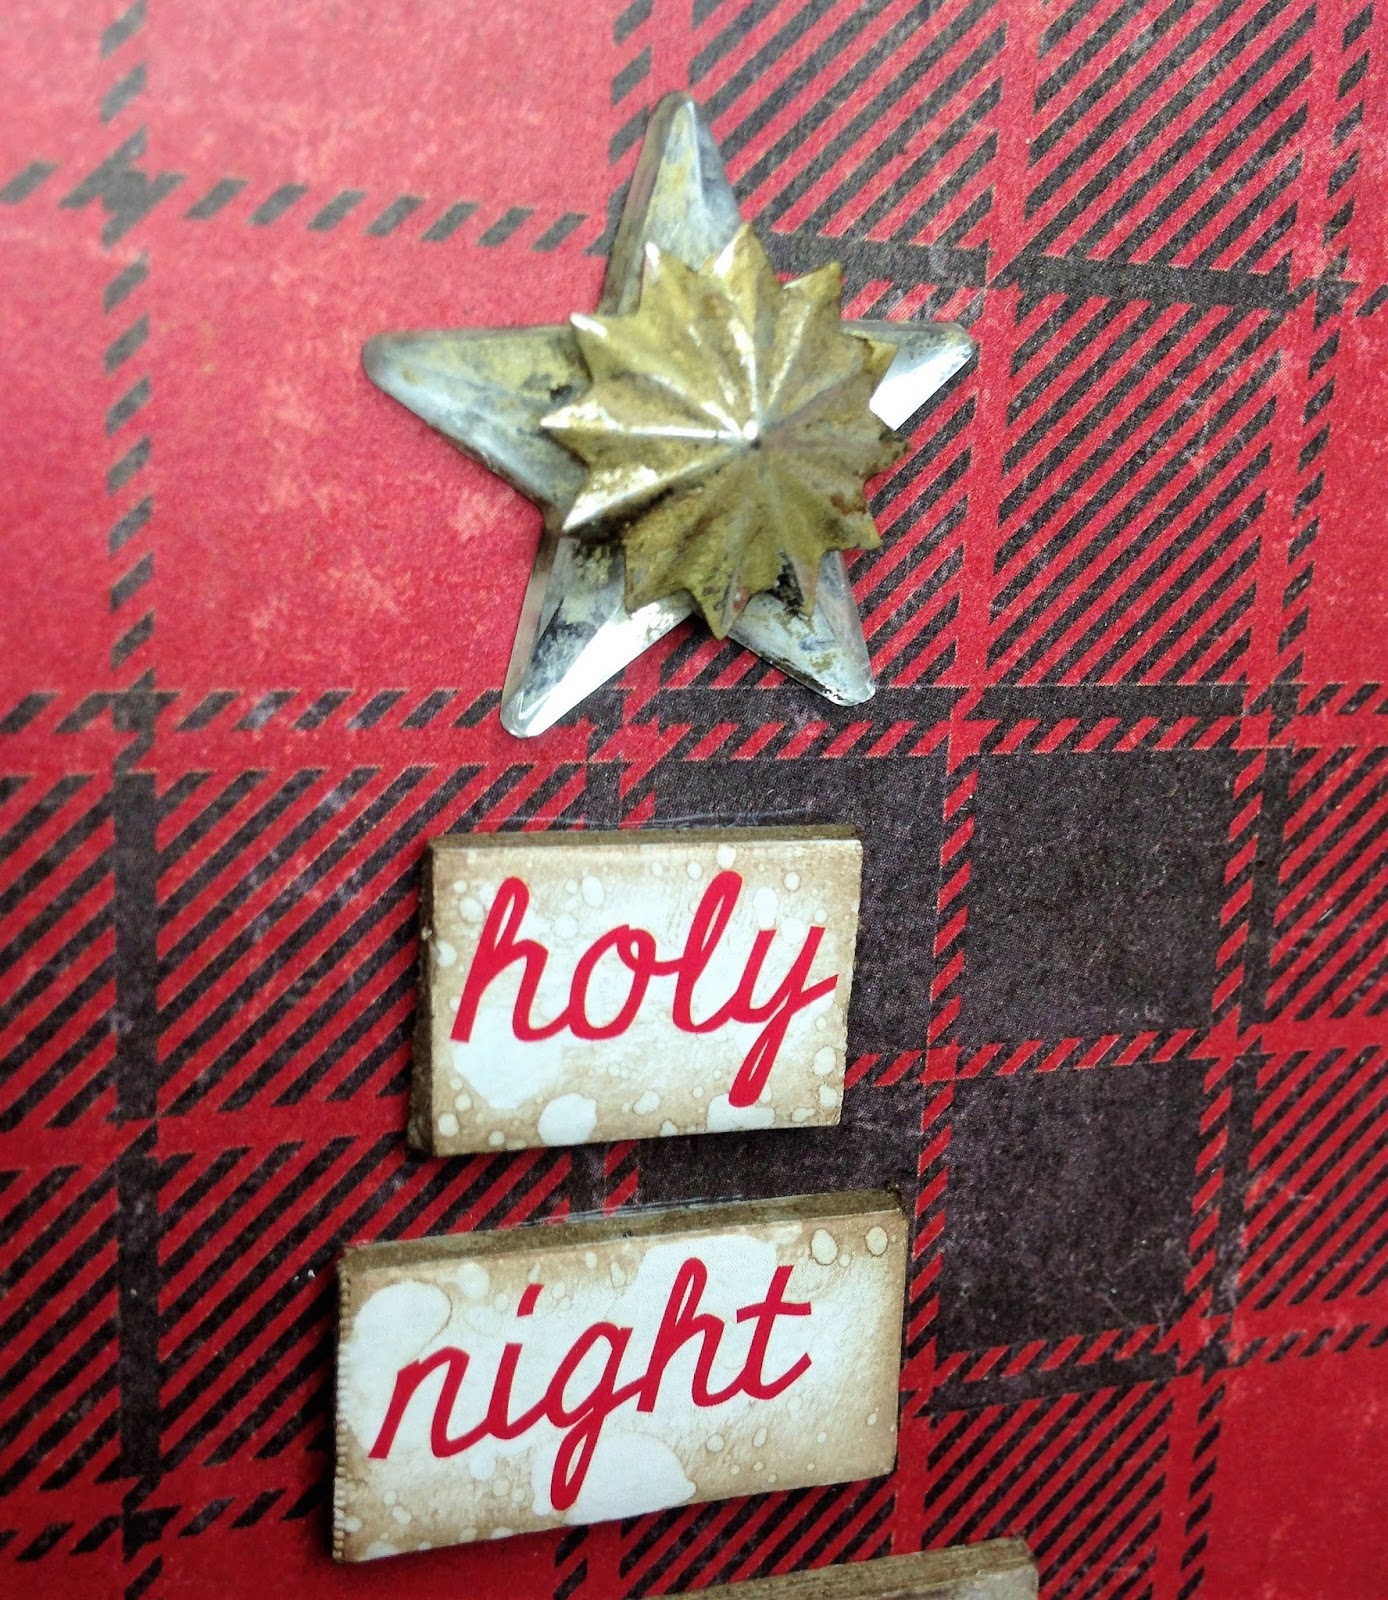
I was really inspired by Linda's Christmas tag
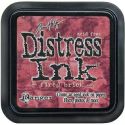
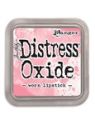
here and the stencil technique she used, so I borrowed it to decorate my journal covers. I gave the outer covers a coat of gesso, dried and then applied Prima clear crackle texture paste through the plaid stencil from mini set #32. I repeated this 4 times allowing to dry thoroughly each time. I blended with Fired Brick Distress ink and spritzed with water.I rubbed Distress crayons in Walnut Stain and Antiqued Bronze into the cracks.
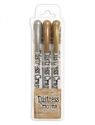
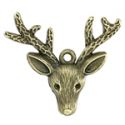
I covered the spine with one of Tim Holtz' Textile Surfaces, and used a Christmas Clippings sticker to cover the join. I used one of the reindeer head charms to dangle off the spine, having colored it with Picket Fence Distress paint and a dab of alcohol ink to the nose.
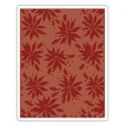
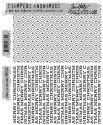
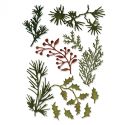
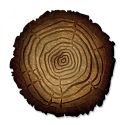
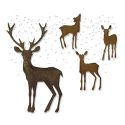
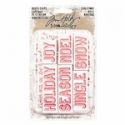
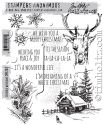
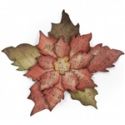
To embellish the front, I chose my brand spankin' new Tree Rings die and included embossing folder, some Thinlits Holiday Greens and the buck from the Winter Wonderland Thinlits die set. Love this deer; I'm sure he will be used on lots of Christmas cards this season! For my title, I chose a Christmas Quote Chip I knew I wouldn't use and that would be the right size for a sentiment from last year's favorite stamp set--Scribble Woodland (AND it's still available at The Funkie Junkie Boutique at the time I posted this).
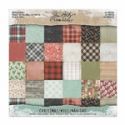
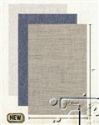
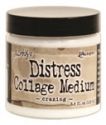
Onto the inside covers. I chose a plaid from Tim's Christmas Mini Stash and adhered to both the front and back inside cover using Distress Collage Medium Matte. I borrowed the idea to use Quote Chips as a Christmas tree from Tim's Holiday release video. Many thanks to the member of his design team that came up with that! I stamped and fussy cut just the trunk of a tree from Christmas Blueprints set.
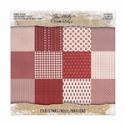
For my signature covers I chose three different papers from Tim's Christmas Kraft Stock. I'll only be showing the covers today. If you're interested in seeing how I made the pages, please stop back next Friday, when I will be sharing Friday Focus Part 2.
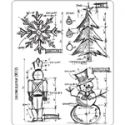
For my first signature, I borrowed another idea I saw on Tim's Holiday Release video. I love the retro look of this Santa and of the Christmas sentiment that is included in this set-Christmas Classic by Tim Holtz. I heat embossed my sentiment, then cut around it the best I could with a blade and my failing eyesight! I seriously think it's time for readers!


I dry embossed my second signature cover with Tim's Poinsettia Texture Fade after scoring and folding in half. This left me with two embossed and two debossed surfaces to work on. I sanded the embossed surfaces (front cover and back inside cover). I blended the front sanded cover with Distress Ink and smudged with Distress Crayon in Picket Fence. I also carefully dabbed with one of the new metallic crayons and heat set it. I love the sweet smallest poinsettia petals from the Tattered Poinsettia die-a perfect size for this type of project. I used an old embossing folder for the top layer of leaves. The glittery layers are the last I have in my stash that I made years ago.

Moving along to the inside cover of this signature. I simply blended inks on the debossed surface and applied Mercury Glass Stickles to the berries. This is really stunning in real life! You can see I had to add a strip of washi tape to the fold, as it was starting to tear. I rarely use decorative tapes, but I wish I had ordered Tim's
Christmas Decorative Tape just for this functional use.
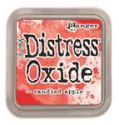
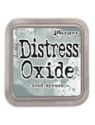
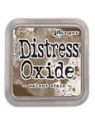
The inside cover of the back of this second signature is really pretty and very retro looking in real life. Before sanding the raised areas, I blended the entire panel with Candy Apple Distress Oxide which really sinks into the fibers. I had to do a lot of sanding to get it off just the tips of the raised areas. Then I went back in with a bit of metallic Distress crayon on my finger and swiped on the tips of the petals, then heat set. It's important to heat set, or everyone who looks at your journal with be sparkly. I love this easy way to achieve the look of foiling. The metallic set comes with Tarnished Brass (looks like gold), Brushed Pewter (looks like silver) and Antique Bronze, so you can choose a 'foil' to match any holiday (and after) project.
On the back side I simply blended with Distress inks and dotted the flower centers with Stickles.
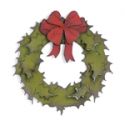
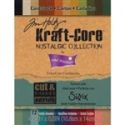
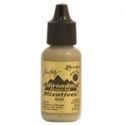
Are you still with me? My last signature is simply decorated with a Holiday Quote Chip and Tim's Holiday Wreath cut from Kraft Core Nostalgic Collection and a scrap of Christmas Kraft Stock. I added a few extra holly leaves smudged with metallic Distress crayon. I colored two tiny Baubles with alcohol inks-Gold Mixative and Mushroom.These came from the little thank you goodie bag with my last Funkie Junkie order. Linda has the best customer service at The Funkie Junkie; your goodies arrive QUICKLY, all wrapped and packaged very carefully. And my favorite part is the goodie bag she includes in every order as her way of saying thank you!
Inside, I just stamped with Iced Spruce Distress Oxide and an image from Sparkles and Christmas. Very effective on the kraft background. Again, I used a bit of tape to keep my fold from tearing. Again wishing I had gotten the Christmas design tape!
Hopefully, that's some inspiration to get you started on your Christmas crafting (if you're not already)! If you're looking for more Christmas inspiration, head on over to the
Funkie Junkie blog where Linda is underway with her 12 Tags of Christmas Funkie Junkie Style. Remember all Christmas products are discounted an additional 15% for the next two weeks at
The Funkie Junkie Boutique! I'll be back next week to give you a peek at my journal pages and hopefully some more Christmas inspiration.
Thank you for stopping by Frilly and Funkie today!
Hugs and Blessings!
Sara Emily


Just AMAZING!
ReplyDeleteWhat a fabulous festive journal, Sara Emily - gorgeous inside and out!
ReplyDeleteAlison x
What an incredible crackle effect with the stenciling on your gorgeous cover! I love your spine wrap and fun little sentiment attached. You used the charms beautifully and made the red paper collection shine with your amazing collages on each signature. I love love this Sara Emily! Bravo! You've really inspired me. What a fun post and beautiful project. Hugs, Autumn
ReplyDeleteLove this festive Christmas Journal!
ReplyDeleteSO pretty! I love it...TFS!
ReplyDeleteOh how merry! I love all the wonderful grunge details that you worked into this very festive album cover. That tree ring die is going on my wish list! Your use of color, texture and script has created a wonderful nostalgic feel and takes me right back to the small town Christmases of my childhood. You are so talented, Sara...and I can't wait to see the next installment! Thank you for sharing!
ReplyDeleteYou have made an absolutely superb job on your journal Sara, it is gorgeous in the reds and crackle on the cover and your signatures are fabulous.... looking forward to Part 2!! Hugs, Anne xx
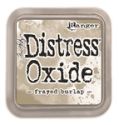
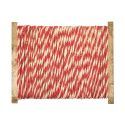
ReplyDeleteFantastic project, Sara Emily! I really love the red plaid cover with the wood cut from the Tree Rings die set and that beautiful stag silhouette. The whole journal is wonderful - love the burlap trim that you used for the binding. It fits the rustic look perfectly.
ReplyDeleteHugs,
Linda
hii
ReplyDeletenice post
movers and packers in agra
Your journal is totally amazing Sara and oh so very gorgeous!! I am literally drooling here. I love the plaid cover .. the crackle effect looks fantastic .. and the tree ring die is the perfect background for the deer silhouette! Your signature covers are fabulous too!! So looking forward to seeing the inside! hugs xx
ReplyDeleteSara Emily every single insert cover is just amazing, wow, what detail (and imagination), this whole album is just an absolute delight, stunning!!!
ReplyDelete