
For my showcase I decided to play around with Embossing Powders and Embossing Folders hence my title of E to the power of 2.

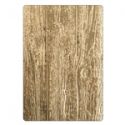
I started with the idea of creating a wood grain effect with embossing powder and amp it up with a texture fade.

2. Ink over the surface with embossing ink. ( I wanted to make sure that the embossing powder would stick so I added a layer of embossing ink over the antique linen.)
Helpful tip: The antique linen is to give background color if you don't want your wood grain to be completely created from embossing powder.

Helpful Tip: The Wendy Vecchi embossing powder has a nice texture which is a little chunkier and gives a nice effect of texture.
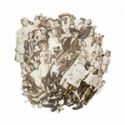
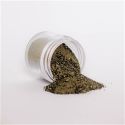
4. Sprinkle randomly the embossing powders in various areas.
Helpful Tip: Limit the amount of darker colors to prevent the background from becoming too muddy.

5. Take any tool that you have to drag the powders across the paper. You can use a plastic ruler or any flat surface to control the effect. I think a comb, fork or anything would give a cool effect.

Helpful Tip: A trick I was taught by Fran at Stampendous is to hold the paper and heat from underneath. This will take longer but will keep your embossing powder in place. Be sure to monitor how close you are to the paper as you can burn your paper.

7. Once the background is heated up you can choose what you want to do with it. I decided to add the lumber texture fade on top of my mixed embossing powder background.

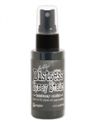
9. Spray the surface with gray distress stain spray. Wipe off excess spray. Any areas you didn't emboss with embossing powder will pick up the gray ink spray.
For my next background I decided to add an additional layer of embossing powder and embossed texture.


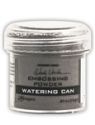
12. Sprinkle the surface with the watering can embossing powder.
13. Shake off excess and heat the embossing powder until it melts.
For the next background I decided to go lighter with my wood grain effect.

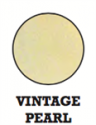
2. Sprinkle the surface with ivory embossing powder.
3. Shake off the excess.
4. Heat embossing powder.

6. Run the ivory background through the big shot with the embossing folder. (Clean off your embossing folder)
7. Sprinkle the embossed background with the gray embossing powder and shake off the excess.
8. Heat the embossing powder to melt the gray powder.
I decided to create one last background with the lumber texture fade and embossing powders:
1. Ink up the embossing folder with Hickory Smoke Distress Ink and emboss white cardstock.

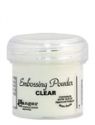
3. Heat emboss clear embossing powder.
4. Cut to fit card size and distress edges with distressing tool.
5. Sponge edges with gray distress ink.
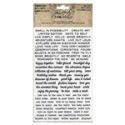
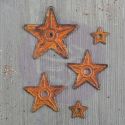
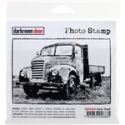
6. Stamp and color Old truck image.
7. Lightly stamp text with gray ink in background behind truck.
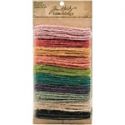
8. Ink up twine with gray ink spray.
Well I hope you have enjoyed embossing to the power of 2 and it has inspired you to check out the very awesome selection of embossing powders and embossing folders at The Funkie Junkie Boutique!
The new challenge "By Airmail" has just started and there is plenty of time for you to play along as the challenge is open until 11:55 Eastern Time on Tuesday, July 3rd, 2018.
Time to get inky!
Suzz
 |  |  |  |  |
 |  |  |  |  |
 |  |  |  |  |
 |  |  |  |  |
 |  |  |

LOVE how this has come together Suzz!!! Thank you for sharing the steps you use to get such a realistic woodgrain effect for your gorgeous cards xx
ReplyDeleteThanks for the excellent tutorial! Now I need to buy the Lumber Embossing Folder!
ReplyDeleteThank you, Suzz, for this wonderful tutorial using the new 3D Lumber Texture Fade along with embossing powders! Your resulting cards are gorgeous! I've had this folder for quite a while and still has yet to find it's way out of the package! Thank you for the inspiration! Hugs!
ReplyDeleteI always look forward to your Saturday Showcase posts, Suzz. They give me such a wonderful glimpse inside your creative process as well as impart a wonderful new technique. This is genius. I love everything about this card! These backgrounds are smashing! Thanks once again for inspiring me with new ideas! xoxox
ReplyDeleteWow Such cool work with that embossing powder!
ReplyDeleteThanks for the tutorial!
Jackie xo