

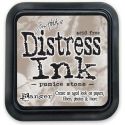
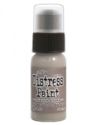
So I started by cutting a piece of Tim Holtz paper ( but any of your favourite papers are fine ) to fit my hanging board and when glued on edged with pumice stone distress paint.

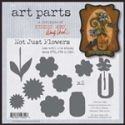
I chose this paper because it was fairly neutral, but not totally plain. I then glued an art part vase piece to a piece of paper ( remember to glue it to the reverse! not that I have ever messed it up or anything!?)). Then using a craft knife cut around the shape, the Art parts are sturdy so provide a good guide for cutting.

To make a neater edge I sanded my edges and then added a touch of paint, I also added to the edge of the other vase piece and also a couple of Linda's fab buttons.

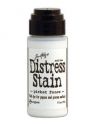
Now I added a couple of coats of picket fence distress stain to the paper covered board, just to soften it slightly and then the vase stands out ...hope that make sense and you can see the difference below, it is subtle but worth it I think.

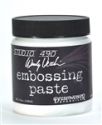
Now for the layers on the background, I smooshed some pumice stone and frayed burlap onto my craft sheet and also splodged some Wendy Vecchi embossing paste in white , to make a coloured paste.

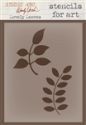
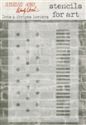
I then applied this to the base, flipping my stencil to create leaves facing different ways.


Then I allowed these layers to dry but you can lightly heat with your heat tool, don't over heat all at once or it will bubble. ( sometimes this is a great effect!)
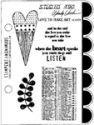
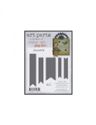
Now more layers with stamping of text in frayed burlap and applied through stencils, then more stamped leaves. I also added some text stamped in watering can Archival to build up the layers and swiped the leaves with treasure gold.

I also added some vintage photo to the edge of the board and the vase to lift them.
Now the flowers, which have coloured with pumice stone paint and then over stamped with text in frayed burlap....and just for Anne ...I did it again...stamp upside down!! oops.

I also did this on the vase, using the stamp inked and unmounted allows you to roll the stamp and use just part of the design for a more random look.

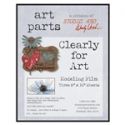
Nearly there ! I now drew round my flower piece onto Clearly for Art and cut out two flowers .

I the heated and shaped the petals, the fab thing is ...this can be heated and re-heated ..so if you don't like the petal shape reheat it and then re-shape. You will see when you heat the piece, it goes kind of floppy and softer and can then be shaped. I found it easier to do a couple of petals at a time.
When finished I added glue and seal to the edges and then dipped in glitter.

Now to put the whole thing together...and just a quick note the vase pieces have been designed so cleverly that they come in two pieces and allow you to tuck all your flowers stems and anything else inside, clever.

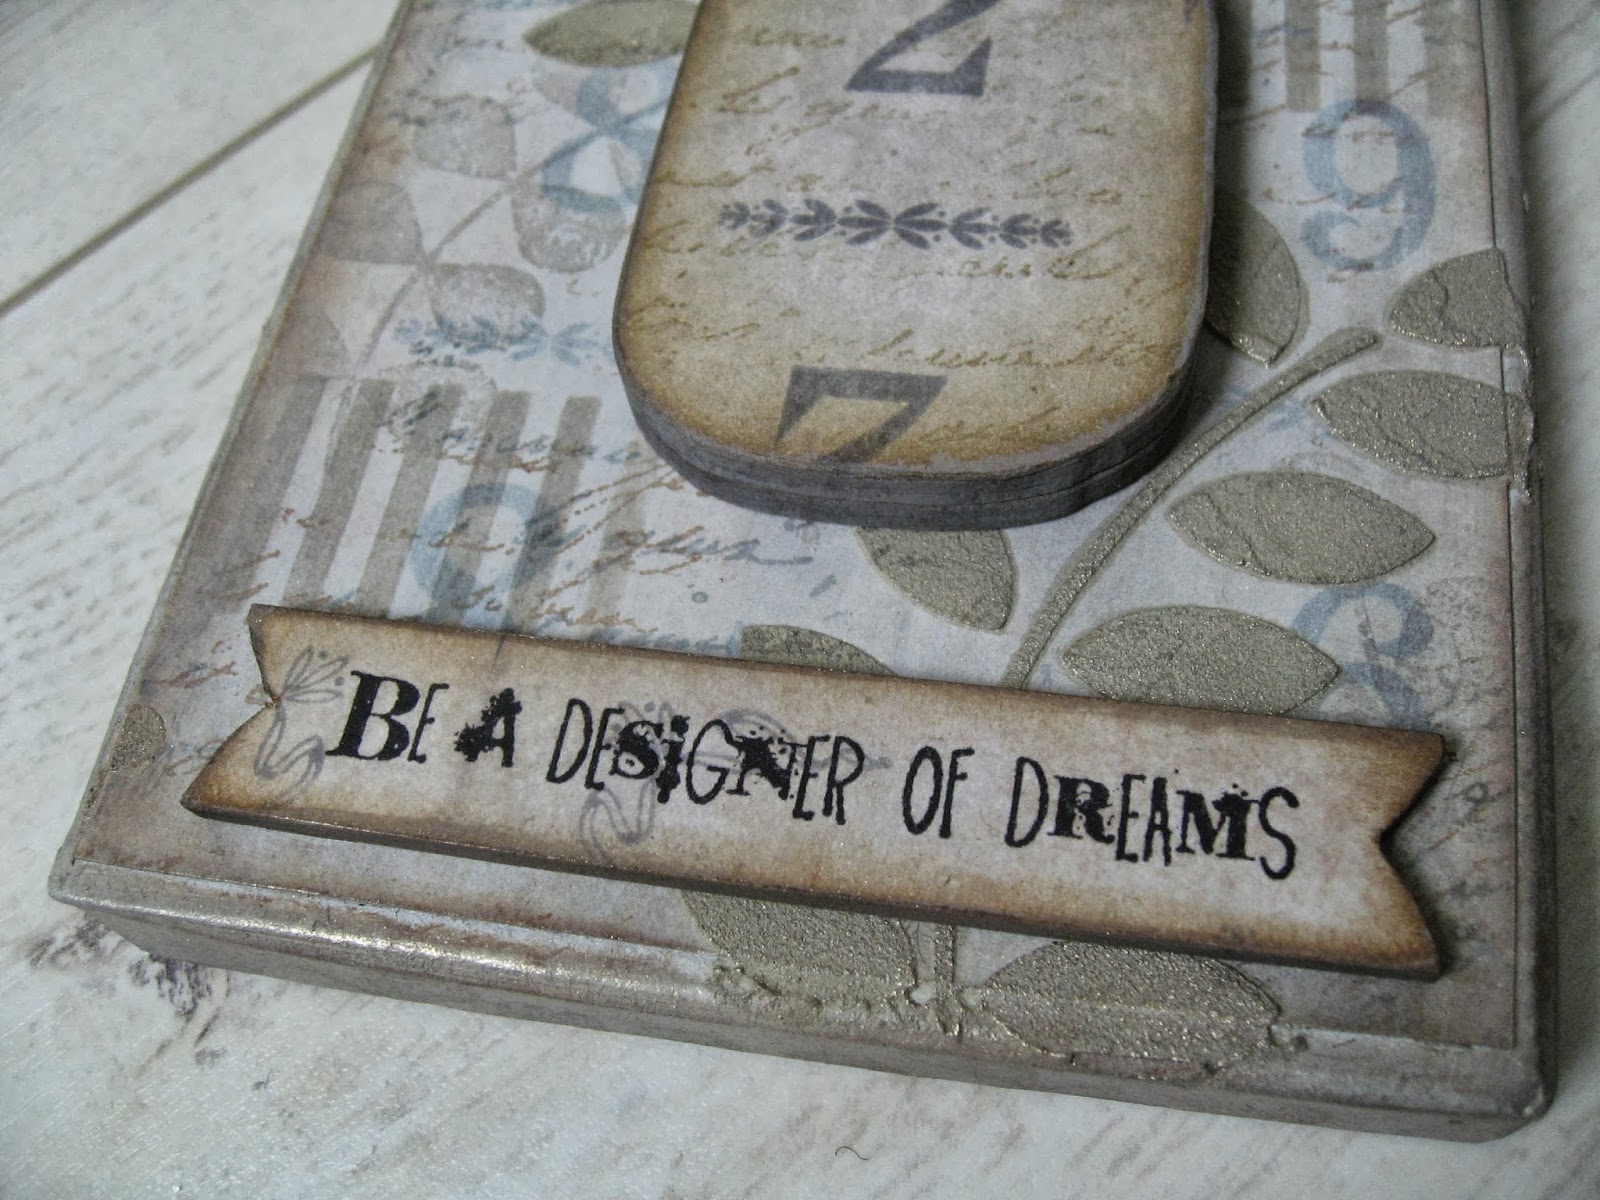
I added a banner and stamped sentiment (also covered in paper ) and there you have it.

Hope you like it and are inspired to have a play with Art Parts too! You can adapt them to suit whatever colours you love. And The Funkie Junkie Boutique has a great range of Wendy Vecchi products, including Art Parts, all at discounted prices. You can find them HERE.
Have a fun and inky day!
Trace x
 |  |  |  |  |
 |  |  |  | |
 |  |  |  |  |
 |  |  |  | |
 |  |

This is so clever Trace! It would make such a perfect pressie for someone special. Love the glittery edges and the stencilled background. Hugs, Jenny x
ReplyDeleteWonderful hanging Trace! Love the subtle background and those very clever flowers, just gorgeous all round and thanks for the great step by step!!
ReplyDeleteI love this project Trace these muted colours are just gorgeous. Great tutorial too thank you. Sam x
ReplyDeleteReally great piece! Love the neutral colours you have used and thanks for the tip on rolling the stamp to get a random look. Been using stamps on the blocks and not getting great effects. So thanks I'm going give it a go :)
ReplyDeleteA fabulous project Trace, I love the colour palette, the art parts and textures. Brilliant.
ReplyDeletehugs {brenda} x0x
I just love the subtle colours on this piece - stunning. Now where did I put my art parts and clearly for art???
ReplyDeleteAWESOME...yes...all CAPS!
ReplyDeleteLoving this a lot - the neutral colour palette, the embossing and the added texture to the already cool art parts.
ReplyDeleteHugs!
Cec
This is a great project Trace! The soft stone palette is gorgeous and I love what you've done with the Art Parts! ((hugs)) Rebecca
ReplyDeleteTotally fabulous!!!
ReplyDeleteWonderful creation Trace. Love your tutorial. Hugs Rita xxx
ReplyDeleteWonderful stepXstep, Trace! Now I need to add that "Clearly for Art" to my list! Fabulous project! Hugs!
ReplyDeleteHi Trace, well I adore Art Parts and CFA (and occasional upside down stamping too!) so this is right up my street. Love the colour palette you have used and those buttons are the perfect finishing touch. Love this - a lot! Hugs, Anne x
ReplyDeleteWonderful inspiring step-by-step Trace. Love the colours and those flowers are just gorgeous.
ReplyDeleteA lovely delicate creation, and so many lovely ideas in the step-by-step, thank you. Can't believe you've nearly finished that whole pot of Rock Candy glitter... well, on second thoughts, yes I can!!
ReplyDeleteAlison xx
Trace -- Wow!! I love this!!! What a fantastic background. Love all the neutral colors. The Art Parts look like so much fun. I am putting them on my wish list. Thanks for the step-by-step walk through of this hanging. Fabulous hanging! (Pinned!!) -- Mary Elizabeth
ReplyDeleteFabulous step x step Trace ! Love the flowers and your background is gorgeous ! Sue C x
ReplyDeleteThat's what I said Trace - fabulous and I love it! Thanks for the step by step - I can definitely use the help!!
ReplyDeleteSandy
That is SO beautiful!! I love the neutral colours, have got to try it sometime soon. Thanks for all the great photos, I love to see how you work.
ReplyDeleteBeautiful make Trace - thank-you for fab step x step. I really love those petals and your ring! Nicola x
ReplyDeleteTrace, you have outdone yourself which is quite a feat after that last Idea-ology project :) I too love the neutral color palette you have worked with and all the wonderful little techniques you have share with us. I especially love the background, the way you have stamped and stenciled and then used the paste to emboss texture. This is such a gorgeous piece of artwork!
ReplyDeleteThis is a wonderful project! I like the muted palette. The techniques are great. Thank you for sharing them.
ReplyDeleteThe flowers are stunning and the hanging is indeed elegant and would fit anywhere in the house! Inky greetings, Gerrina
ReplyDeleteGorgeous! Absolutely LOVE this!
ReplyDeleteThis is so gorgeous!! I have all the Timmy Reinkers, need to start doing my own embossing paste!
ReplyDeleteSo beautiful! Thank you for step by step.
ReplyDelete