
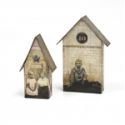
Welcome friends! It's Sara Emily here bringing you today's Step By Step. Since our current challenge is 'Tis Near Halloween, I decided to make some Haunted Tiny Houses. I'll be sharing what I call my Smokey Mercury Glass technique that I've used on these three houses and my journal covers HERE. This is a pretty lengthy post, so pull up a chair and sit a 'spell'! Click on any photo to make it larger.

If I get bored looking at one side of my houses, I can always turn them around!


Here are the steps I took to make my background papers for one larger Tiny House and the small Tiny House.

2. Scuff metallic surface using steel wool pad and wipe off dust residue. I found this to be a very important step to get the results I like. It helps the paint to grab just enough.
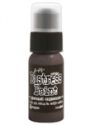
3. Sponge or paint Distress Ground Espresso paint over entire metallic surface. Dry partially and wipe with clean cloth. This will leave you with very subtle color. You can choose how much color to leave, and every one of my projects came out differently.
4. Sponge or paint Black Soot Distress paint over the entire metallic surface. Again you can go heavy or light, depending on your preference. While the paint is still wet, spritz with water either lightly or heavily depending on how much 'swirling' you want to see.
5. Dry with a heat tool, chasing around the watery paint for more swirls.
6. Assemble house.
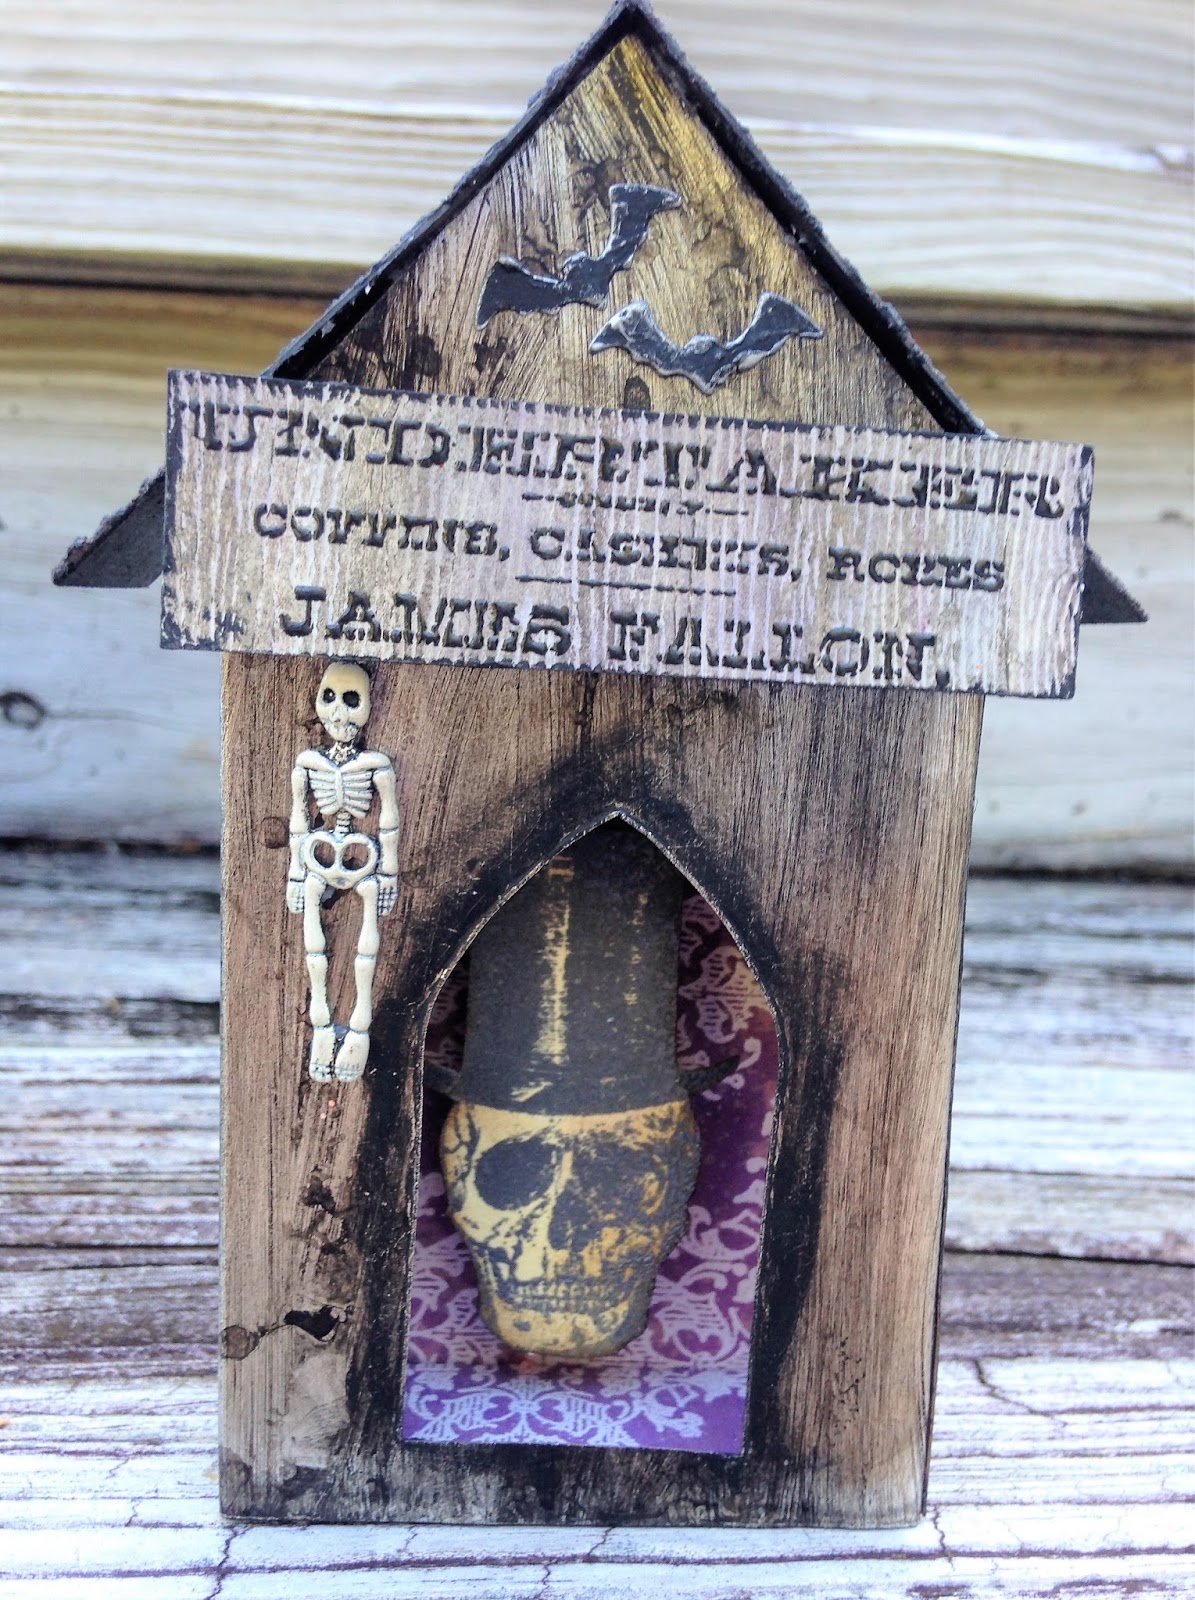
For this house, I added a few steps before assembling.


2. Smudge crayon around the opening.
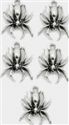
3. On a separate 'wall' die cut, heat emboss stamped image repeatedly in white on kraft side. (For each house you need two walls and one roof.)
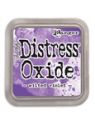
4. Blend with Wilted Violet Distress Oxide, splash with water and let dry. Wipe embossed image carefully with clean damp cloth to remove ink.
5. Glue layers of corrugate board behind stamped and heat embossed skull and adhere to back wall. Be sure to do this before assembling the house.
6. After assembling, I realized you could see through the bottom, because of the aperture. Duh! I made a 'floor' for this one by cutting a rectangle shape from my 'test' piece of card. I was pleased I could get it to fit so well and that the pattern lined up nicely with the pattern on the 'wall'. (see photo above) I painted the bottom black to finish.


2. Scuff surface with steel wool and remove dust as above.
3. Heat emboss stamped image using clear embossing powder; I used a border stamp, repeating the pattern.
4. When completely cooled, apply Ground Espresso paint, dry partially and wipe as above.
5. Apply Black Soot paint, then spritz and dry as above.
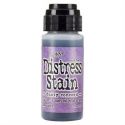
6. While card is still warm, scribble with Distress crayons--I used Black Soot and Seedless Preserves.
7. Smudge with finger to blend.
8. Splash with water drops and allow to dry or heat dry.
9. Stamp images with Archival ink and heat set.
10. Assemble house.
I haven't tried this with alcohol inks yet, but I think you could get some really cool results with them in place of paints.
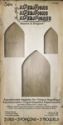
Here's how I made my roofs.


2. Dry with a heat tool to get that bubbly texture.
3. Scribble with crayon and heat set. I also did the crack where the fold line is and the edges.
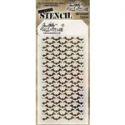
4. For the bat roof, I painted the chipboard die cut with Black Soot paint, dried and applied black crackle paint through the bat stencil. I did one 'side' of the roof first, dried, and did the other side, so the bats faced the right direction viewed from either side.
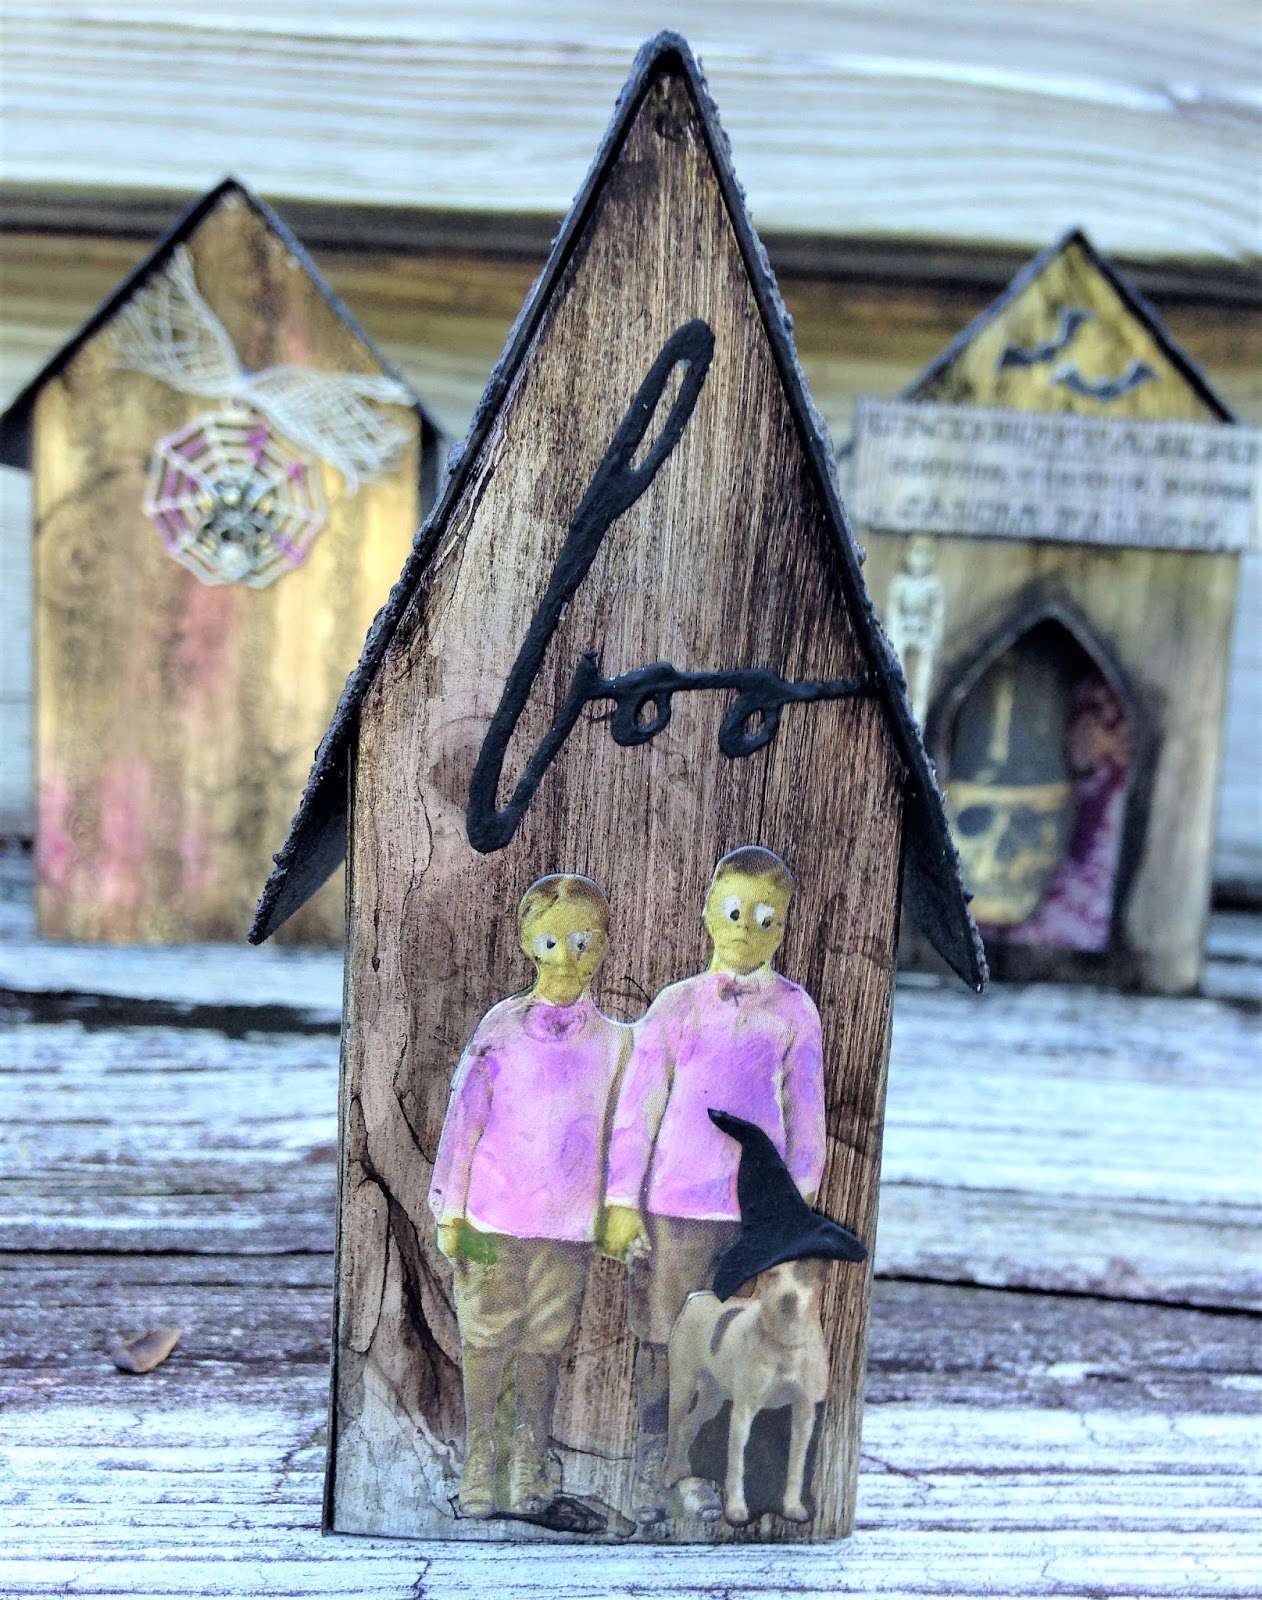
Here are the houses individually, so you can see the details. The cute/spooky cat is from my stash.
I don't usually cut off little boys heads, but I made a terrible coloring mistake, and it was either off with the heads or throw the ephemera in the trash.


I used Impasto paint to give texture to "boo" and the hand cut witch hat. Is it just my eyes playing tricks on me, or is that a ghostly figure behind the boys? Is that why they look so frightened?

I hope you've enjoyed this tutorial. There's still time to get your craft on and play along with our current challenge 'Tis Near Halloween. You have until this Tuesday, October 24th to wow us with your Halloween or orange, black and purple inspired vintage or shabby project. YOU may be our lucky or chosen winner or one of three Top Picks, so come play along! It would be a grave mistake to miss this challenge!

Thank you for stopping by Frilly and Funkie today!
Hugs and Blessings!
 |  |  |  |  |
 |  |  |  |  |
 |  |  |  |  |
 |  |  |  |  |
 |  |  |  |  |
 |  |  |  |  |
 |  |  |

These are fantastic Sara Emily! I love that you can view them from both sides with equal pleasure xx
ReplyDeleteFabulous post, wonderful techniques and great results! Xx
ReplyDeleteThese are absolutely stunning, Sara Emily!! Wow!! The details are spectacular!! Your tutorials are fabulous, too!! Love, love these!! Thanks for the amazing inspiration!!
ReplyDeleteLisa
A Mermaid's Crafts
ARe you kidding me (pun intended), cutting off the heads of children?!? What an amazing idea. They are holding pumpkins and it reminds me of Ichabod Crane junior. Seriously ... I love how a coloring mistake evokes some really cool Halloween eeriness. I am floored by the house paint! Wow -- what a great technique. Thanks for sharing your insanely creative ideas! -- Mary Elizabeth
ReplyDeleteI am still smiling over the headless boys... Your tiny houses are fabulous!!! I just love all the detail you added, the skellie on the back is brilliant and I just love that adorable cat! You really have excelled yourself, these are wonderful Halloween creations Sara!! xxx
ReplyDeleteAwesome! Love your mini spooky houses and that inside there is the shadowbox effect! Spooky and spectacular!
ReplyDeleteWow! You had me totally fooled because I thought those were designer papers from Tim’s pads! Such beautiful craftsmanship and really imaginative use of this fun die. The details are spooktacular! Great Saturday step by step Sara!
ReplyDeleteWow - some truly amazing effects here, Sara Emily, and such a fantastic tutorial taking us through all the steps to creating these brilliant tiny houses. Such texture and attention to detail - and I love the happy accident which led to those headless boys!
ReplyDeleteAlison x
Omg, I love these!
ReplyDeleteYou are the product queen and always make the coolest effects! I wish I could watch you play. :)
ReplyDeleteWow, I've just been waiting for someone to use the Tiny Houses die for Halloween! Amazing! I have my fingers crossed that die will go on sale during Black Friday! Love what you made! Thank you so much for sharing how you made these!
ReplyDelete