

Hello and welcome to the Frilly and Funkie Blog! It's Nancy here, and I'm honored to be hosting the Saturday Step by Step this week.
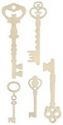
I created a set of altered wooden keys using Kaisercraft's Wood Flourishes from Linda's shop. Usually when I alter keys I go for a faux metal technique, but this time I wanted to give them a breath of spring air.

I adore everything about paper crafting. The supplies look pretty all by themselves!

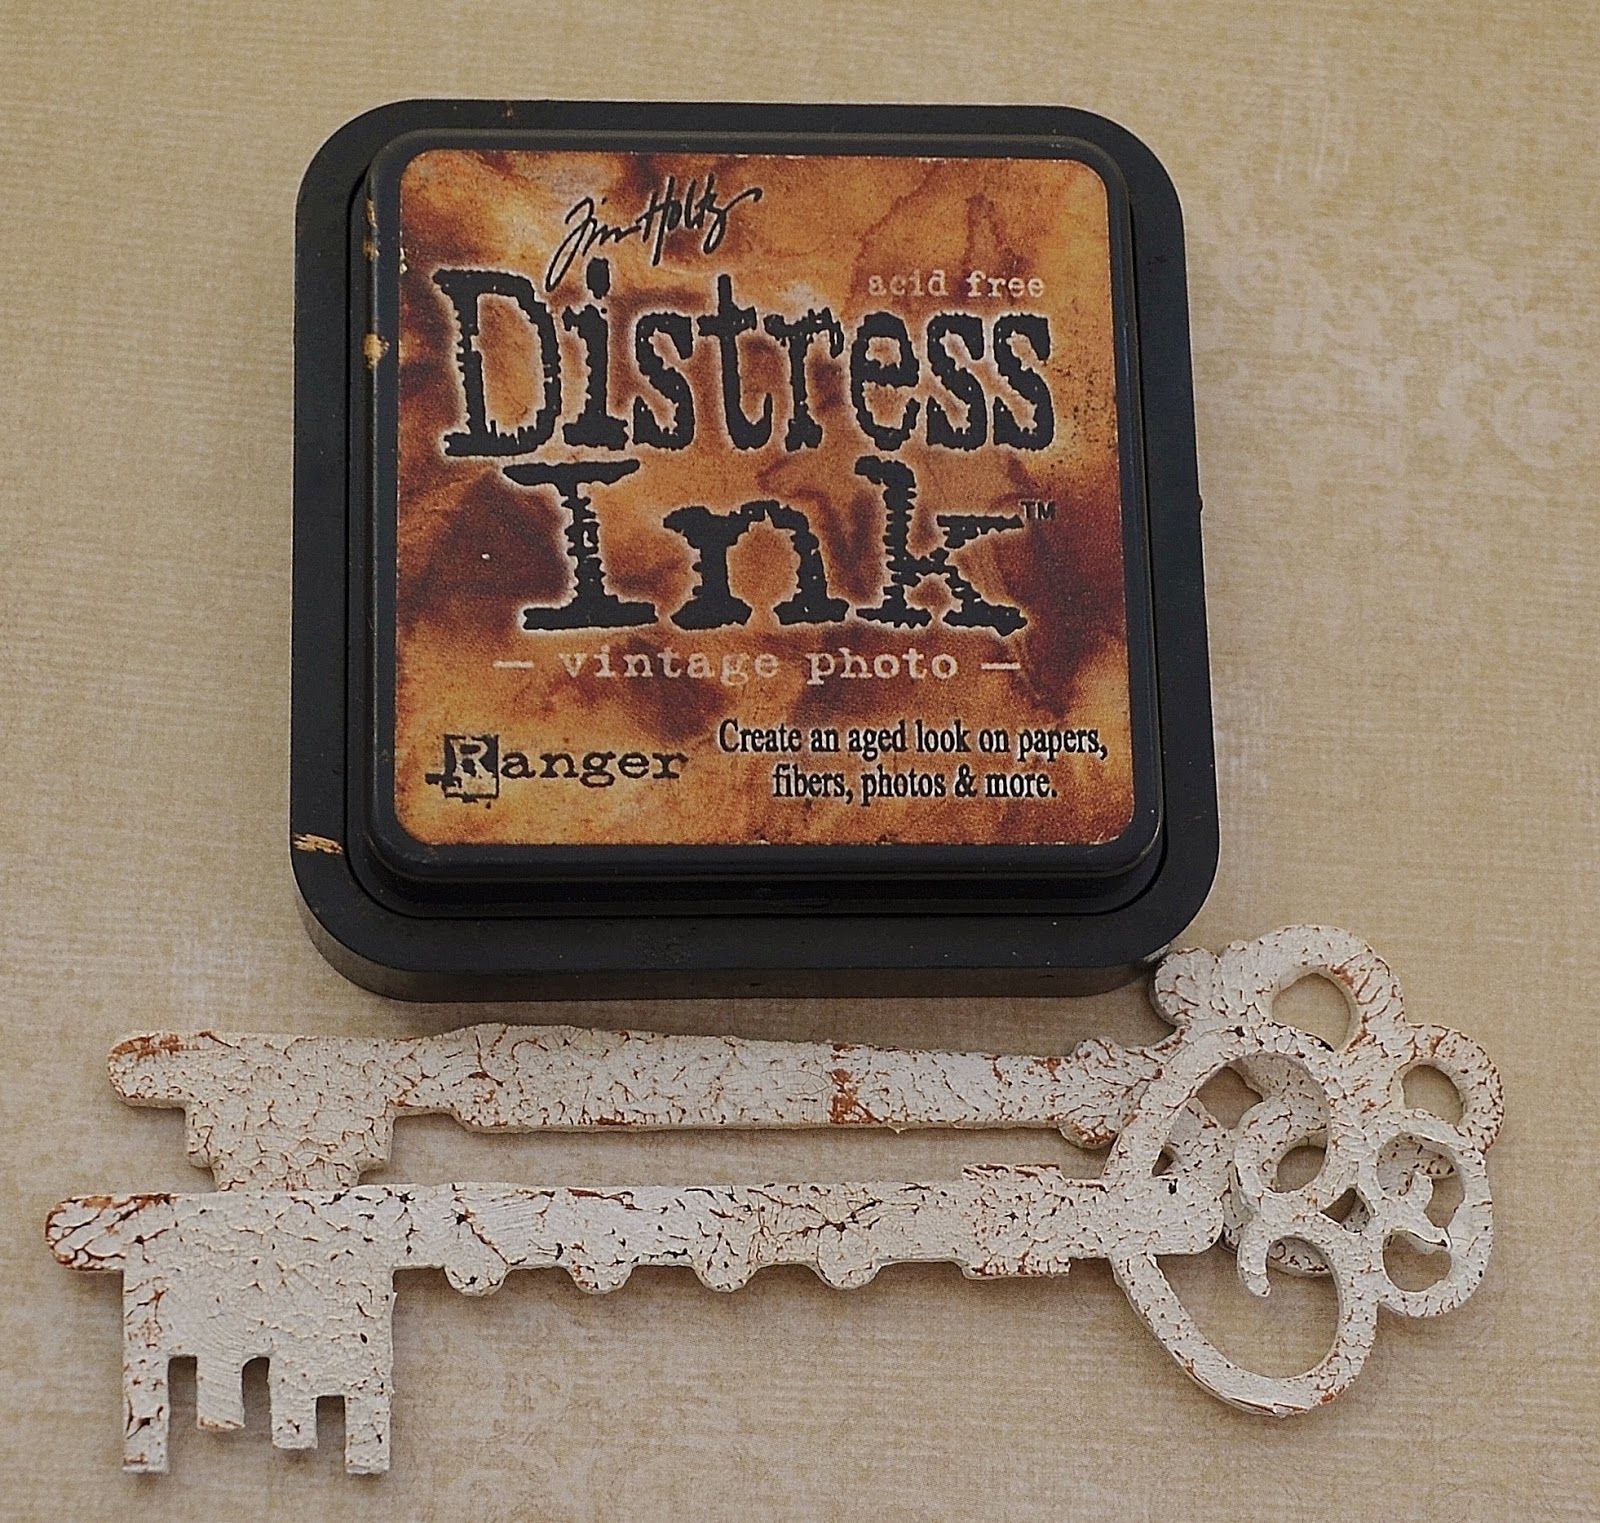
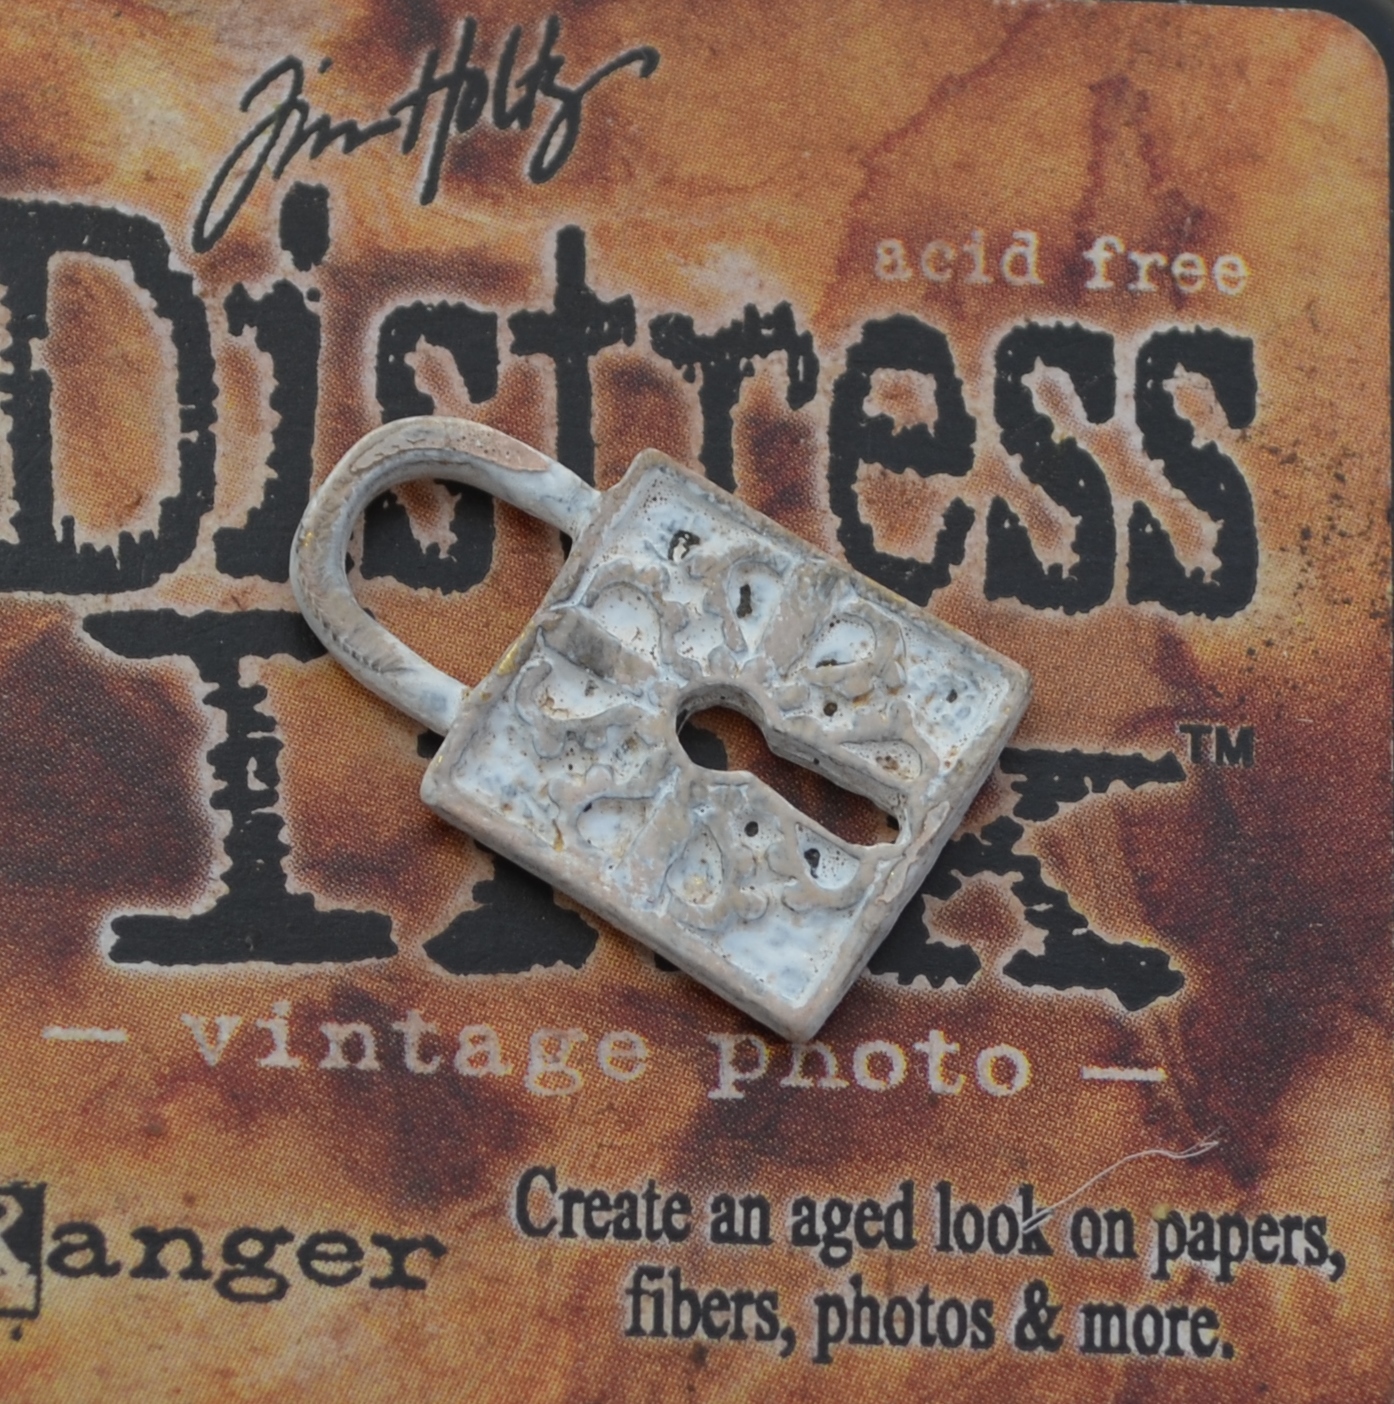
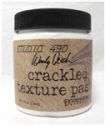
I forgot to photograph the first step, but started by giving the wooden keys and tiny metal padlocks a coat of gesso. Once dry, I added a coat of Wendy Vecchi Crackle Texture Paste to the keys.

After drying overnight, a lovely crackle finish formed over the keys. I aged them up with Vintage Photo Distress ink.
The little padlocks received the same treatment.
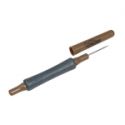
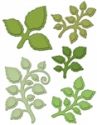
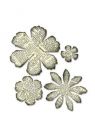
I cut the leaves from Maja Design paper using Heartfelt Creation's Classic Leaf die. This is a new item at the Funkie Junkie Boutique that I'm really excited about. I used the tool below to give them added shape and dimension. The miniature roses are hand-crafted from Maja Design paper using this blooming rose tutorial.

Once the keys are dry it's time to embellish! I started by adhering the leaves and roses to each key in a similar fashion.

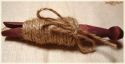
Next, a bit of frayed cheesecloth is applied for a soft touch.

The Prima bird nests are cut in half to fit the size of the project, then adhered to the keys.

The last step is the addition of a twine bow and the altered metal padlock.

Below are some close ups of the completed keys:


Thank you so much for joining us at the Frilly and Funkie Blog. May your day be filled with sunshine and crafty happiness! Don't forget to check out our newest challenge 'Layer it Up'. You still have plenty of time to play along.
Hugs,

 |  |  |  |  |
 |  |  |  |  |
 |  |  |  |  |
 |  |  |  |  |

Wow Nancy...I love those keys.Such a pretty adornment and I love your trade mark twine bows..just adds that extra beauty. I am sure gonna try this one soon. Thanks for sharing the process.
ReplyDeleteThat's an amazing tutorial Nancy!!! I always wondered how you created your beautiful embellishments and now I know. Thank you so much for sharing. Jenny x
ReplyDeleteSuch pretty keys. Thanks for sharing the process, they will make beautiful embellies for your cards x
ReplyDeleteA great alteration to those beautiful keys Nancy 😃 wonderful details and stunning florals in this fabulous step by step tut
ReplyDeleteTfs Annie x
Wow, these are gorgeous Nancy! I love your purple roses and the texture on the keys is wonderful. Great step by step! hugs :)
ReplyDeleteWowzer are these so beautiful! Love the charming effect of the lock, flower and leaves to create a beautiful piece of art!
ReplyDeleteBe still my heart!!! These ar so wonderfully shabby and sweet I can hardly stand it! I love the crackle finish and the beautiful hand made leaves. Fabulous tutorial!
ReplyDeleteOh these are sooo pretty. Thanks for sharing. Nicola x
ReplyDeleteLove these!
ReplyDeleteGorgeous shabby keys Nancy, what a great tutorial, thanks for sharing it! Deb xo
ReplyDeleteThese are just lovely, Nancy!
ReplyDelete