

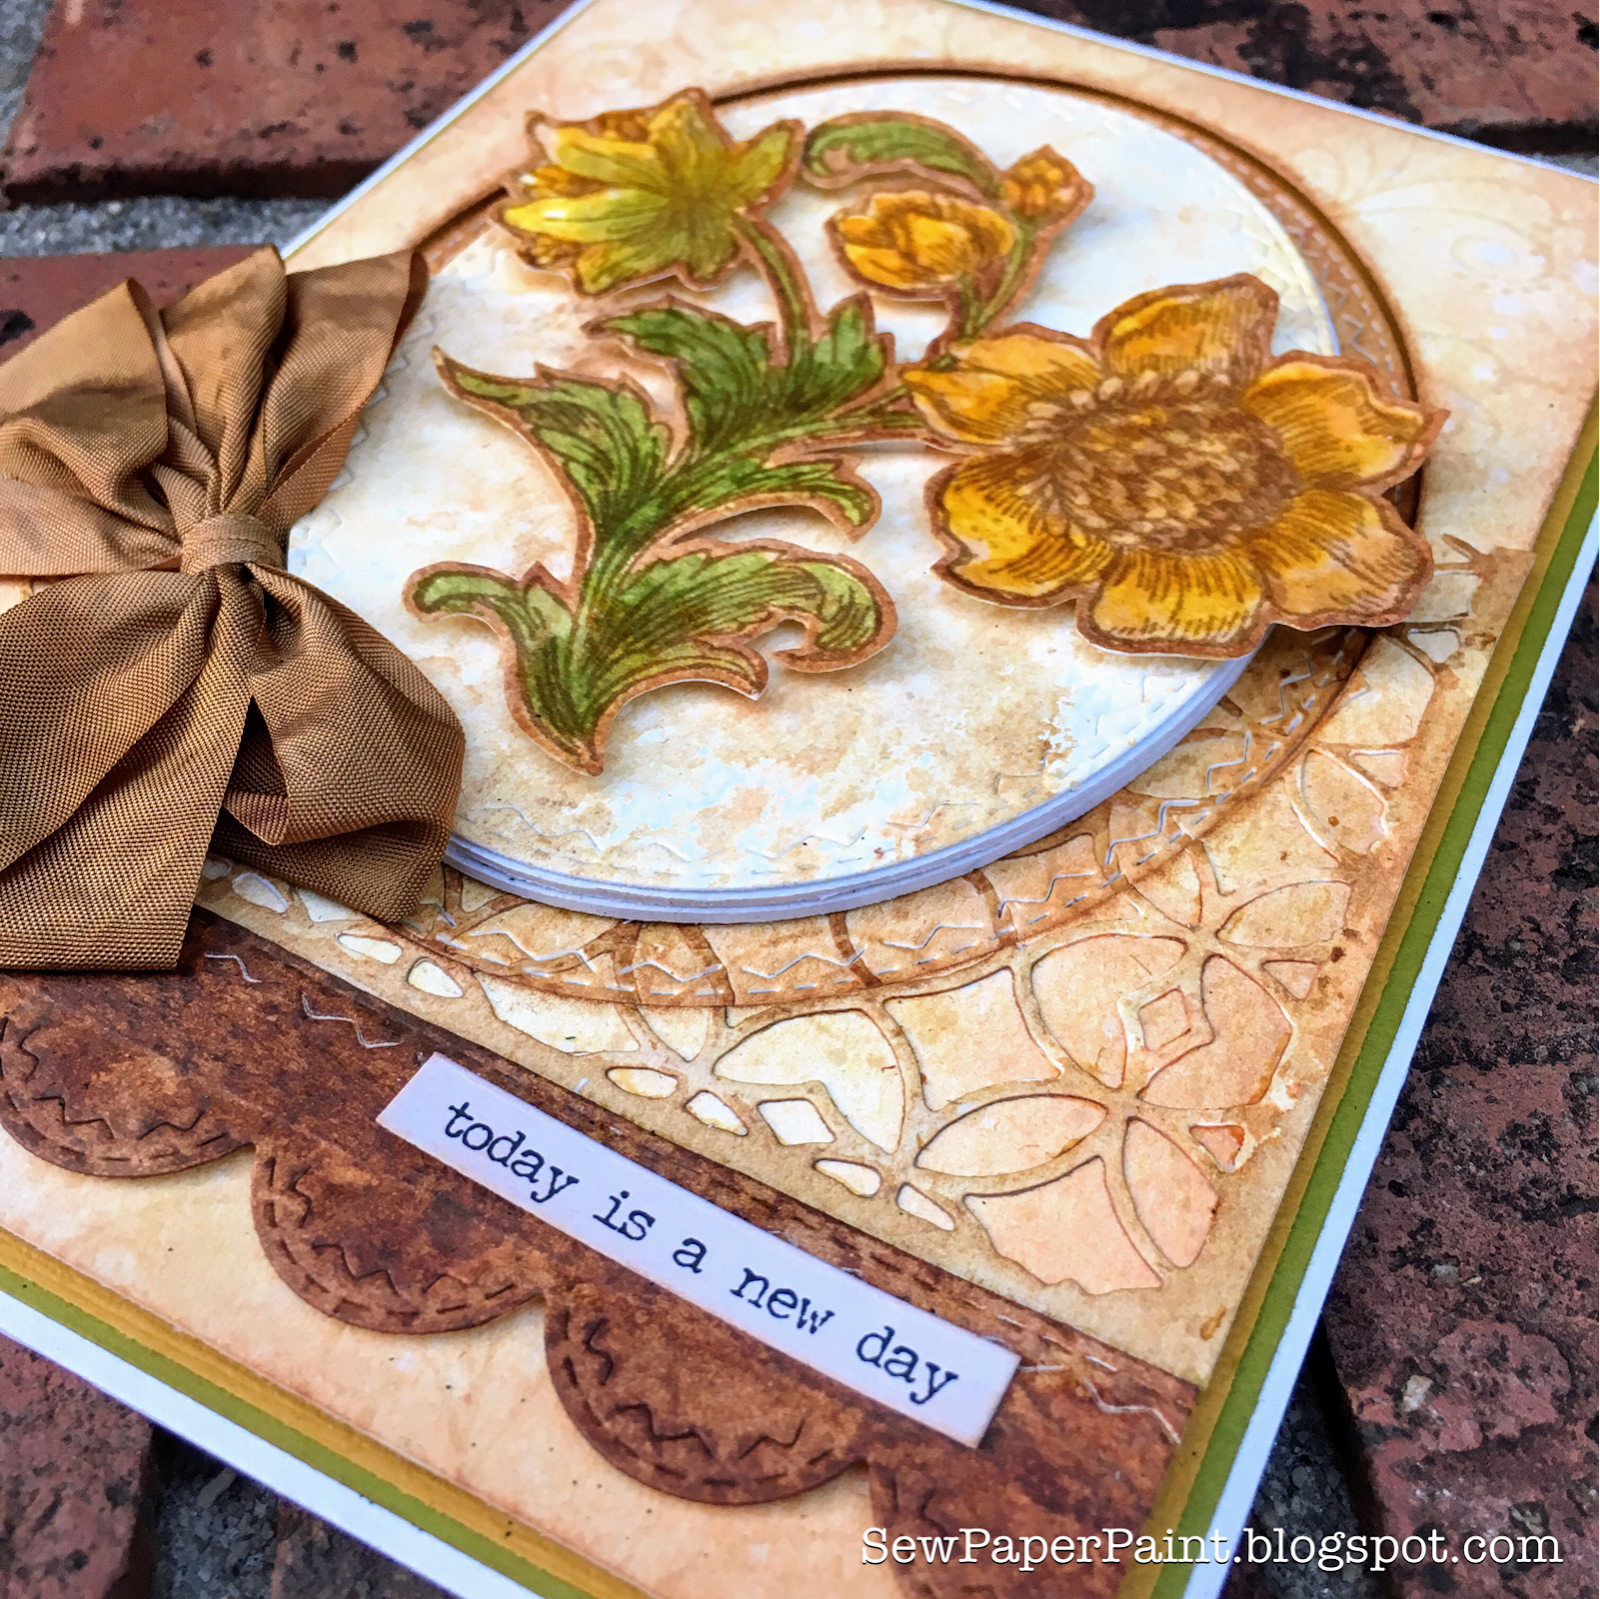
Happy Saturday stampers! Autumn with you today to share a Saturday Step by Step post. I've created this rustic, fall card to coordinate with our current challenge, A Little Rusty. While this project took a couple of detours, the process was quite rewarding and filled with discovers which I hope you will enjoy reading about.

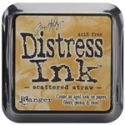
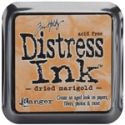
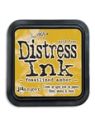
Originally I planned to do a square card with the image stamped directly on my main panel. I dipped my panel into watered Scattered Straw, then Dried Marigold, then Vintage Photo Distress Inks to create a subtle tint. I used a Mixed Media thinlet die to cut a portion of my panel, then stamped the open space with the Garden Fresh stamp by Wendy Vecchi.

Next, I gently painted my floral image with water and lifted the water with a dry cloth. This was such a pretty effect! I can envision stamping this image repeatedly and lifting the color for a beautiful background panel.

I went back over the outer areas with watery Vintage Photo to make even more contrast.

As much as I liked how this looked, I was afraid that painting the image would loose the contrast I had created, so I ended up fussy cutting the painted image. Next I coated it with Distress Crazing Collage Medium.

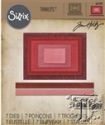
I used border dies from the Stitched Ovals and Stitched Rectangles sets. I first cut the scallops with a half inch allowance, then lined up the stitched row die and ran it back through to get a finished edge on both sides. I dipped this piece in watery Vintage Photo.

Next I stained some seam binding.

I wanted to make my own "designer paper" layer for the background. I dipped in the same inks from light to dark, then sponged the edges a bit with Vintage Photo. I stamped the swirl from the Flourishing Art stamp set by Wendy Vecchi repeatedly in Antique Linen.

I fussy cut the Mixed Media Thinlet panel from the first step and adhered onto my stamped background with the scalloped border. I die cut the largest oval from the Stitched Oval set.
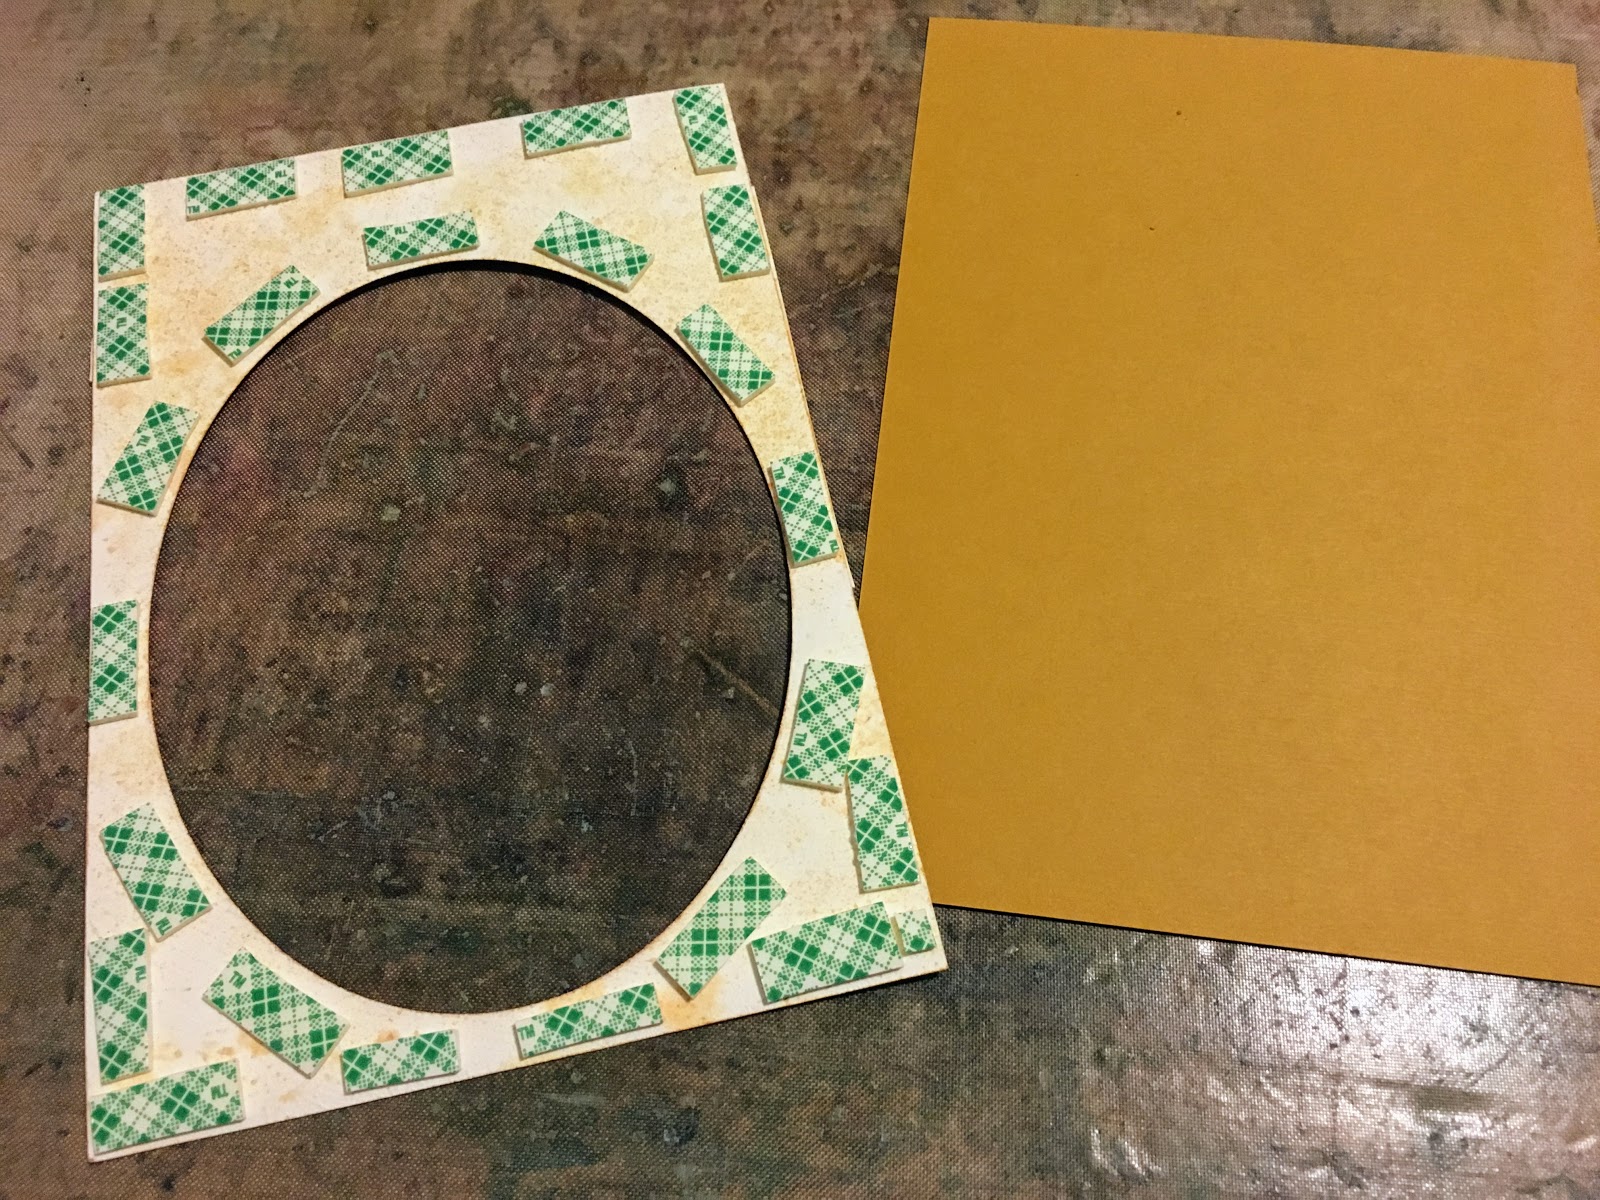
I used this to create a die cut inlay. I added foam to the outer areas of the panel, then adhered to a base. I then taped the center back in place, nice and flat. This created a great frame and lots of dimension for my card.

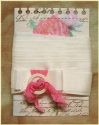
I dipped another panel into my inks, even lighter this time. I cut the next size smaller oval then adhered it to two ovals of the same size cut from children's fun foam. This saves on all the foam tape and makes a nice sturdy base with little weight. Using two layers raised it a bit more than the outer panel. I mounted the flower, my bow and a small talk sentiment, then layered for a small green border. Here's a glimpse of all that dimension. I hope you will experiment with inlaid die cuts and watercolor lifting with your Distress Inks. Why not create a project for our current challenge for a chance to win a $25 gift card to the Funkie Junkie Boutique? Thanks for your visit today! Happy stamping!
Find these and other beautiful stamping supplies in the shop today:
 |  |  |  |
 |  |  |  |
 |  |  |  |
 |  |

A beautiful result xx
ReplyDeleteBeautiful layers and awesome card Autumn!! Thanks for sharing tutorial... very inspiring(I need to try :))
ReplyDeleteBeautiful card.
ReplyDeleteBeautiful card, thanks for sharing the techniques.
ReplyDeleteAvril xx
A wonderful tutorial Autumn, your card is stunning, the contrasts you created really do make the flower 'pop'! xx
ReplyDeleteA beautiful card, Autumn!!!
ReplyDeleteFabulous tutorial--I loved reading your your thought process! And the end result is magnificent! Brilliant inlay, and your flowers look stunning! Thank you for all your hard work!
ReplyDeleteThanks of sharing this wonderful tutorial!
ReplyDeleteLovely Autumn! Charming flower and design!
ReplyDelete